

This homemade chicken broth recipe has the ultimate supercharged chicken flavor, thanks to two secret Italian ingredients. It's the flavor foundation for countless dishes and meals I make, and it's based on Luca's mamma's brodo di pollo, which I first tasted in her tortellini in brodo more than a decade ago. It's the single best chicken broth I've ever had, and it's what you'll find in this post.
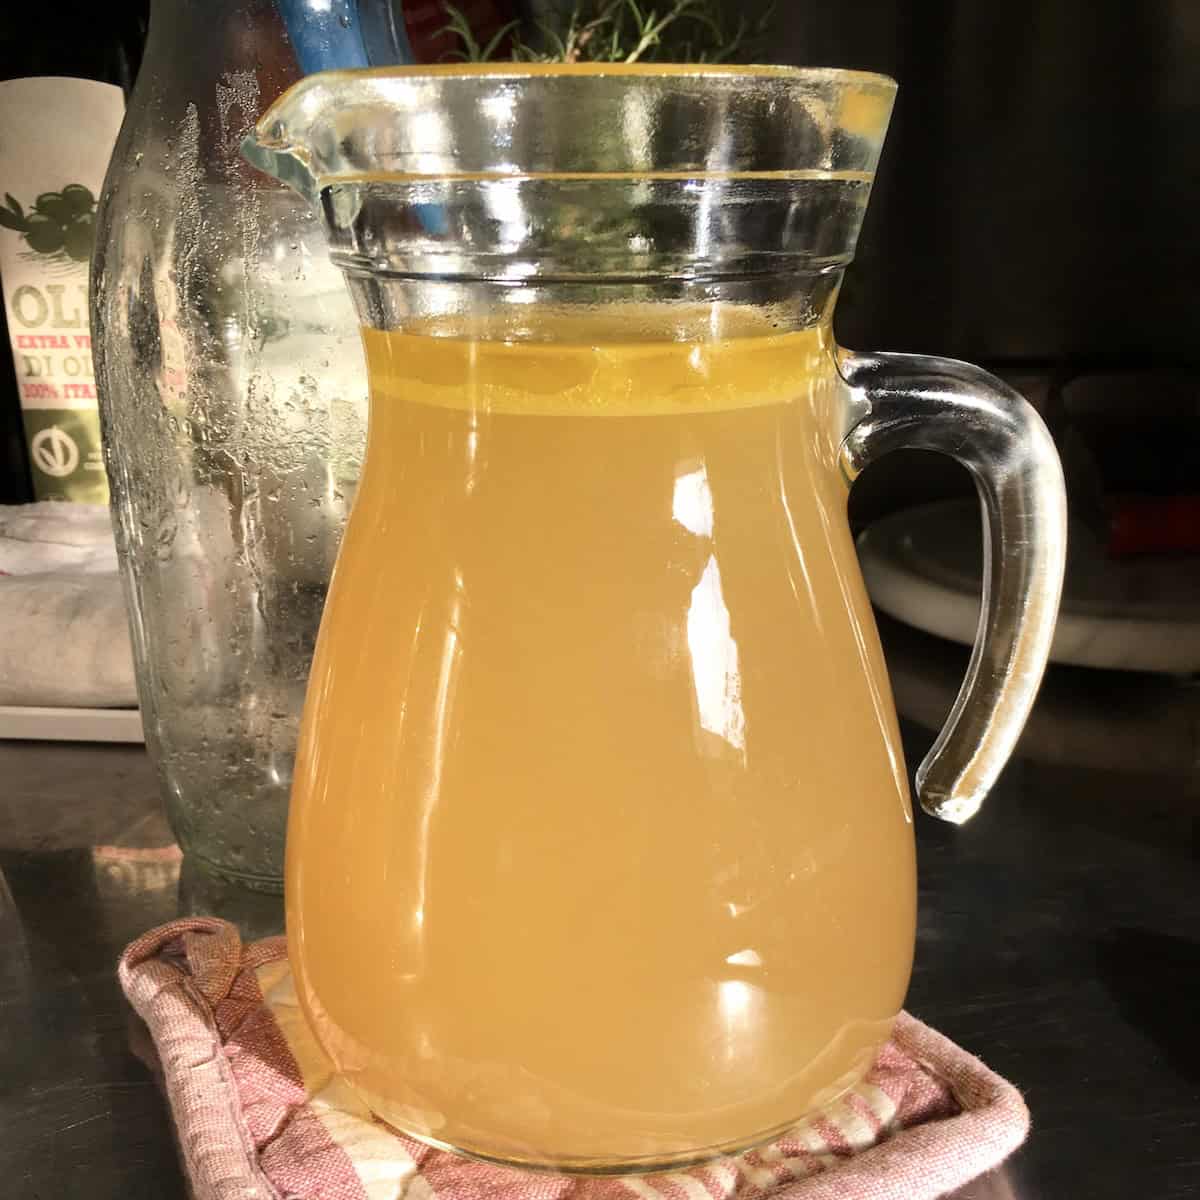
It was the chickeniest chicken broth I'd ever tasted, so rich and deeply flavored that every other broth I'd had paled next to it. Today I'm sharing those secrets. With a pressure cooker, there's zero skimming, and it's ready in 30 minutes, or slightly 45 for a richer broth, or 1 ½ hours to pull out even more collagen, instead of the usual 2 to 3 hours on the stovetop.
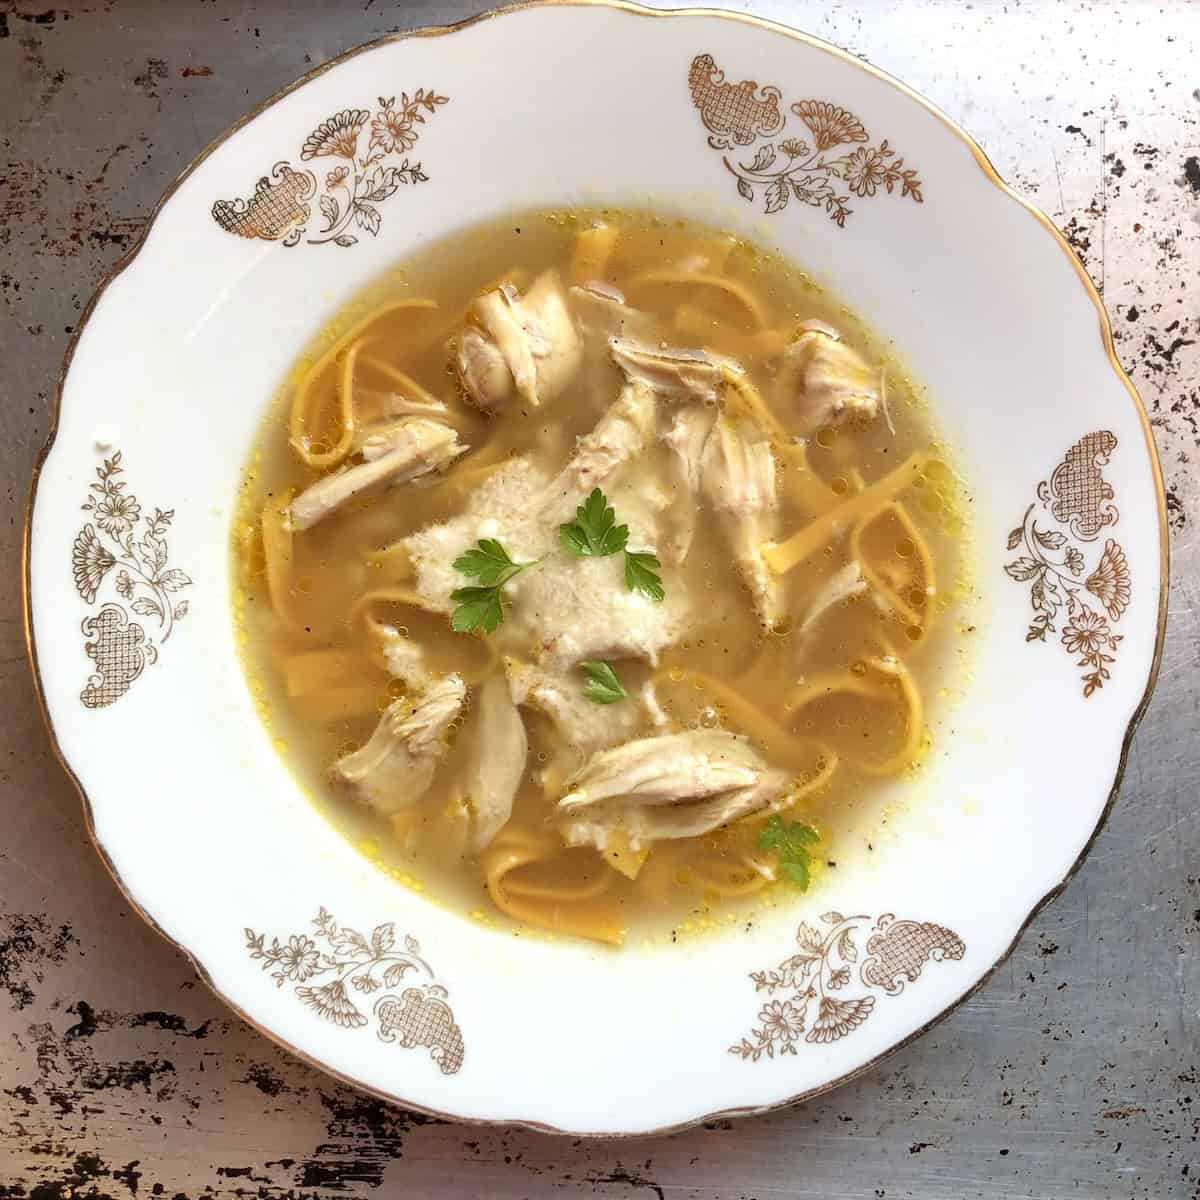
Few ingredients work harder in your kitchen than a well-made chicken broth. I use it for tortellini in brodo, Venetian duck ragù, authentic bolognese, chicken noodle soup, risotto, lentils, cilantro-lime rice, refried beans, chicken tortilla soup, and more. Once you taste it made this way, you won't go back to boxed.
Jump to:
- The Secret to the Best Chicken Broth?
- Why You'll Love This Chicken Broth Recipe
- Ingredients
- Which Chicken Parts Make the Best Broth (And Which Ones to Avoid)
- How to Make Chicken Broth
- What Makes This the Best Chicken Broth
- Homemade Chicken Broth vs Store-Bought: The Truth
- Chicken Stock vs Broth: What's the Difference?
- Substitutions
- Variations
- Equipment
- How to Store Chicken Broth
- What to Do With the "Spent" Chicken Meat (Zero Waste!)
- How to Use Homemade Chicken Broth
- Top Tips for Perfect Chicken Broth
- Troubleshooting 5 Common Chicken Broth Problems
- Health Benefits of Homemade Chicken Broth
- FAQ
- Sachet or Bouquet Garni (Optional but Unnecessary for Broth)
- How to Clean Chicken Feet For Broth
- Related Recipes
- 📖 Recipe
- Food Safety
- What is Gallina and Why Do Italians Use It for Brodo?
- Chicken Broth for Dogs (Yes, Really!)
The Secret to the Best Chicken Broth?
The most obvious part of making the best chicken broth is using high-quality, antibiotic-free, free-range chicken whenever possible. But not everyone can afford that, much less find it in their local grocery store.
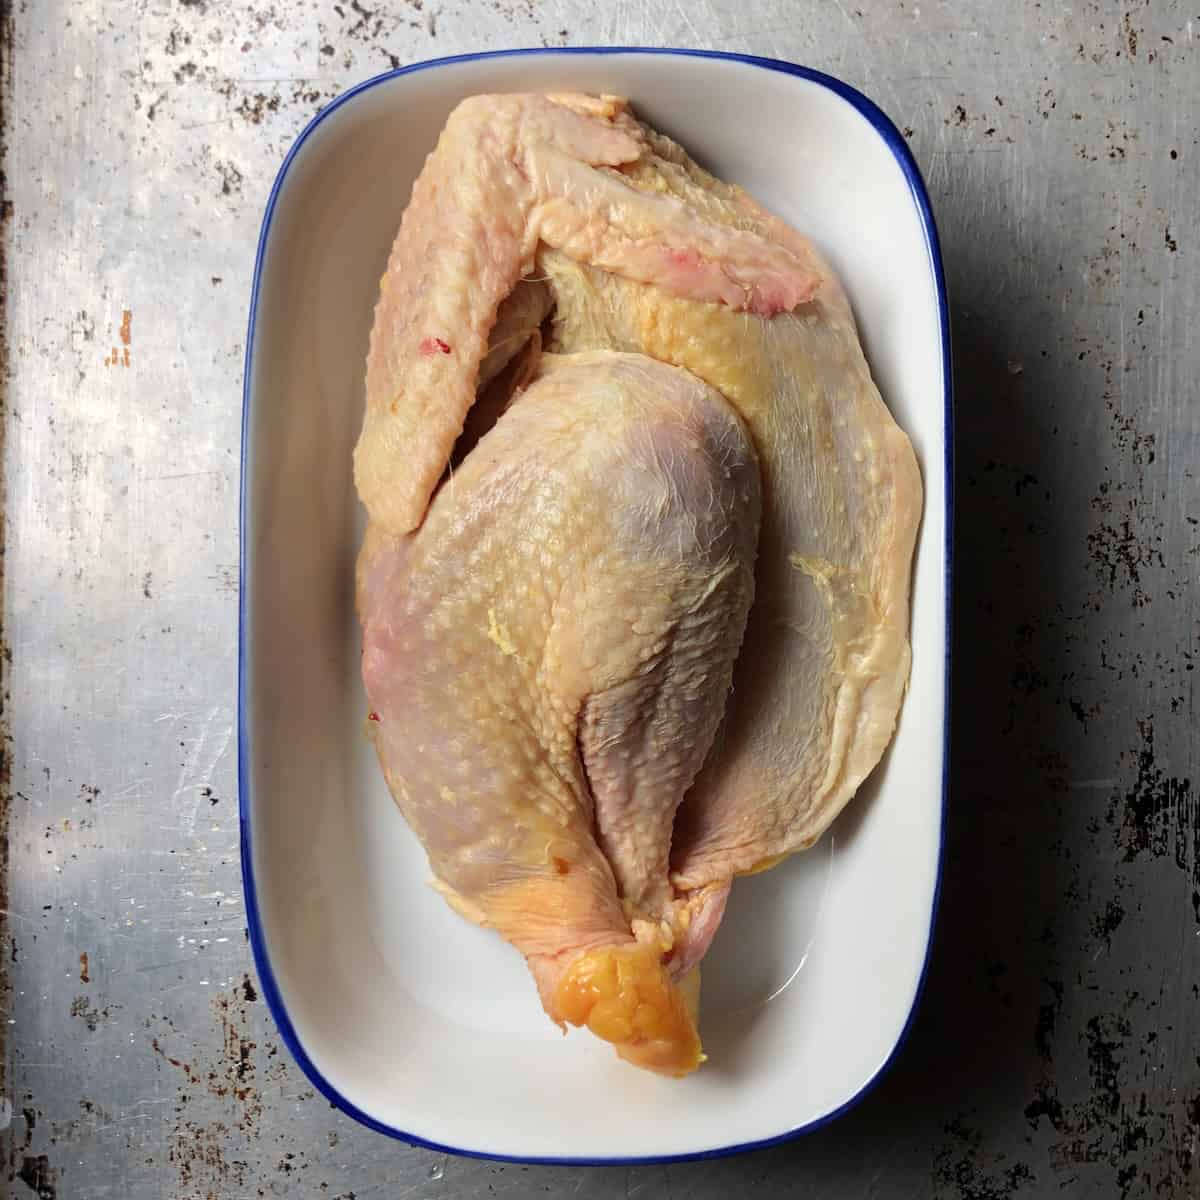
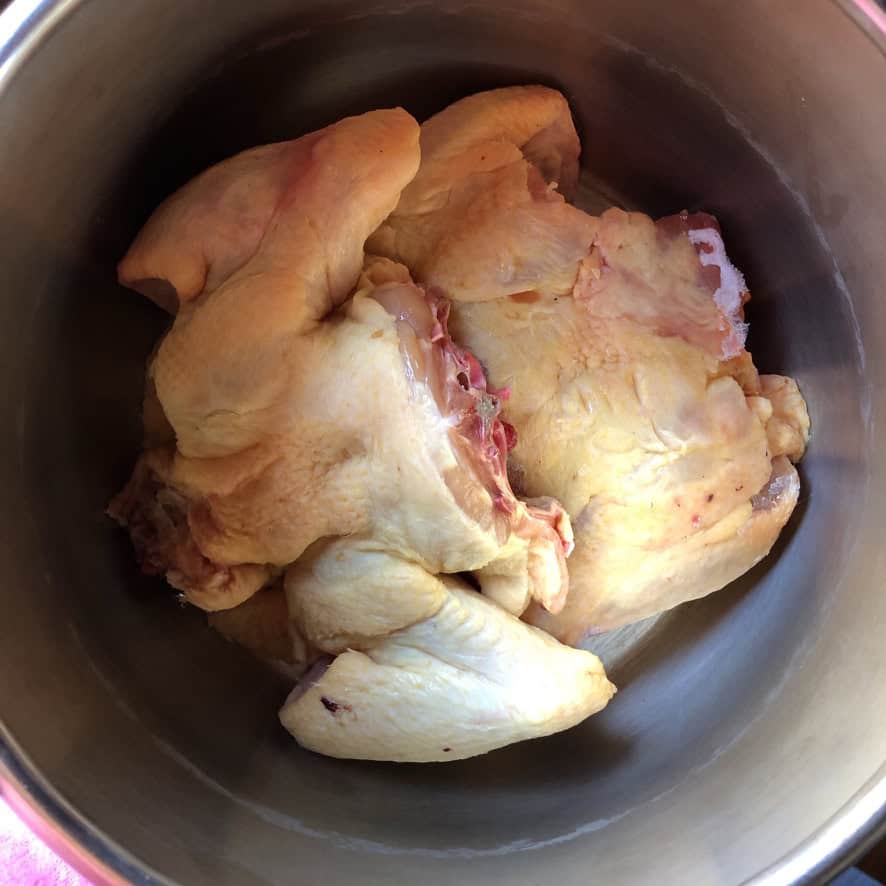
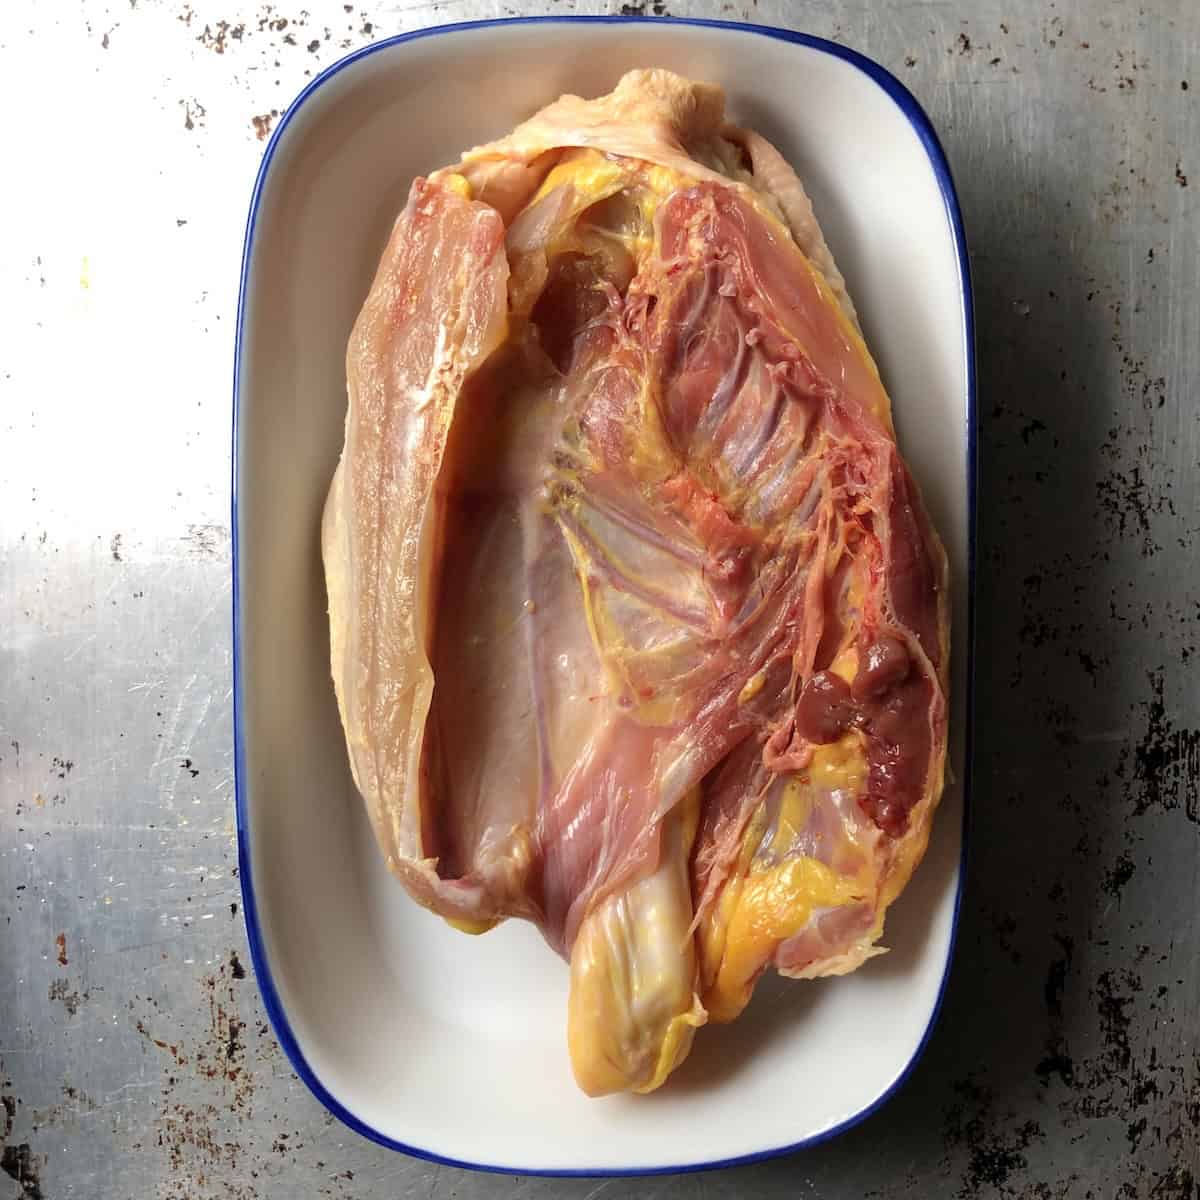
Here in Italy, Anna (like most other Italian nonnas and restaurants) often uses at least part of a gallina (an older egg-laying hen seen in the photo above) specifically raised for making the richest, most flavorful Italian brodos.
But you'll be happy to know that while premium chicken will give you the best start flavor-wise, it's not necessary to make great chicken broth(and this isn't one of the secret ingredients)!
Anna's technique works absolute magic with regular chicken too (yes, even standard American supermarket chickens), thanks to a couple of flavor-enhancing secret ingredients below:
The First Italian Secret Chicken Broth Ingredient:
Anna uses a small piece of a cinnamon stick (1-2 inches). Yeah, you read that right! I know. It sounds unusual at best, unnecessary, or maybe even unappetizing at worst. But trust me (this isn't a cinnamon-flavored broth).
It's the warmest, coziest homemade chicken broth with supercharged chicken flavor you'll ever have. It's simple, it's traditional, and exceptional.
The Second Italian Secret Chicken Broth Ingredient:
I've taken Anna's brodo one step further by adding another traditional Italian technique: tossing in the leftover rind (crust) from a wedge of aged Grana Padano or Parmigiano-Reggiano cheese.
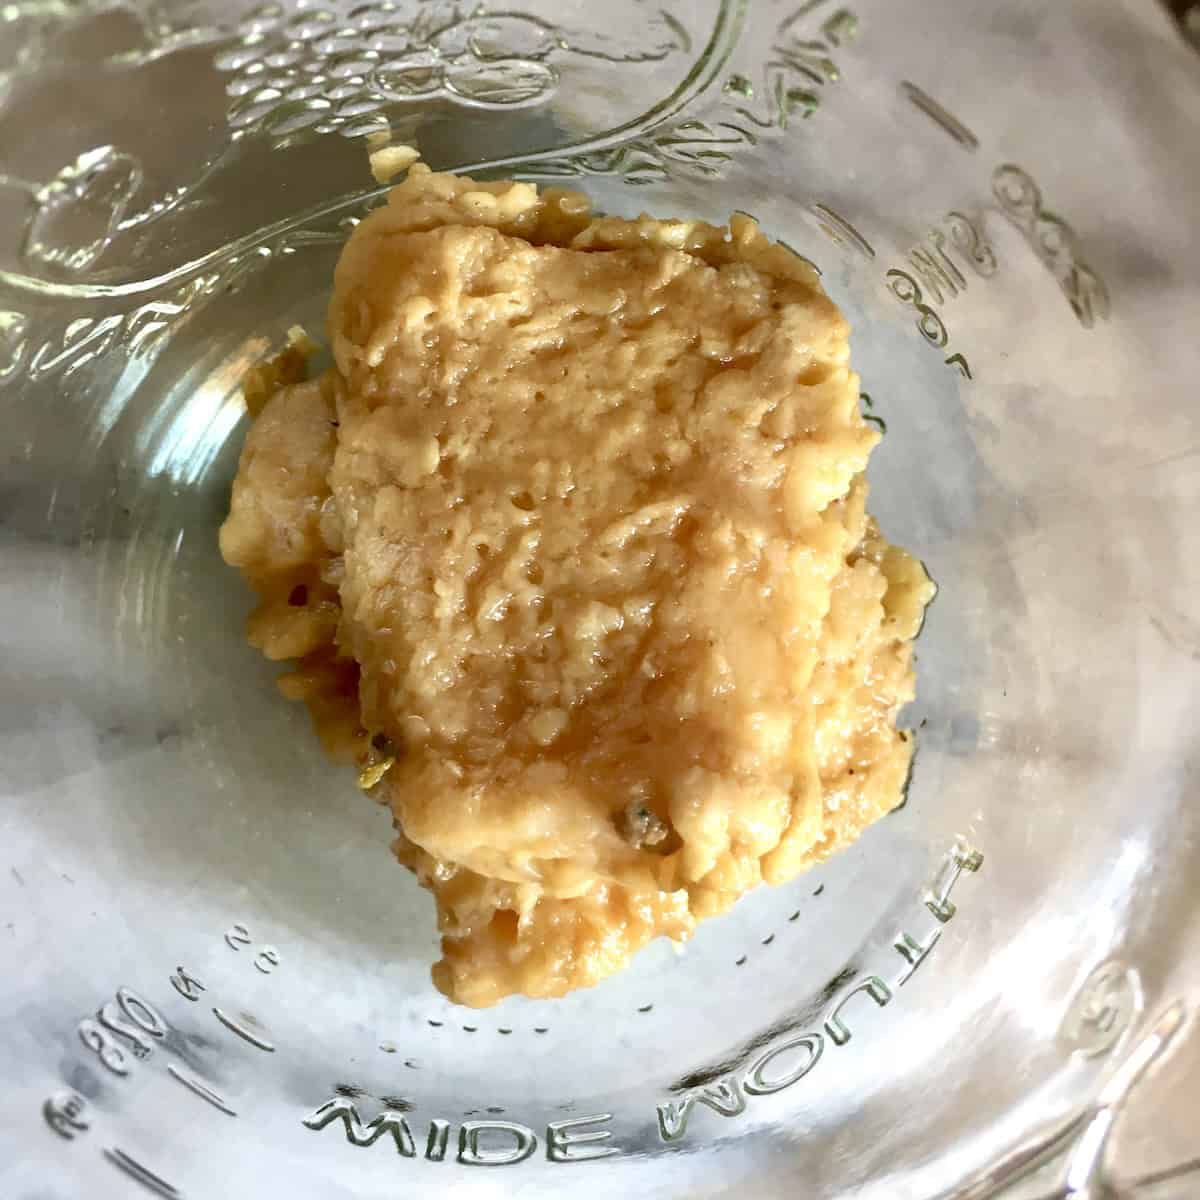
It's pure culinary gold and adds incredible umami and depth to this chicken broth recipe! Plus, you can technically eat them because it's just hardened cheese (that dries out from exposure to air as it ages). After the rinds cook in the broth, they become chewy and spongy, and I love eating them (Luca not so much).

Why You'll Love This Chicken Broth Recipe
- Ready in 30 to 45 minutes in a pressure cooker (or 2-3 hours on the stovetop if you have the time). It's way faster than most homemade chicken broth recipes.
- Authentic Italian technique from Luca's mamma, who's been making brodo for 80+ years. The cinnamon stick and Grana Padano or Parmigiano rind make all the difference.
- It's homemade chicken broth you can drink all by itself. It tastes light-years better & fresher than any store-bought broth (even expensive brands like Pacific Foods, Kettle & Fire, and Better Than Bouillon can't compete with this).
- Costs pennies to make using chicken parts like backs, wings, legs, or even feet (the cheap cuts that actually have the most flavor, while reserving the expensive breast meat for recipes where it can really shine!).
- Healthier than boxed broth, it's packed with collagen, gelatin, vitamins, and minerals for gut health, no MSG, no preservatives, no plastic-lined cartons.
- You control the sodium content, which means it's a perfect broth for anyone watching their salt intake.
- Foundation for better tasting EVERYTHING like soups, pasta sauces, ragùs, grains like lentils, quinoa, rice, or couscous, or even the best Tex-Mex refried beans, and ham and beans.
- Almost zero waste because you can repurpose the "spent" meat in other dishes like chicken tacos, chicken salad, or add it back to the broth for a quick chicken soup (plus more of my favorite ways I share below).
- You can use it to make Thanksgiving gravy in advance, so it just needs to be reheated on Turkey Day or for Christmas Dinner.
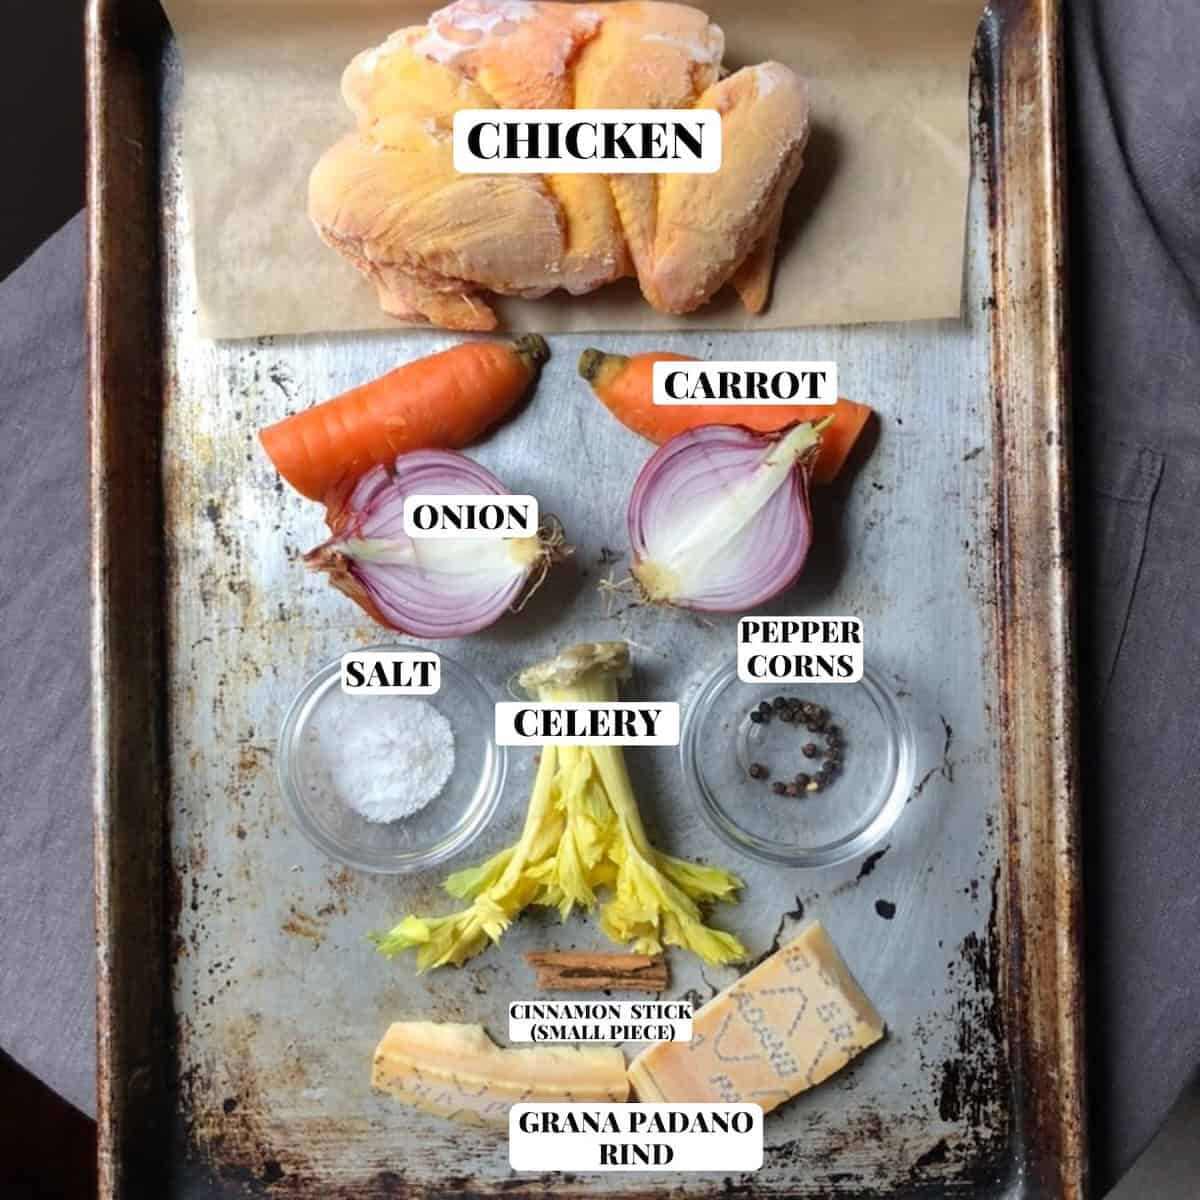
Ingredients
If you're on a really tight budget, you can use just 1 pound of chicken for this recipe. Otherwise, I recommend using 2 to 3 pounds of chicken to make the most incredible broth. Here's what goes in the pot:
- Chicken (bone-in and skin-on): Cuts like backs, wings, feet, necks, legs, or thighs (and preferably non-GMO-fed, organic free-range chicken)
- Onions: I wash the whole onion, then halve it, and I leave the peels and ends on. I've never had a bitter broth, but go ahead and peel them if you're at all worried about that:)
- Carrots: (halved, no need to peel or trim off the ends)
- Celery (just half a large rib is enough for us because we really want the chicken flavor to shine through, but add more if you love a nice backnote of celery.
- Salt: Sea salt or Pink Himalayan salt are my top choices because they have beneficial minerals that add to the nutritional value of the chicken broth. Diamond Crystal Kosher salt works fine, too, though. Avoid iodized table salt, which has a metallic iodine flavor and anti-caking ingredients that can make your broth taste bitter.
- Cinnamon stick (a small piece): You can use ground cinnamon in a pinch, but using a 1 to 2-inch piece of whole cinnamon stick is better. It adds an almost undiscernible layer of extra warmth and flavor that you have to taste to understand. The stick also imparts milder, sweeter notes than ground cinnamon.
- Parmigiano-Reggiano or Grana Padano rind: This adds another layer of flavor, extra minerals, and absolute umami deliciousness to the broth. Never throw out these hard cheese rinds (even from your wedge of American Parmesan). Instead, save them in the freezer until you're ready to use them.
- Water: Use filtered water or good drinkable cold tap water.
See recipe card for quantities.
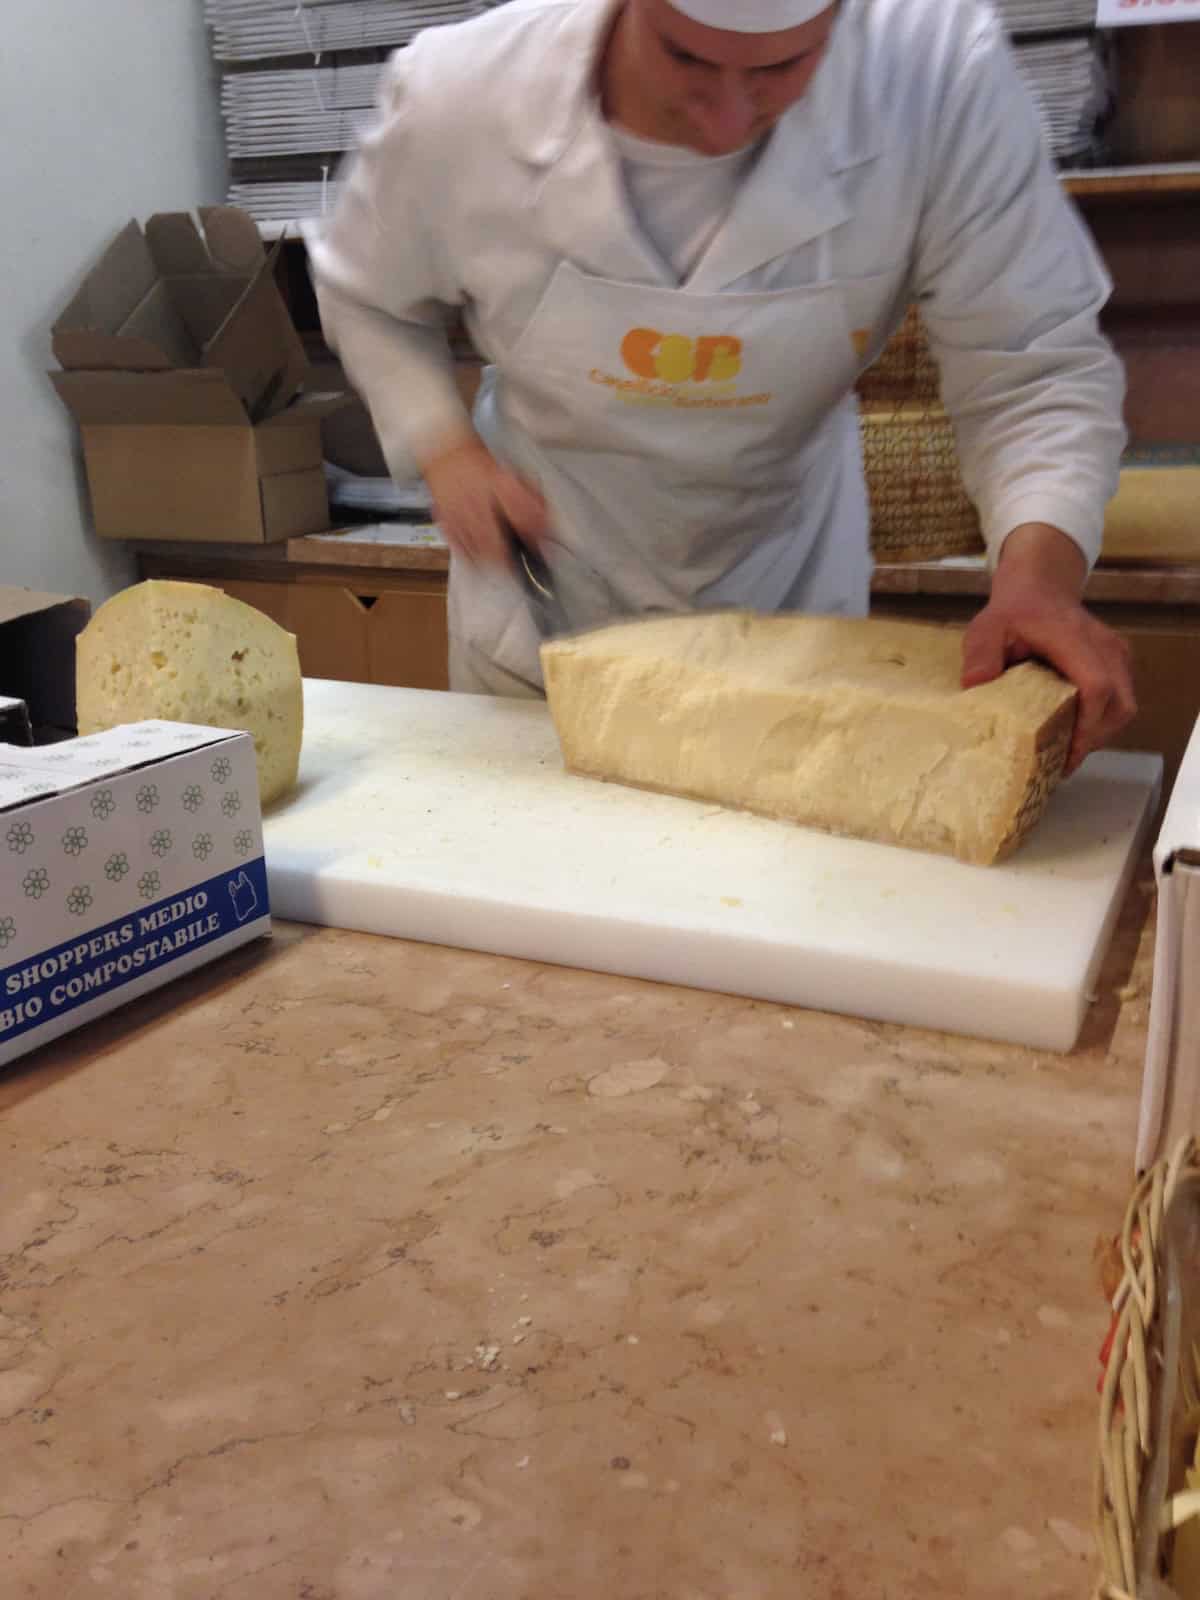
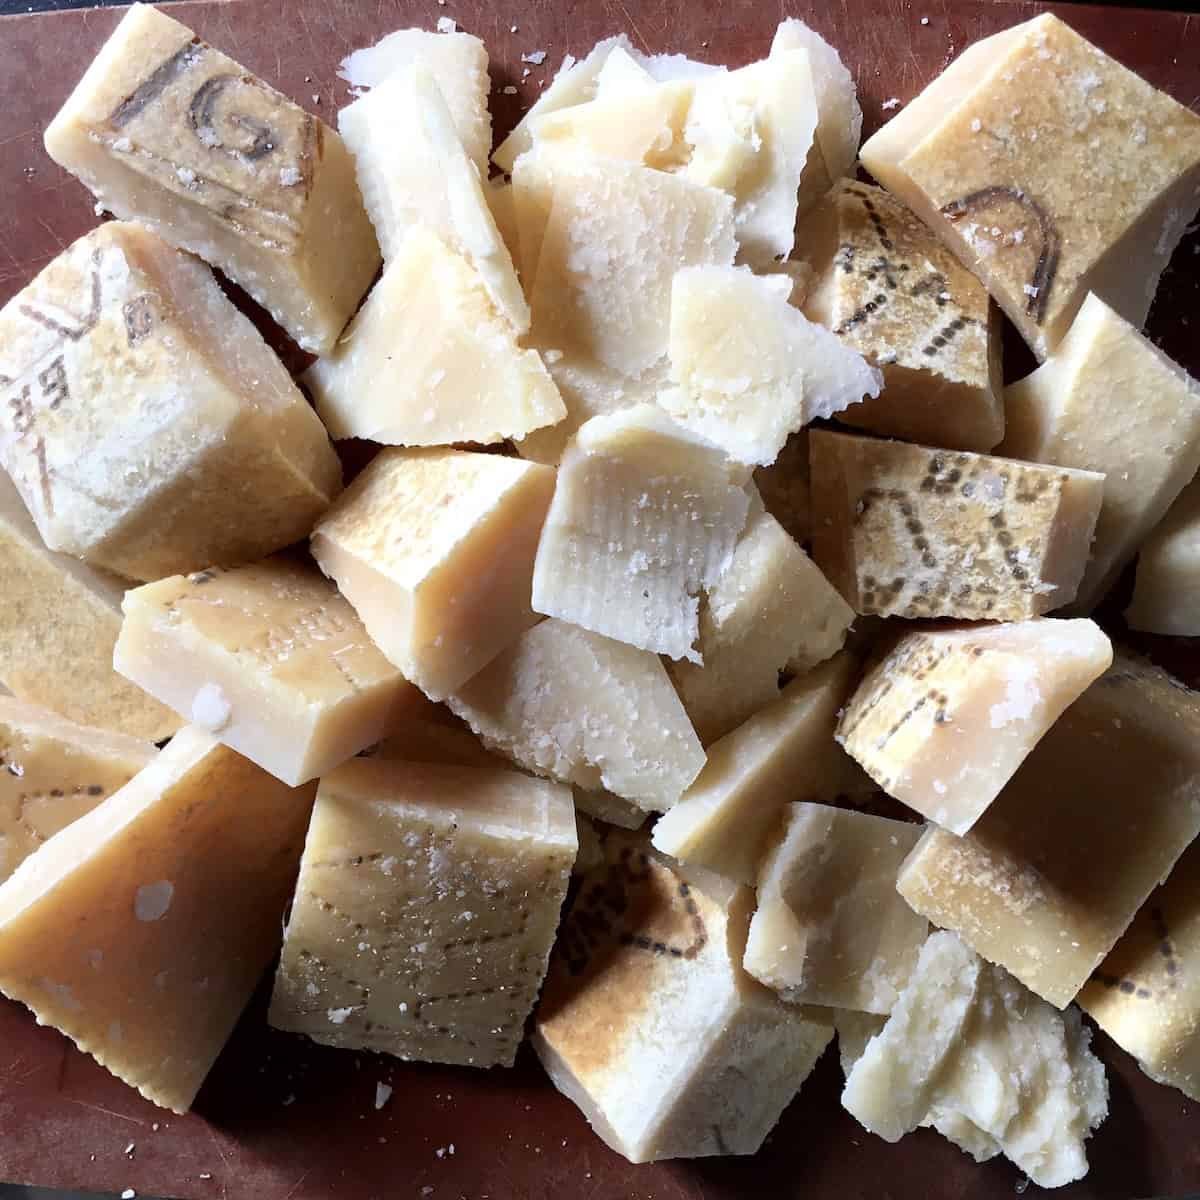
Note: We get our Grana Padano directly from the caseficio (where they make these big beautiful wheels of cheese 🤗), and they always give me a big bag of crusts (rinds) after trimming huge cheese wedges from the wheels. If you're lucky enough to have a cheesemonger where you live, ask them if they'd give (or sell) you some of these "scraps".

Which Chicken Parts Make the Best Broth (And Which Ones to Avoid)
This is critical information that often gets glossed over, but it makes a HUGE difference in your results. Not all chicken parts are created equal for broth-making.
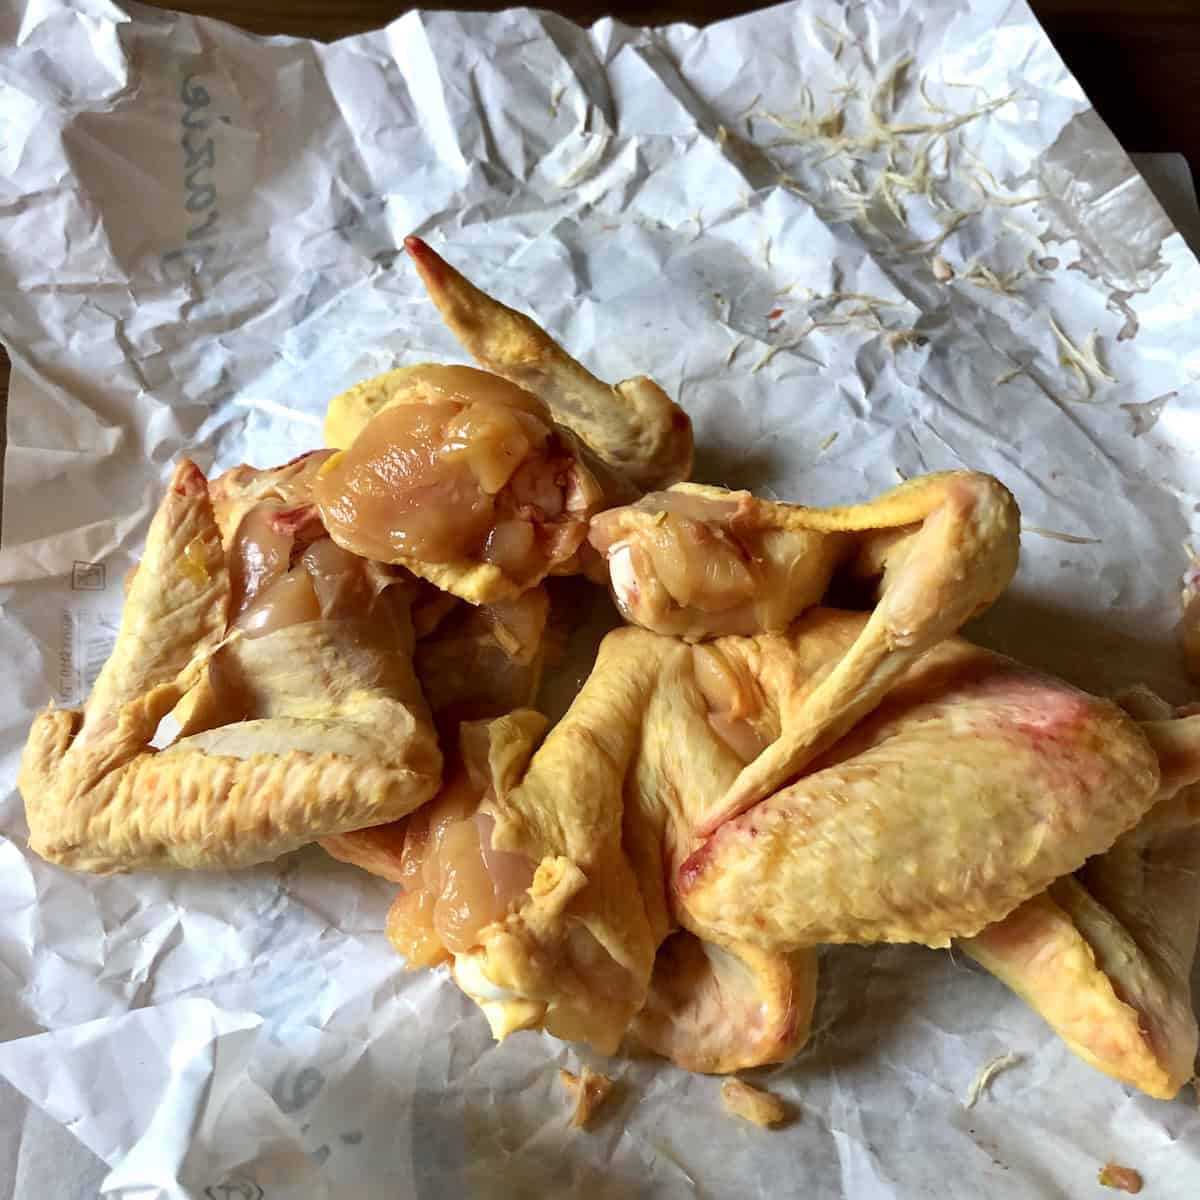
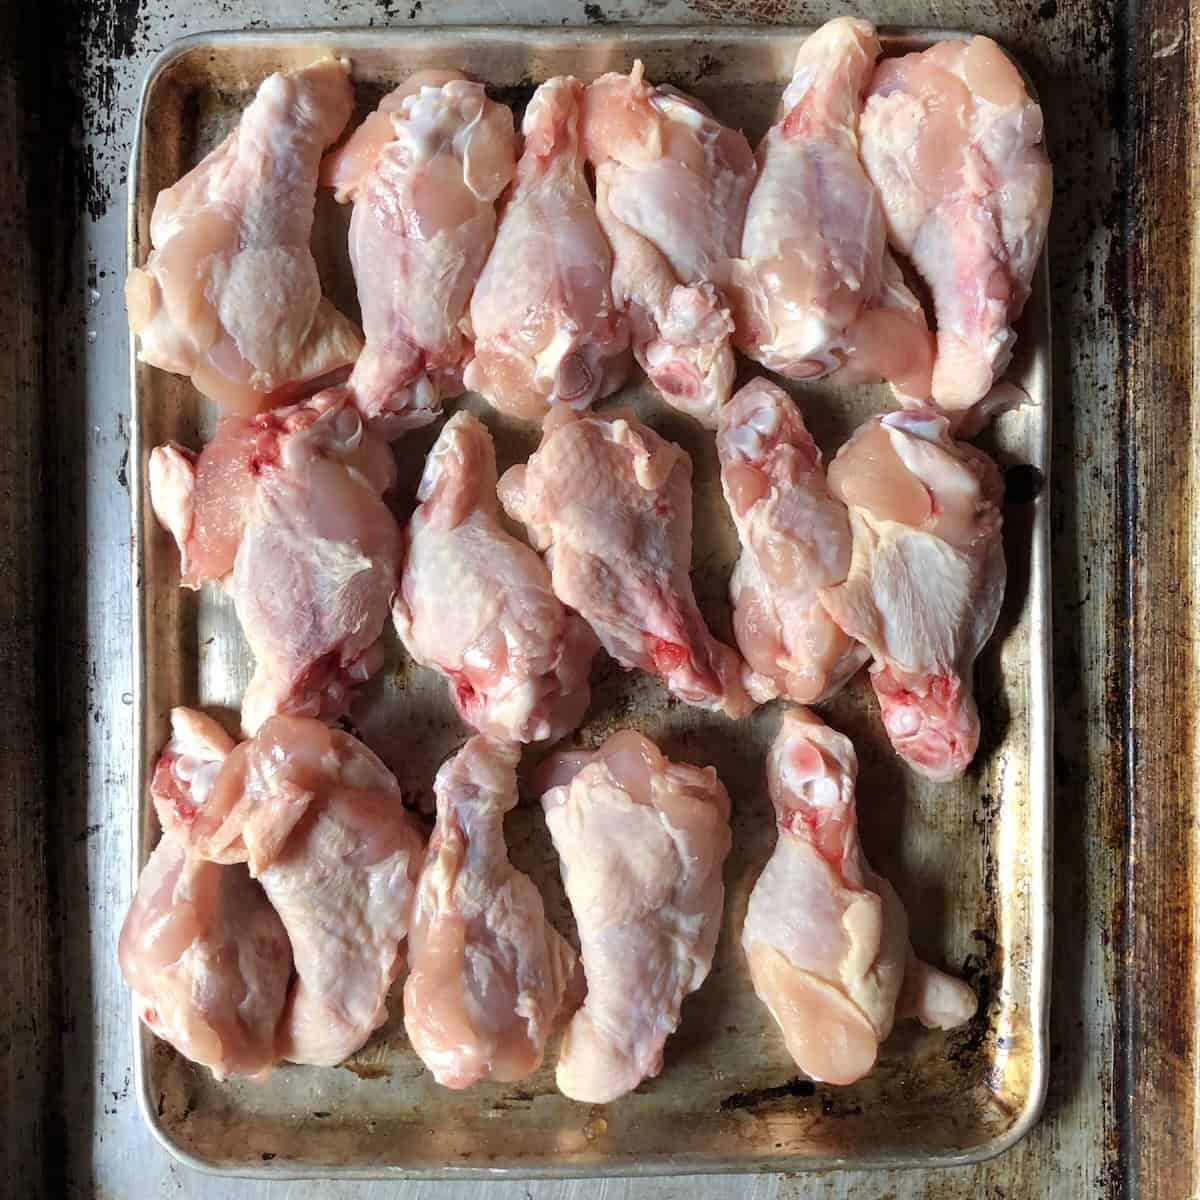
BEST choices for flavorful, gelatinous broth:
- Chicken Carcasses/Backs: The absolute best value. Tons of bones, some meat, loads of collagen from the connective tissue. Often, they're dirt cheap ($0.50-$1.25 per pound). This is what I use most often, along with a leg and a wing or two.
- Chicken wings: Perfect bone-to-meat ratio with lots of joints full of collagen. Makes an incredibly gelatinous, silky broth. Usually $1-2 per pound.
- Chicken feet: You can typically find them at Asian markets, specialty butchers, or local farmers' markets or farms. They add amino acids and unbelievable silkiness from all the collagen and gelatin in the skin and joints. I use them for my chicken ramen broth and chicken bone broth. They lack flavor, though, so you should use them in combination with other parts, not alone. See below for how to clean them and remove their nails and skin.
- Chicken necks: Similar to backs, lots of bones and connective tissue. Great for broth!
- Chicken thighs and legs: More expensive than backs or wings (depending on where you live), but still excellent. Great flavor and plenty of gelatin from the bone and dark meat.
- Leftover roasted chicken or rotisserie chicken carcass: Save your leftover bones in a bag in the freezer and add them to 1-2 pounds of raw chicken. The roasted bones add an even deeper, richer flavor. Don't use ONLY a roasted carcass, though, unless it's all you've got--the broth will be thin. Always add some raw chicken if you can.
- Whole chicken: Works fine, but it's absolute overkill, and there's no reason to include expensive chicken breast meat (which has the least flavor, no connective tissue, and the meat ends up the driest). If you're working with a whole chicken, I recommend cutting out that precious breast meat and using it for panko-crusted chicken breast or any other delicious chicken recipe where you can actually appreciate this meat (see what I mean below)!

AVOID these chicken cuts for broth:
Chicken breasts: I mentioned this above, but this is the biggest mistake people make when making homemade chicken broth. Breasts are the most expensive, driest, and least flavorful part of the chicken, with almost no bones or collagen. Total waste of money for broth-making.
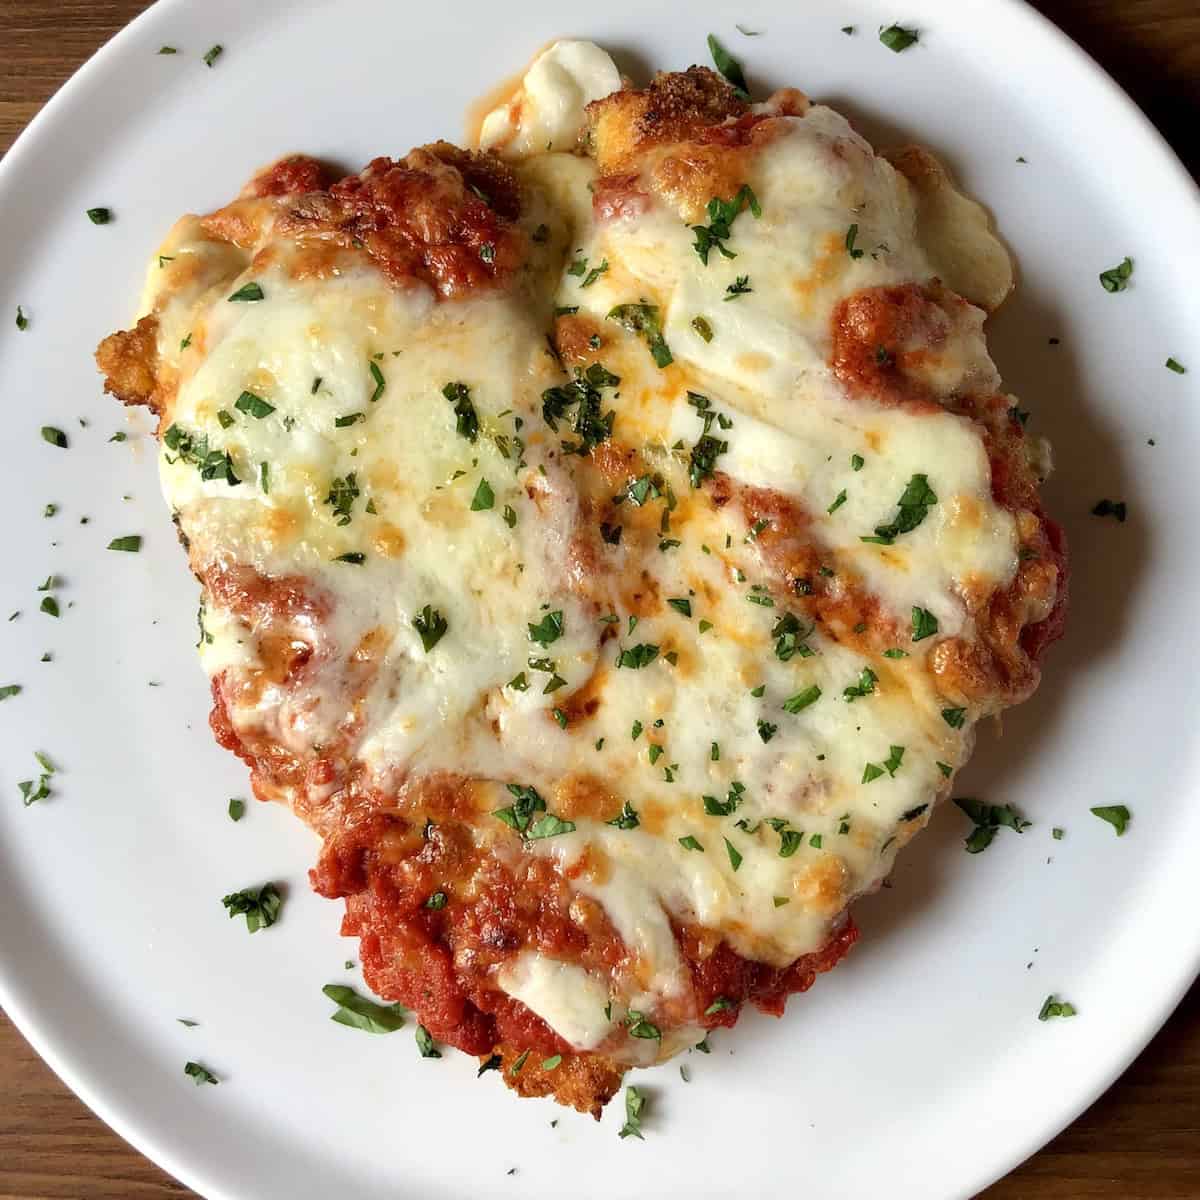
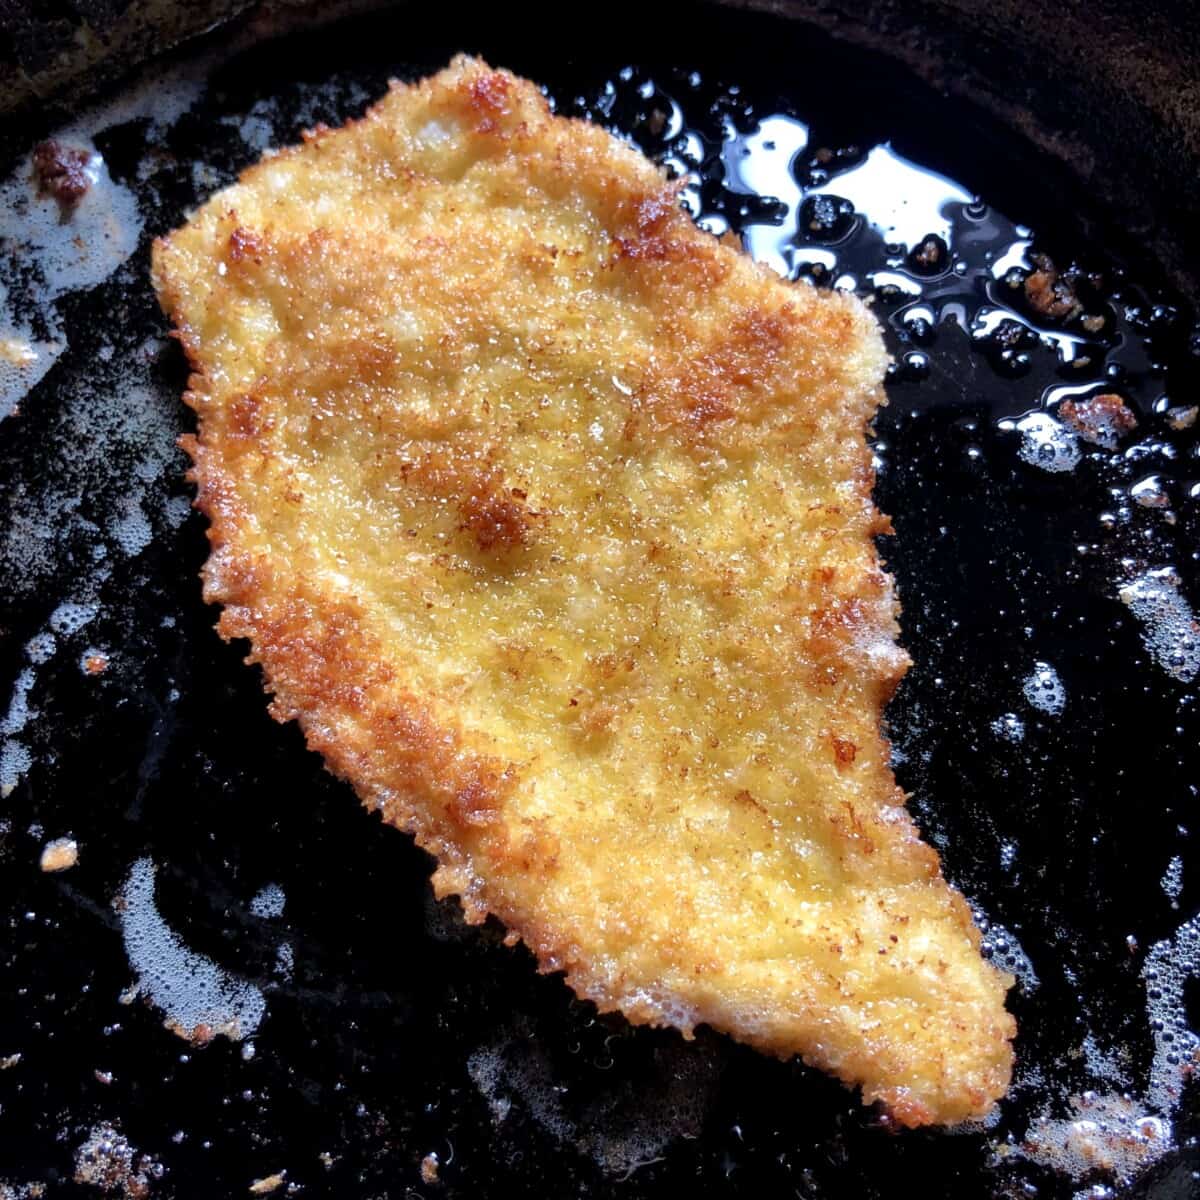
Plus, the "spent" chicken meat is even drier and harder to repurpose. Save your expensive chicken breasts for grilling, pan-searing, or dishes where it really shines (as you can see in the photos below)!


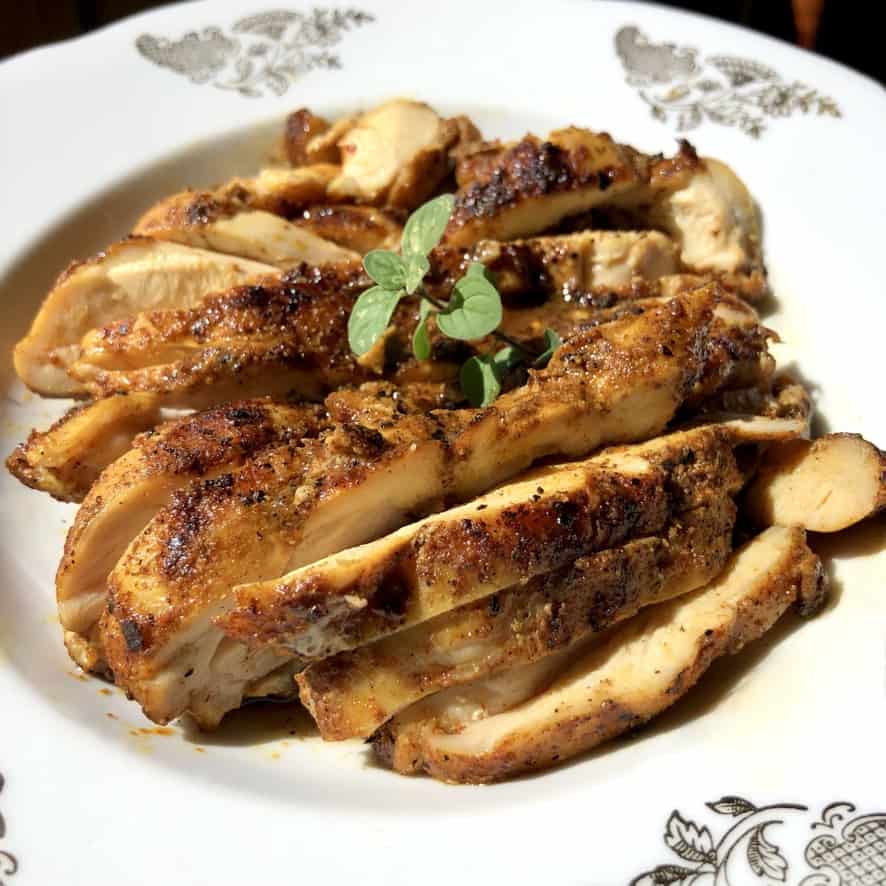
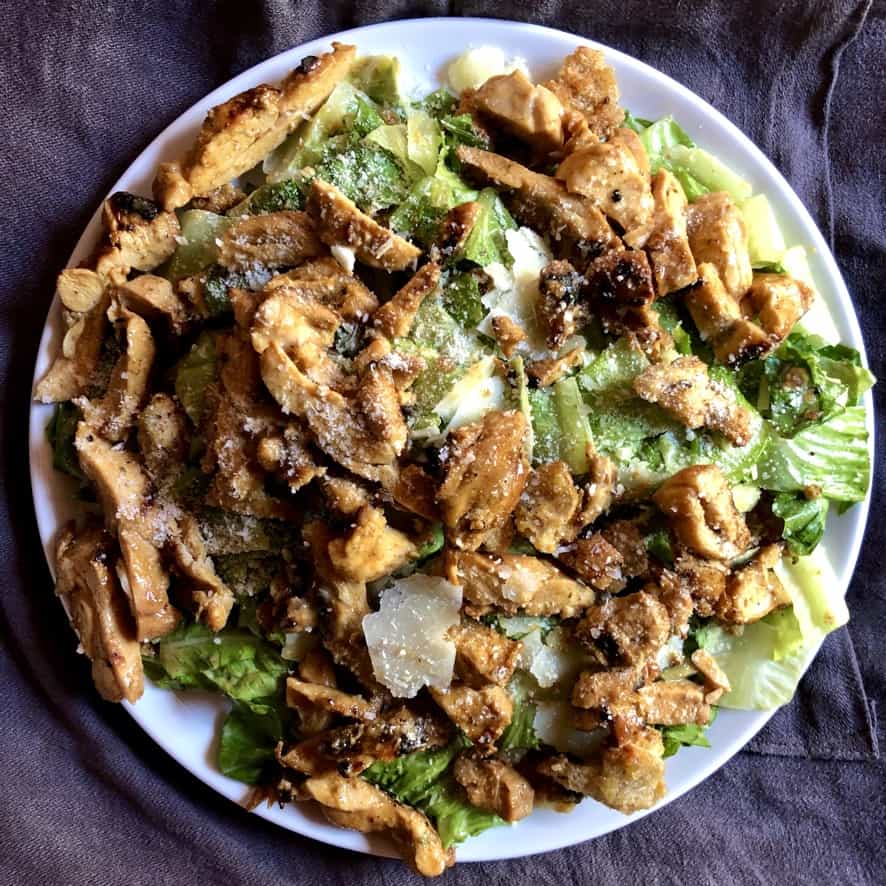
Pro tip: You can mix and match any combination of the good cuts. I never worry about testing "all-wing broth" versus "all-back broth." Just use what you have or what's cheapest at your store. The technique and aromatics matter more than the exact mix. A typical batch for me is 1 or 2 chicken backs plus any wings or legs I have on hand. Sometimes, I'll add a saved rotisserie carcass to the mix too.
Where to buy chicken parts:
Getting to know your local farmers and farmers' market vendors is where you're likely to find the best quality chicken.
But regular grocery store meat departments typically sell backs and wings too. If they don't, you can always buy a whole chicken and cut it up yourself, or ask the butcher if they have some in the back.
Asian, Latin, and Hispanic markets often sell feet, necks, and backs more cheaply than specialty butcher shops. But you can also buy these parts, including chicken feet, from a few farms selling online for around $3 to $4 per pound.
Specialty butcher shops typically sell chicken backs and necks (even feet if they're not already using them to make their own broth), but you may end up paying more.
How to Make Chicken Broth
Making chicken broth is stupid simple. You literally add everything to a pot, walk away, and come back to liquid gold that makes everything healthier and tastes better. No sautéing, no skimming (if using a pressure cooker), no complicated techniques, zero fuss.
Pressure Cooker Method (My Go-To Method for Speed & Ease):
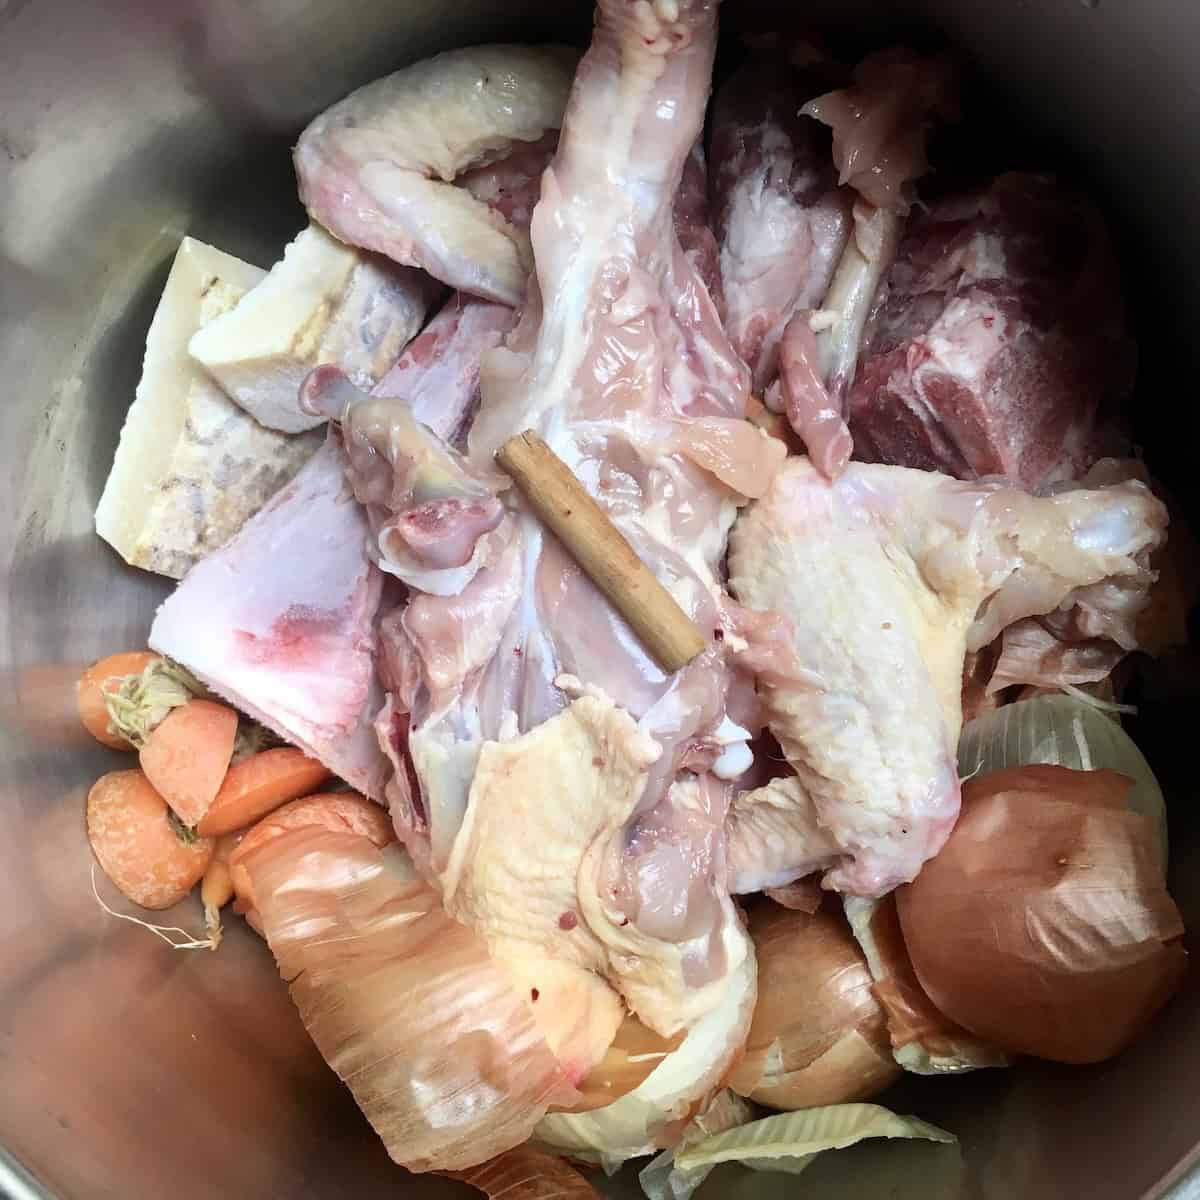
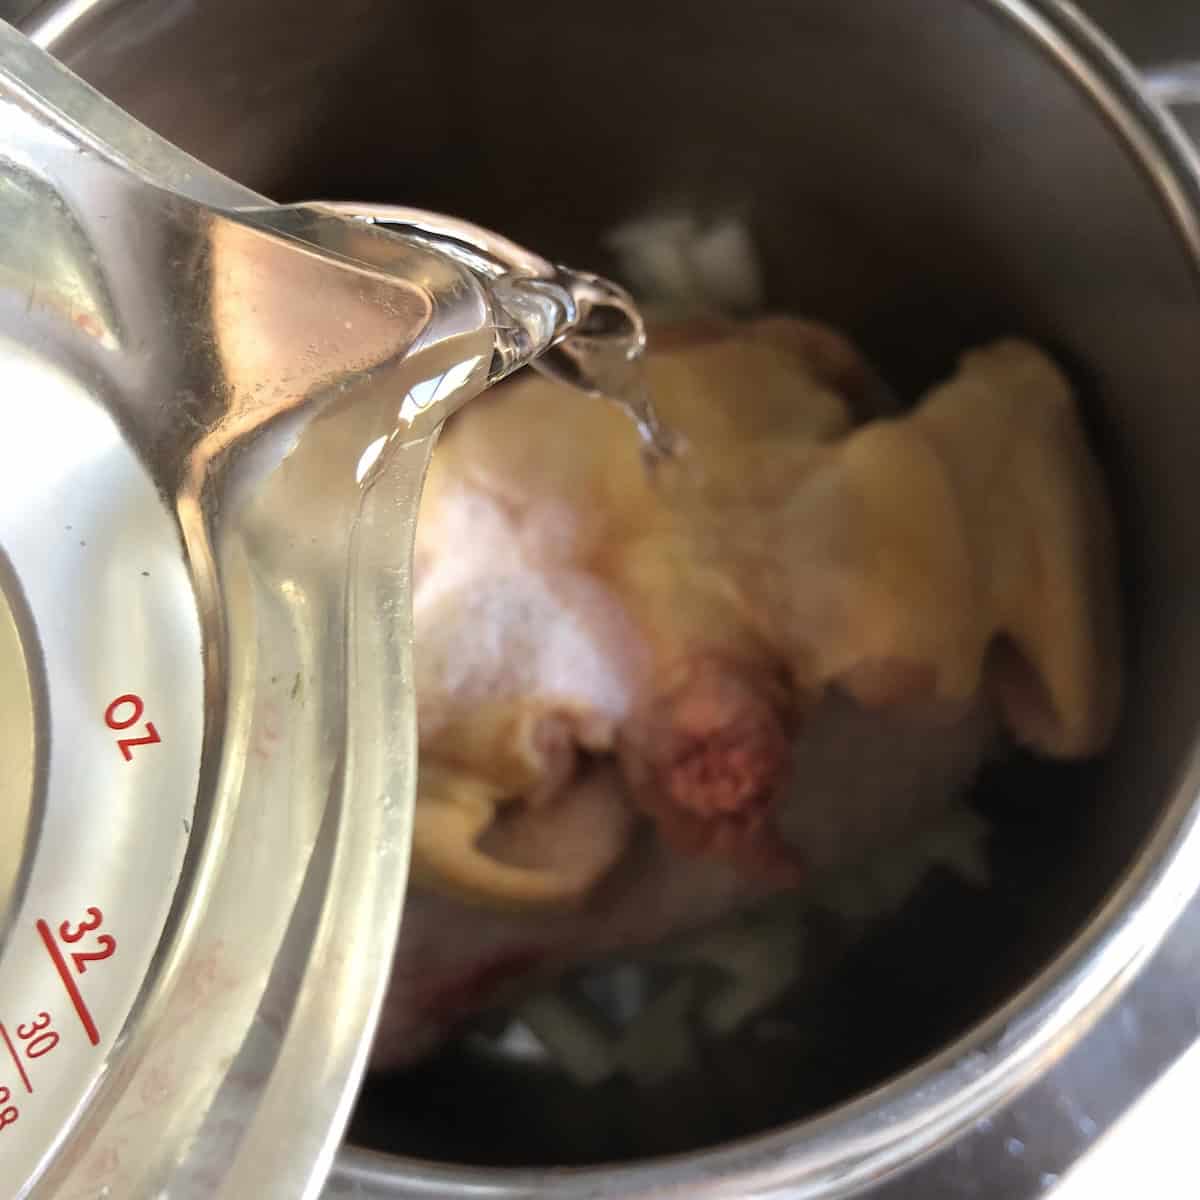

Step 1. Add all ingredients to your pressure cooker. Close the lid and bring to high pressure over high heat. Once high pressure is reached, reduce the heat to the lowest setting while still maintaining pressure and...
- Cook for 30 minutes if you want to still enjoy more tender chicken meat for other dishes.
- Cook for 45 minutes to extract more flavor from the meat and create a jiggly broth (it won't be like my 8-hour jello-like tonkotsu ramen broth, but it'll be nice and jiggly).
- Cook for 1 ½ to 2 hours to extract the most collagen, gelatin, and minerals from the bones and knuckles.
Step 2. Turn off the heat and allow for a natural pressure release (this takes about 15-20 minutes and yields clear, beautiful broth instead of a cloudy one). Once pressure is fully released, carefully open the lid.
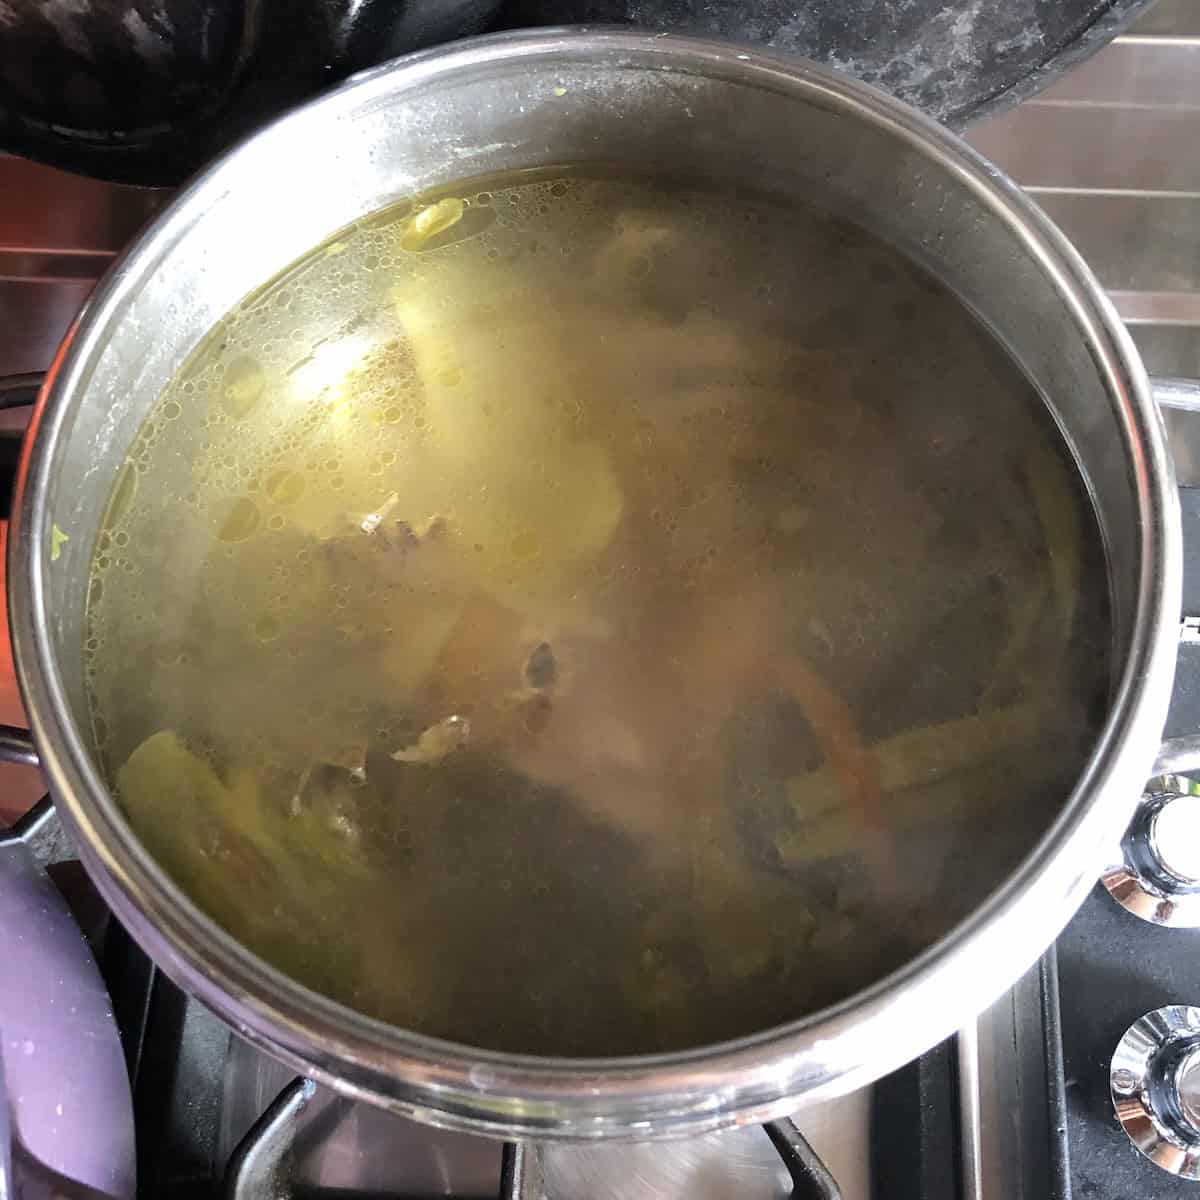
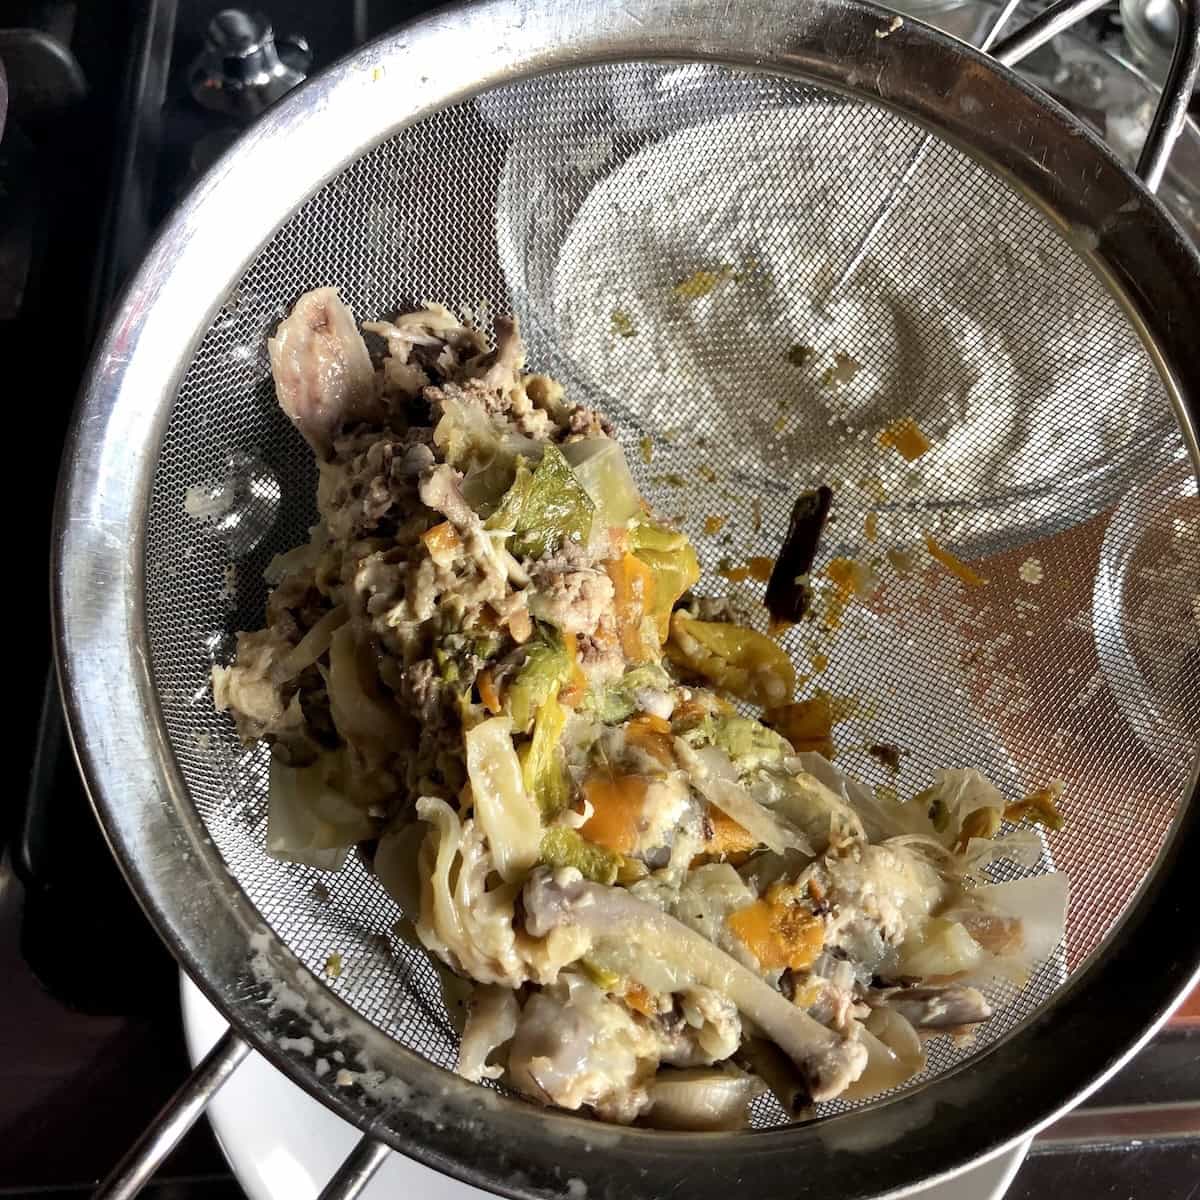
Step 3. Strain the broth through a fine-mesh strainer (or a cheesecloth-lined colander) into a large bowl or pot, discarding the solids (reserving the chicken meat for another use). Taste and season with additional salt as needed. Skim off excess fat if desired, though I usually leave it for flavor.
Note: If you're in a hurry and you don't care about having a clear broth, run cold water over the top of the pressure cooker for a quick release. Your broth will still taste just as delicious!

Stovetop Method (Traditional, More Hands-On Time):
Add all ingredients to a large stockpot or Dutch oven (at least 6-quart capacity). Bring to a boil over high heat and immediately reduce the heat to low. For the first 20-30 minutes, skim the impurities until no more remain. Cover with a lid, and maintain a gentle simmer for 2-3 hours.
You want bubbles to barely break the surface at irregular intervals instead of a rolling boil. Check occasionally to make sure it's simmering gently.
After 2-3 hours, strain the broth through a fine-mesh strainer into a large bowl or pot, discarding the solids (reserving the chicken meat for another use if desired). Taste and season with additional salt as needed. Skim off excess fat if desired.
Slow Cooker Method:
Add all ingredients to a 6-quart or larger slow cooker. Cook on LOW for 8-10 hours or HIGH for 4-5 hours. Strain, season, and skim as above. This method is great if you want to start it in the morning and have it ready for dinner.
Timesaving Hint
Don't bother sautéing your aromatics first. After making broth hundreds of times, I've learned it's an unnecessary step that doesn't add enough flavor to justify the extra work.
Focus instead on the quality of your chicken and vegetables-that's what actually matters. And always start with COLD water, not hot-it helps extract more flavor as everything heats up together gradually.
Find detailed instructions in the recipe card.
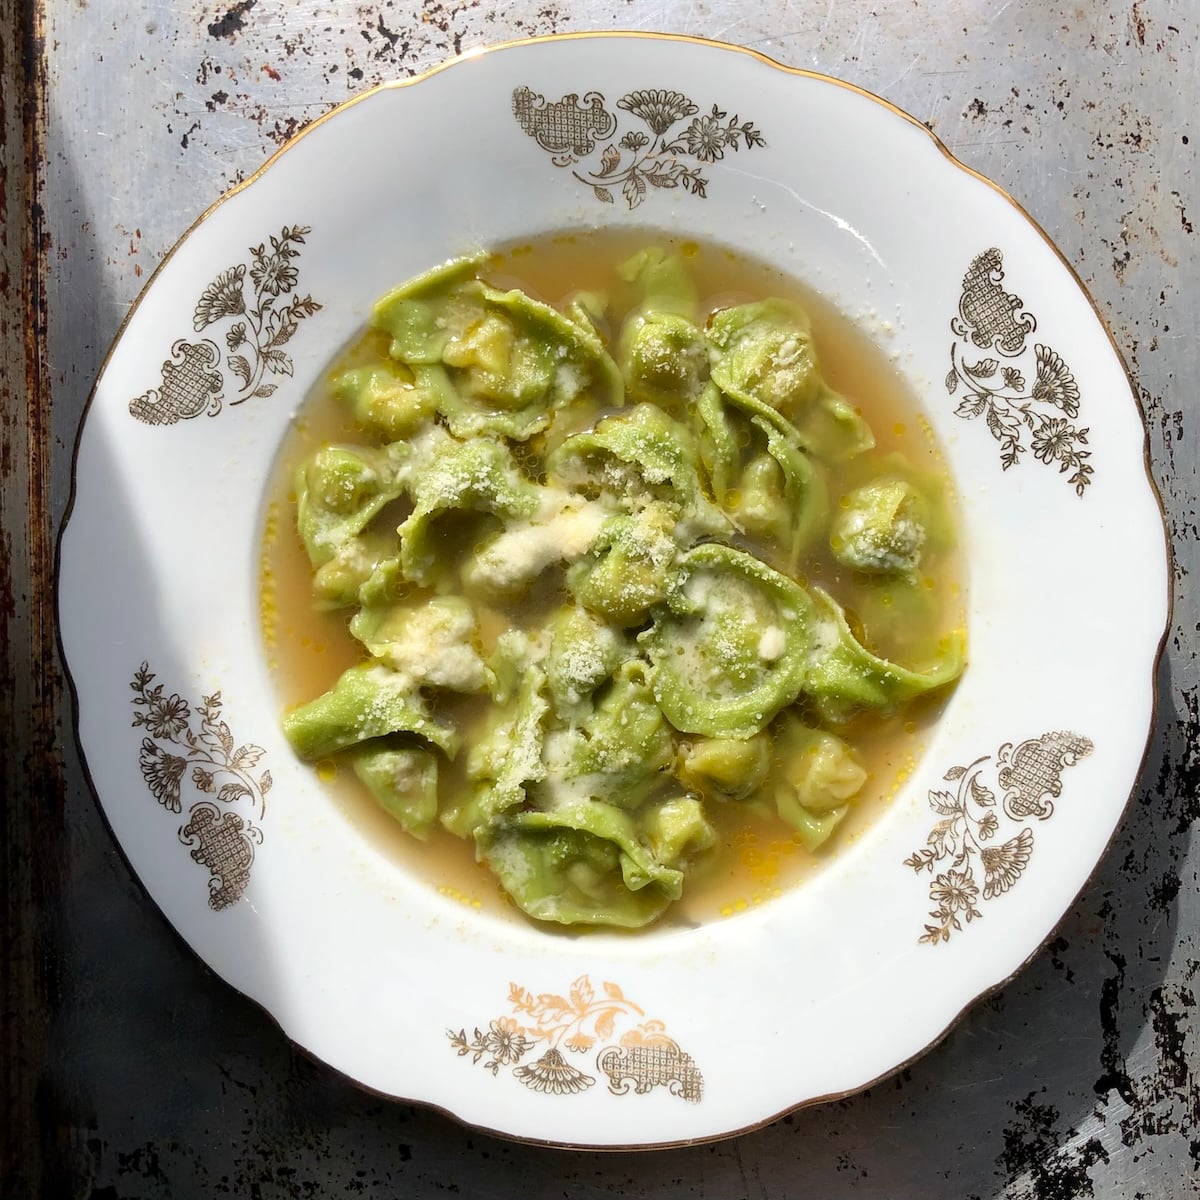
What Makes This the Best Chicken Broth
Living in Italy has shown me that homemade chicken broth (brodo di pollo) is an institution here. Our local butchers and even supermarkets sell specific chicken cuts (backs, necks, wings, feet, even leftover chicken carcasses) exclusively for making brodo. These "scraps" are culinary gold, not garbage, and they cost almost nothing.

Here's what I've learned from Anna and from making this recipe almost every week (sometimes twice a week) for years:
The best chicken broth starts with finding the best quality chicken you can find. It never uses expensive (flavorless) chicken breast. Instead, gelatinous, bony pieces like backs, necks, wings, legs, and thighs are the gold standard.
These cuts deliver way more flavor, richness, and that silky mouthfeel you're looking for than chicken breast ever could. Chicken breast is the most expensive and least flavorful part of the bird. Save it for dishes where it can actually shine, not for broth.
The real game-changer is Anna's cinnamon stick, plus the hard cheese rind I add. The cinnamon creates this incredible depth and balance. No, it doesn't taste like dessert! The Parmigiano-Reggiano or Grana Padano rind adds umami and body that has officially also received Anna's stamp of approval!
These two ingredients are what help separate restaurant-quality broth from the watery, undrinkable boxed and canned chicken broth.
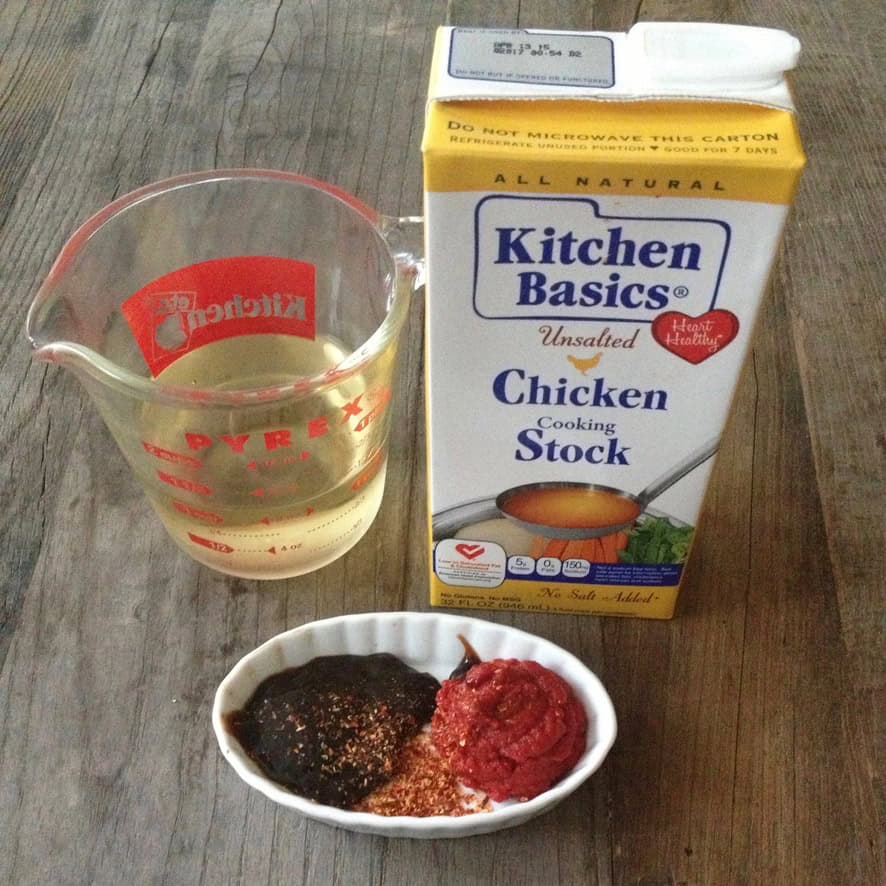
Homemade Chicken Broth vs Store-Bought: The Truth
I've used boxed broth plenty, especially during my years as a private chef in NYC, cooking for five families with completely different needs. Sometimes convenience wins. But look at how pale even a good store-bought broth is next to homemade, and the only ones that are truly sippable cost too much to use regularly.
Brands I've used extensively: Swanson, Pacific Foods Organic, Better Than Bouillon (America's Test Kitchen's winner), Kettle & Fire, Kitchen Basics, Imagine Organic, College Inn, Progresso, plus store brands from Whole Foods 365, Trader Joe's, and Kroger.
What You Actually Get
- Flavor. Even the best organic low-sodium stock tastes thin and one-dimensional. Fine in a pinch, but never that "best thing I've ever eaten" moment. The gap is obvious in a dish like tortellini in brodo, where the broth is at least half the dish.
- Processing. It's processed food, even the organic kinds. Often "natural flavoring" that can hide MSG, preservatives for shelf life, concentrate added back to water, and months sitting in plastic-lined cartons.
- Cost. See below. It's the part that surprises people.
- Control. You pick the chicken, set the exact sodium level, know it was made yesterday, and can add ginger or turmeric if you want.
What a Quart Actually Costs
| Brand/Type | Price Per Quart |
|---|---|
| Brodo bone broth | $22 (and a $49 order minimum, before shipping) |
| Kettle & Fire bone broth | $11.98 |
| Organic supermarket broth | $4 to $6 |
| This recipe | about $2 |
This makes just over 2 quarts using chicken backs and wings at $1 to $2 a pound, so a full batch costs less than one quart of the cheapest organic boxed broth. If you make it weekly like I do, that adds up fast.
Bottom line: homemade takes a little time, but it's almost entirely hands-off. The flavor, the ingredients, and the savings make it worth it.
Chicken Stock vs Broth: What's the Difference?
Most home cooks use the terms interchangeably, and honestly, so do a lot of professionals. Here's the technical difference.
| Stock | Broth | |
|---|---|---|
| Made from | Mostly roasted bones | Meat and bones together |
| Simmer time | 4 to 24 hours | 1 to 3 hours |
| Texture cold | Thick, gelatinous, jello-like | Lighter, may or may not gel |
| Seasoning | Unseasoned, it's a base ingredient | Salted, it can be sipped on its own |
This recipe sits in between. It uses bony parts with some meat attached, so it has broth's flavor and stock's body. Cook it 45 minutes in a pressure cooker or 1 ½ to 2 hours on the stovetop, and it will gel beautifully when cold. Add a saved rotisserie carcass, and it leans further toward a stock.
Substitutions
- Cinnamon stick → Ground cinnamon: Use 1/16 teaspoon ground cinnamon if you don't have the cinnamon stick. The stick is better because it infuses more gently without making the broth taste like cinnamon, but ground works in a pinch.
- Parmigiano-Reggiano or Grana Padano rind → American Parmesan rind: Any of these hard-aged cheese rinds works. I keep mine in the freezer specifically for this.
- Organic free-range chicken → Conventional chicken: Obviously, organic, antibiotic-free, free-range chicken makes better-tasting broth with more nutritional benefits. But conventional chicken still makes broth that's miles better than anything boxed. Use what you can afford-the homemade aspect is the most important part.
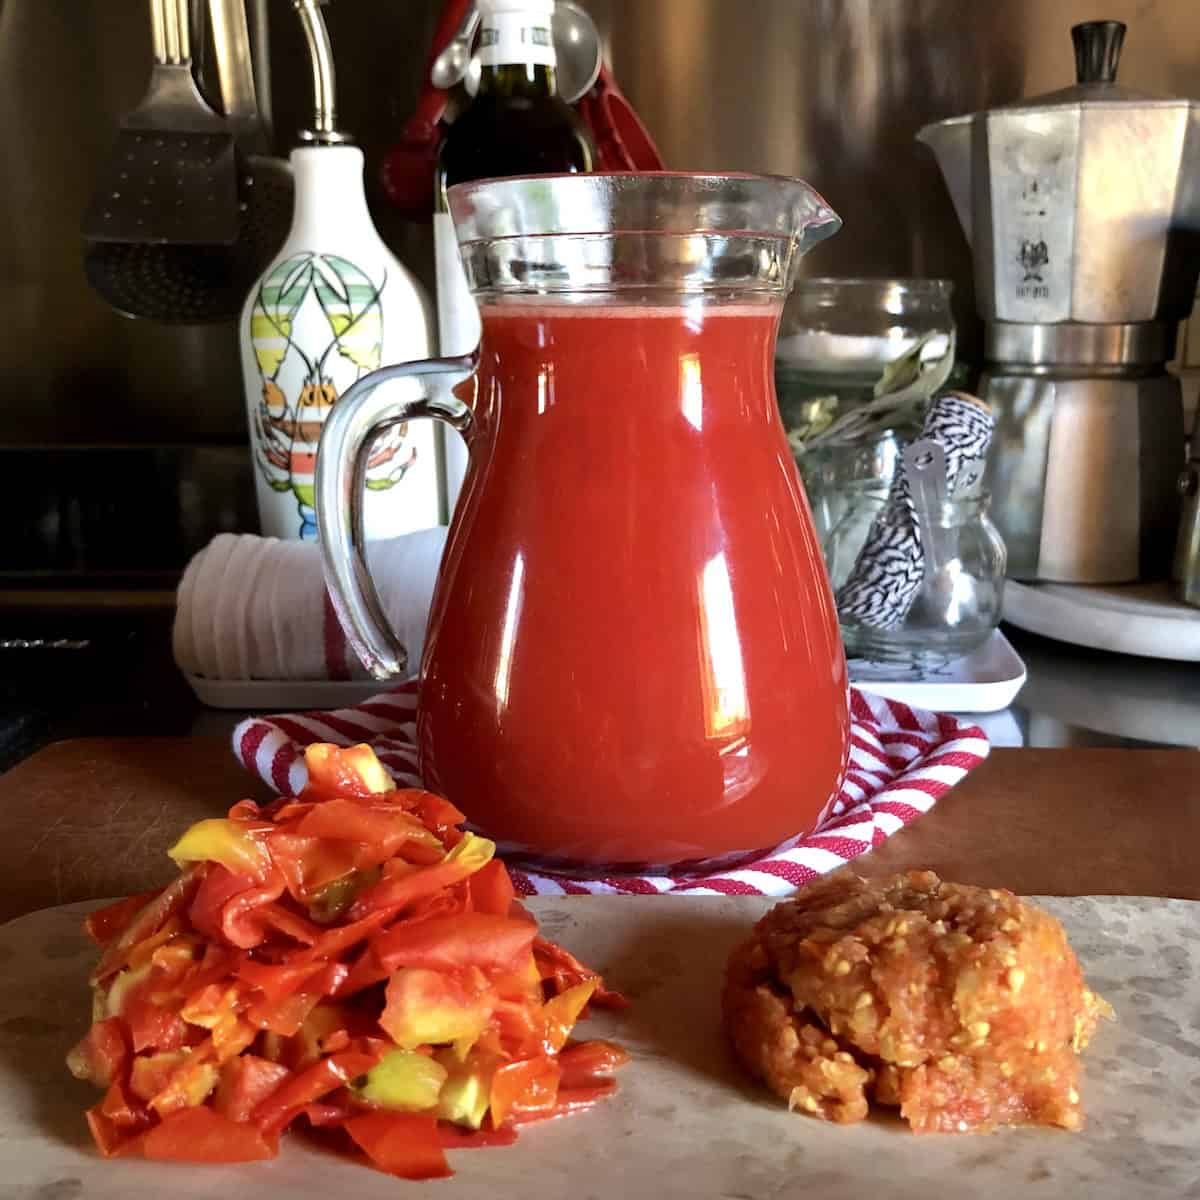
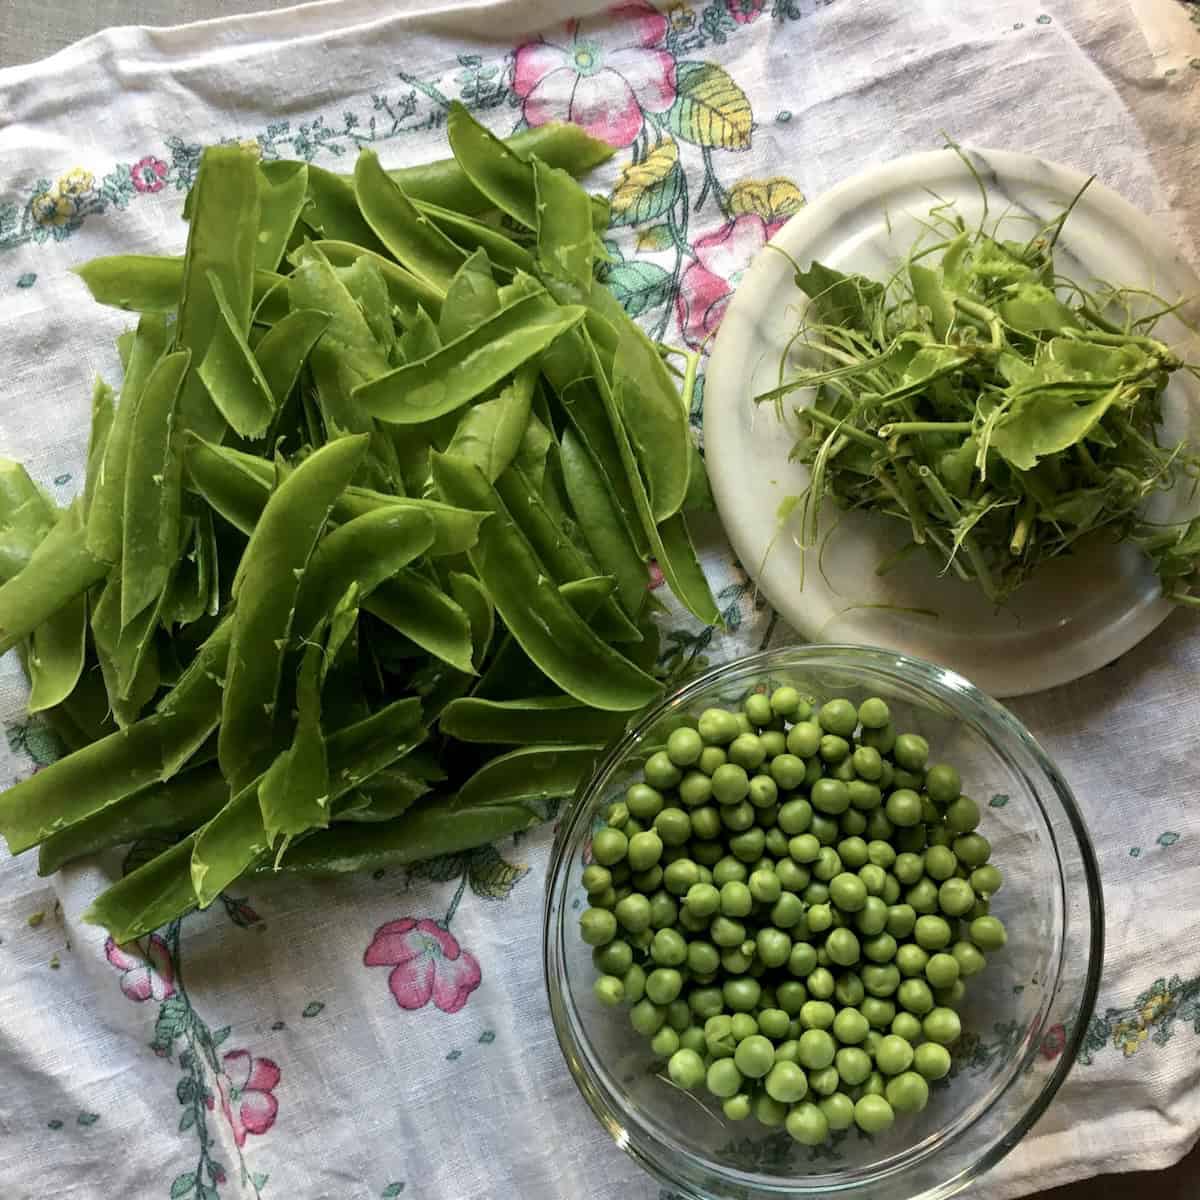
- Fresh vegetables → Frozen vegetables or vegetable scraps: Use whatever you have! I save all of my vegetable scraps (carrot tops/peels, celery ends and leaves, onion tops/bottoms and skins, zucchini stems, etc.) in a freezer bag and use those. In the summer, I save the shells of homegrown English peas, tomato skins (from canning tomatoes), etc., and throw them into the pot for extra nutrients. Just avoid anything bitter like broccoli stems, cabbage, or bell pepper seeds.
Variations
- Herbed Chicken Broth: Add a sprig of fresh thyme, rosemary, or parsley to the pot along with the other aromatics. Remove before straining. This is lovely for French-style dishes.
- Ginger Chicken Broth: Add a 2-inch piece of fresh ginger (smashed, no need to peel) to the pot. This is amazing when you're fighting a cold or want extra anti-inflammatory benefits.
- Garlic Broth: Toss in a whole head of garlic (halved horizontally, no need to peel). You can use raw or roasted garlic, they both add great flavor.

Equipment
- Pressure cooker or Instant Pot (6-quart or larger): This is my preferred method for speed and flavor concentration. I use my pressure cooker at least twice a week. If you don't have one and make broth regularly, it's worth the investment.
- OR Large stockpot or Dutch oven (6-7-quart or larger): For the stovetop method.
- OR Slow cooker (6-quart or larger): Optional, for the overnight method.
- Fine-mesh strainer: For straining out the solids. I just use a regular fine-mesh strainer, and that works perfectly. Some people like to line it with cheesecloth for super-clear broth, but I find that unnecessary and a waste of time.
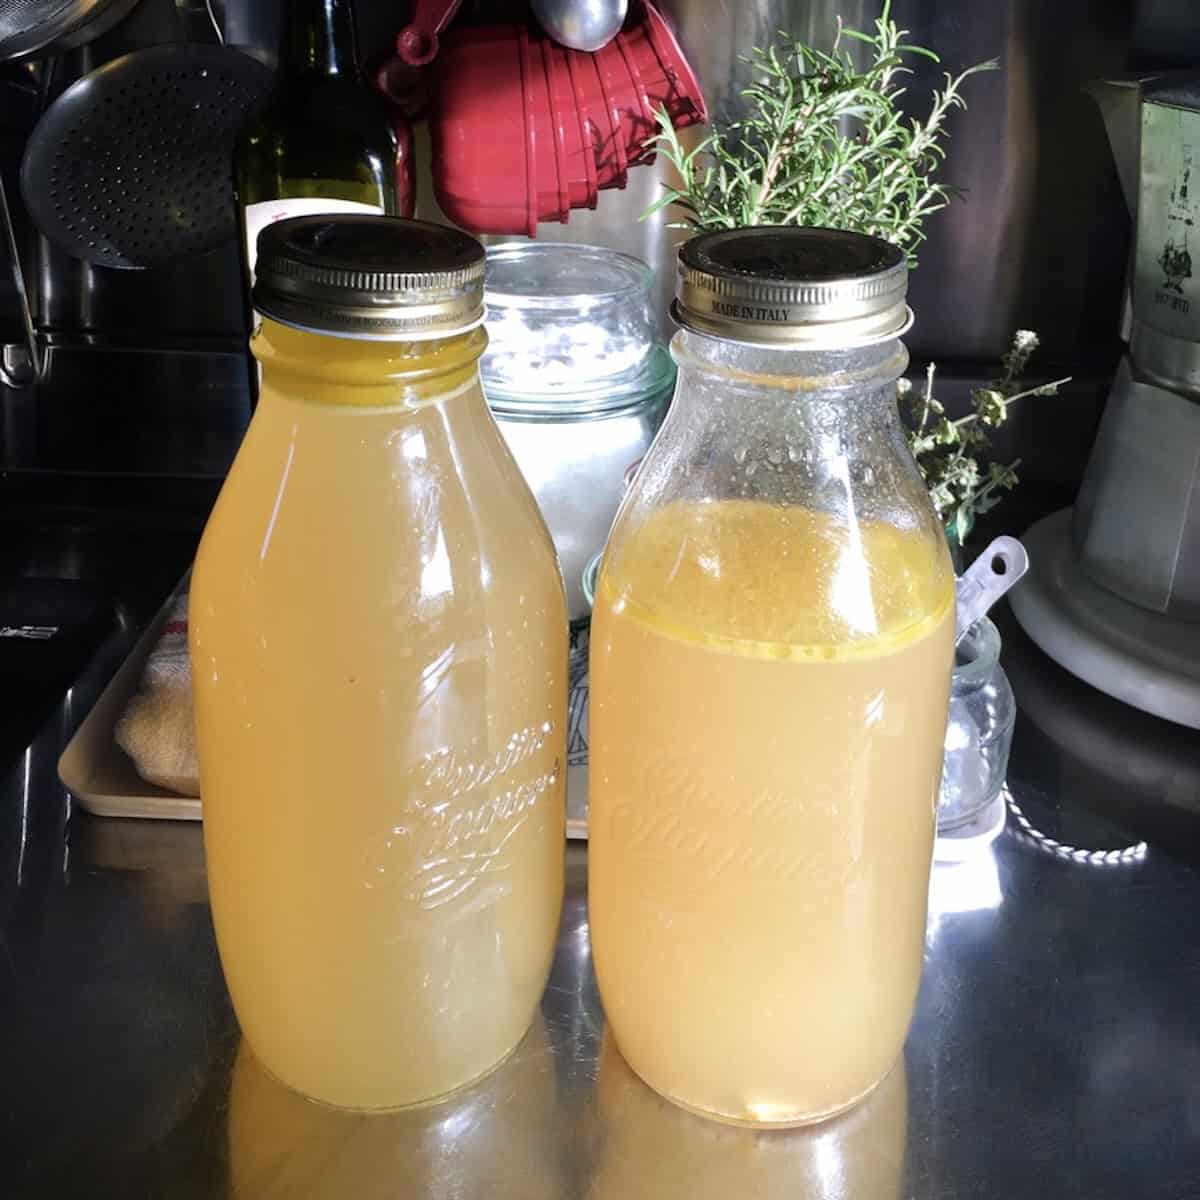
- Storage containers: I prefer tempered glass canning jars like quart Mason/Ball jars and Italian (Bormioli Rocco) Quattro Stagione liter jars for refrigerator and freezer storage. You can even repurpose old pickle jars, etc. But any freezer-safe containers or heavy-duty freezer bags will work.

How to Store Chicken Broth
| Method | How long | How to do it |
|---|---|---|
| Refrigerator | 4 to 5 days | Cool to room temperature (never longer than 2 hours out), then into glass canning jars or another airtight container |
| Freezer | 4 to 6 months | Portion the way you cook, 2 or 4 cups. Glass jars need 1-2 inches of headspace since broth expands |
| Freezer bags | 4 to 6 months | Freeze flat, then stack vertically to save space (not ideal if you're trying to reduce plastic use |
| Ice cube trays or Souper Cubes | 4 to 6 months | Freeze, pop out, store the cubes in a bag or air-tight container |
- Up to 7 days is possible in a very cold fridge, but I don't chance it.
- It may gel when cold, depending on which chicken parts you used and how long you cooked it. That's a good sign, not a bad one.
- The fat layer rises and solidifies overnight. Scrape it off for a leaner broth, or keep it. That fat is chicken schmaltz and it's excellent for roasting potatoes or sautéing vegetables. I usually leave it in or repurpose it.

What to Do With the "Spent" Chicken Meat (Zero Waste!)
After you strain your broth, you're left with cooked chicken that's given most of its flavor and texture up to the liquid. Don't feel guilty about throwing it away if you want to (you've already extracted the value into the broth). But if you hate waste as much as I do, here are ways you can use leftover chicken from making broth:
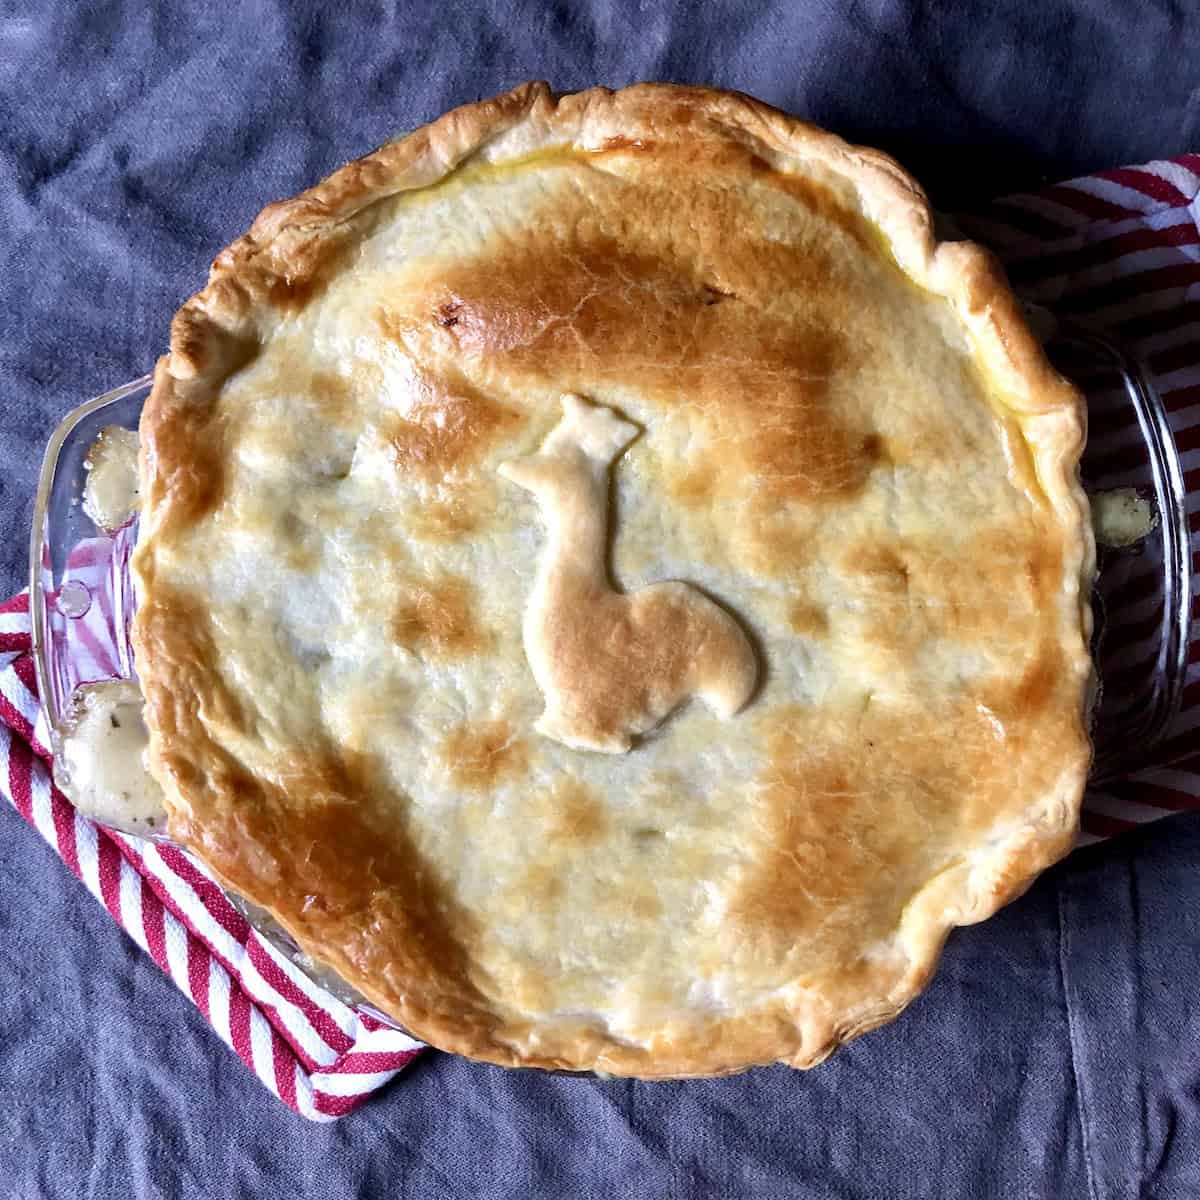

- Chicken pot pie or casseroles: Any dish with a heavy sauce works well. The sauce gives the bland chicken moisture and flavor.
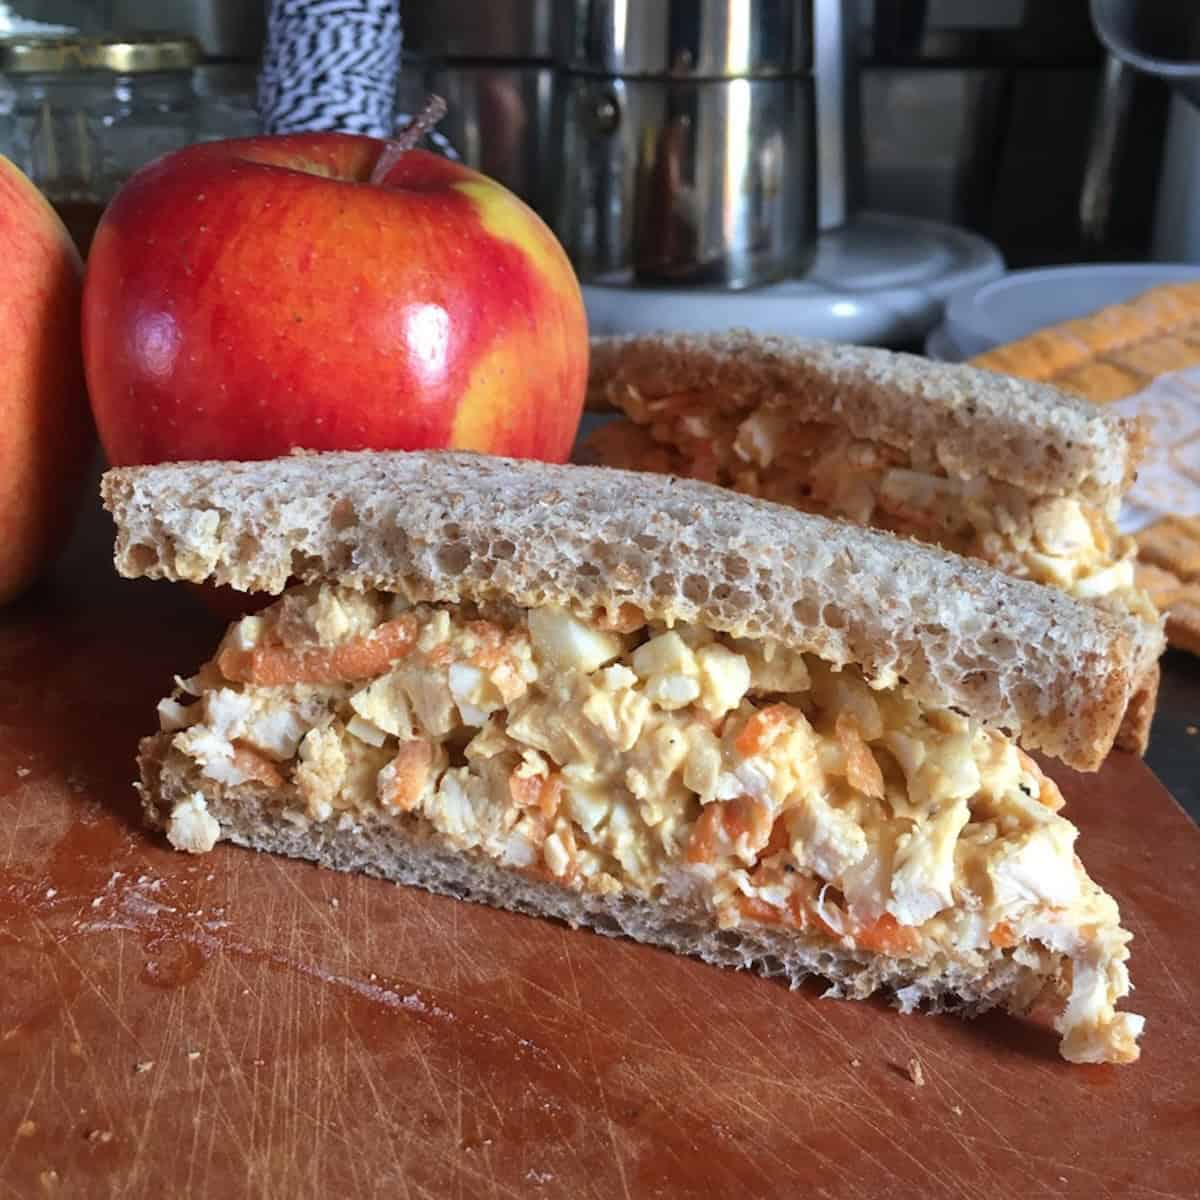
- Chicken salad: Shred it and mix with mayo, celery, grapes, and seasonings. The added ingredients mask the fact that the chicken is a bit bland on its own.
- Chicken penne pasta: Shred the meat and add it to your favorite tomato pasta sauce (while it's not the best thing you're ever going to eat, it's a very resourceful way to save money and feed your family).
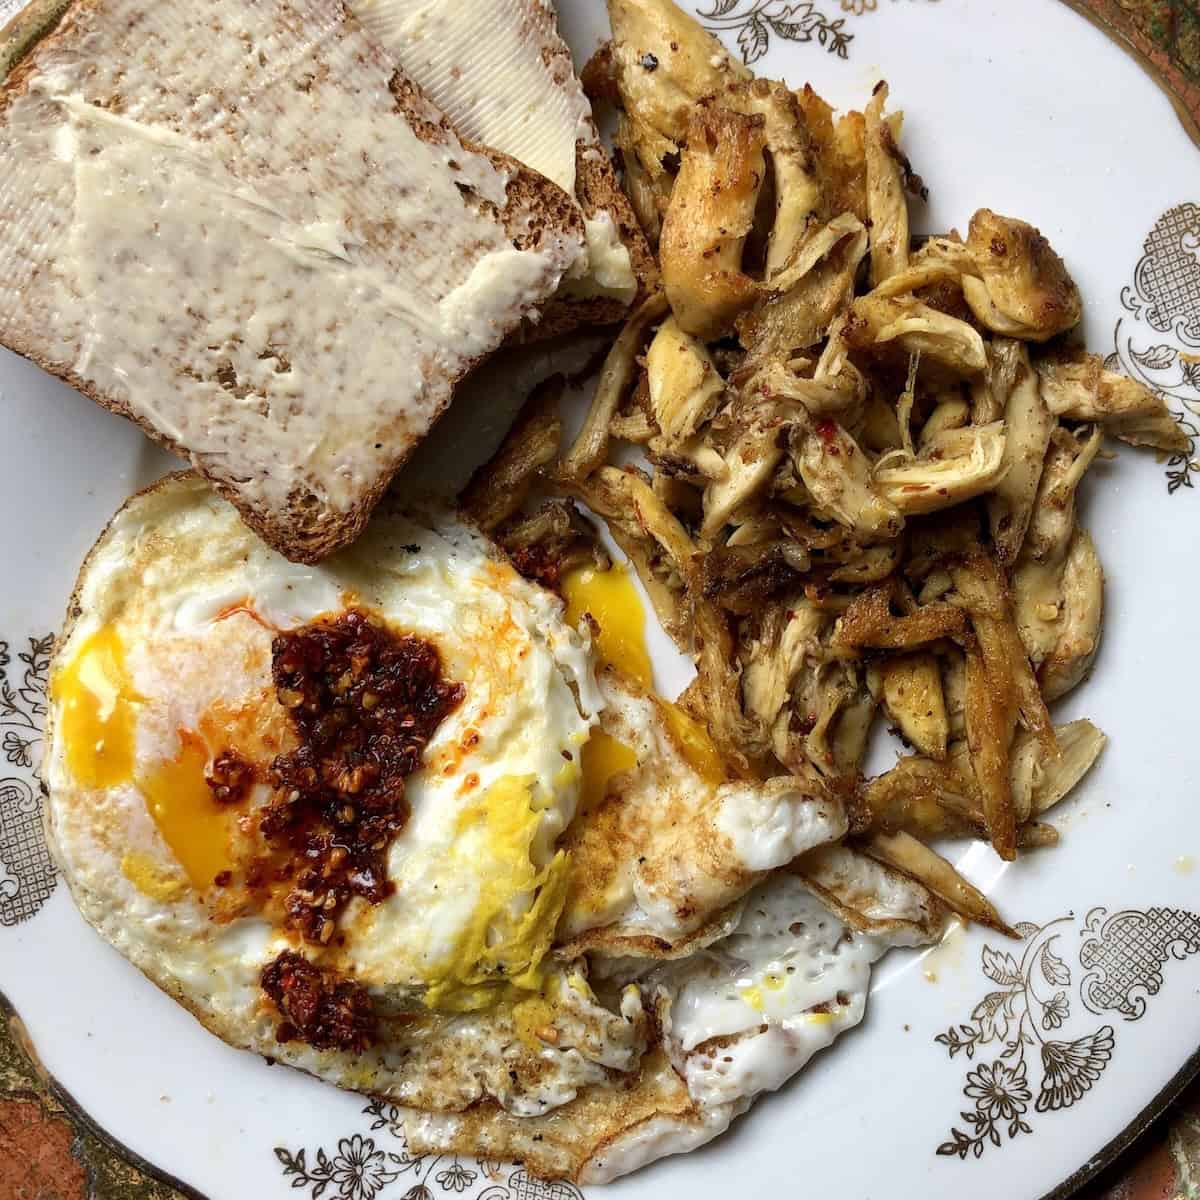
- Chicken Breakfast "sausage": I like to add the deboned chicken to a hot skillet with EVOO, a little rubbed sage, and/or poultry seasoning, and salt. Sauté it until the chicken is crispy and has taken on some of those traditional breakfast sausage flavors, and serve with eggs and buttered toast! We love this, and it's actually healthier than most breakfast meats (win-win)!
- Chicken tacos: Shred and season heavily with taco seasoning, lime juice, and a bit of fresh broth to moisten it. Use for quick weeknight tacos.
- Fried rice: Dice it small and toss it into fried rice, where soy sauce, aromatics, and egg will give it tons of flavor.
- Add it back to soup: The most obvious use is to add the shredded chicken back into chicken noodle soup or other soups where it'll soak up the broth flavor again.
- Dog food topper: If you choose to cook the broth for 45 minutes to 1 hour in the pressure cooker (or 3 hours on the stovetop), you may find the meat too dry to do much else with. If this is the case, mix the shredded chicken into your dog's regular kibble as a special treat or give it to a neighbor who has a pooch. Just try not to let it go to waste if you can help it. (More on safely feeding broth to dogs below!)
If you use chicken feet, bare bones, or carcasses, obviously, there won't be much meat to save. But with backs, wings, thighs, or legs, you'll get about 2 cups of perfectly usable chicken that you can doctor up (repurpose) and save money!
How to Use Homemade Chicken Broth
This is where homemade broth really shines. Once you have it in your fridge or freezer, you can use it throughout the week to add more flavor to all your meals. Here's what I use it for regularly (and why I make it at least once a week):

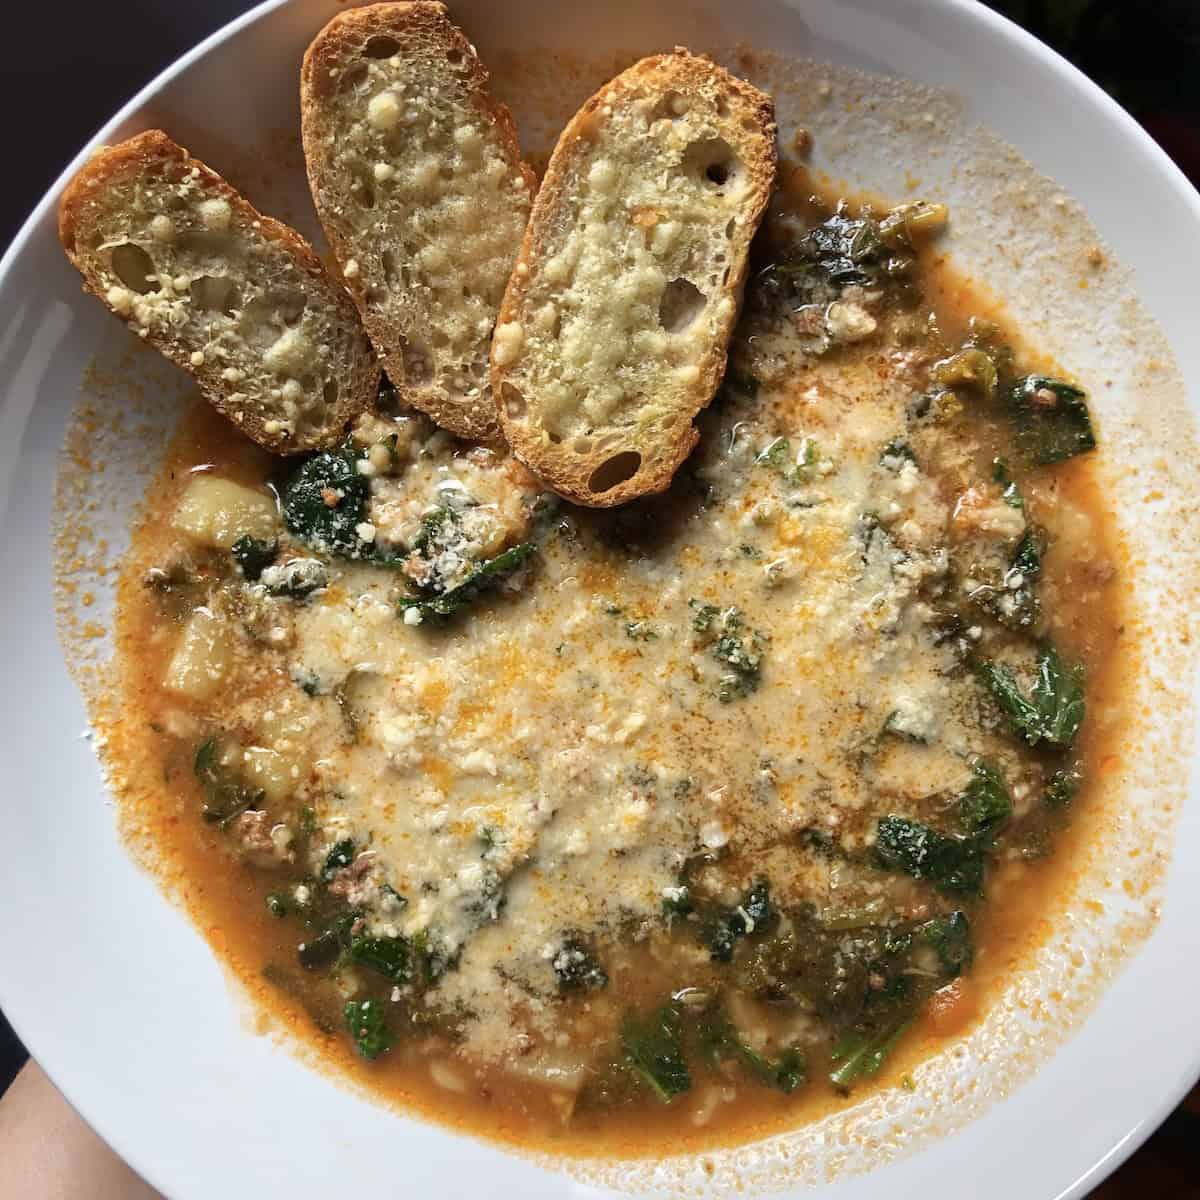
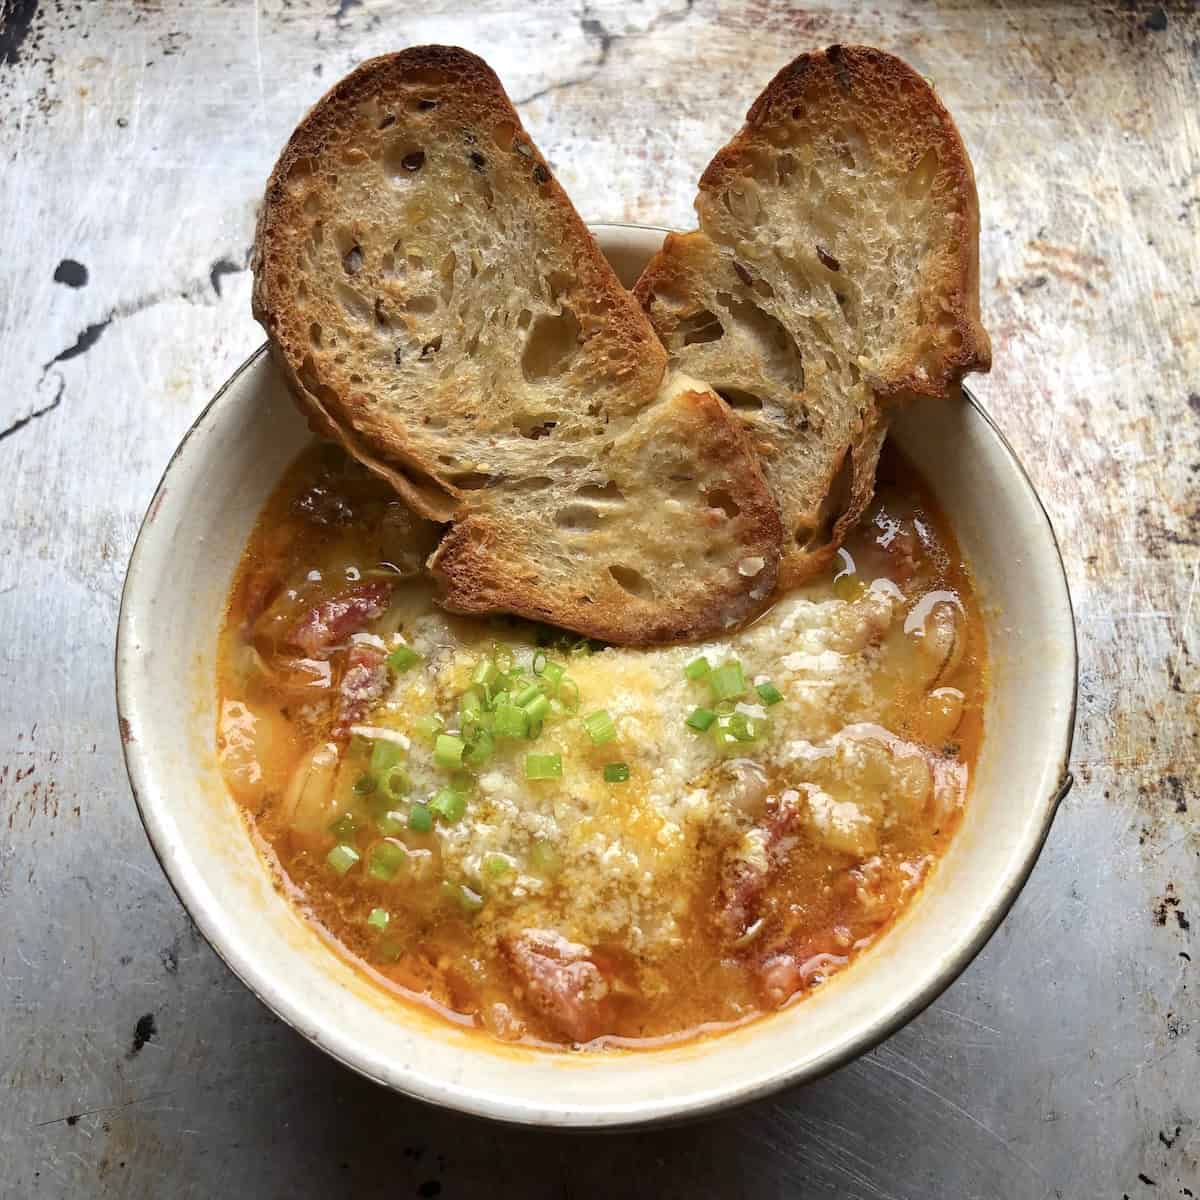
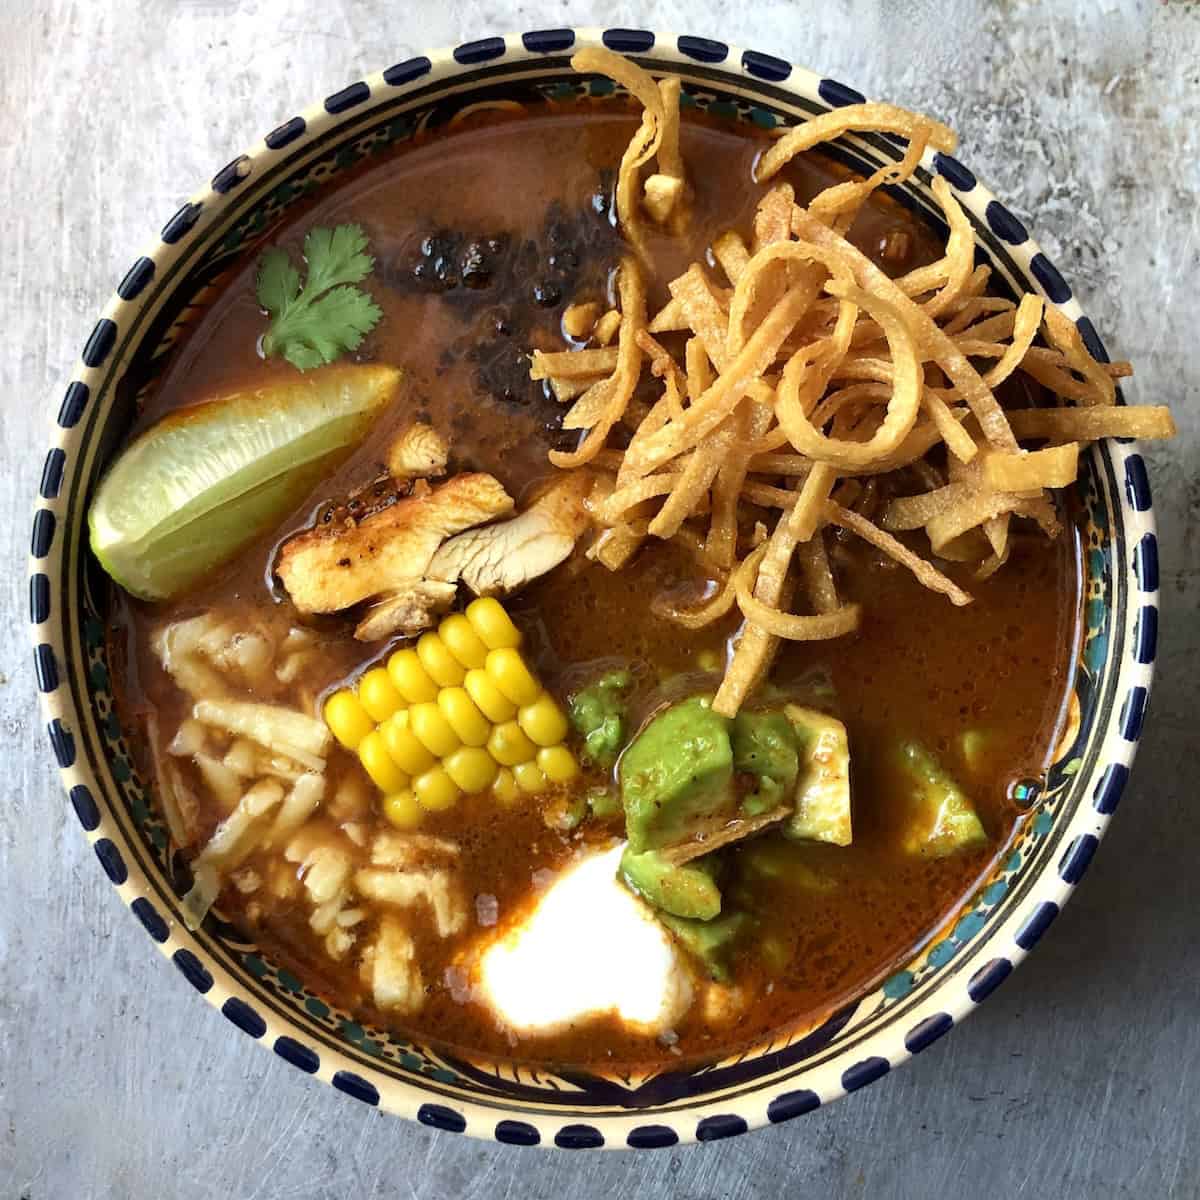

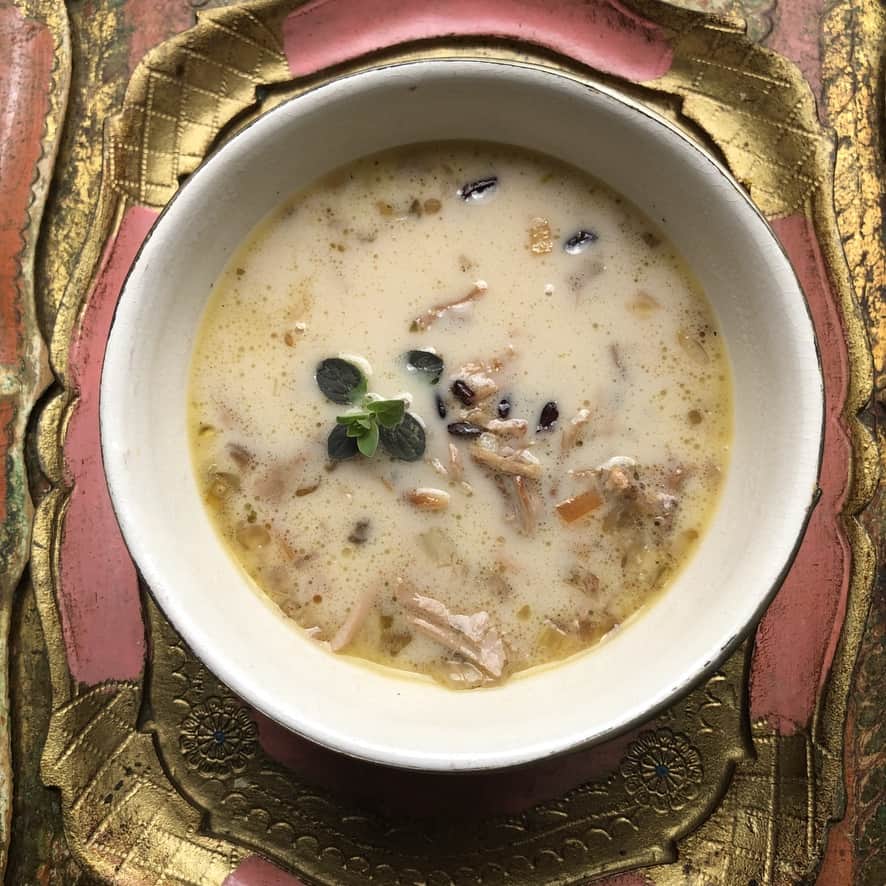
Soups (where broth is the focus):
- Chicken Noodle Soup
- Tortellini in Brodo (if you're not in the mood to make the traditional Italian meat brodo this dish is made with)
- Sichuan Wonton Soup
- Italian Wedding Soup
- Italian Cicerchie Soup
- Egg Drop Soup (I never use water to make egg drop soup; chicken broth tastes SO much better!)
- Turkey and Rice Soup (works great if you don't have a leftover turkey carcass from Thanksgiving)
- Any clear soup or broth-based soup (even this cheater's ramen soup)
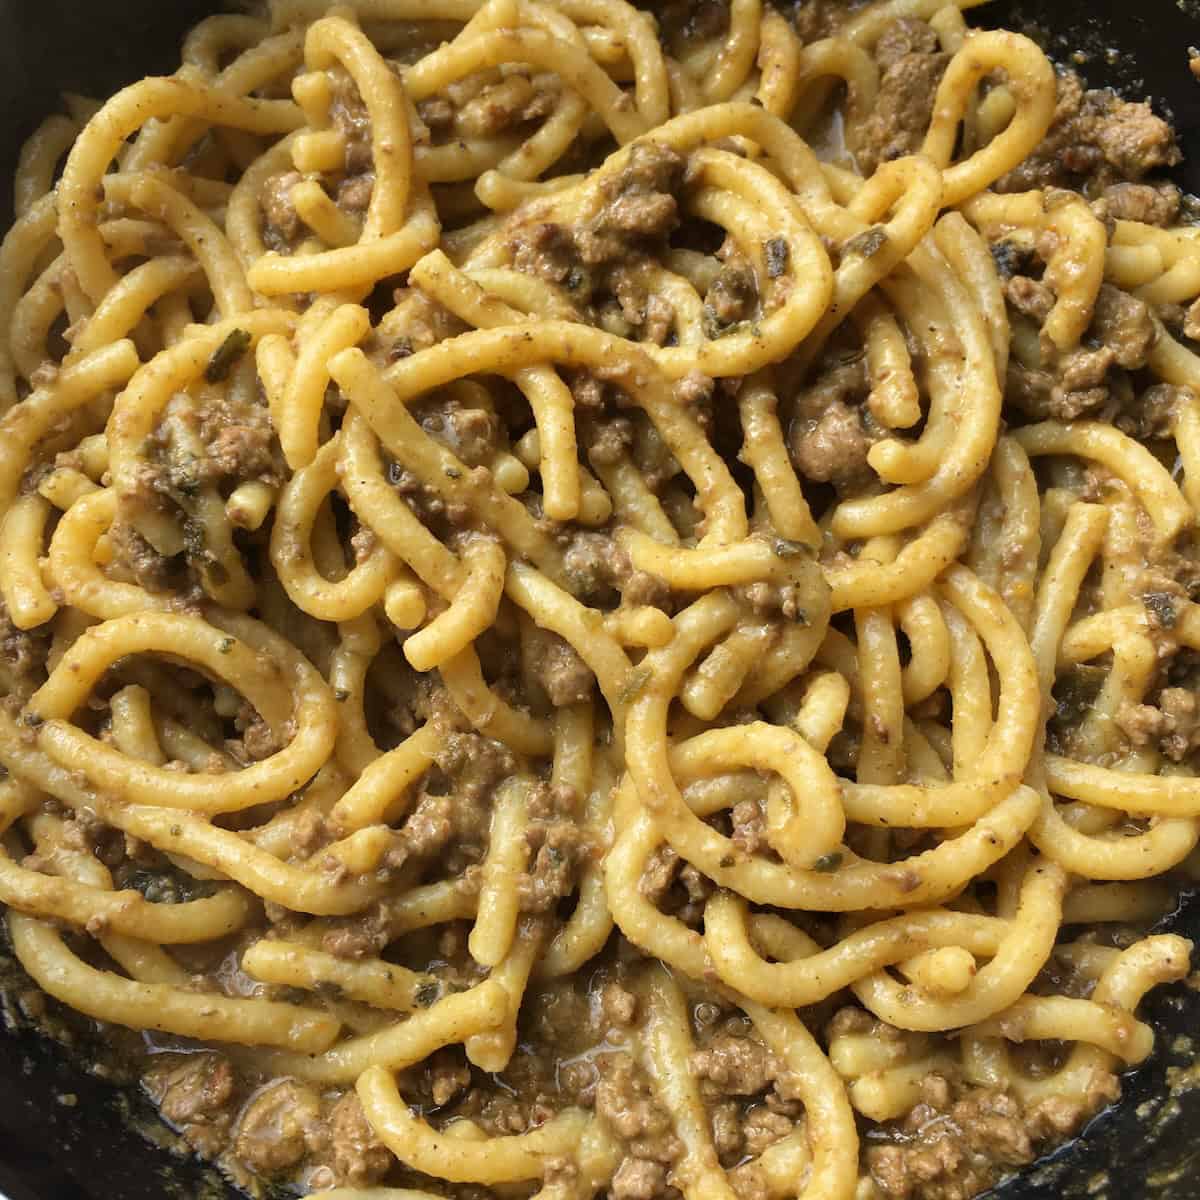

Pasta and grain dishes:
- Authentic Bolognese Ragù (uses broth for depth)
- Venetian Duck Ragù (essential ingredient)
- Risotto (homemade broth is a necessity for making the best-tasting risotto, not water)
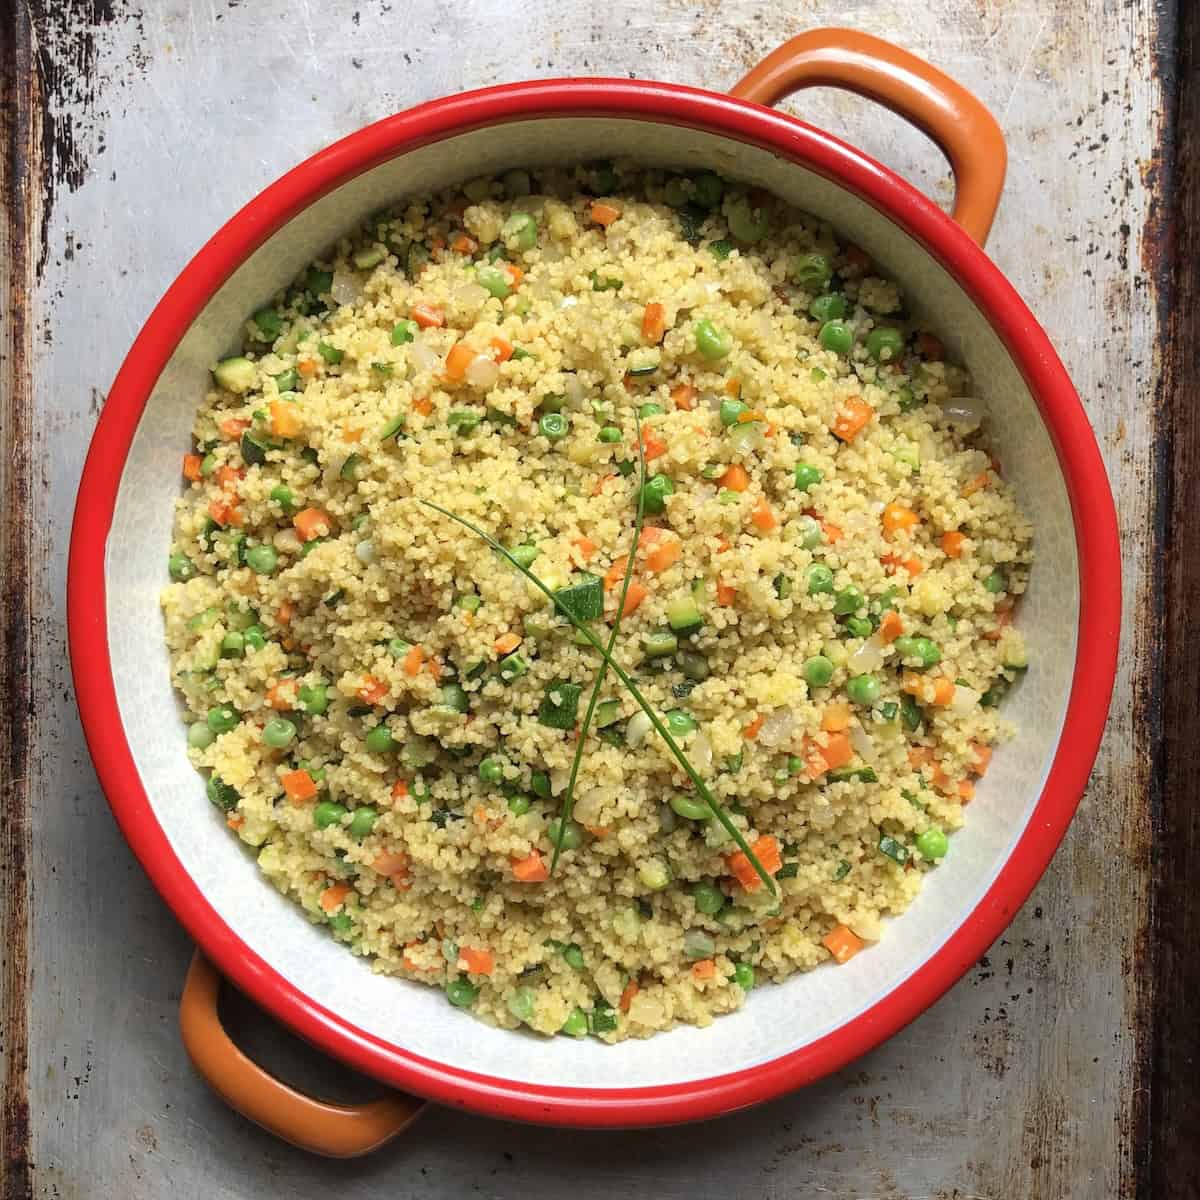
- Mediterranean Couscous (same thing as the risotto, I'd never use water for the best couscous)
- Cilantro-Lime Rice
- Rice pilaf (a favorite of my old clients), farro, quinoa, bulgar wheat, barley in broth instead of water (game-changer for flavor)


Beans and legumes:
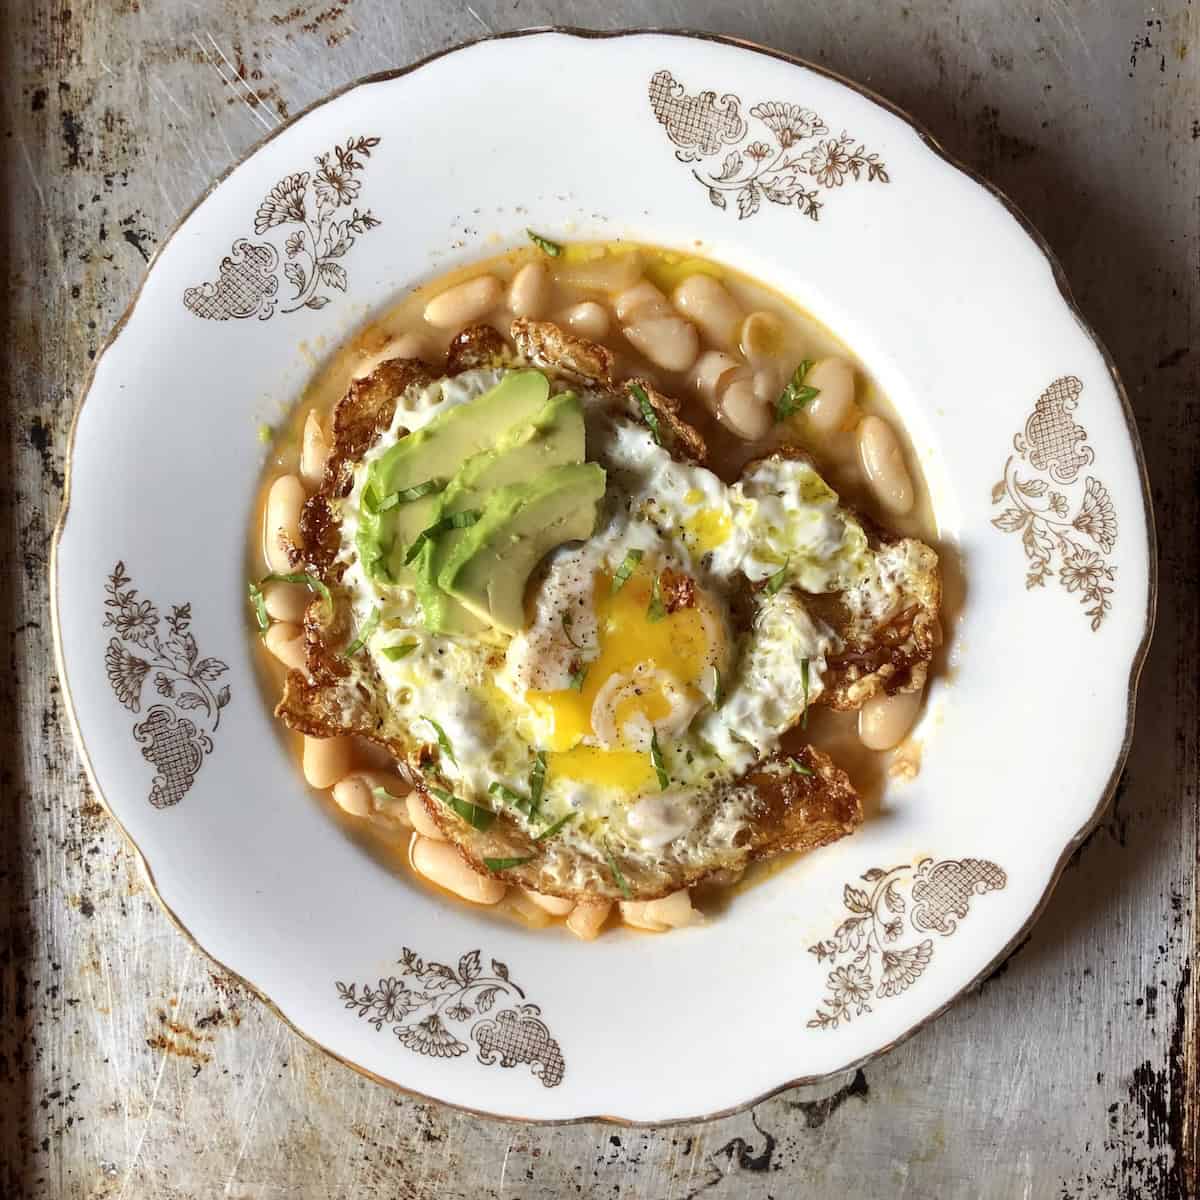
- Authentic Tex-Mex Refried Beans
- The pan-cooking liquid for Homemade Potstickers
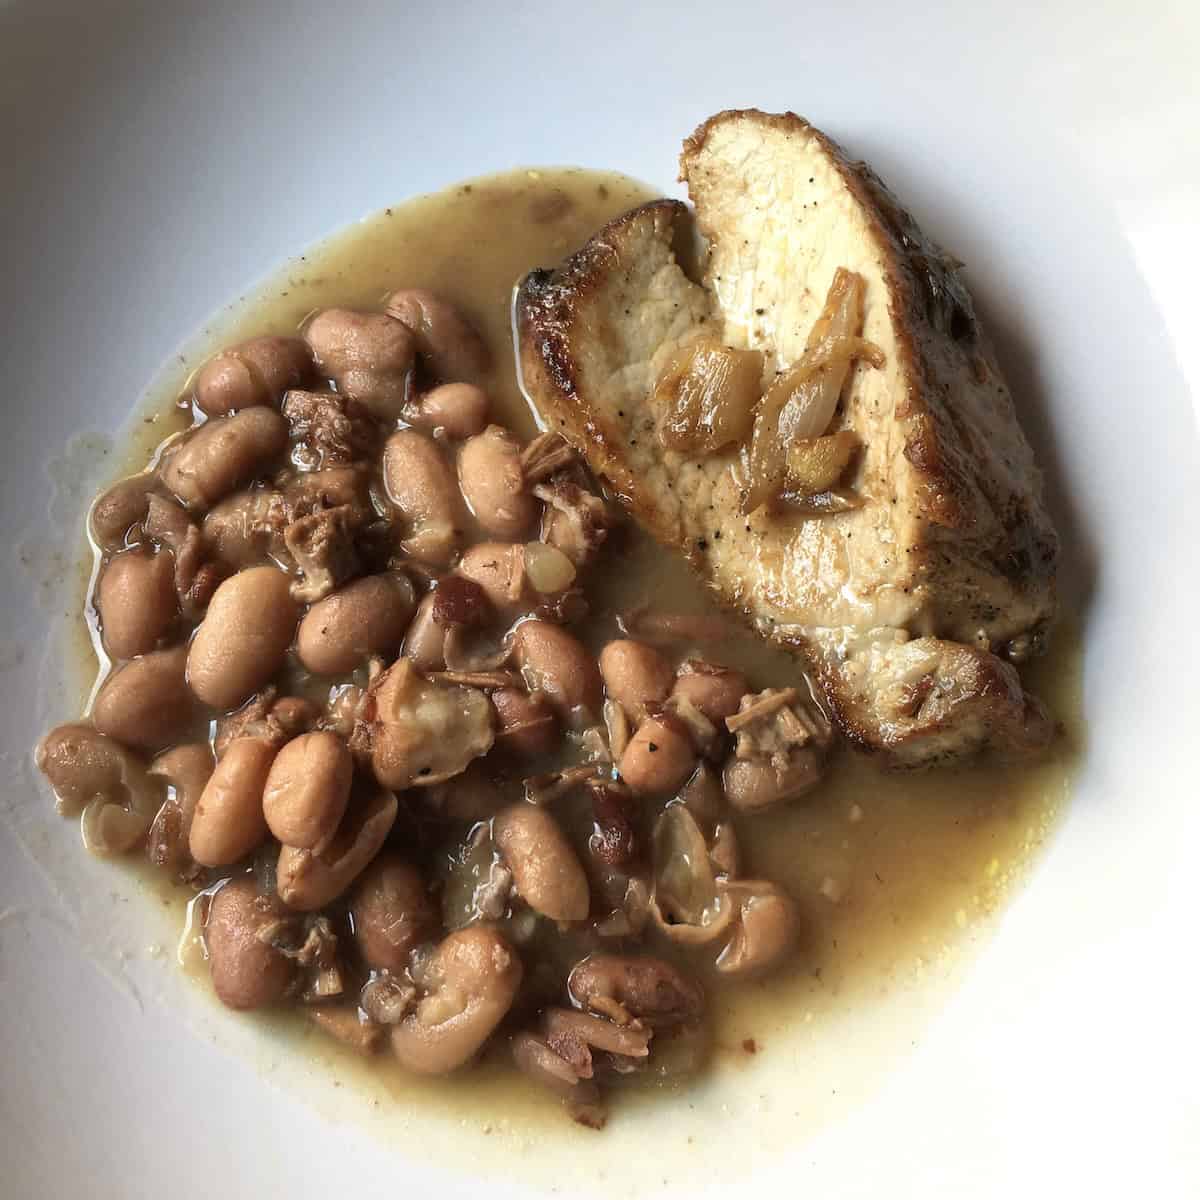
- Ham and Beans
- Lentils or Lentil Soup
- Split Pea Soup
- Any bean or legume dish (broth adds so much more flavor than water)
Other tasty uses:
- Deglazing pans after searing meat or vegetables (picks up all those flavorful browned bits)
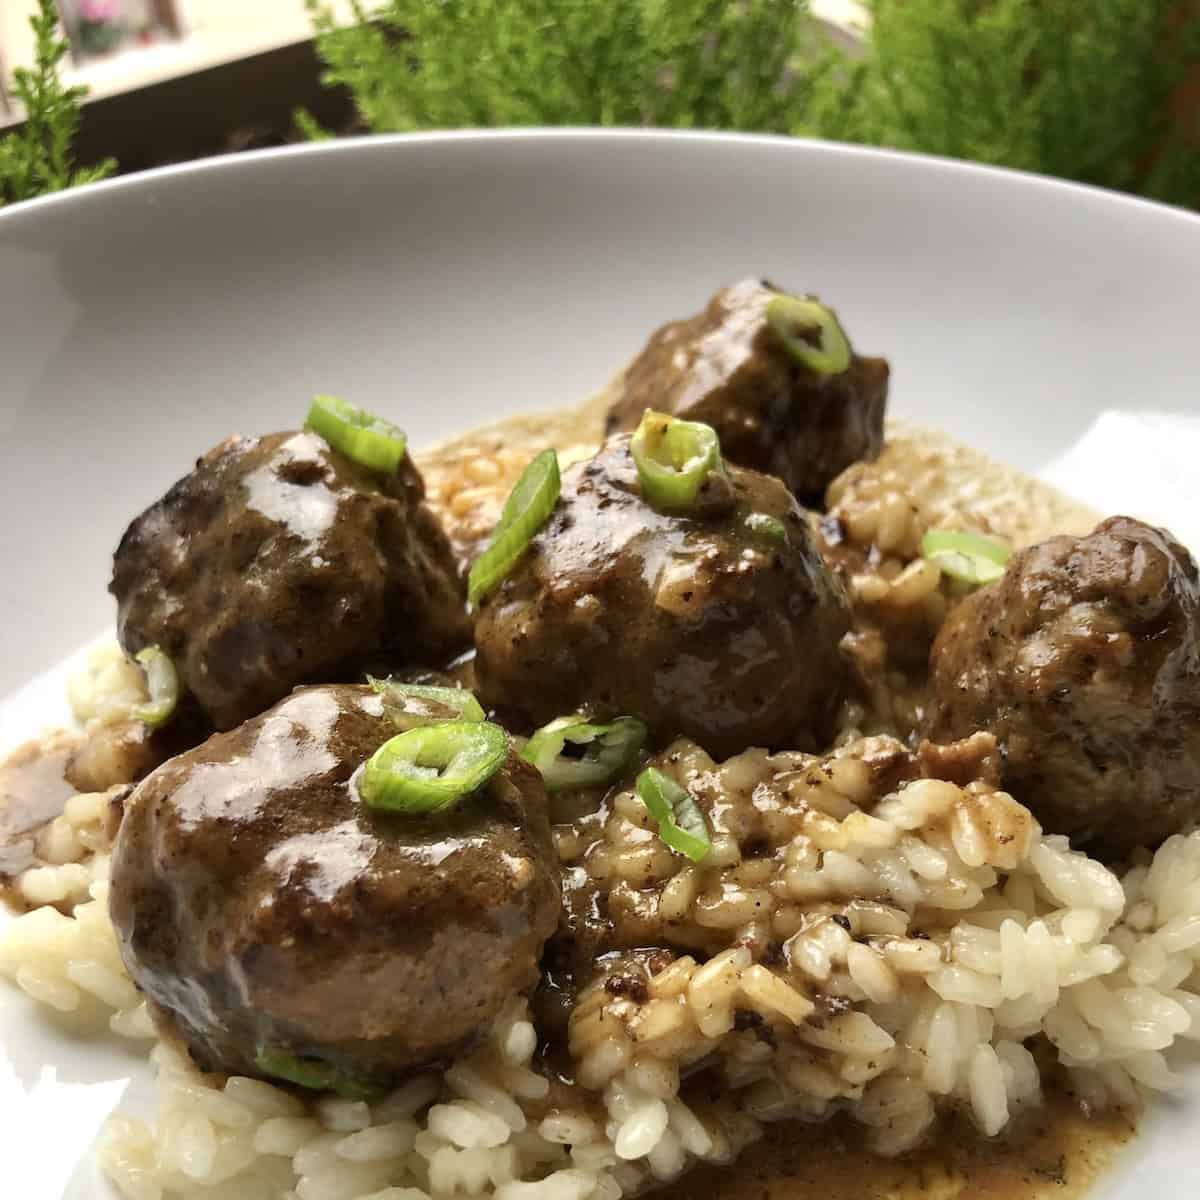
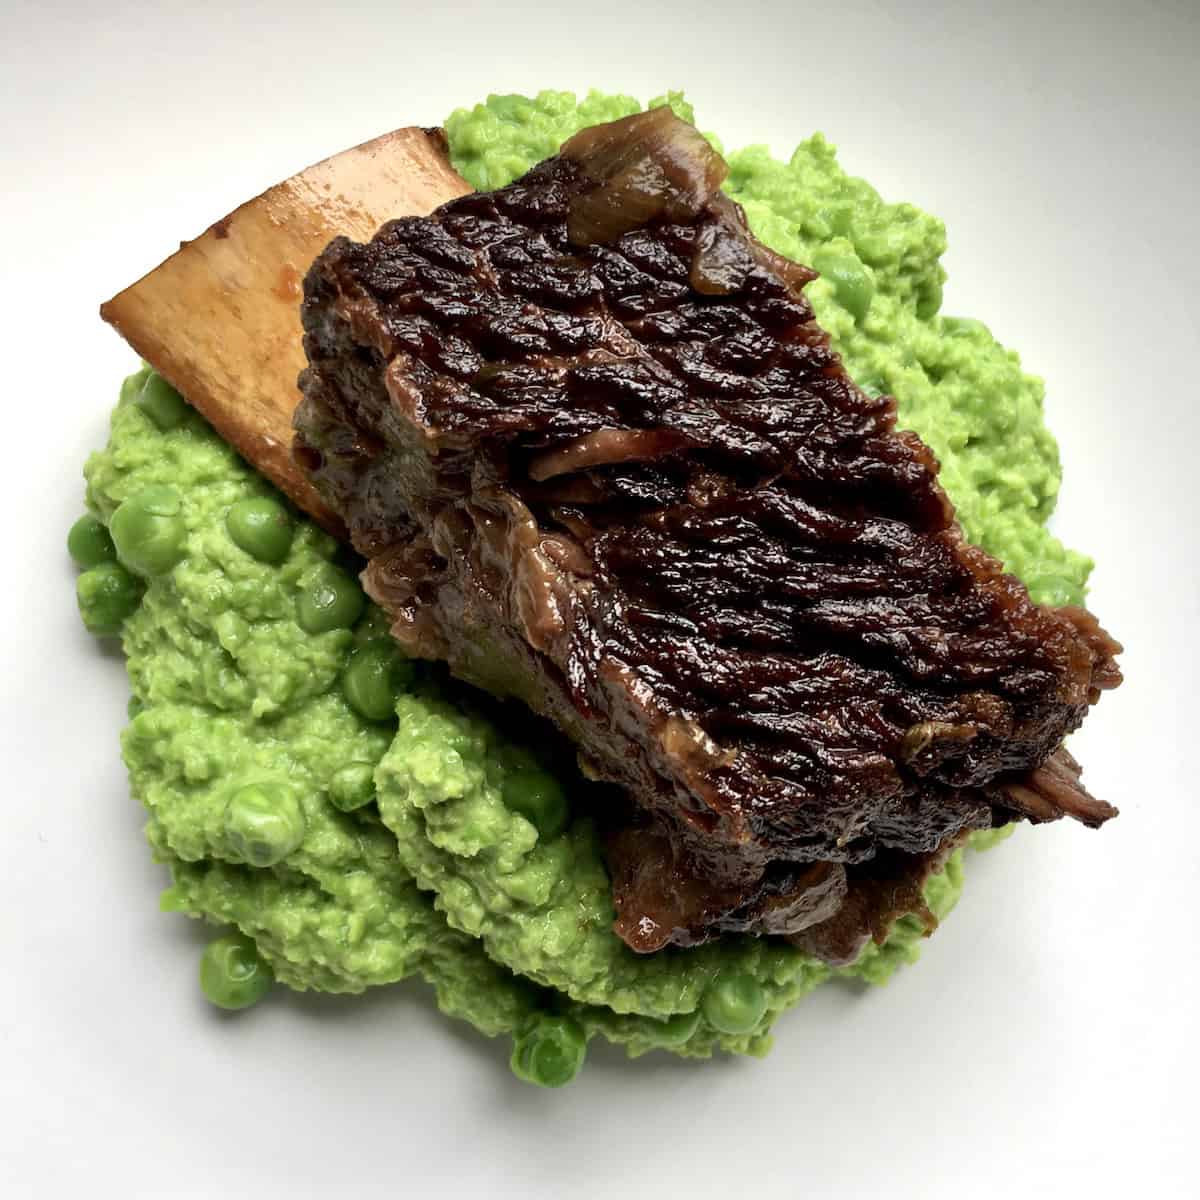
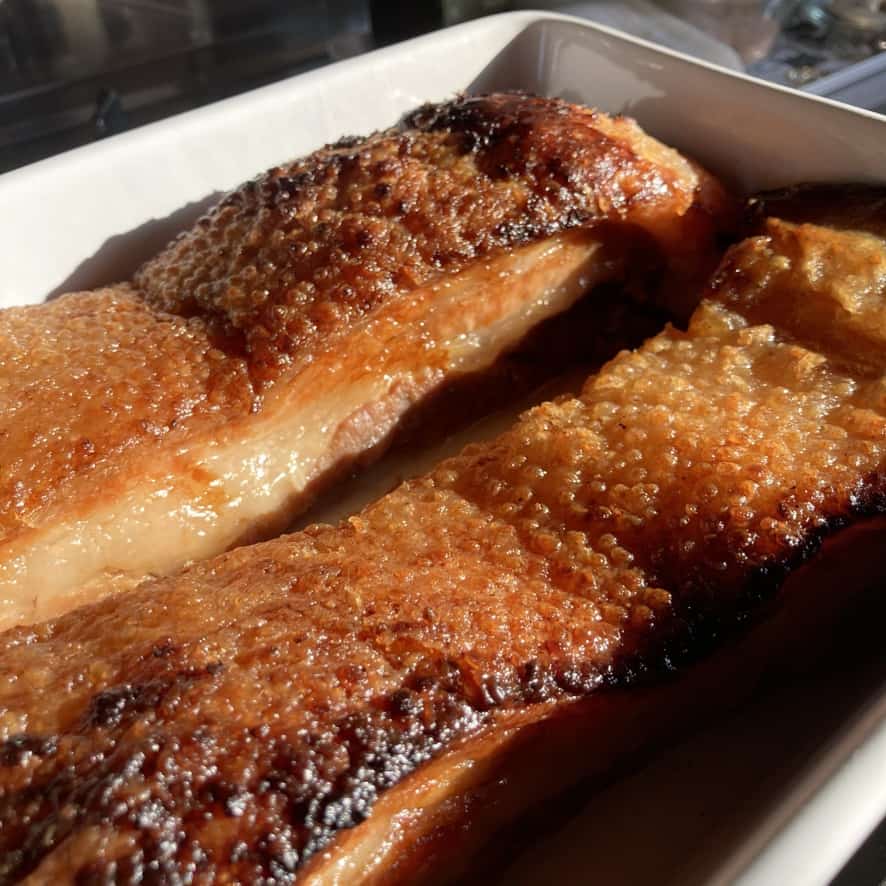
- Braising liquid for braised pork belly, pot roast, short ribs, chicken thighs, or any braised dish
- Mashed potatoes or mashed cauliflower (use instead of milk for a dairy-free alternative)
- Gravy base for any pan gravy or sauce
- Cooking liquid for vegetables to add flavor
- Base for any sauce that needs liquid and depth
Basically, whenever a recipe calls for water or tells you to use store-bought broth, use this instead. Your food will taste so much better for it!
Top Tips for Perfect Chicken Broth
- Save your hard cheese rinds. Every time you finish a wedge of Parmigiano, Grana Padano, or even domestic Parmesan, throw it in a bag and freeze it. You'll always have one ready for broth. You can even ask the cheese counter if you can have some, or if they sell rinds cheaply. I get them for free here in Italy, but it's because we get them straight from the caseficio where they produce all the huge wheels.
- Don't skip the cinnamon. I know it seems weird for savory broth, but this is the secret that makes Anna's broth special. You won't taste cinnamon-you'll just taste the best, most balanced broth of your life. Trust the Italian nonnas on this one.
- Use cold water, not hot. Starting with cold water helps extract more flavor and nutrients as everything heats up together gradually. It also helps keep the broth clear instead of cloudy.
- Natural pressure release is key to achieving a clear broth. If you're using a pressure cooker, let it release naturally instead of quick-releasing. This keeps your broth crystal clear instead of cloudy. The natural release takes about 15-20 minutes, but it's hands-off time. If you only care about flavor and not appearance, go ahead and quick-release, which speeds up dinnertime when you're in a hurry!
- Save rotisserie chicken bones in the freezer. Every time you eat rotisserie chicken from Costco or your local store, freeze the carcass. Add it to the raw chicken next time you make broth for an even deeper flavor. The roasted bones add incredible richness. But don't use ONLY a roasted carcass without raw chicken unless that's all you've got, because the broth will be thin.
- Don't oversalt during cooking. You can always add more salt at the end, but you can't really take it away. I season very lightly during cooking (just 1 teaspoon of pink Himalayan or sea salt for a gallon of water), and then I adjust after straining.
- The fat on top is liquid gold. That layer of chicken fat (schmaltz) that rises to the top when refrigerated? You can skim it off if you want low-fat chicken broth, but I often leave some or all of it for flavor. Or save it in a jar for cooking-it's incredible for roasting potatoes, sautéing vegetables, making matzo balls, Schmaltz and Gribenes, or a quick homemade chicken liver pâté!
- Gelatinous = good! If your cold broth is thick and jiggly like Jello, that's PERFECT. It means you extracted tons of collagen and gelatin. Don't be grossed out-this is what makes restaurant-quality broth. It'll turn liquid again when reheated and have an incredible mouthfeel. This is why restaurant ramen tastes so good!
- If you wanted a jiggly chicken broth but your broth didn't gel, here's why: You either didn't use enough bony, collagen-rich parts (like backs, wings, feet, necks), didn't simmer long enough (needs at least 1+ hours in a pressure cooker or 3+ hours stovetop), or added too much water. Learn from it and adjust next time. But don't worry, because homemade chicken broth doesn't need to gel to be the best thing in your refrigerator!
Troubleshooting 5 Common Chicken Broth Problems
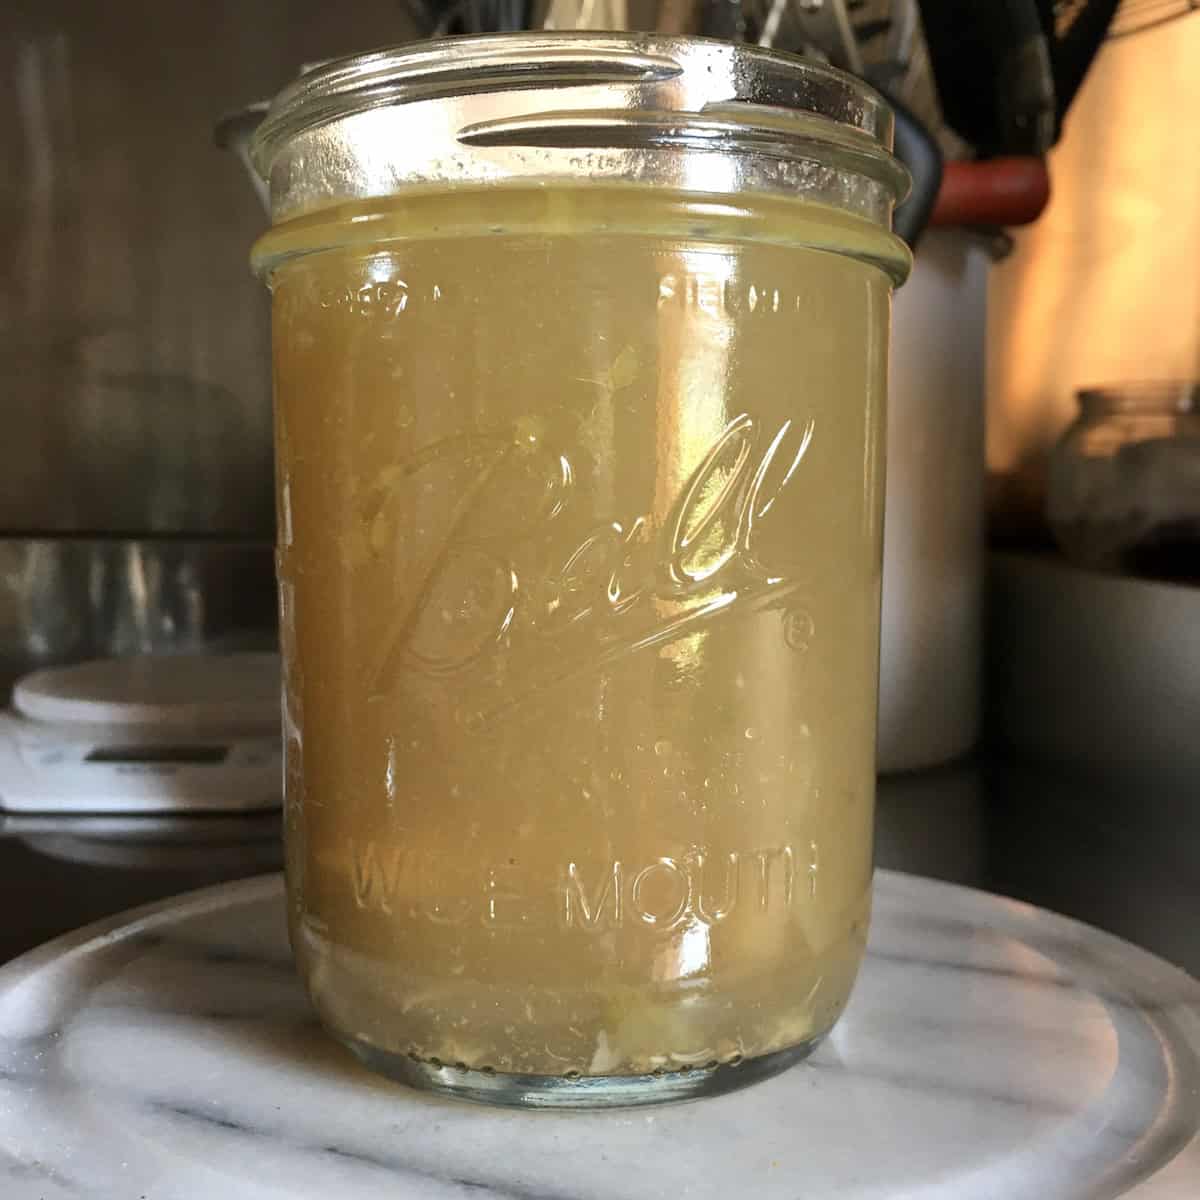
Problem 1: My broth is cloudy instead of clear.
Solutions:
- Start with cold water, not hot or warm water
- Don't let it boil rapidly-maintain a gentle simmer (bubbles should barely break the surface)
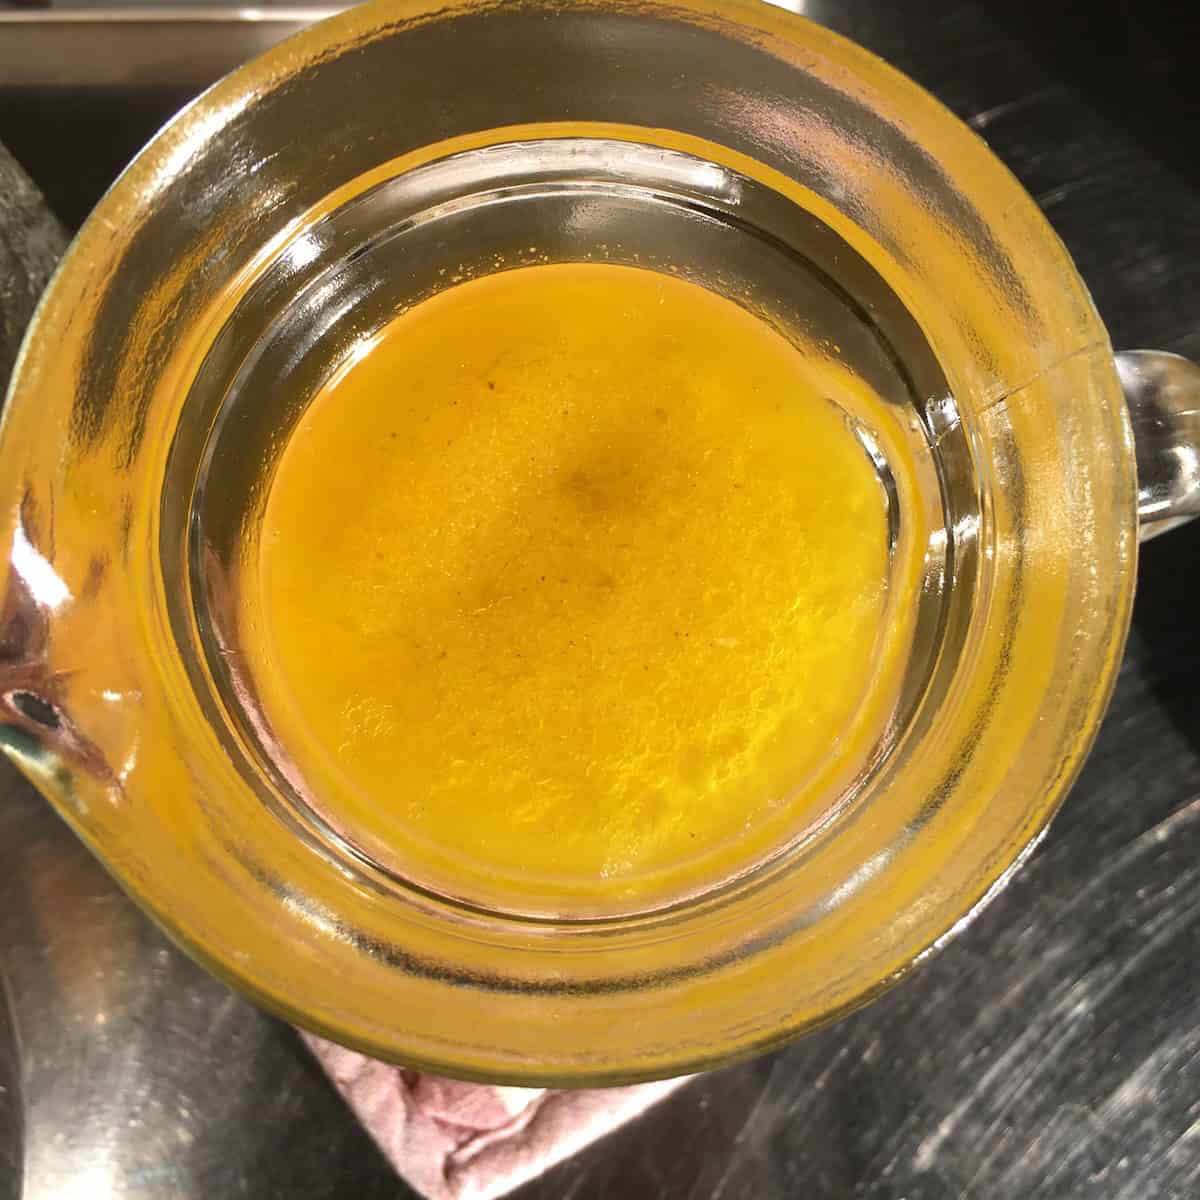
- If using a pressure cooker, use natural release instead of quick release to get a clear broth (the above photo shows a quick-release chicken stock).
- Skim the foam off the top during the first 10-15 minutes of cooking if making broth using the stove-top method.
- Strain through a fine-mesh strainer or cheesecloth to remove impurities and vegetable pieces in the broth before serving.
Note: Cloudy broth still tastes great! It's just an aesthetic thing.
Problem 2: My broth doesn't have much flavor.
Solutions:
- Use better chicken parts (backs, wings, necks, thighs, and feet have WAY more flavor than breasts)
- Don't use too much water (ingredients should be just barely covered, not swimming)
- Simmer longer (3+ hours stovetop, or try 60-90 minutes in a pressure cooker instead of 30-45 minutes)
- Add a saved roasted chicken carcass for deeper flavor
- Make sure you include the cinnamon and cheese rind (they add tons of depth)
- Season with more salt at the end-sometimes broth just needs salt!
Problem 3: My broth is too salty.
Solutions:
- Next time, salt very lightly (or don't salt at all) during cooking and adjust at the end
- If it's already made: add a peeled, quartered potato to the broth and simmer for 20 minutes (the potato absorbs salt), then discard the potato
- Or dilute with water or more unsalted broth (though this reduces flavor overall)
- Or just use it in recipes that don't need additional salt
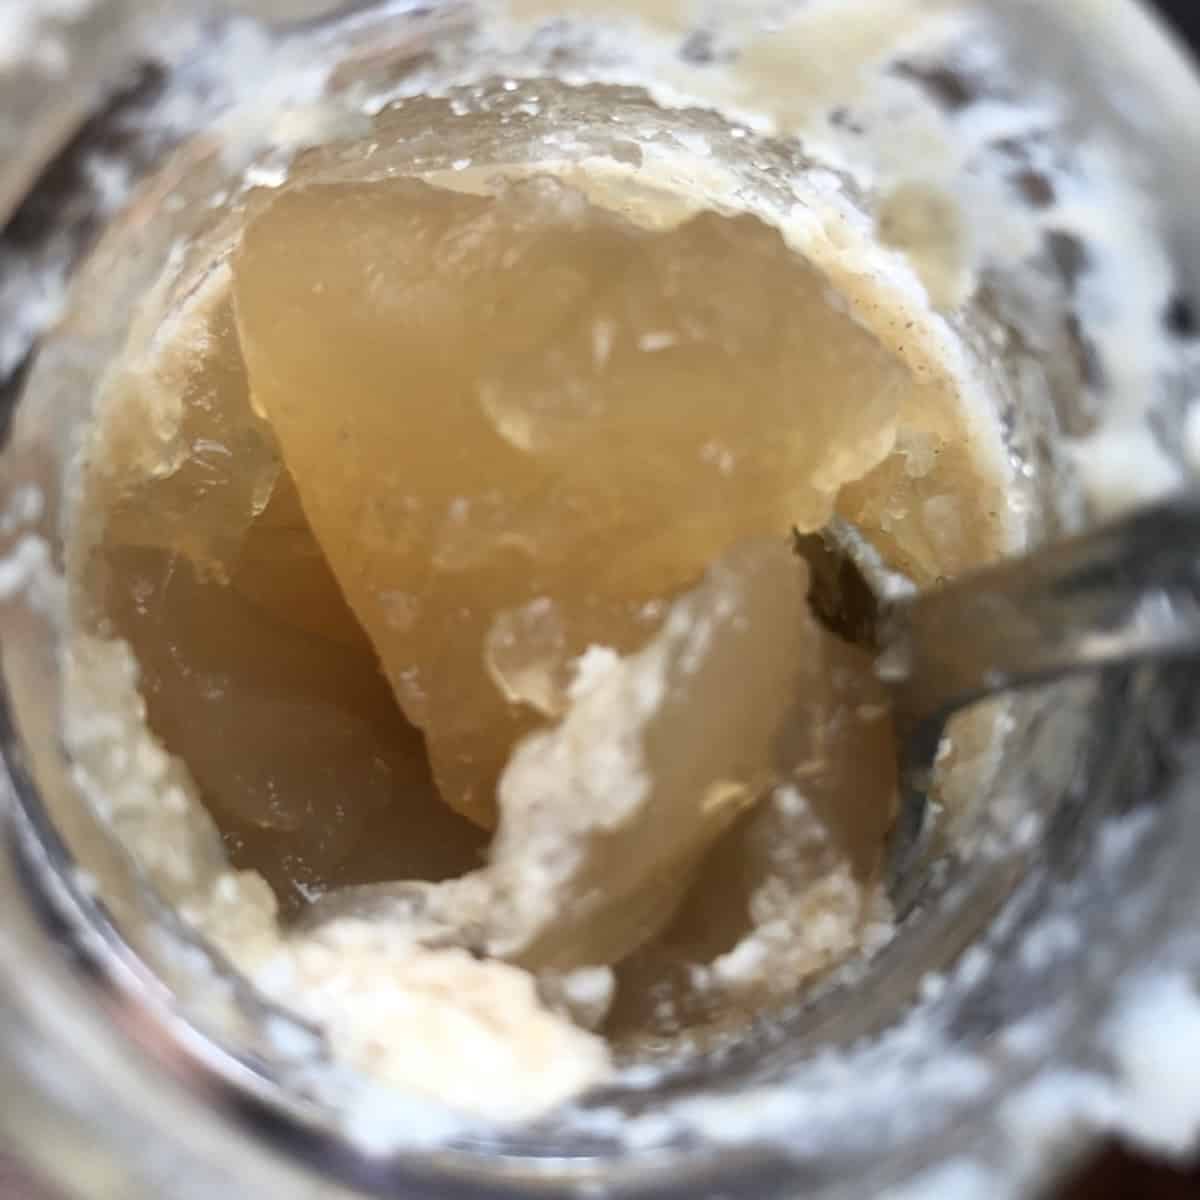
Problem 4: My broth didn't gel when refrigerated.
Solutions for next time:
- Use more collagen-rich parts: backs, wings, feet, necks (not breasts!)
- Add chicken feet if you can find them, because they're full of gelatin
- Simmer longer to extract more collagen (try 3+ hours stovetop or 60+ minutes in the pressure cooker)
- Use less water-you want ingredients just covered getting the chicken meat to water ratio is part of making sure you get the jelly-like broth
- Add a roasted chicken carcass or raw chicken with lots of knuckle and joints (wings especially)
Note: Ungelled broth still tastes great! It just won't have quite as much collagen/gelatin, which means slightly fewer health benefits and overall body. It's still a 1000x better-tasting and better-for-you than store-bought!
Problem 5: My broth tastes weird or off.
Possible causes:
- I doubt this one will ever happen, but it could be because you used spoiled chicken. Always use fresh chicken that smells fresh with no off odors of any kind, that's within its sell-by/use-by date.
- Didn't refrigerate promptly, and bacteria grew-broth should be refrigerated within 2 hours of cooking, although I've gone longer and not had any issues. That said, don't double-dip into the pot with utensils you've been tasting it with, and then leave it unrefrigerated. This can transfer bacteria and allow it to flourish.
- Added bitter vegetables like broccoli stems, cabbage, or too many bell peppers
- If any of these happened, toss it to be on the safe side:)
Health Benefits of Homemade Chicken Broth
Beyond tasting infinitely better than store-bought, homemade chicken broth is genuinely good for you. This isn't just old wives' tale stuff about chicken soup being healing-there's real science behind why this works.
Collagen and Gelatin for Gut Health: When you simmer chicken bones and connective tissue long enough, the collagen breaks down into gelatin. This is why your broth may get jiggly and thick when cold (which is a GOOD sign, not a bad one!).
This gelatin supports gut lining health, can help heal leaky gut, aids digestion, and may reduce inflammation in the digestive tract. It's one of the main reasons bone broth has become so popular.
Joint and Skin Health: That same gelatin provides the building blocks (amino acids) your body uses to maintain healthy joints, cartilage, and skin elasticity. Some people say that drinking homemade broth regularly helps with joint pain and gives their skin a healthy glow.
Minerals Your Body Can Actually Absorb: The longer you simmer it, the more minerals it pulls out of the bones (e.g. calcium, magnesium, phosphorus, potassium). Broth serves them up in a form your body can easily absorb and use. You're essentially making your own mineral supplement, but in a form that tastes delicious.
Protein Without Extra Calories: Each cup contains about 5-6 grams of protein from the dissolved collagen and any residual meat, but only about 40 calories. It's incredibly nutrient-dense for the calorie count.
Anti-Inflammatory Amino Acids: Chicken broth is rich in amino acids like glycine, proline, and arginine that have anti-inflammatory properties. This is why chicken soup really does help when you're sick. It's not just the steamy warmth or comfort! It actually has anti-inflammatory compounds plus easy-to-absorb nutrients when your body is fighting off an illness.
Hydration and Electrolytes: The combination of water, minerals, and salt makes broth excellent for hydration, especially when you're sick, recovering from intense exercise, or need electrolyte replenishment. It's basically nature's Gatorade and costs a lot less than premium coconut water like Harmless Harvest (my favorite!).
No Processed Additives: Unlike even organic store-bought broths (Pacific Foods, Swanson Organic, Imagine), you're avoiding processed additives, like "natural flavors" that can potentially hide MSG, preservatives, and chemicals potentially leaching from plastic-lined cartons. You know exactly what's in your broth because you put it there.
Immune Support: The combination of minerals, amino acids, and easily digestible nutrients supports overall immune function. Plus you can customize it with immune-boosting additions like ginger, turmeric, and garlic if you want extra medicinal properties.
The nutrition facts will vary depending on exactly which chicken parts you use and whether you skim the fat, but in general, homemade chicken broth is one of those rare foods that's both incredibly nutritious AND tastes amazing. It's not just healthier than boxed broth-it's actually healthy, period.
FAQ
Technically, stock is made primarily from bones (often roasted first) and simmered longer (4-6+ hours) to extract maximum gelatin, creating a thicker result.
Broth uses meat and bones together, is simmered for less time (1-3 hours traditionally), and is usually seasoned because it can be sipped on its own.
But honestly? Most home cooks and even some professional kitchens use the terms interchangeably.
This recipe falls right in between-it uses bony parts with some meat, creates a beautifully gelatinous result if you choose to cook it a bit longer, and can be made fast (30 or 45 minutes in a pressure cooker) or slow (2 to 3 hours stovetop).
Call it whatever you want-it's delicious either way.
That's exactly what you want! The jiggly, gel-like texture means you extracted tons of collagen from the bones and connective tissue. This is what gives restaurant-quality broth that silky, rich mouthfeel and delivers all those gut health and joint health benefits.
It'll turn back to liquid as soon as you reheat it. If your broth doesn't gel when cold, it just means you didn't extract as much collagen-which is fine, it'll still taste great, but gelled broth is a sign of superior quality. Think of it like meat Jello made from real food instead of a packet!
Absolutely! Use the stovetop method: add everything to a large stockpot, bring to a boil, immediately reduce to a gentle simmer, skim off the impurities as they rise to the top, then cover, and cook for 2 to 3 hours.
You'll get the same delicious result, it just takes longer and is more work. I made broth this way for years before I invested in my Lagostina pressure cooker I bought in Italy in 2013 (I'm still using this same pressure cooker all these years later!).
The pressure cooker is a total energy and time-saver, plus it's completely hands-off cooking. You can also use a large 6-quart (or larger) slow cooker set on LOW for 8-10 hours or HIGH for 4-5 hours.
Use the right chicken parts-backs, wings, thighs, feet, and necks have way more flavor than breasts. And don't add too much water, which can dilute the overall flavor.
Next, add a small piece of cinnamon stick and Parmigiano-Reggiano rind like this recipe does (I learned about the cinnamon from my Italian mother-in-law, and it changed everything I thought I knew about homemade broth).
Save and add leftover roasted or rotisserie chicken bones for even more flavor. Use organic, free-range chicken when possible-the chicken quality directly affects your broth flavor. Don't dilute it with too much water-ingredients should be just barely covered, not swimming.
And simmer long enough to extract all that goodness (at least 30-45 minutes in a pressure cooker or 2-3 hours stovetop). Finally, don't forget to season it at the end-sometimes broth just needs proper seasoning to taste amazing.
You absolutely can, but it's absolutely overkill in my opinion. Whole chickens contain valuable breast meat (the priciest part) and it's also the least flavorful part of the chicken.
I'd rather roast a whole chicken, enjoy all that delicious meat at its best, than save the carcass and make broth with it by adding in some additional inexpensive chicken backs, legs, or wings.
Or simply cut out the breasts and use the rest of the chicken to make broth. Then make panko-crusted chicken breasts or grilled chicken with the precious breast meat where it can really shine.
With these approaches, you get the best of both worlds-great chicken dinner AND amazing broth.
But if you want to poach a whole chicken specifically to get both cooked meat and broth at once, it works fine too, but the broth won't have nearly the same amount of deliciousness as a longer-cooked broth will have. Just know the breast meat will be pretty bland and dry after giving all its flavor to the broth.
I use cinnamon to because that's how I learned to make it here in Italy. The best-tasting chicken broth I've ever had in my life was Luca's mamma's brodo di pollo.
She uses a small piece of cinnamon stick because it's an authentic Italian technique to enhance the flavor of chicken broth. And there was no way I was ever going back to regular chicken broth again after tasting it!
The cinnamon doesn't make the broth taste sweet, cinnamony, or like dessert - it adds warmth, depth, and balance that's hard to describe but impossible to miss once you know what you're tasting.
This is a traditional technique used by Italian home cooks across Italy. Unless you have an Anthony Bourdain-type refined palate, you won't even know the cinnamon is there, but you'll definitely notice if it's missing.
The broth just tastes richer, more complex, and more balanced. Trust the Italians who've been making brodo and arguably some of the best chicken broth in the world. They know what they're doing!
Chicken broth lasts in the refrigerator for 4-5 days for best results (or up to 7 days if kept in a very cold refrigerator and not stored in the door of the fridge, which is often the warmest area and exposed to warmth every time the door is opened).
I prefer to use tempered glass canning jars and they even work great for storing the broth in the freezer for up to 6 months or longer. Just be sure to leave a 1-inch or more headspace so the broth has room to expand as it freezes.
You can portion it if you want (into 2-cup and 4-cup portions) in glass jars or in freezer bags, or freezer-safe containers. You can also freeze it in ice cube trays for small amounts (like 2 tablespoons per cube) when you just need a splash for deglazing a pan or for cooking homemade potstickers.
Yes, incredibly healthy! Homemade broth is packed with minerals from the bones (calcium, magnesium, phosphorus, potassium), collagen and gelatin that support gut health and joint health, protein (about 5-6 grams per cup), and anti-inflammatory amino acids like glycine and proline.
Plus you control exactly what goes in-no MSG, no weird preservatives, no 'natural flavoring' that hides god only knows what, no plastic-lined cartons.
Even if you use conventional (non-organic) chicken, homemade is still way healthier than store-bought because it's unprocessed. The gelatin supports digestive health, the collagen can help with skin and joints, and the nutrients are in forms your body can easily absorb.
It's basically a healing food that also happens to taste amazing.
Don't boil them-simmer them gently! Boiling creates a cloudy, sometimes bitter broth.
For stovetop: bring to a boil, then immediately reduce to a bare simmer (bubbles should barely break the surface) and cook for 3 hours.
For pressure cooker: 45 minutes at high pressure with natural release. For slow cooker: LOW for 8-10 hours or HIGH for 4-5 hours. The longer you simmer (gently!), the more flavor and collagen you extract.
I've gone up to 5 hours on the stovetop for super-rich broth, and some bone broth recipes go even longer (12-24 hours), but 3 hours is the sweet spot for regular chicken broth.
Yes! Plain chicken broth (with no salt or very little salt, and absolutely NO ONION of any kind) is actually really good for dogs. It helps with hydration, provides joint-supporting gelatin and collagen, can settle upset stomachs, and makes dry kibble more appealing.
But you MUST make it specifically for dogs: skip the onion entirely (onions are toxic to dogs), use very little or no salt.
I wouldn't give dogs store-bought broth-even the low-sodium versions because they often contain onion powder or garlic, which can be dangerous for pets.
See the full 'Chicken Broth for Dogs' section below the recipe card for detailed instructions. And always check with your vet first, especially if your dog has health issues.
Sachet or Bouquet Garni (Optional but Unnecessary for Broth)
Some recipes call for bundling your aromatics in cheesecloth (a French technique called a sachet d'épices) or tying fresh herb sprigs together with twine (bouquet garni).
Both are meant to make it easier to fish out the herbs and spices when the cooking is done. It's totally unnecessary for broth since you're straining everything out anyway.
These techniques make more sense for soups, stews, and braises where you're serving the dish as-is and need to easily extract the bay leaves and peppercorns before they end up on someone's plate.
How to Clean Chicken Feet For Broth
To clean them: Rinse the chicken feet well under cold running water. You can trim off the nails at the tips with kitchen shears if you want, but I typically leave them on since everything gets strained out at the end. Plus, the nails contain extra collagen.
Some recipes call for blanching the feet in boiling water for about 5 minutes, then plunging them in ice water so you can peel off the outer yellow skin. Honestly, I skip this step and just rinse them well since we're straining everything at the end.
Once rinsed (and optionally peeled), add them to your pot with the other chicken parts and proceed with the recipe. Don't let the unfamiliarity stop you from making the absolute best, most nourishing chicken broth possible.
Related Recipes
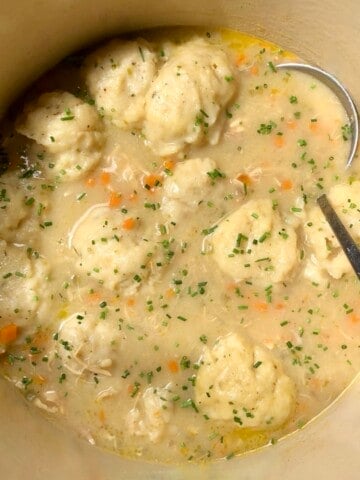
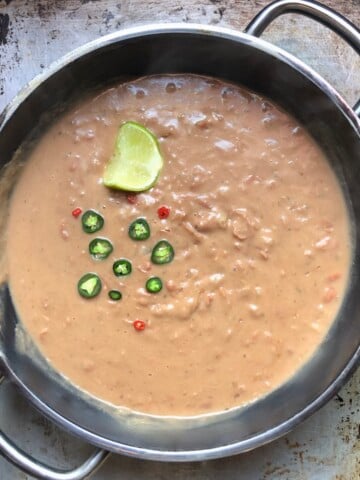
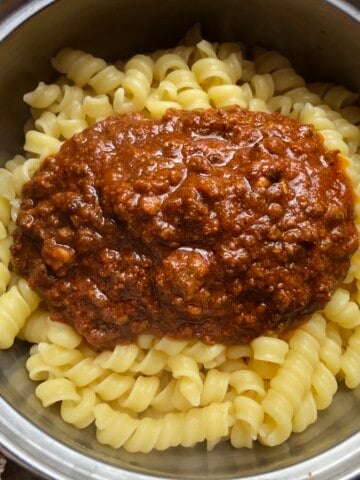
I use this chicken broth for so many recipes, like Tortellini in Brodo, Chicken Noodle Soup, Venetian Duck Ragù, Authentic Bolognese, and so many more!
- Authentic Italian Tortellini (Tortellini in Brodo)
- Easy Homemade Chicken Noodle Soup (With a Ramen Twist)
- Authentic Sichuan Wonton Soup (Long Chāo Shǒu 龙抄手)
- Creamy Chicken and Dumpling Soup with Herbs (+Video)
- Easy Egg Drop Soup with Crispy Fried Wonton Strips (Danhuatang 蛋花湯)
- A Better Homemade Turkey Pot Pie (The Ultimate Pot Pie Recipe)
- Easy Authentic Refried Beans Recipe (From Scratch or Canned w/Video)
- Authentic Bolognese Sauce (Ragù alla Bolognese)





Let's Get Started!
Made this Recipe? We'd love for you to rate ⭐️ it and tell us how it went for you! Let me know in the comments!
📖 Recipe

Brodo di Pollo (Italian Chicken Broth Recipe)
- Total Time: 50 minutes
- Yield: 2 quarts chicken broth (1900ml)
- Diet: Low Calorie
Description
You're just minutes away from the best chicken broth recipe ever, which uses two authentic Italian secret ingredients: a small piece of cinnamon stick and Parmigiano or Grana Padano cheese rind. Ready in just 30-45 minutes in a pressure cooker or 2 to 3 hours on the stovetop, this rich, golden broth tastes infinitely better than any store-bought chicken stock or broth and is packed with collagen for gut health. Sip it, or use it for soups, risotto, Italian ragùs, or anywhere you want deeply flavorful, restaurant-quality chicken broth.
Ingredients
- 2 pounds chicken, bone-in and skin-on (backs, wings, feet, neck, thighs, or legs-preferably organic free-range)
- 1 large onion, washed and halved (no need to peel)
- 1 medium carrot, halved
- ½ to 1 rib of celery
- 1 to 2-inch piece of whole cinnamon stick (substitute 1/16 teaspoon ground cinnamon)
- 1 rind (3.5 ounces) from a wedge of Grana Padano or Parmigiano-Reggiano cheese (100g) (or American Parmesan rind)
- 8 cups (2 quarts) cold water (2 liters)
- 1 teaspoon sea salt or pink Himalayan salt
- ½ teaspoon whole black peppercorns
 Get Recipe Ingredients
Instructions
Pressure Cooker Method (45 minutes):
- Add all ingredients (chicken, onion, carrot, celery, salt, black peppercorns, cinnamon stick, cheese rind, and cold water) to your pressure cooker.
- Close the lid and seal the pressure valve. Bring to high pressure over high heat.
- Once high pressure is reached, reduce the heat to the lowest possible setting while still maintaining high pressure and cook for 45 minutes for a jiggly broth (or 1 ½ hours or more for a more jello-like gelatinous chicken broth).
- Turn off the heat and allow for a natural pressure release (this takes about 15-20 minutes and results in clear broth).
- Once pressure is fully released, strain the broth through a fine-mesh strainer into a large bowl or pot, discarding the solids (and reserving the "spent" chicken meat for another use).
- Taste and season with additional salt as needed. Skim off excess fat if desired, though the fat adds great flavor. Let cool before storing, or use immediately in your favorite recipes, Enjoy!
Stovetop Method (2 to 3 hours):
- Add all ingredients to a large stockpot or Dutch oven (at least 6-quart capacity) and bring to a boil over high heat. Immediately reduce the heat to low, and skim the surface to remove the impurities.
- After about 20 minutes, when everything has been skimmed, cover the pot with a lid, and maintain a gentle simmer for 2 to 3 hours. Bubbles should barely break the surface at irregular intervals-not a rolling boil. Check occasionally to ensure it's simmering gently, not boiling.
- After 2-3 hours, strain, season, and skim the fat if desired using the methods above.
Slow Cooker Method (8-10 hours):
- Add all ingredients to a 6-quart or larger slow cooker.
- Cook on LOW for 8-10 hours or HIGH for 4-5 hours.
- Strain, season, and skim as described in the methods above.
Notes
Chicken parts: You can use up to 3 pounds of chicken for this recipe, but you really don't need it. The best parts for flavorful, gelatinous broth are backs, wings, feet, necks, thighs, and legs. Avoid chicken breast (it's expensive, lacks flavor, and has almost no collagen). Instead, use the breast meat in recipes where it's the star! See the main post section, "Which Chicken Parts to Use" for detailed guidance.
Budget-friendly option: You can make homemade chicken broth with as little as 1 pound of chicken, and it will still taste amazing and way better than any store-bought broth. I know because I do it all the time. The flavor will be less intensely chicken-flavored and lighter, but it's absolutely worth making. For the most intensely chickeny, gelatinous broth, use about 1 pound of chicken per quart of water (2 pounds for this recipe) and cook it for the full 1 to 1 ½ hours in the pressure cooker (or 3 hours on the stovetop).
Rotisserie chicken hack: Save leftover rotisserie chicken carcasses in the freezer. Add one carcass to 1-2 pounds of raw chicken parts for an even deeper, richer flavor. Don't use ONLY a roasted carcass without raw chicken unless that's all you have and/or you're on a tight budget (the broth will be thin).
Don't skip the cinnamon stick and Parmesan cheese rind: These are the secret Italian ingredients that make this broth so special. The broth won't taste like cinnamon or like cheese. It'll just taste incredibly rich, balanced, and complex with even more umami notes.
If you don't have the full 3.5 ounces (100g) piece of rind: Use whatever you have (any amount will be better than nothing). You may also add a chunk of the cheese itself, but that might be considered a waste of a really precious ingredient:)
Cold water is important: Always start with cold water, not hot. This helps extract more flavor and helps keep the broth clear.
Gelatinous = excellent quality: If your broth gels when refrigerated and looks like Jello, that's perfect! It means you extracted tons of collagen and gelatin by using the right chicken parts and cooking it longer. It'll turn liquid again when reheated.
Storage: For best flavor, refrigerate in airtight containers for up to 5 days, or freeze for up to 6 months.
Scaling: This recipe is easily doubled. Just use a larger pressure cooker or a large stock pot. Pressure cooker time stays the same; stovetop time may need an extra 30 to 60 minutes for a double batch, as it will take longer to come up to the initial boil.
For dogs: To make broth safe for dogs, omit the onion entirely (onions are toxic to dogs), use very little or no salt, and skip the cinnamon and cheese rind (save those for human chicken broth!). See the "Chicken Broth for Dogs" section in the main post for full details.
- Prep Time: 5 minutes
- Cook Time: 45 minutes
- Category: Soups & Stews
- Method: Pressure Cooker or Stovetop
- Cuisine: Italian
Nutrition
- Serving Size: 1 cup/240ml
- Calories: 38
- Sugar: 0.5g
- Sodium: 350mg
- Fat: 1.5g
- Saturated Fat: 0.4g
- Unsaturated Fat: 0g
- Trans Fat: 0g
- Carbohydrates: 1.3g
- Fiber: 0g
- Protein: 2.7g
- Cholesterol: 7mg

Food Safety
- Cool broth quickly and safely: Don't leave hot broth sitting at room temperature for more than 2 hours (bacteria can grow rapidly). Restaurants use an ice bath to ensure food safety. To do this, place the container holding the strained broth in an ice bath (a larger bowl or sink filled with ice water), stirring occasionally until completely cooled.
- Refrigerate promptly: Pour the strained chicken broth into glass canning jars, and once cooled to room temperature, transfer to the refrigerator immediately. Broth keeps for 4-7 days refrigerated. The colder your refrigerator, the longer the broth lasts. Also, avoid storing the broth in the refrigerator door which is typically the warmest part of your fridge.
- Reheat thoroughly: When reheating refrigerated broth, bring it to a full boil (212°F/100°C) to ensure any bacteria are killed, especially if it's been in the fridge for several days.
- Freeze for longer storage: For storage beyond 5 days, I suggest freezing the broth. Leave about ½ to 1-inch of headspace in containers as broth expands when frozen. Frozen broth keeps for 3-4 months at best quality.
- Handle raw chicken safely: Wash hands thoroughly with hot soapy water after handling raw chicken. Clean any surfaces, cutting boards, or utensils that touched raw chicken with hot soapy water. Don't rinse raw chicken before using (this spreads bacteria via splashing).
- Use clean equipment: Ensure all storage containers, strainers, and utensils are clean before use.
- Check for spoilage: If broth smells off, sour, or strange, or if you see any mold, discard it immediately. When in doubt, throw it out.
What is Gallina and Why Do Italians Use It for Brodo?
If you noticed me mention gallina (older laying hens) earlier and want to know more, here's the insider scoop on this traditional Italian ingredient.
In Italy, gallina isn't regular chicken (pollo). It's an older laying hen, and it's what Italian cooks specifically use for making the richest brodo di gallina. You'll see it sold in Italian markets labeled for broth-making, often cheaper than young chicken.
Why gallina makes superior broth: Older hens have tougher but much more flavorful meat than young chickens. The long simmering needed for broth extracts incredibly deep flavor and creates rich, golden brodo that regular chicken can't quite match.
Traditional Italian dishes that use gallina broth:
- Tortellini in brodo (classic Bolognese)
- Bollito misto (Northern Italian mixed boiled meats)
- Risotto
- Passatelli
Where to find it in the US: Italian specialty markets, some Asian markets (they use older hens too), or ask specialty butchers to source it.
The good news: Anna's technique with cinnamon and my cheese rind addition make regular chicken backs and wings taste remarkably close to traditional gallina broth. If you do find gallina, use it exactly as written in the recipe above.
Chicken Broth for Dogs (Yes, Really!)
Here's something extra you can do for your favorite furkids: plain, unseasoned (or very lightly salted) chicken broth is actually really good for dogs. Many vets and pet nutritionists recommend it, and dog owners love it as a healthy treat or meal topper.
Benefits for dogs:
- Helps with hydration, especially for dogs who don't drink enough water or are recovering from illness
- Provides joint-supporting nutrients from the gelatin and collagen
- Can help settle upset stomachs
- Makes dry kibble more appealing for picky eaters
- Provides easy-to-digest nutrients for sick or senior dogs
How to make chicken broth safe for dogs:
The main difference is you need to omit or drastically reduce the salt and skip the onion (onions are toxic to dogs because they damage their red blood cells causing anemia😢). Here's the best approach when you want to make a batch for your pooch:
- Use chicken bones/backs/wings as usual
- Skip the onion entirely
- Keep the carrots and celery (totally safe for dogs)
- Skip the cinnamon and cheese rind (not harmful, but unnecessary to "waste" on your dogs)
- Use very little salt or none at all
- Skim off most of the fat after cooking
How to serve it to dogs:
- Pour a few tablespoons over their regular kibble as a flavor boost
- Freeze in ice cube trays for a refreshing summer treat
- Mix with their food when they're being picky eaters
- Serve warm (not hot!) when they're sick or recovering
Important notes: Always check with your vet first, especially if your dog has any health conditions. And NEVER give dogs store-bought broth-even "low-sodium" versions often contain onion powder, garlic, excessive salt, or other ingredients that aren't safe for pets. Homemade is the only way to go for dogs!




Kelly says
I make this almost every week — sometimes twice if I'm cooking a lot of beans or grains. It's my secret weapon for adding depth to literally everything. Couscous, chicken noodle soup, refried beans, risotto — if the recipe calls for water, I reach for this instead. Once you have homemade broth on hand, you'll never go back.