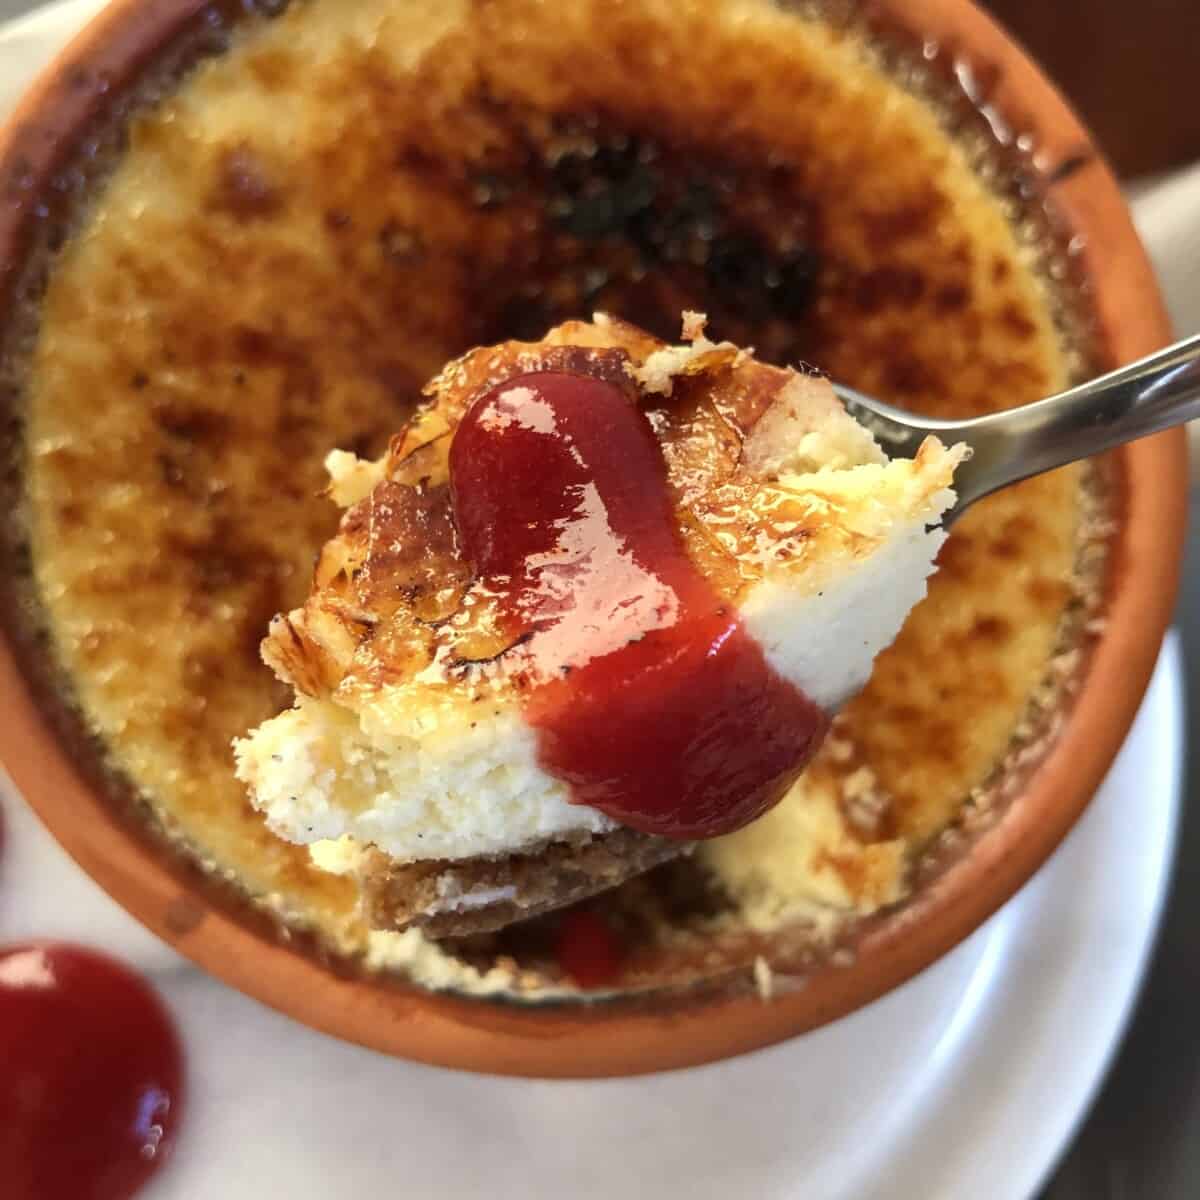
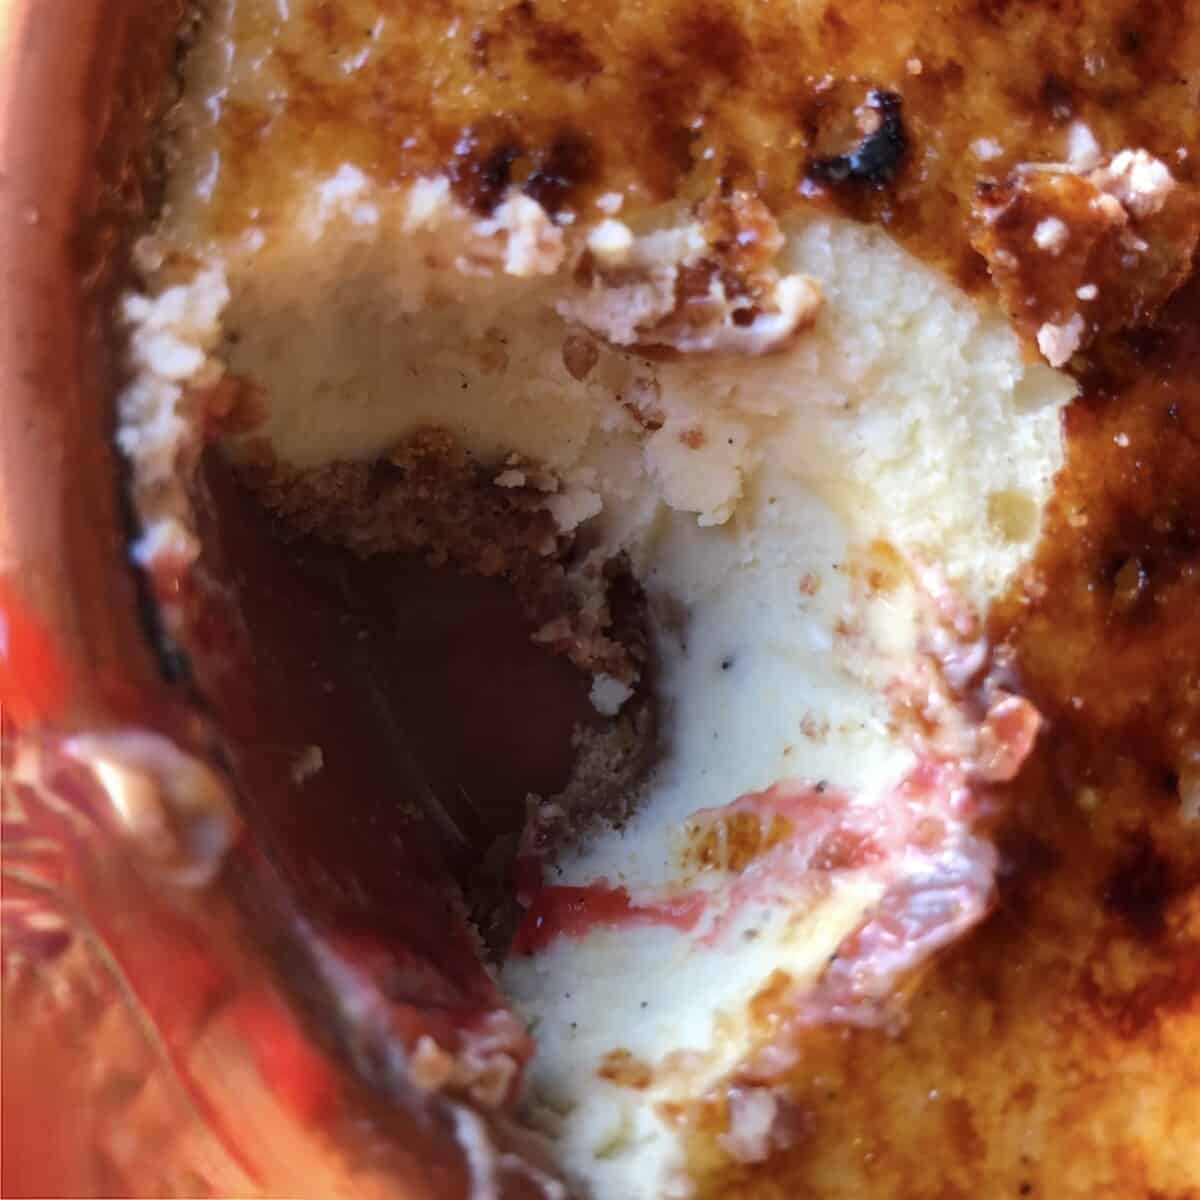
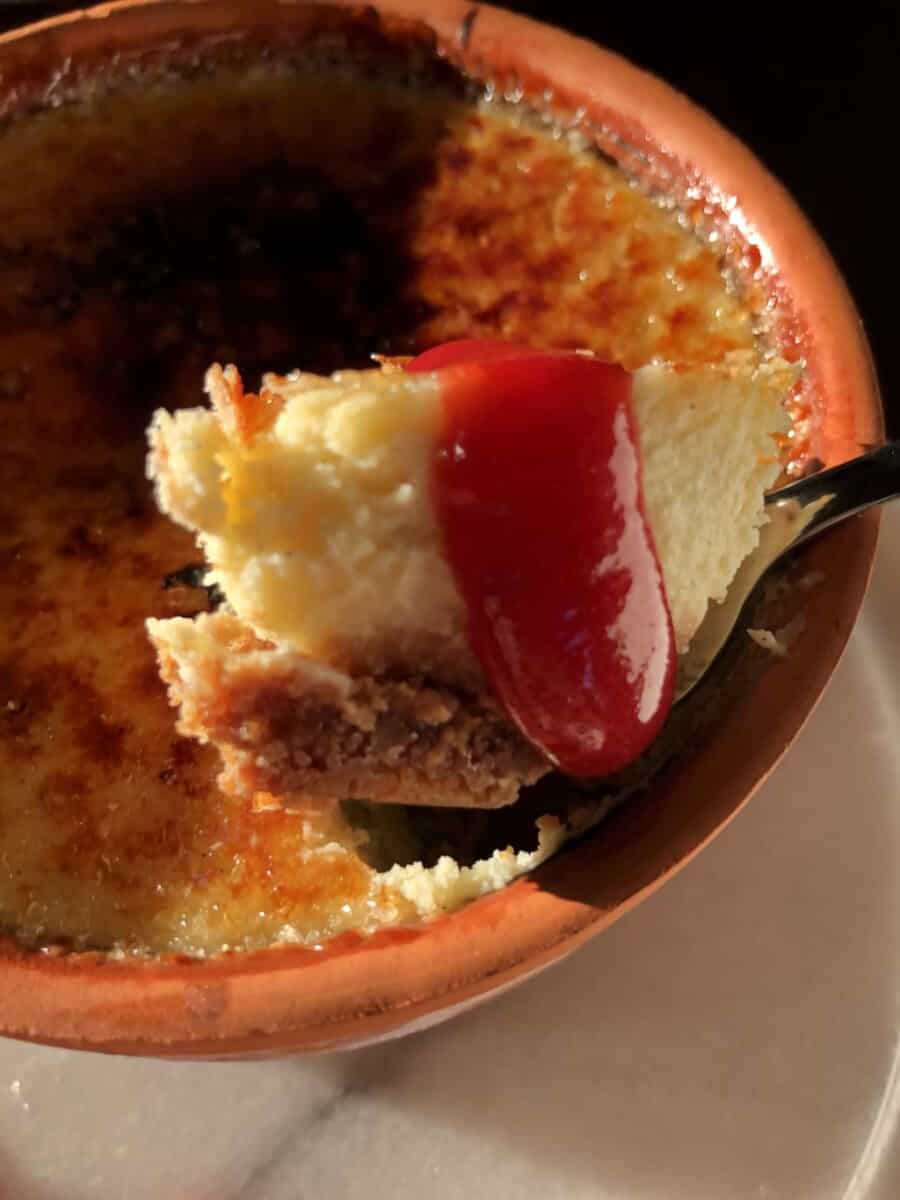
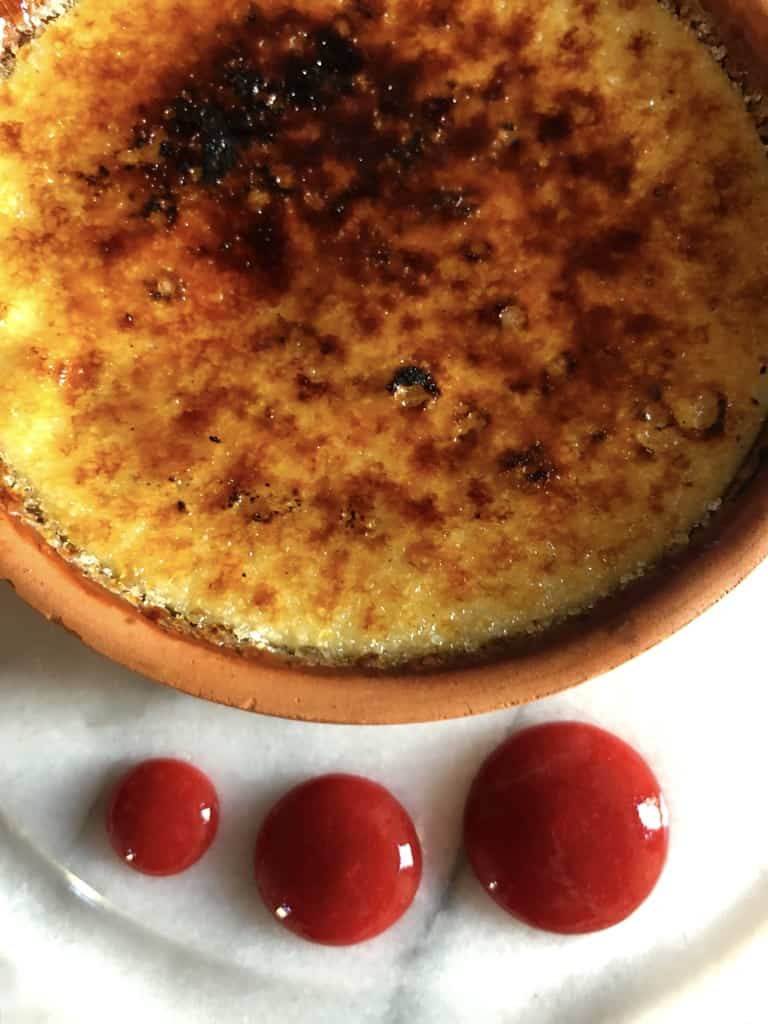
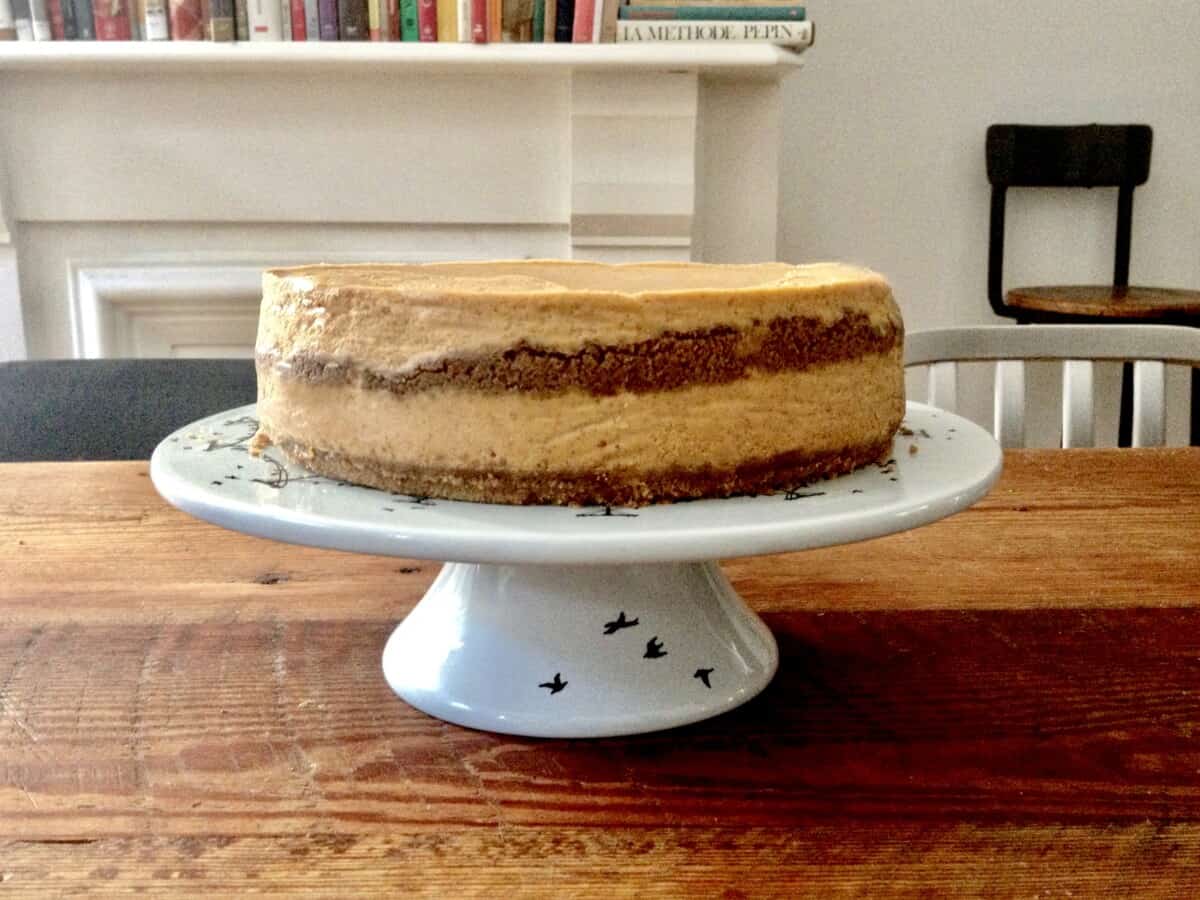
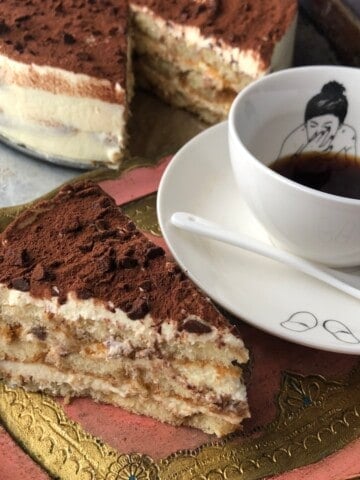
Creamy white chocolate vanilla bean filling with a Biscoff Lotus cookie crust gets brûléed to crunchy crackly perfection and served with fruity strawberry coulis in one of our all-time favorite cheesecakes (ever).

The secret to this easy cheesecake's smooth texture and flavor is the addition of Callebaut white chocolate and using equal portions of mascarpone and cream cheese. The addition of the mascarpone evens out the typical cream cheese tang and creates a perfectly balanced cheesecake that's full of pure cream flavor. The top is torched to get a crackly burnt sugar brûléed layer for extra texture and flavor.
Make Restaurant Quality Cheesecake at Home
I developed this easy cheesecake recipe for L's mom and sister's birthday dinner this year (their birthdays are 1 day apart). And although I'm not really a fan of eating white chocolate by itself, I 100% love to use it in baked goods and custards because it adds a smooth richness.
For this recipe, I used white chocolate and a combination of cream cheese (for its tangy quality) and mascarpone cheese (for its pure, full cream flavor). The addition of vanilla extract and vanilla bean powder, plus this two-ingredient Biscoff cookie crust and a strawberry coulis puts this cheesecake into fine-dining territory while still being easy to make.
A handheld or stand mixer makes this cheesecake recipe a cinch to pull together, but you don't have to use one. You can actually just use a whisk to make this cheesecake.
And if you don't have a brùlée torch, don't worry, this cheesecake is delicious all on its own, plus it freezes really well. For those of you new to baking or making cheesecake, I've included step-by-step recipe photos at the end of the post.
Jump to:
- Make Restaurant Quality Cheesecake at Home
- White Chocolate Cheesecake Ingredients
- How to Make the Best White Chocolate Cheesecake w/Biscoff Cookie Crust
- White Chocolate Cheesecake recipe step-by-step photos
- To Brùlée or Not to Brùlée.
- How Do You Store Cheesecake?
- Can You Freeze Cheesecake?
- More Easy Cheesecakes for the Holidays
- 📖 Recipe
White Chocolate Cheesecake Ingredients
Melted white chocolate is added to a mascarpone and cream cheese filling and infused with pure vanilla extract and vanilla bean powder in this delicious, easy cheesecake recipe.
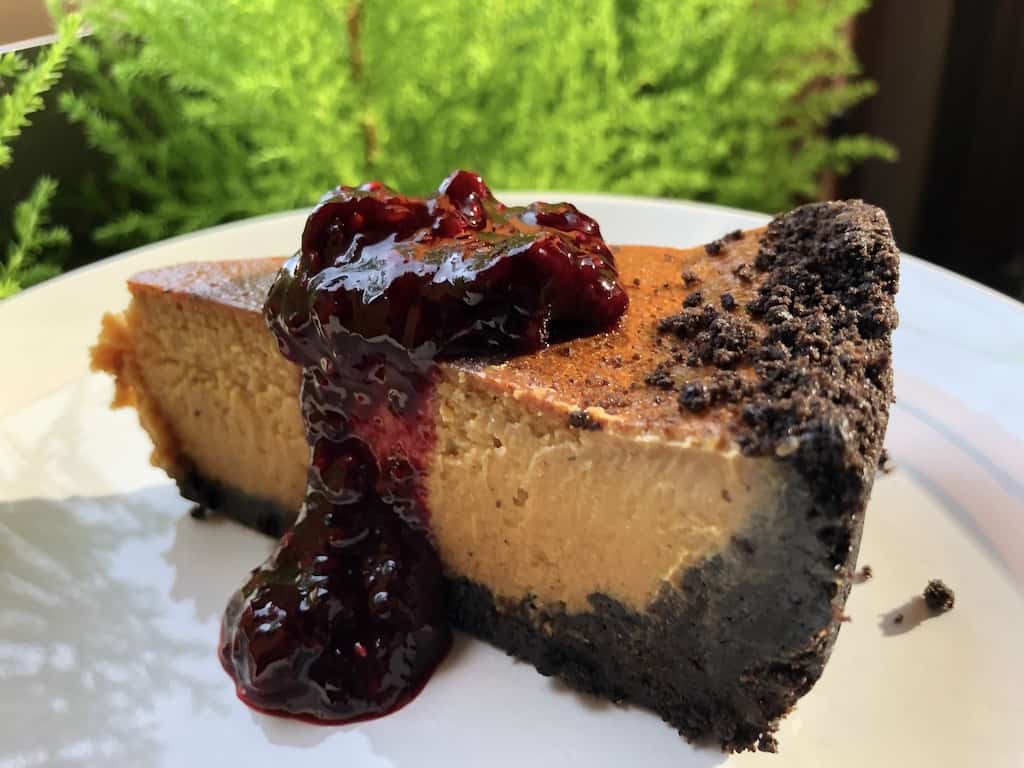
If you just want to use only cream cheese and skip the mascarpone, do it. It'll be a tiny bit tangier, but just as delicious. This sweet, silky filling is perfectly balanced by Biscoff crust, but adding a homemade 10-Minute Berry (Licious) sauce or strawberry sauce puts this cheesecake into next-level territory.
Biscoff cookie crust ingredients
- 1 package of Biscoff Cookies (250g)
- 5 tablespoons butter, melted (70g)
Cheesecake base ingredients
- 8 ounces cream cheese, room temperature (250g)
- 8 ounces mascarpone cheese (250g)
- ½ cup granulated sugar + 2 tablespoons (125g) *see notes for increasing sugar
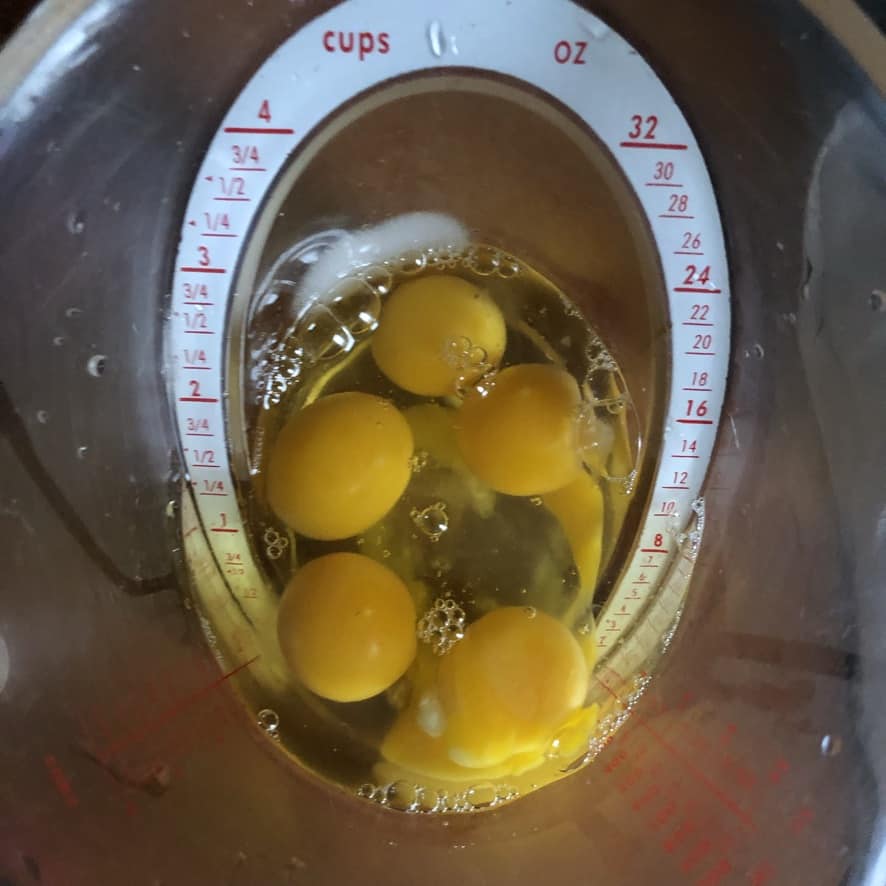
- 6 large eggs, room temperature (300g)
- 2 tablespoons sour cream, room temperature (30g)
- 2 tablespoons heavy cream (30g)
- 1 tablespoon freshly squeezed lemon juice (15g)
- 4 ounces 28% Callebaut White chocolate (113g)
- 1 ½ teaspoons pure vanilla extract (6.5g)
- ½ teaspoon vanilla bean powder** (2.5g)
- ¼ teaspoon Himalayan or sea salt (1.5g)
- 1 tablespoon all-purpose flour (10g)
Strawberry Coulis Sauce

How to Make the Best White Chocolate Cheesecake w/Biscoff Cookie Crust
Everyone's faces will light up when you bring this delicious cheesecake to the table. Add a homemade strawberry coulis or fruitti di bosco sauce and get ready for fluffy cheesecake perfection.
- Preheat oven 350°F/176°C. *See recipe notes if you plan to bake one whole cheesecake in a springform pan.
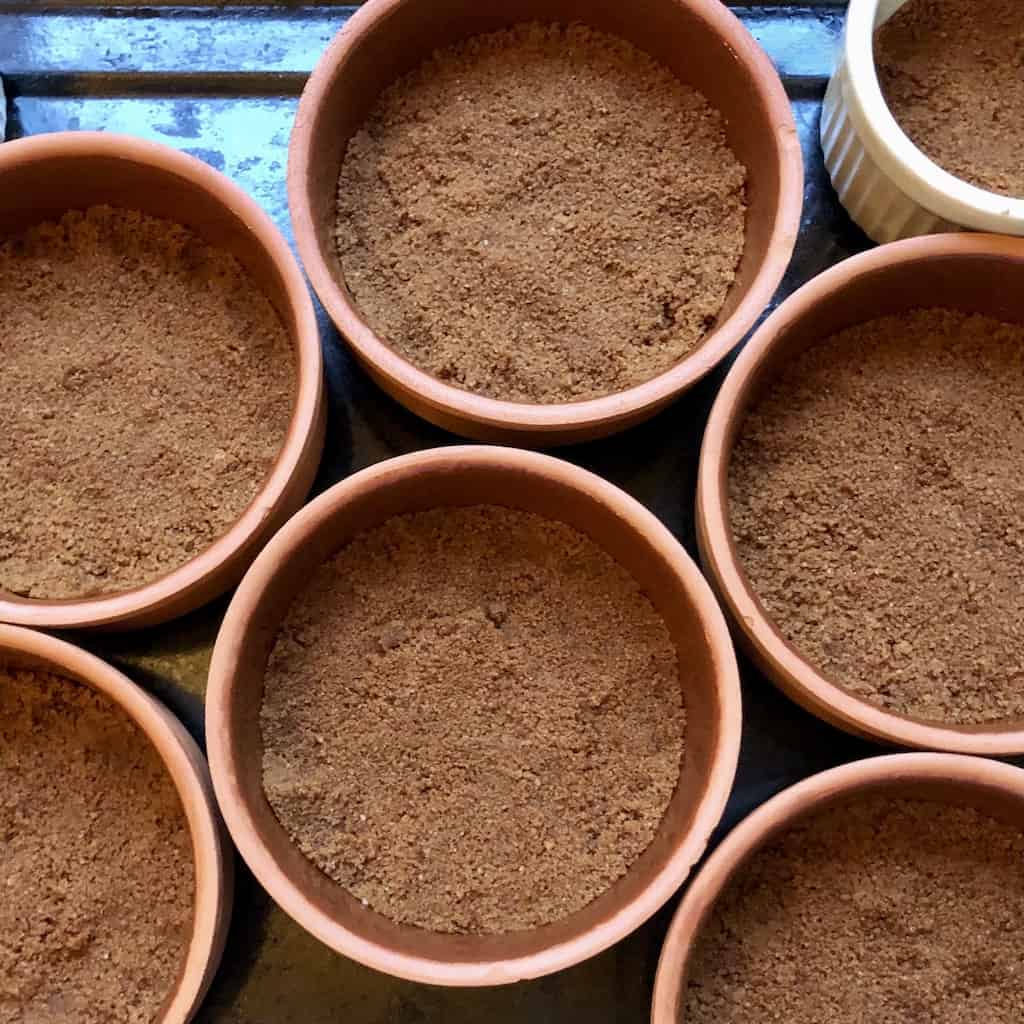
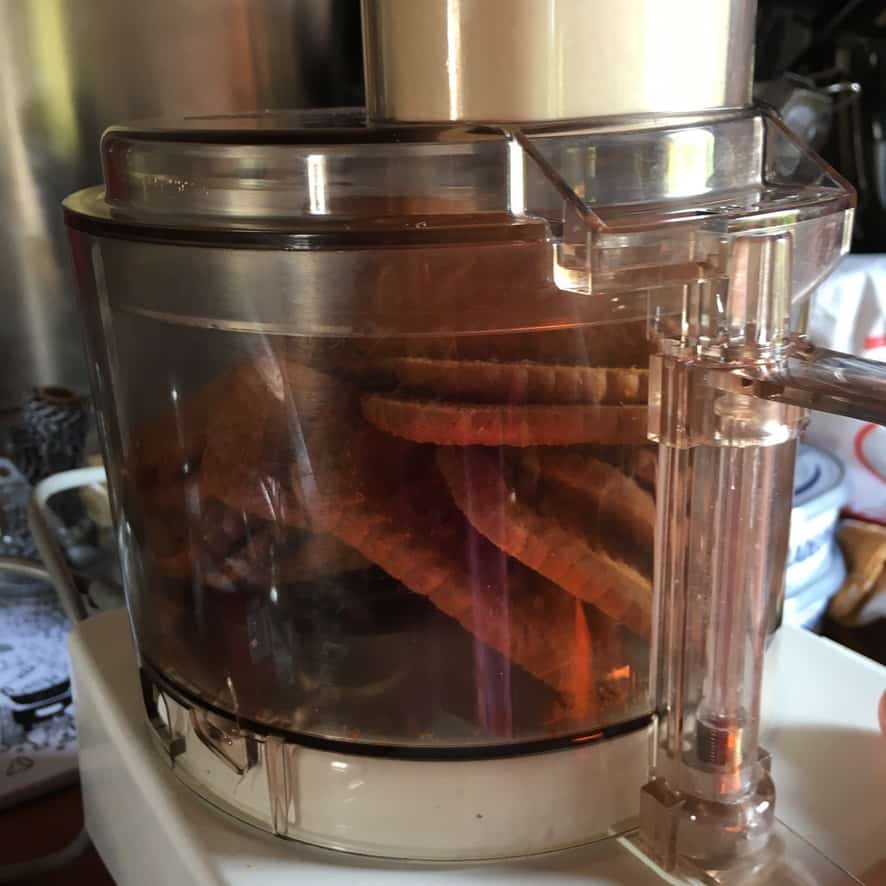
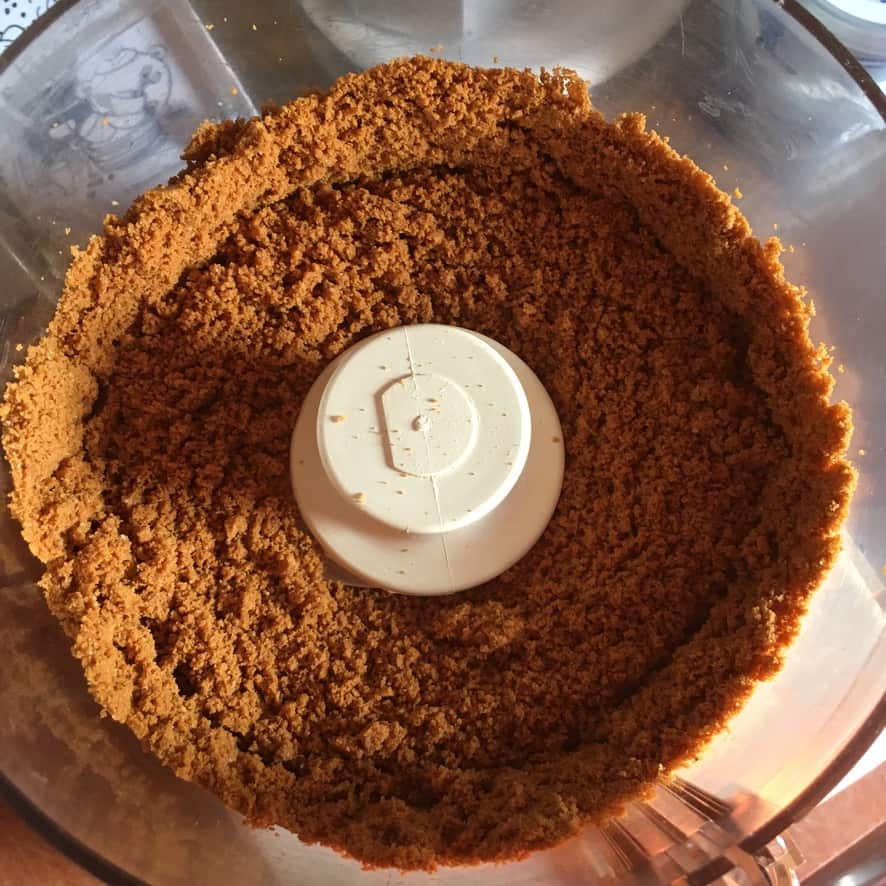
- Prepare the Biscoff cookie crust. Add the cookies to the bowl of a food processor. Pulse to crush the cookies until they resemble coarse sand. If using a plastic freezer bag and a rolling pin to crush the cookies, place the cookies into the bag, seal, and pound the cookies to crush them. Add the melted butter and combine well. Evenly distribute the cookie mixture to the ramekins (or prepared springform pan or pie plate) and press it down using the back of your hand or a jar to form a compact crust. Bake for 7 minutes, or until set. Remove from oven and place the ramekins into an oven-safe dish with deeper sides so that the mini cheesecakes can be baked in a water bath.
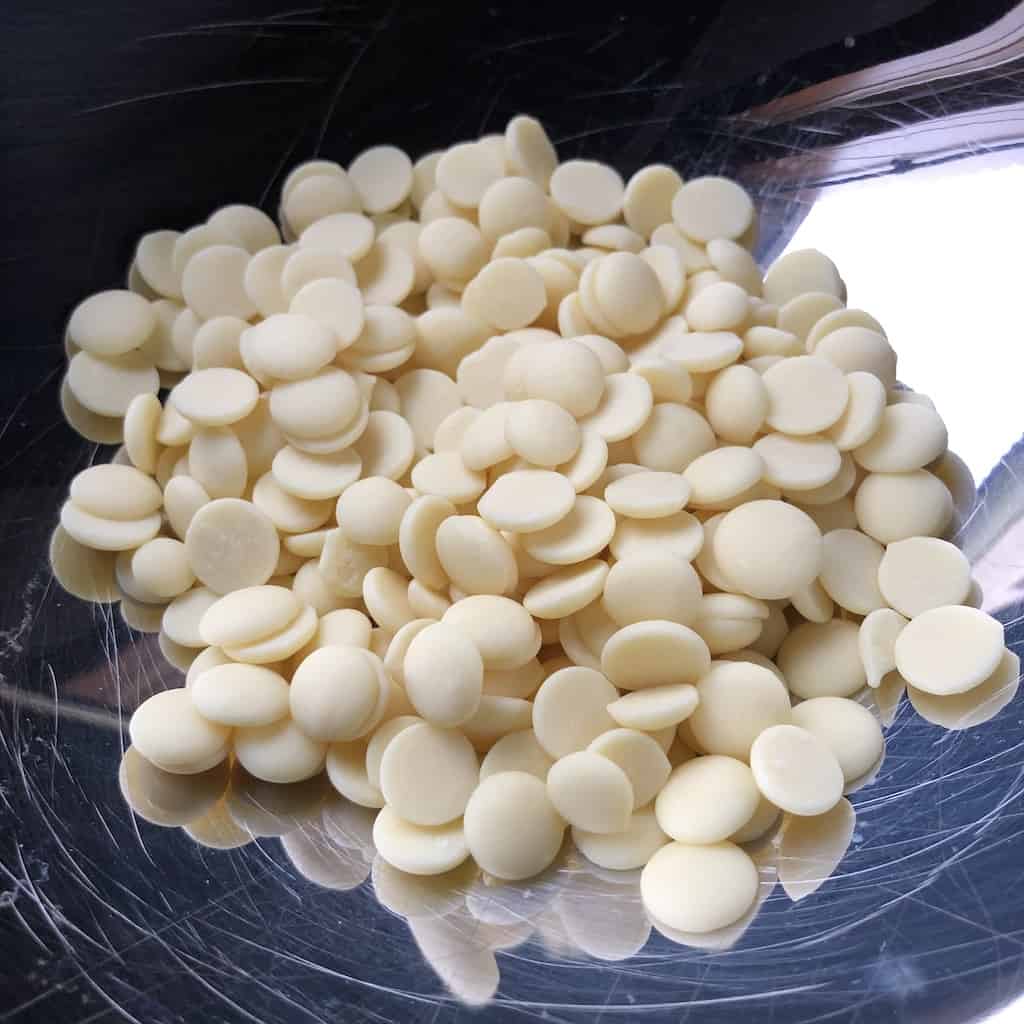
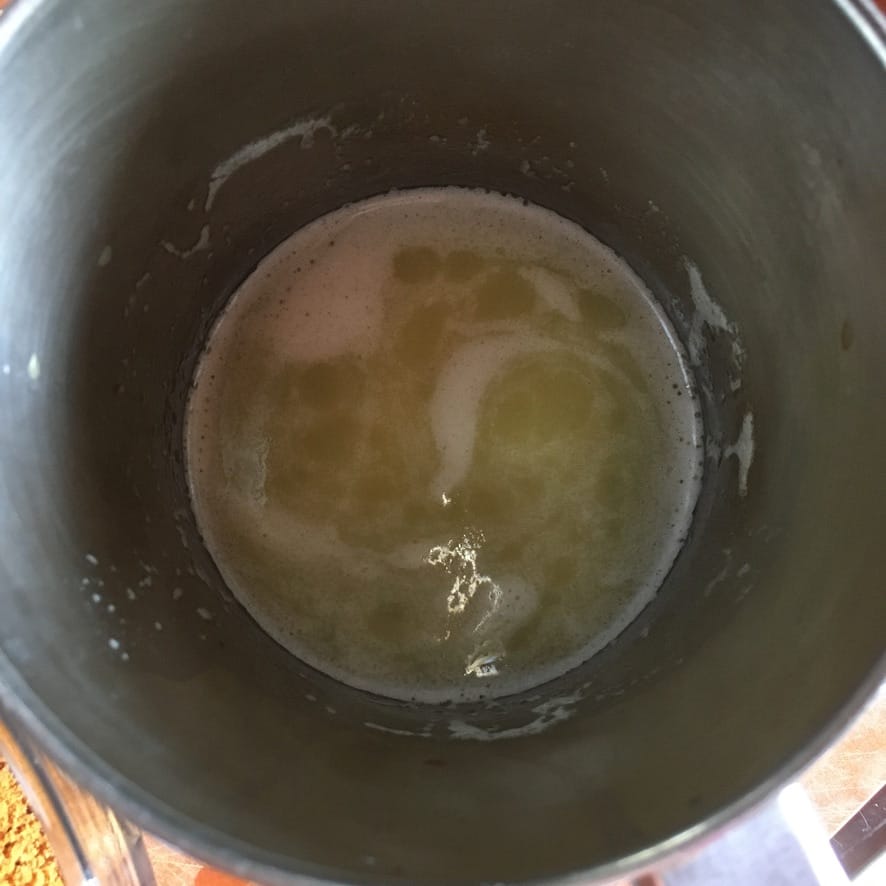
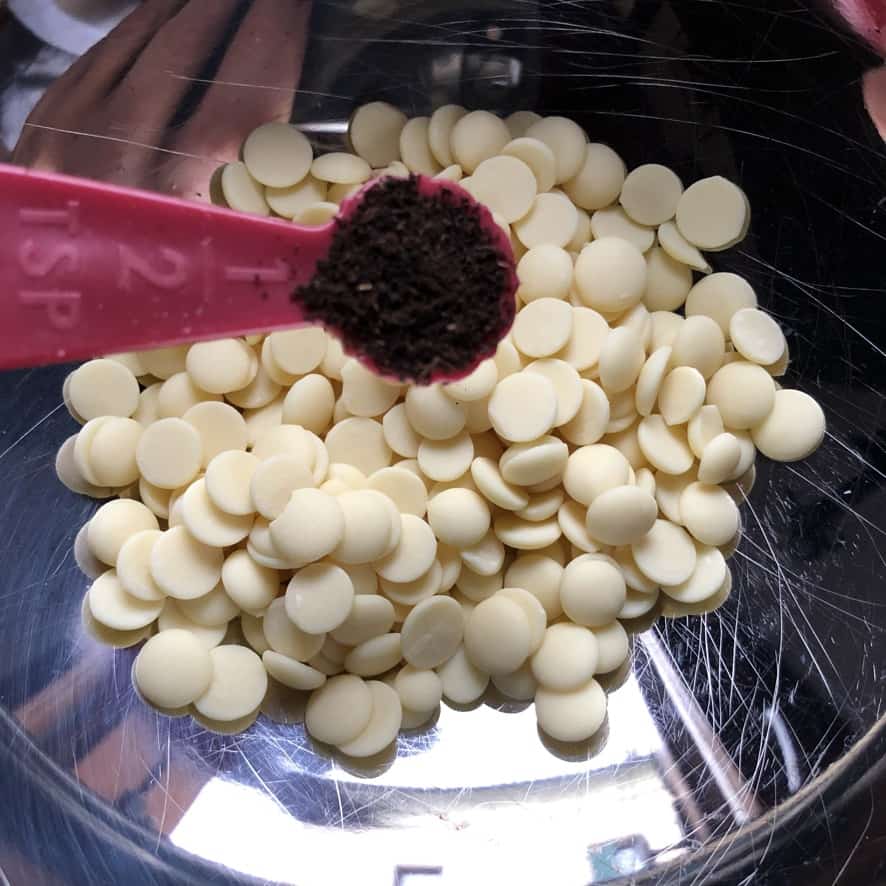
- Melt the white chocolate. Place a medium bowl over a smaller pot with water to create a double boiler making sure the sides of the bowl are wider than the pot. Melt the chocolate slowly and turn off the heat. Alternatively, you may microwave the white chocolate for a few seconds, being sure to turn it off every 5 seconds or so and stirring it. Remove as soon as it's melted.
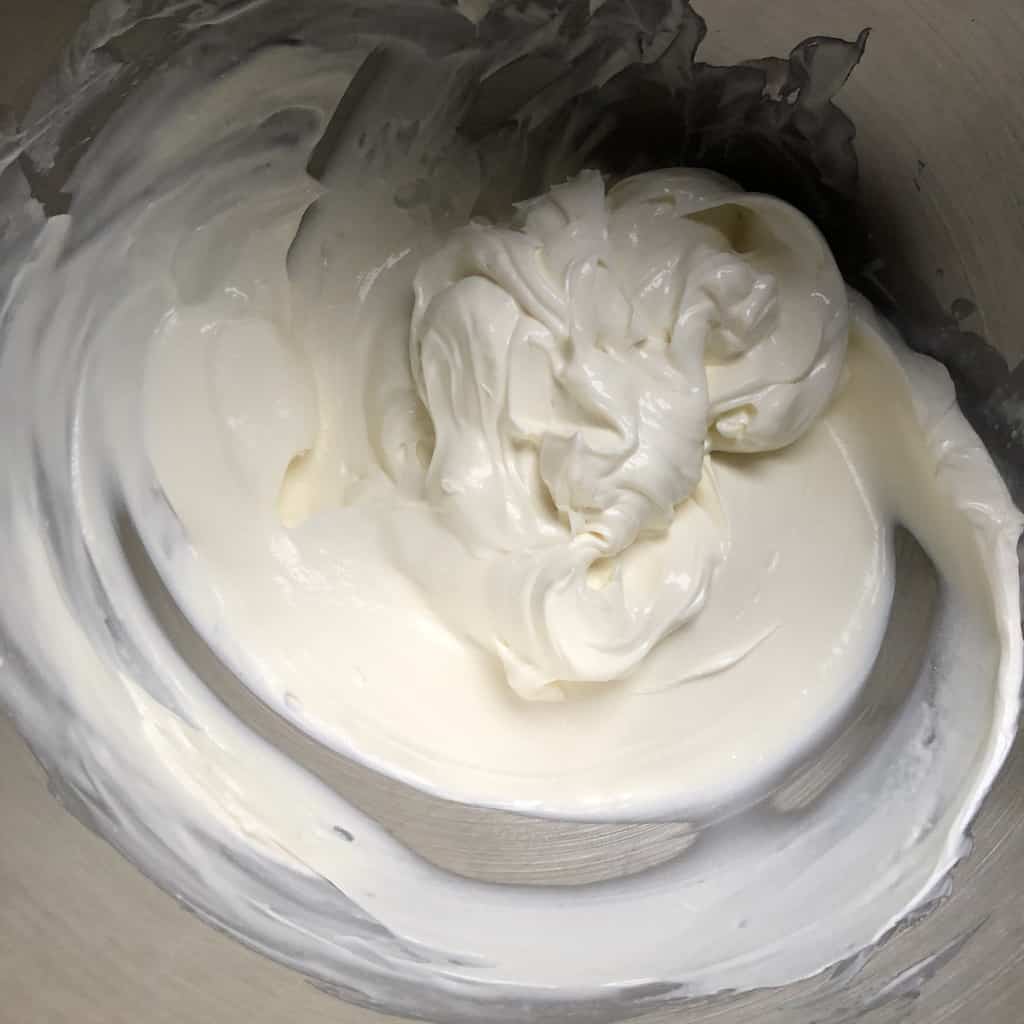
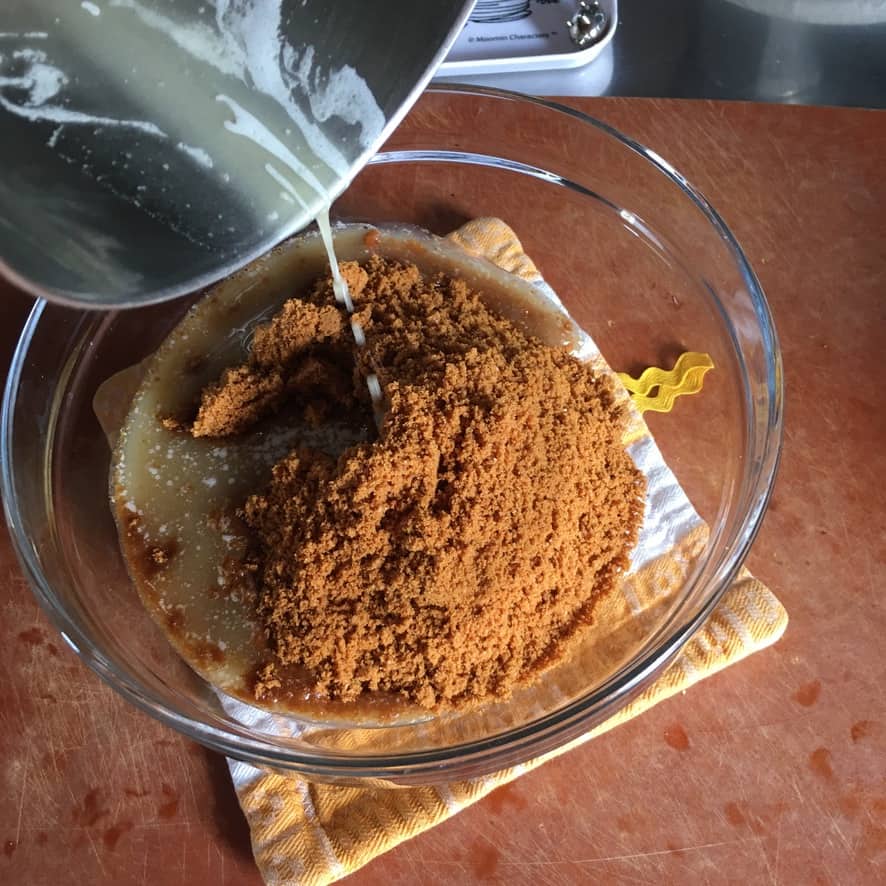
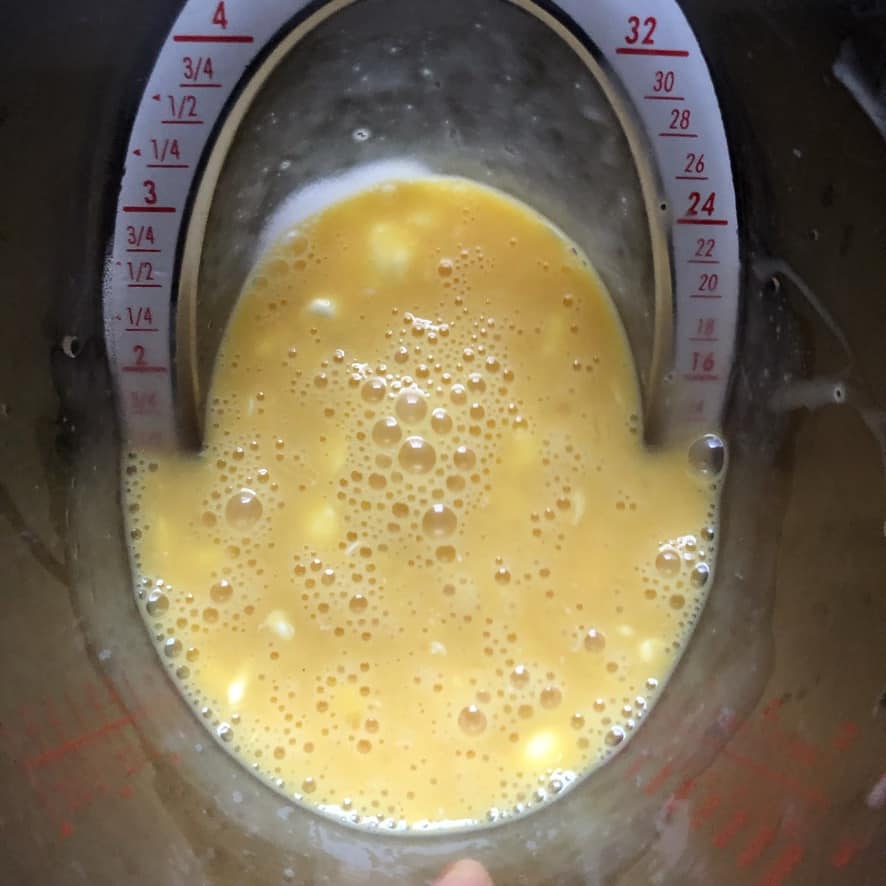
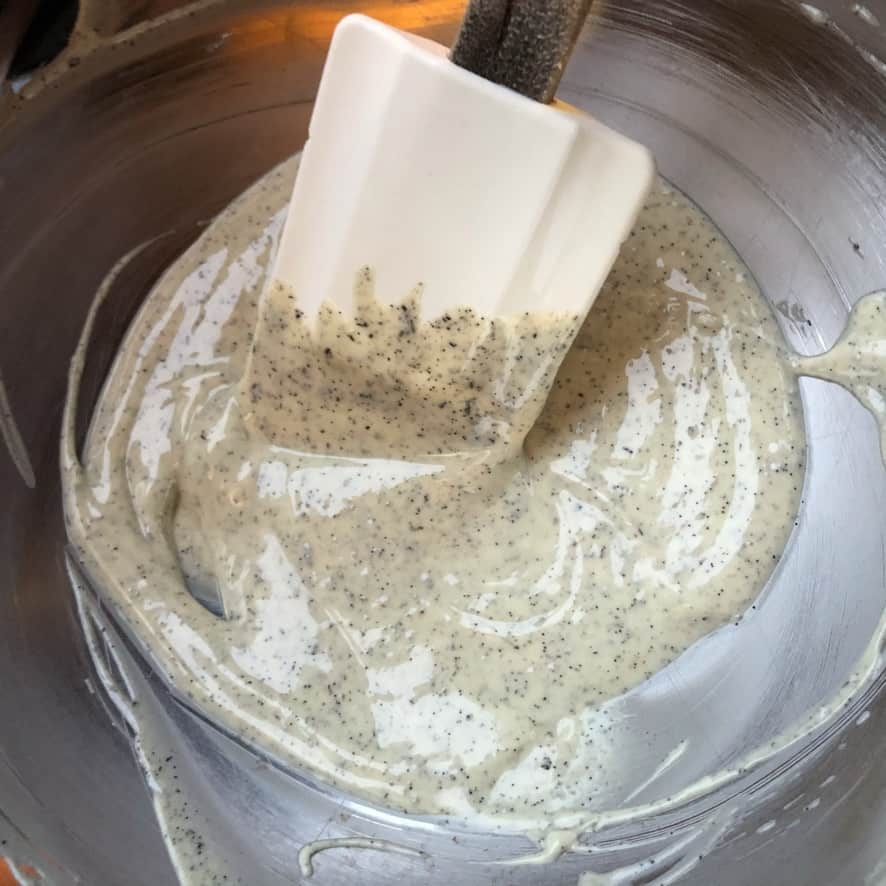
- Prepare the cheesecake base. Using a handheld mixer (or stand mixer fitted with the paddle attachment), cream the sugar, cream cheese, and mascarpone until light and fluffy about 2 minutes. Add eggs, vanilla, sour cream, and salt and mix just until combined and no traces of egg are left. Add the heavy cream and lemon juice and stir to combine using a spatula. Next, add the melted white chocolate and stir to combine. Lastly, stir in the flour until no traces of flour remain. Do not over-mix once you add the flour.
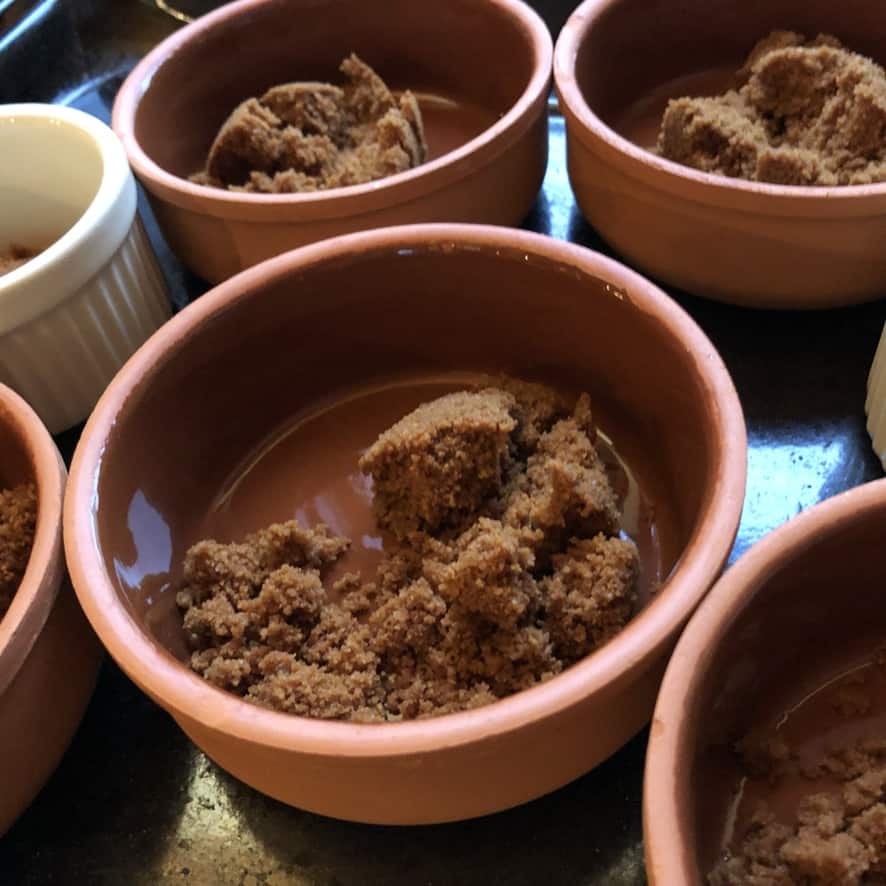
- Fill the ramekins (or springform cake pan). Evenly distribute the cheesecake batter amongst the ramekins (or pour directly into the springform cake pan if using). Give them a gentle but firm "tap-tap" to remove any air bubbles.
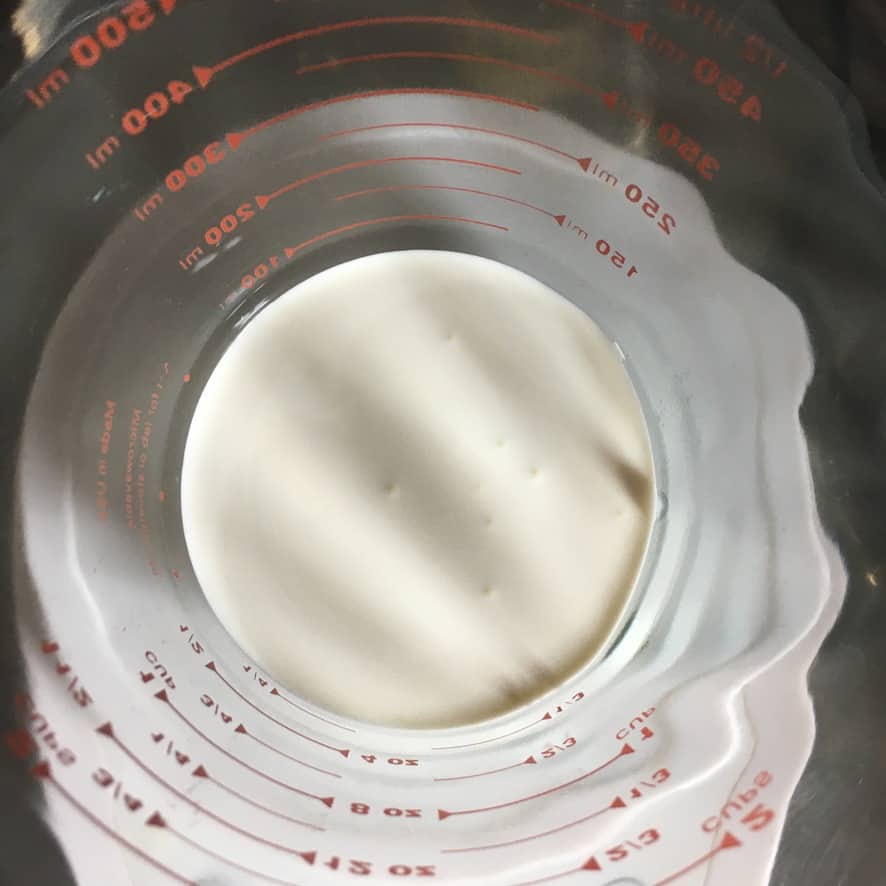
- Prepare the water bath. Heat about 1 quart/liter of water in a pot until almost boiling. Pour it into a liquid measuring cup or a pitcher with a pour spout. This will make it easier to get the hot water into the baking vessel to form the hot water bath without spilling all over the oven.
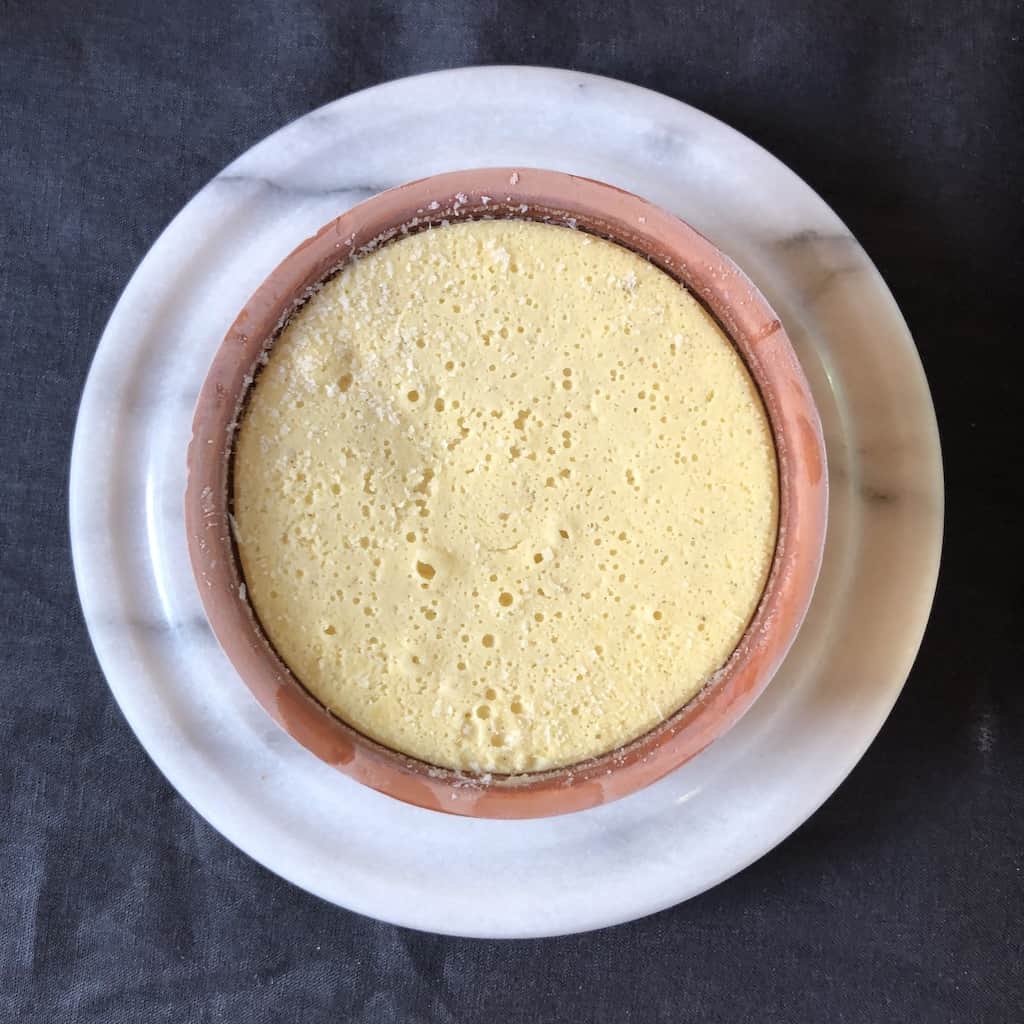
- Bake the cheesecake. Working quickly add the pan containing the filled ramekins (or springform pan) to the oven. Gently and slowly, pour the hot water into the hot water bath vessel being sure not to splash water into the cheesecake. Close the oven door and bake for approximately 25 minutes, or until the top is puffy and set, but not browned. The middle should slightly bounce or jiggle and you should be able to lightly touch the tops without it sticking to your finger when the cheesecake is ready. Remove it from the oven to a wire rack and allow to cool completely. Wrap and refrigerate for at least 5 hours and even better overnight. Serve with your favorite homemade fruit sauce like strawberry coulis or fruitti di bosco coulis Enjoy!
White Chocolate Cheesecake recipe step-by-step photos


To Brùlée or Not to Brùlée.
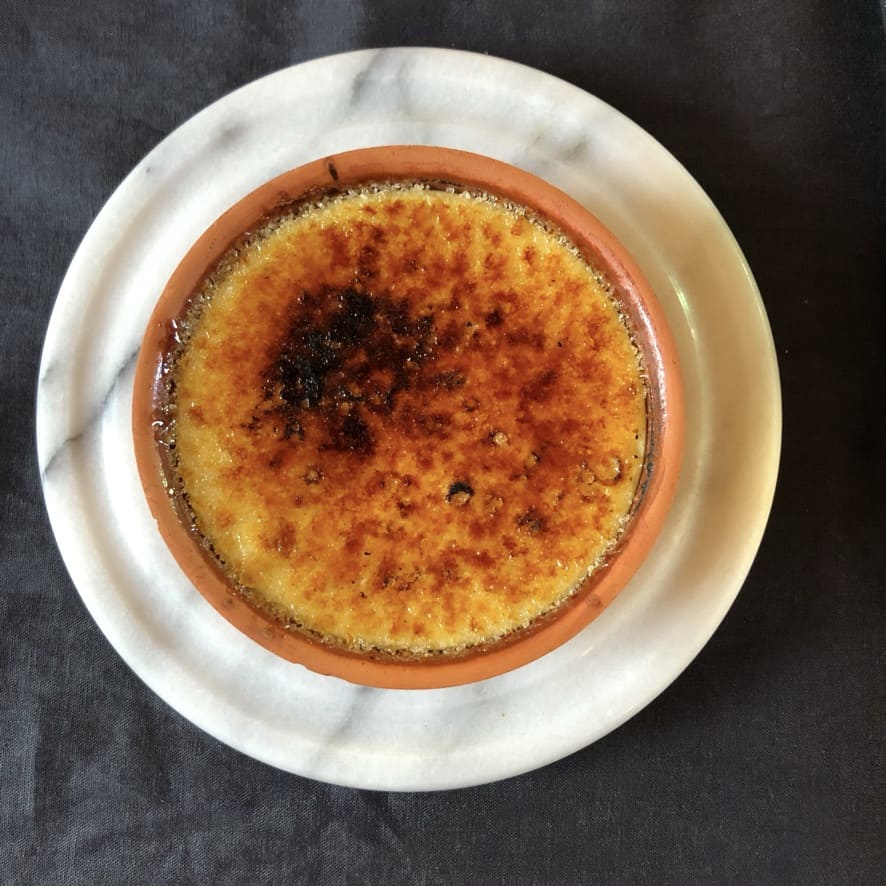
Whether or not you brùlée this cheesecake is up to you. It's delicious and restaurant-quality when eaten without the brûléed sugar. That said, if you've got a torch (or use the "hot spoon or ladle" DIY method to burn the sugar), it adds great texture and flavor.
If you do torch it, simply follow these steps to get a perfect brùlée every time. I prefer a beautifully golden brùlée with a couple of darker spots, which I think gives the best flavor, but you can burn it less for lighter, more evenly burnt sugar.
How to Properly Torch a Brùlée or Brûlée Cheesecake
- Add the sugar + spread it out. Add a spoonful of coarse dry turbinado or pure cane sugar to the cheesecake or creme brùlée and spread it out using the back of a spoon.
- Shake off the excess sugar. Tap the container on its side to remove any excess sugar. You just want a nice thin even layer of sugar on top. Too much sugar will take too long to burn and heat up the base too much. Not enough sugar, and you won't get an even, perfect crunch in every bite.
- Torch it. Using a blow torch or kitchen torch (or a heavy-duty stainless steel ladle that you've held over a flame until searing red hot), burn the sugar evenly by quickly moving your hand in a circular motion. Constantly moving your hand (the flame) keeps you from burning any one spot too long, which can result in over-burning the dessert.

How Do You Store Cheesecake?
You can store cheesecake in the refrigerator in an airtight container for just about 4 to 6 days once it's been baked and completely cooled. Just be sure that you cover it or seal it well to avoid the cheesecake from absorbing any other flavors or smells in the refrigerator.
Definitely do not store it near raw onions or other pungent ingredients. I like to portion and freeze cheesecake because you can't tell it's been frozen at all. See below for the best way to freeze cheesecake for short or long-term storage.
Can You Freeze Cheesecake?
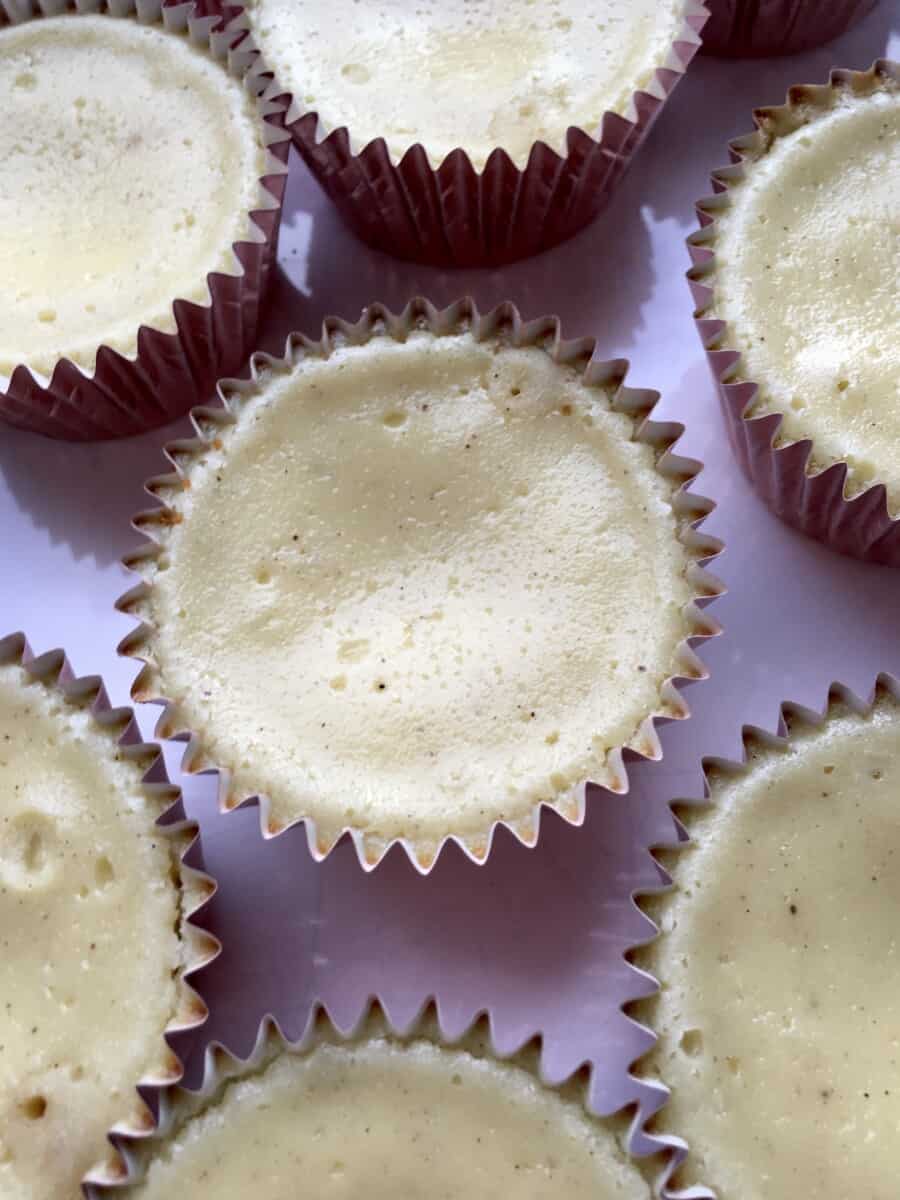
Yes, you can freeze cheesecake (see photos below), and you should because it makes it a really convenient dessert to make ahead of time. Be sure it's at room temperature or completely cold before freezin,g and use the following guidelines for whole cheesecakes, individual ramekins, or slices. This cheesecake makes a great frozen treat if you can't wait for it to thaw.
To freeze a whole cheesecake, leave the cooled cheesecake in the springform pan (or place it on a cardboard round) and wrap it securely with sustainable plastic wrap. Next, wrap it in aluminum foil and pop it into the freezer for up 1 to 2 months or longer. Thaw the whole cheesecake in the refrigerator overnight. Depending on your freezer temp and what else you keep in your freezer, cheesecake can last a lot longer than 2 months if stored properly.
To freeze ramekin or muffin-sized portions, leave the cooled cheesecake in the ramekins (or muffin foils) and wrap them securely with sustainable plastic wrap. Next, place them into a freezer bag and store them for up to 3 months or longer.
I've actually had cheesecake in the freezer for as long as 6 months, and as long as it's been stored properly, it will taste just like it was made. Thaw cheesecake in the refrigerator overnight or at room temperature until ready to eat.
To freeze sliced portions, wrap 2-3 slices of cheesecake in parchment paper or wax paper, then in sustainable cling film, and place in a freezer bag or other airtight freezer container. Thaw slices of cheesecake in the fridge overnight or on the countertop if you want to eat it immediately.

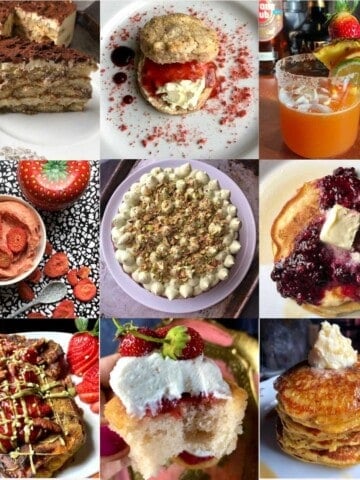
More Easy Cheesecakes for the Holidays
If you needed proof of how much we love cheesecakes and cookie crusts, look no further than below. Here are a few of our favorite and most requested recipes.
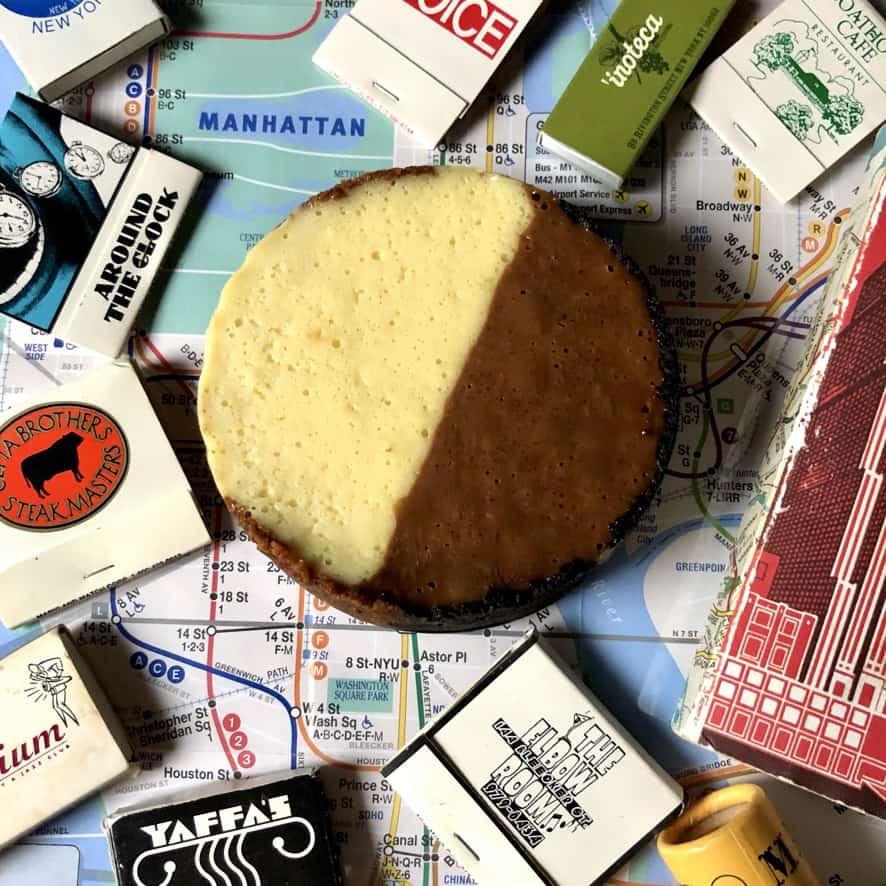
- NYC Black and White "Cookie" Cheesecake (½ & ½ Cheesecake)
- The Best Key Lime Pie with Biscoff Cookie Crust
- Reese's Devil's Food Cheesecake w/Oreo Cookie Crust
- Easy + Delicious Double Biscoff Cheesecake
- Easy Strawberry-Rhubarb Cream Cheese Pie (No-Oven Needed)
- Pumpkin Cheesecake with Chestnut Graham Cracker Crust
- Easy Classic Cheesecake w/Biscoff Cookie Crust (+Mini's)
- White Chocolate Salted Caramel Cheesecake w/Oreo CookieCrust
- Spooky White Chocolate Caramel Cheesecake w/Ghostbuster Meringues


Let's get started!
Print📖 Recipe

Creme Brûlée Cheesecake w/Biscoff CookieCrust
- Total Time: 55 minutes
- Yield: 12 Servings
- Diet: Vegetarian
Description
Creamy white chocolate vanilla bean filling with a Biscoff Lotus cookie crust gets brûléed to crunchy crackly perfection and served with my favorite strawberry coulis recipe in one of our all-time favorite cheesecake recipes(ever).
Ingredients
Biscoff cookie crust ingredients
- 1 package of Biscoff Cookies (250g)
- 5 tablespoons butter, melted (70g)
Cheesecake base ingredients
- 8 ounces cream cheese, room temperature (250g)
- 8 ounces mascarpone cheese (250g)
- ½ cup granulated sugar + 2 tablespoons (125g) *see notes for increasing sugar
- 6 large eggs, room temperature (300g)
- 2 tablespoons sour cream, room temperature (30g)
- 2 tablespoons heavy cream (30g)
- 1 tablespoon freshly squeezed lemon juice (15g)
- 4 ounces 28% Callebaut White chocolate (113g)
- 1 ½ teaspoons pure vanilla extract (6.5g)
- ½ teaspoon vanilla bean powder** (2.5g)
- ¼ teaspoon Himalayan or sea salt (1.5g)
- 1 tablespoon all-purpose flour (10g)
strawberry coulis or fruitti di bosco sauce
- one recipe strawberry coulis sauce
- one recipe Berry (Licious) sauce
*If you don't have vanilla bean powder, you may use 2 teaspoons of pure vanilla extract and omit the vanilla bean powder.
Instructions
- Preheat oven 350°F/176°C. *See note below if you plan to bake one whole cheesecake in a springform pan.
- Prepare the Biscoff cookie crust. Add the cookies to the bowl of a food processor. Pulse to crush the cookies until they resemble coarse sand. If using a plastic freezer bag and a rolling pin to crush the cookies, place the cookies into the bag, seal, and pound the cookies to crush them. Add the melted butter and combine well. Evenly distribute the cookie mixture to the ramekins (or prepared springform pan or pie plate) and press it down using the back of your hand or a jar to form a compact crust. Bake for 7 minutes, or until set. Remove from oven and place the ramekins into an oven-safe dish with deeper sides so that the mini cheesecakes can be baked in a water bath.
- Melt the white chocolate. Place a medium bowl over a smaller pot with water to create a double boiler making sure the sides of the bowl are wider than the pot. Melt the chocolate slowly and turn off the heat. Alternatively, you may microwave the white chocolate for a few seconds, being sure to turn it off every 5 seconds or so and stirring it. Remove as soon as it's melted.
- Prepare the cheesecake base. Using a handheld mixer (or stand mixer fitted with the paddle attachment), cream the sugar, cream cheese, and mascarpone until light and fluffy about 2 minutes. Add eggs, vanilla, sour cream, and salt and mix just until combined and no traces of egg are left. Add the heavy cream and lemon juice and stir to combine using a spatula. Next, add the melted white chocolate and stir to combine. Lastly, stir in the flour until no traces of flour remain. Do not over-mix once you add the flour.
- Fill the ramekins (or springform cake pan). Evenly distribute the cheesecake batter amongst the ramekins (or pour directly into the springform cake pan if using). Give them a gentle but firm "tap-tap" to remove any air bubbles.
- Prepare the water bath. Heat about 1 quart/liter of water in a pot until almost boiling. Pour it into a liquid measuring cup or a pitcher with a pour spout. This will make it easier to get the hot water into the baking vessel to form the hot water bath without spilling all over the oven.
- Bake the cheesecake. Working quickly add the pan containing the filled ramekins (or springform pan) to the oven. Gently and slowly, pour the hot water into the hot water bath vessel being sure not to splash water into the cheesecake. Close the oven door and bake for approximately 25 minutes, or until the top is puffy and set, but not browned. The middle should slightly bounce or jiggle and you should be able to lightly touch the tops without it sticking to your finger when the cheesecake is ready. Remove it from the oven to a wire rack and allow to cool completely. Wrap and refrigerate for at least 5 hours and even better overnight. Serve with your favorite homemade fruit sauce like strawberry coulis or fruitti di bosco coulis Enjoy!
*If baking one whole cheesecake in a springform pan, prepare it by buttering an 8, 9, or 10-inch springform pan and lining it with parchment paper on the bottom and sides. Proceed with the remaining instructions, and be sure to wrap the pan well with heavy-duty aluminum foil in preparation for the hot water bath. You'll also need to adjust baking times. Reference specifics in the recipe notes.
Notes
You may increase the amount of sugar used in this recipe based on your preferences. I use ½ cup + 2 tablespoons (125g) when I know I will also be adding sugar to brùlée the tops. However, if you plan to serve this as a traditional cheesecake (without the burnt sugar on top), you may increase the sugar to ¾ cup (148g). Additionally, if you have a super-duper sweet tooth, you may add up to 1 cup (200g) of sugar without changing the texture of the final dessert, but I recommend making a tart fruit sauce or coulis to help balance the sweetness of the cheesecake.
Avoid a cracked or split cheesecake by not over-mixing the cheesecake batter/base once you've added the eggs. Eggs hold air in the batter, which can cause the cheesecake to rise too much during baking, causing it to crack.
How to prepare the cheesecake pan for surviving the water bath it cooks in. If baking this cheesecake in a springform pan vs individual ramekins, use heavy-duty aluminum foil with a large enough surface area that it will not only cover the bottom of the pan but will also come up the sides around the springform pan (click over here for photos at the bottom of this post). Apply approximately 3 layers of aluminum foil to ensure no water will seep into the cheesecake while cooking. You will also need to increase the baking time from 25 minutes to approximately 50 minutes, or until puffed and set. I always recycle and reuse foil when it doesn't have contact with food.
How much water is needed for a cheesecake water bath? You only need to ensure that the water comes up 1-2" on the sides of the cheesecake baking pan or vessel. There needs to be just enough water to ensure even cooking throughout. So, for smaller individual ramekin dishes, 1 inch of water coming up the sides is enough. For larger springform whole cheesecakes, it's best to have at least 2 inches of water coming up the sides.
Make mini cheesecakes by using mini cheesecake molds or springform pans. You can even use foil or silicone muffin liners and a muffin pan to make smaller portions. Adjust the baking time accordingly.
If you make the 10-Minute Berry (Licious) Sauce, you should pass it through a sieve (fine mesh strainer) to remove the seeds if you want a smooth more refined sauce. This sauce is more tart than the strawberry sauce and makes a great alternative to the strawberry coulis.
How to temper and brùlée a frozen cheesecake. The easiest way to ensure the cheesecake stays cold while you torch it to create the burnt sugar top is by making sure it's super cold before burning it. You can accomplish this by either freezing the cheesecake or by placing a refrigerated cheesecake in the freezer for 15-20 minutes before burning it. I like to remove a ramekin from the freezer, let it sit out for 4-5 minutes, add the sugar, torch it, and then wait 5-10 minutes to eat it. Play around with your own preferred methods and temperatures.
Substitute the 8-inch springform pan for a 9 or 10-inch pan if you want. Make the following adjustments to the crust and baking times if you do.
-
- 9-inch pan: Only bring the cookie crust ⅓ of the way up the sides of the pan. Bake cheesecake for approximately 50 minutes.
- 10-inch pan: Spread out the cookie crumbs out just to cover the bottom of the pan and bake for 40-50 min.
- Prep Time: 30 minutes
- Cook Time: 25 minutes
- Category: Cakes + Tortes
- Method: Oven Bake
- Cuisine: American
Nutrition
- Serving Size: 1 slice
- Calories: 452
- Sugar: 25g
- Sodium: 248mg
- Fat: 32g
- Saturated Fat: 18g
- Unsaturated Fat: 14g
- Trans Fat: 0g
- Carbohydrates: 33g
- Fiber: 0g
- Protein: 8g
- Cholesterol: 155mg


Gabriel says
This is the most decadent dessert I've ever pulled off! The hardest part was waiting until the next day to check the results🤗. The white chocolate makes the cheesecake extra silky, and my kids thought that torching the sugar on top was especially cool:)