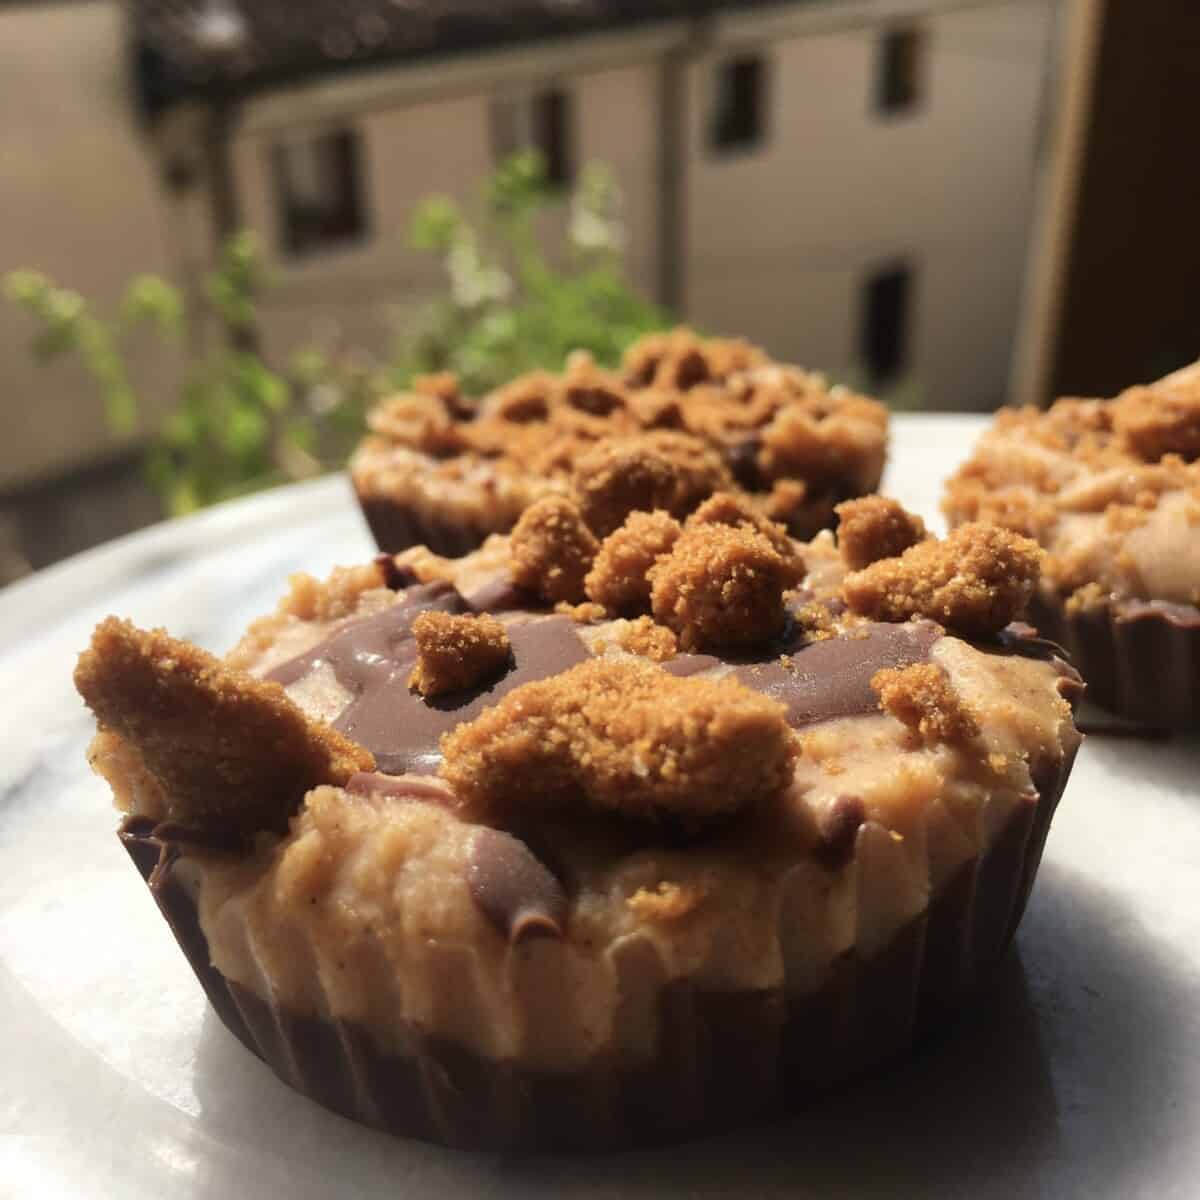
These easy and delicious homemade peanut butter cups with a twist are for anyone who loves chocolate, peanut butter, Biscoff cookies, or Reese's Peanut Butter Cups. A mixture of 70% dark chocolate and milk chocolate, and a layer of crunchy Biscoff cookies, adds both texture and flavor throughout. But the real star is the creamy vanilla bean-flecked peanut butter candy middles.

The peanut butter cups are finished off with a drizzle of chocolate, just a little more Biscoff cookie crunch, and let me tell you, this is seriously good. So good, I had to put them in the freezer to stop eating them (which was a bad idea because then I found out how good they were cold). If you have a sweet tooth, don't make them or find a hiding place for them because they're hard to resist.

What is a Biscoff Peanut Butter Cup?
Many versions of peanut butter squares and balls (similar to Reese's Peanut Butter Cups) have been around forever. We rarely had a family get-together where someone didn't bring a Tupperware full of homemade peanut butter cup squares or peanut butter fudge. It's all delicious and a little bit addictive.
I've been craving it lately and decided to make this version that uses some of my favorite ingredients -- high-quality chocolate, peanut butter, vanilla beans, and Biscoff cookies (one of my favorite cookies of all time) to give it a texture boost. For this recipe, I avoided using corn syrup, which is used in many of those oldy-but-goody recipes. This recipe is great for kiddos to help out with or make by themselves.


Biscoff Peanut Butter Cups Ingredients
Peanut Butter Filling
- ½ cup smooth peanut butter (or crunchy) (125g)
- 3 tablespoons unsalted butter, room temperature (42g)
- 1 cup powdered sugar (113g)
- ¼ teaspoon vanilla bean powder
- scant ⅛ teaspoon sea salt
Chocolate Cup Coating
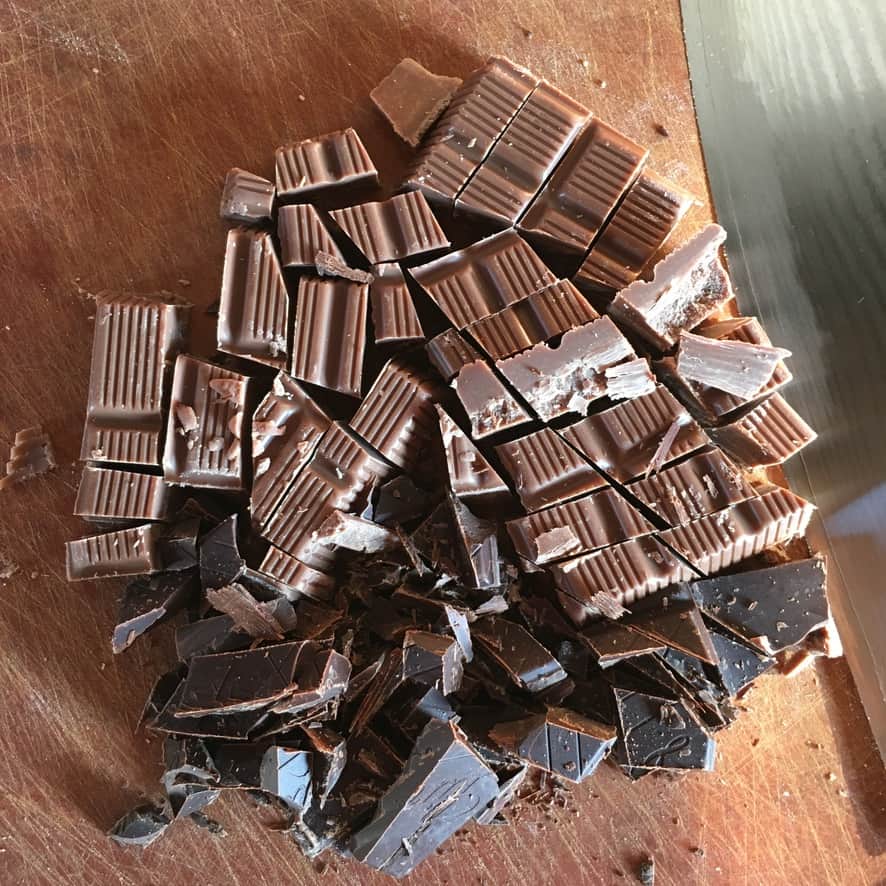
- 3 ½ ounces chocolate, chopped (100g) *I used a combination of 30g dark 70% chocolate + 70g milk chocolate, but use the chocolate you like best.
- small pinch of salt
Biscoff Middle + Topping Layer
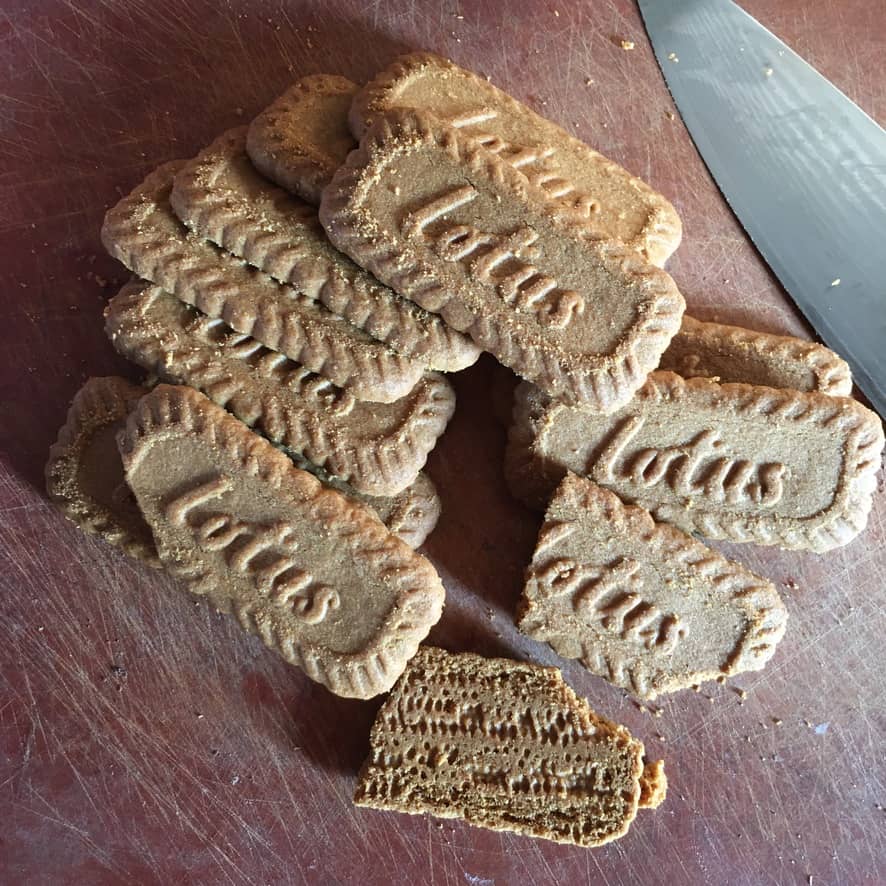
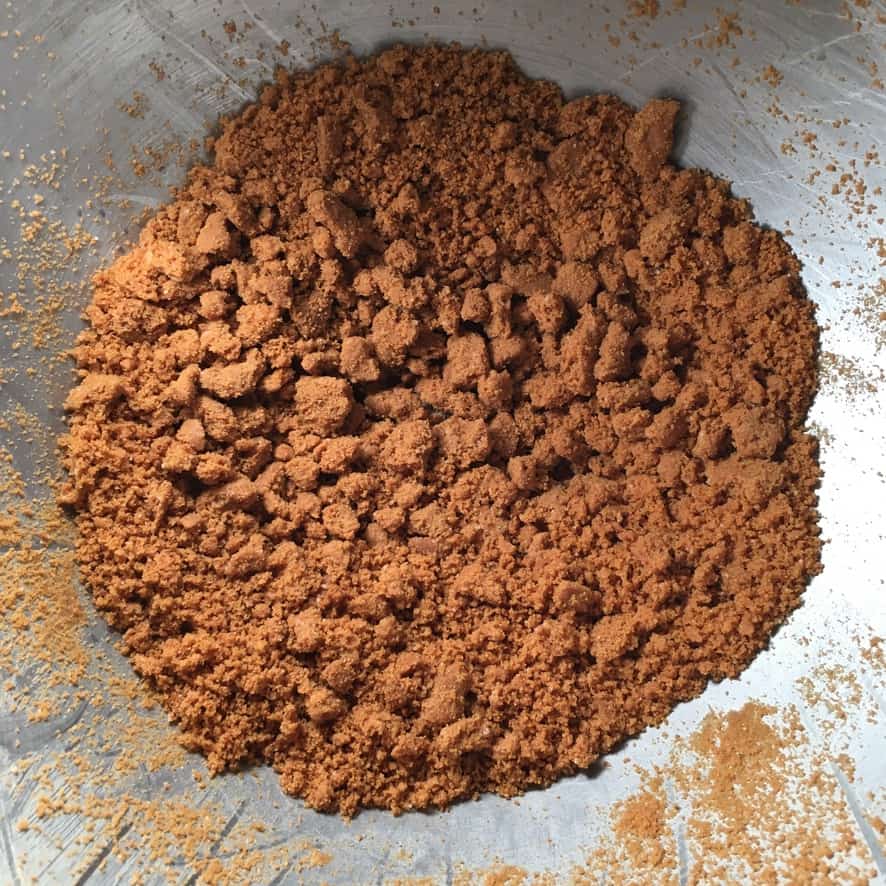
- 1 ½ to 2 ounces Biscoff cookies (about 6-7 cookies), crumbled into pea-sized pieces (50-60g)


How to Make Biscoff Peanut Butter Cups
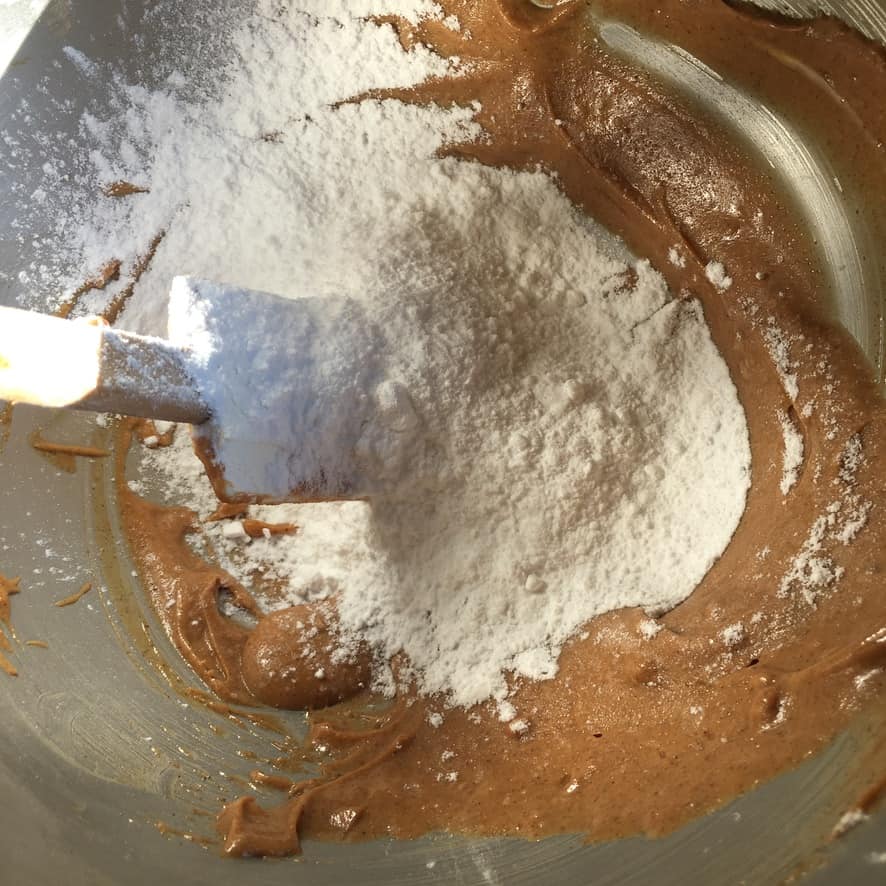
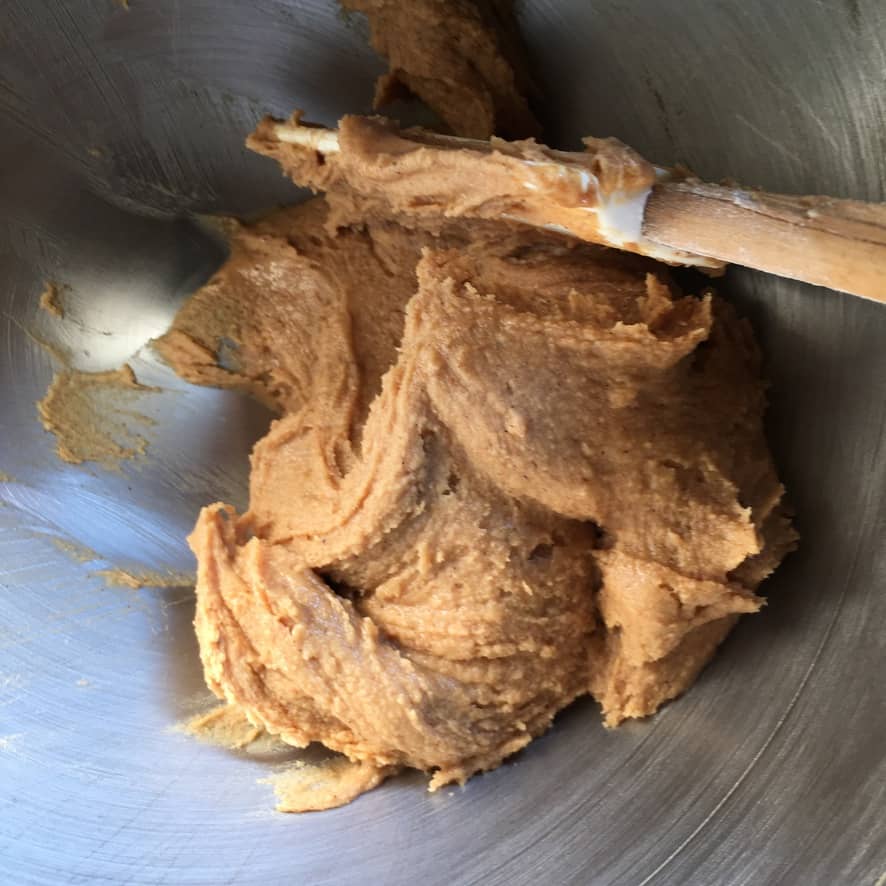
- Make the peanut butter mixture. Using a fork or a mixer combine the peanut butter, powdered sugar, butter, vanilla bean powder, and sea salt until well combined. Set aside while you make the chocolate cups
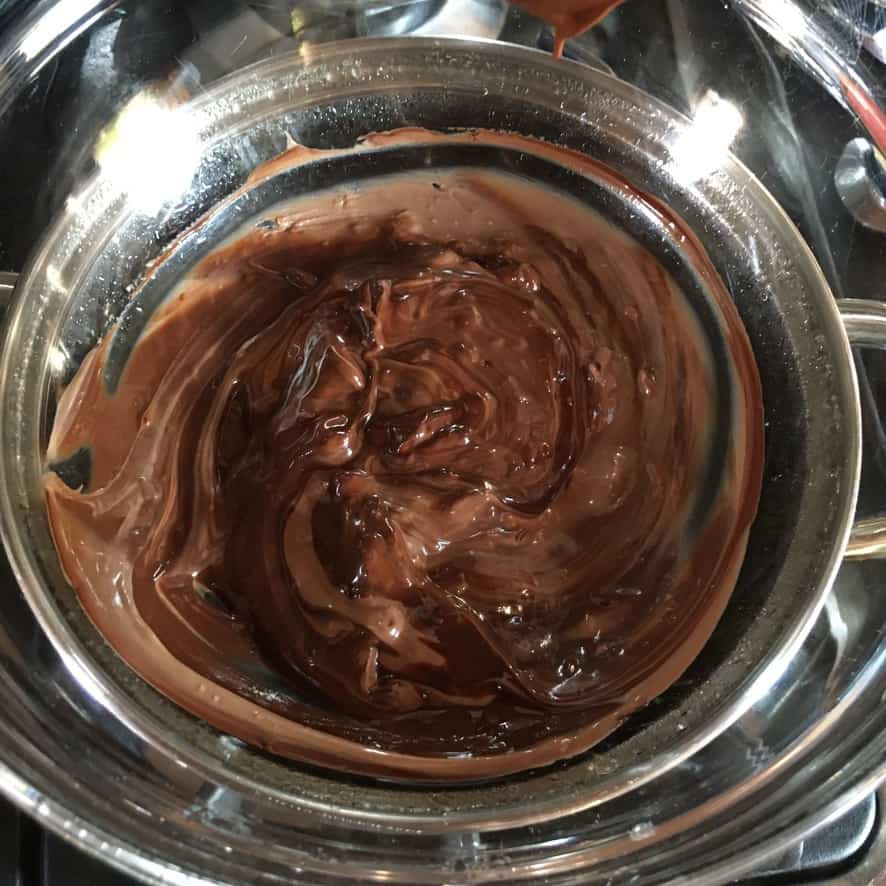
- Prep the chocolate cups. Melt the chocolate in a double boiler over low heat until completely melted and remove from the heat. Using a small spoon, drizzle equal amounts into silicone, foil, or paper cupcake liners. Spread the chocolate around as evenly as possible to cover the bottoms and partially up the sides. Leave just enough melted chocolate to drizzle over the tops of the finished peanut butter cups. Sprinkle the chocolate with crumbled Biscoff cookies (be sure to reserve about ¼ cup of the cookies to decorate the cups in the final step). Then place the cups into the fridge or freezer to firm up before adding the peanut butter filling.
- Add the peanut butter filling When the chocolate layer has firmed up, use a small dessert spoon to distribute the peanut butter mixture as evenly as possible to each cup and spread the mixture to the edges.
- Decorate the tops. Drizzle any remaining chocolate over the peanut butter cups and sprinkle each one with the remaining cookie crumbles. Store peanut butter cups in an airtight container in the fridge or freezer to allow the cups to firm up. When cups are ready, remove them from the liner and Enjoy!
Biscoff Peanut Butter Cups recipe step-by-step instructions & photos


Add-Ins for your Biscoff Peanut Butter Cups
We love anything Biscoff, and marrying it with peanut butter and chocolate makes a really great homemade candy. There are plenty of other flavors and textures you can personalize and enhance your homemade peanut butter cups with. Here are just a few.
- Cornflake Crunch
- ½ cup Rice Krispies cereal
- peanut butter chips
- unsweetened shredded coconut
- toasted nuts (macadamia, pecans, peanuts, walnuts, almonds)
- chia seeds

Biscoff Peanut Butter Cups tips + tricks + FAQ's
- Why use a scale versus measuring cups and spoons? Using a scale to measure ingredients produces more consistently reliable results versus measuring cups. Plus, it makes measuring ingredients quicker and there's less mess to clean up.
- Why are room temperature ingredients important for making Peanut Butter Cups? Room temperature ingredients like butter and peanut butter used in this recipe make it easier to combine all of the ingredients together to form a smooth cohesive mixture.
- Can I make Peanut Butter Cups ahead and freeze them? Yes, these Biscoff Peanut Butter Cups freeze extremely well and taste just as good when frozen. Leave them in the fridge overnight or at room temperature for a few minutes and you have a peanut butter cup ready any time.
- What's the best way to store peanut butter cups? The best way to store peanut butter cups is in an airtight container in the refrigerator for up to 5 days (if they last that long!). Alternatively, you can freeze them in an air-tight container until ready to eat.
- Who invented peanut butter cups? Harry Burnett (H.B.) Reese invented the first Peanut Butter Cup in 1928. Mr. Reese was an ex-employee of the Hershey Chocolate Company when he invented REESE'S peanut butter candy. Also, fun fact, he had 16 children!
- Is it safe for dogs to eat Peanut Butter Cups? According to Reese's website, since Peanut Butter cups contain chocolate, they shouldn't be consumed by dogs. But I'd also assume that the high sugar content in peanut butter cups would a good enough reason not to give it to your favorite pooch or pup.


Looking For Something Else Sweet to Eat?
Here are a few more of our favorite desserts we think you'll enjoy.
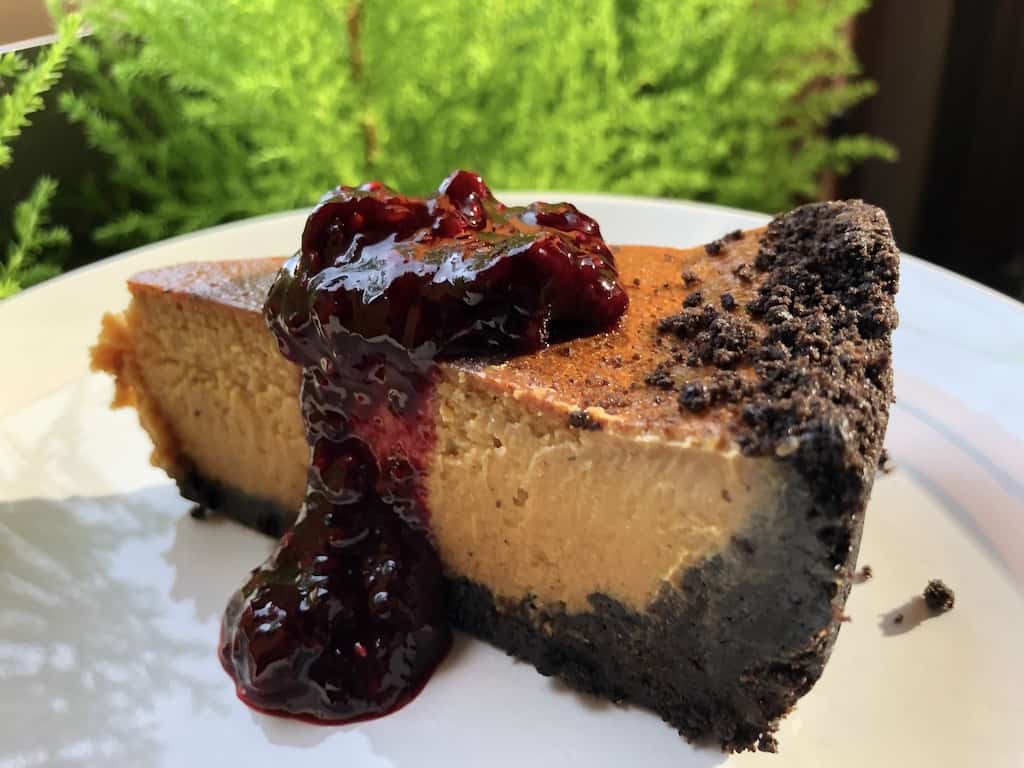
- White Chocolate Creme Brûlée Cheesecake w/Biscoff Cookie Crust
- White Chocolate Caramel Cheesecake w/Oreo CookieCrust
- Strawberry Shortcake Scones w/Jam + Clotted Cream
- Bakery Style Pan-Banging Chocolate Chip Cookies
- Crispy + Flaky Southern Fried Cherry Pies (Best Ever)
- Super Fudge Biscoff Brownies w/Cornflake Crunch
- Incredibly Moist and Easy Carrot Cake (best carrot cake recipe ever)
- Double Oreo (Cookies + Cream) Chocolate Chunk Cookies
Let's get started!
Print📖 Recipe

Biscoff Peanut Butter Cups (Better than Reese's)
- Total Time: 20 minutes
- Yield: 10-12 Peanut Butter Cups
- Diet: Vegetarian
Description
All fans of Reese's Peanut Butter Cups, rejoice! This recipe is for you. It's crunchy, smooth, and all-around yummy! This slightly elevated version of a childhood favorite candy is SO easy to make at home it's hard to believe. Plus, you know exactly what's in it and that always makes us feel better here at Biting. If you're hankering for your favorite peanut butter cup, make this recipe tonight!
Ingredients
- ½ cup smooth peanut butter (or crunchy) (125g)
- 3 tablespoons unsalted butter, room temperature (42g)
- 1 cup powdered sugar (113g)
- ¼ teaspoon vanilla bean powder
- scant ⅛ teaspoon sea salt
- 3 ½ ounces chocolate, chopped (100g) *I used a combination of 30g dark 70% chocolate + 70g milk chocolate, but use the chocolate you like best.
- small pinch of salt
- 1 ½ to 2 ounces Biscoff cookies (about 6-7 cookies), crumbled into pea-sized pieces (50-60g)
Instructions
- Make the peanut butter mixture. Using a fork or a mixer combine the peanut butter, powdered sugar, butter, vanilla bean powder, and sea salt until well combined. Set aside while you make the chocolate cups
- Prep the chocolate cups. Melt the chocolate in a double boiler over low heat until completely melted and remove from the heat. Using a small spoon, drizzle equal amounts into silicone, foil, or paper cupcake liners. Spread the chocolate around as evenly as possible to cover the bottoms and partially up the sides. Leave just enough melted chocolate to drizzle over the tops of the finished peanut butter cups. Sprinkle the chocolate with crumbled Biscoff cookies (be sure to reserve about ¼ cup of the cookies to decorate the cups in the final step). Then place the cups into the fridge or freezer to firm up before adding the peanut butter filling.
- Add the peanut butter filling When the chocolate layer has firmed up, use a small dessert spoon to distribute the peanut butter mixture as evenly as possible to each cup and spread the mixture to the edges.
- Decorate the tops. Drizzle any remaining chocolate over the peanut butter cups and sprinkle each one with the remaining cookie crumbles. Store peanut butter cups in an airtight container in the fridge or freezer to allow the cups to firm up. When cups are ready, remove them from the liner and Enjoy!
Notes
- If using salted butter in the peanut butter mixture, simply omit the scant ⅛ teaspoon sea salt called for in the recipe.
- For chocolate that can be held in your hand longer without melting so quickly, add about 2 teaspoons of any of the following fats to the melted chocolate: coconut oil, lard, unsalted butter, or shortening. A good estimate is to not add more than 1 tablespoon of fat per 170g of chocolate. I don't usually add it because it increases the calorie count and we eat them too quickly to care.
- If you like a thicker peanut butter layer, feel free to double the peanut butter filling recipe and add more to each cup.
- If you like your peanut butter cups extra crunchy, use crunchy peanut butter instead of smooth.
- We enjoy these the most just out of the fridge or freezer when they're still slightly cold, but they're super yummy at room temperature too. If you have a hot kitchen you'll need to store them in the fridge so they don't become too soft because there are no fillers to make them extra firm.
- If you don't own a muffin tin, or you don't have cupcake liners OR you're short on time, but still want to make peanut butter cups it's no problem. Line a small 8x8 or 9x9 inch round or square baking pan with parchment paper (bottom and up the sides) and make a large pan of peanut butter cups that can be sliced into bite-sized squares. Just layer according to the directions above.
- Prep Time: 15 minutes
- Cook Time: 5 minutes
- Category: Candy
- Method: Mix & Stir
- Cuisine: American
Nutrition
- Serving Size: 1 Biscoff Peanut Butter Cup


Made the Recipe? Tell Us What You Think!