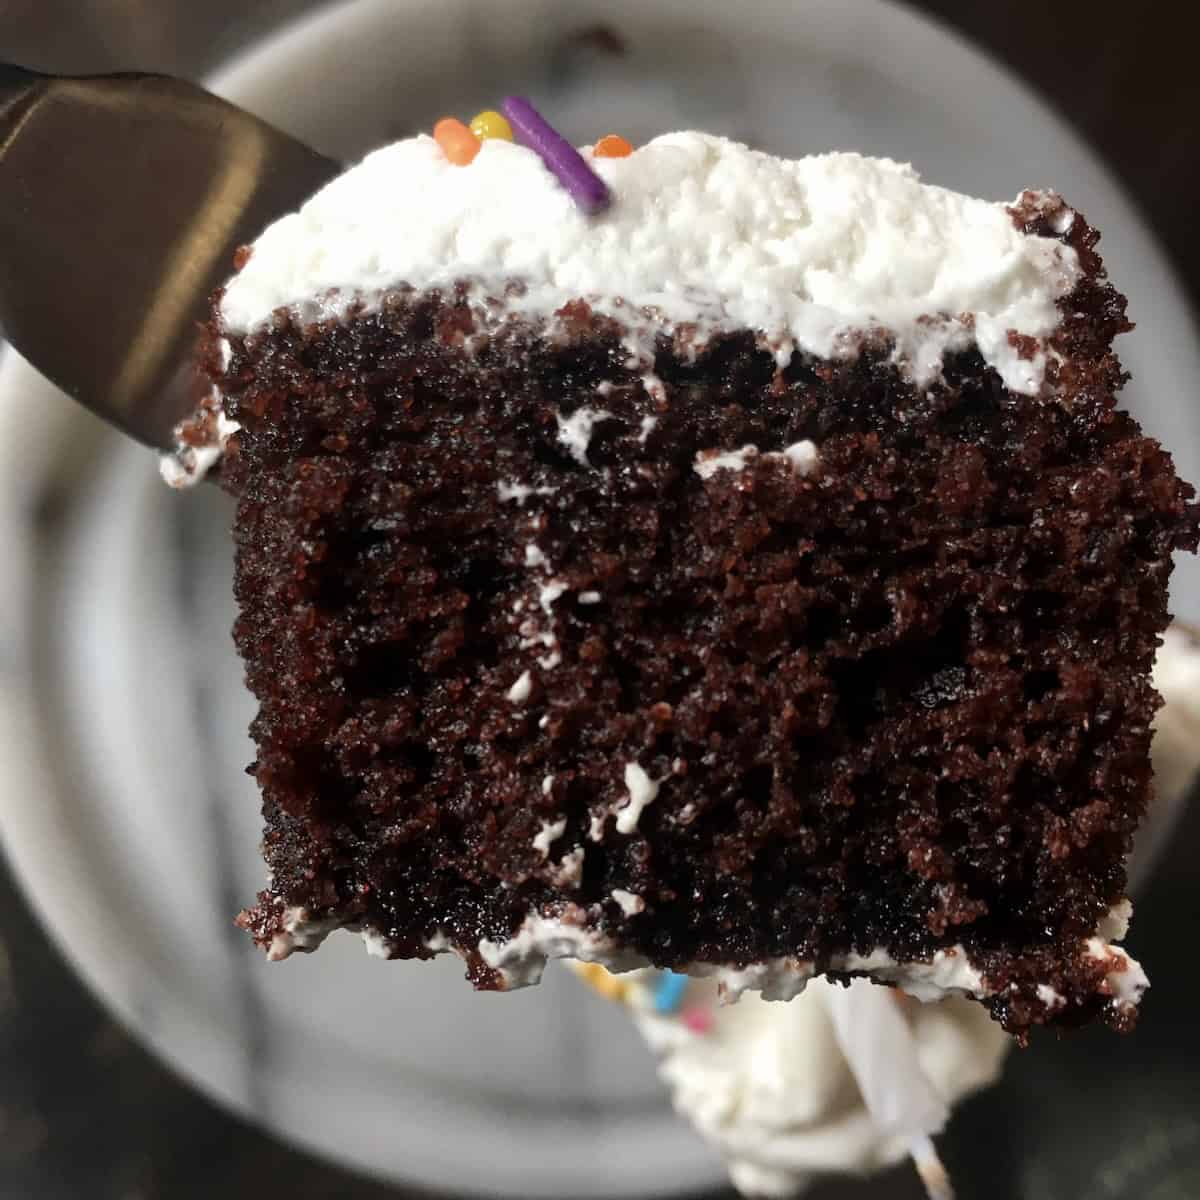
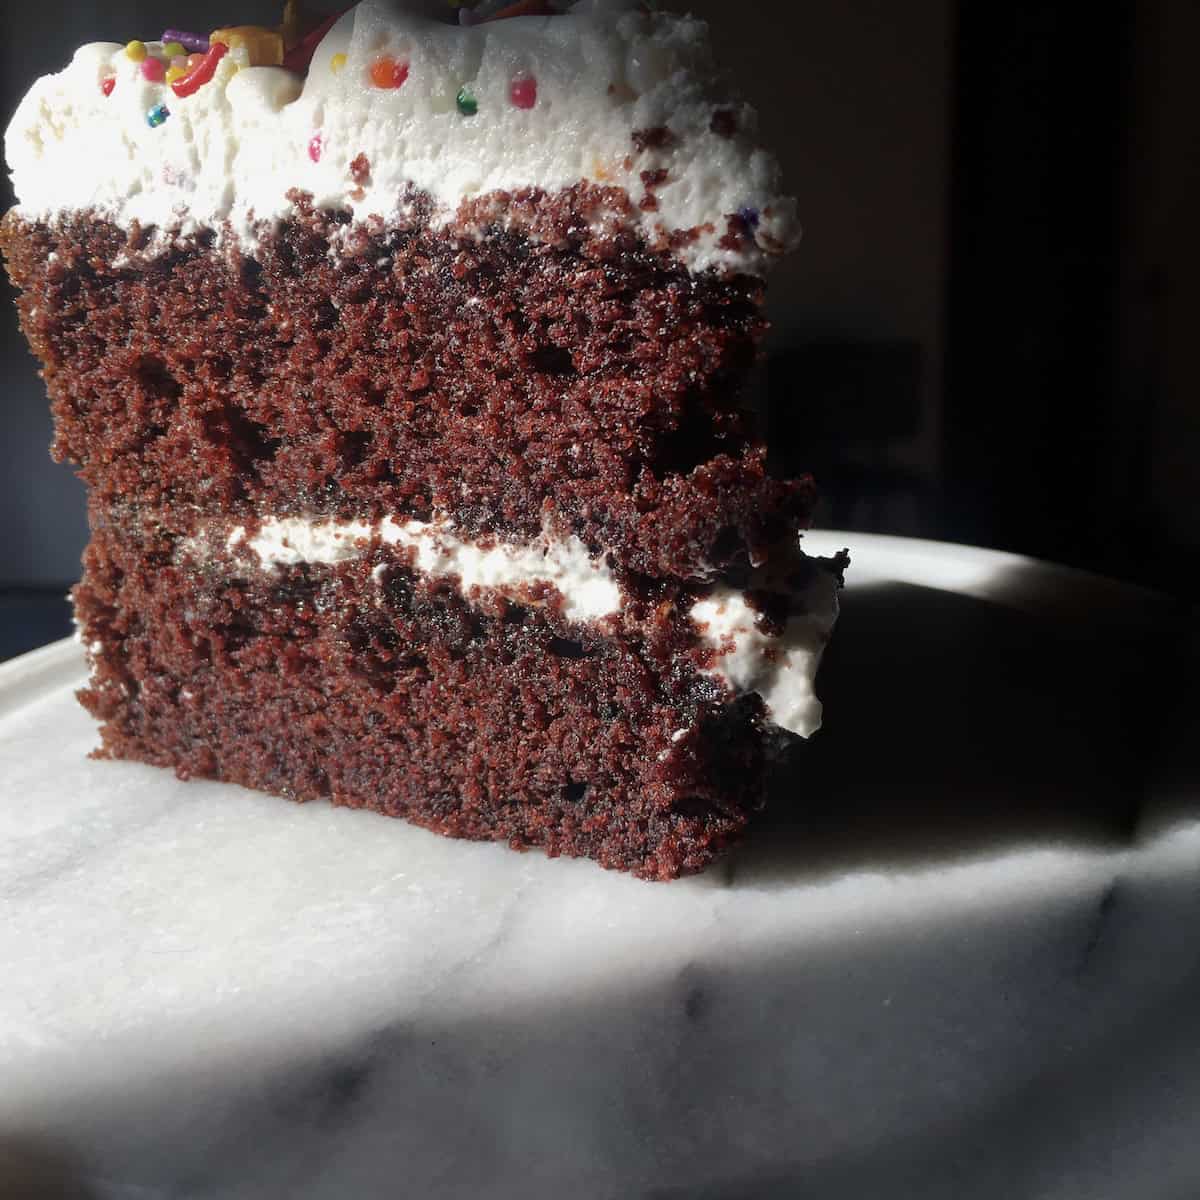
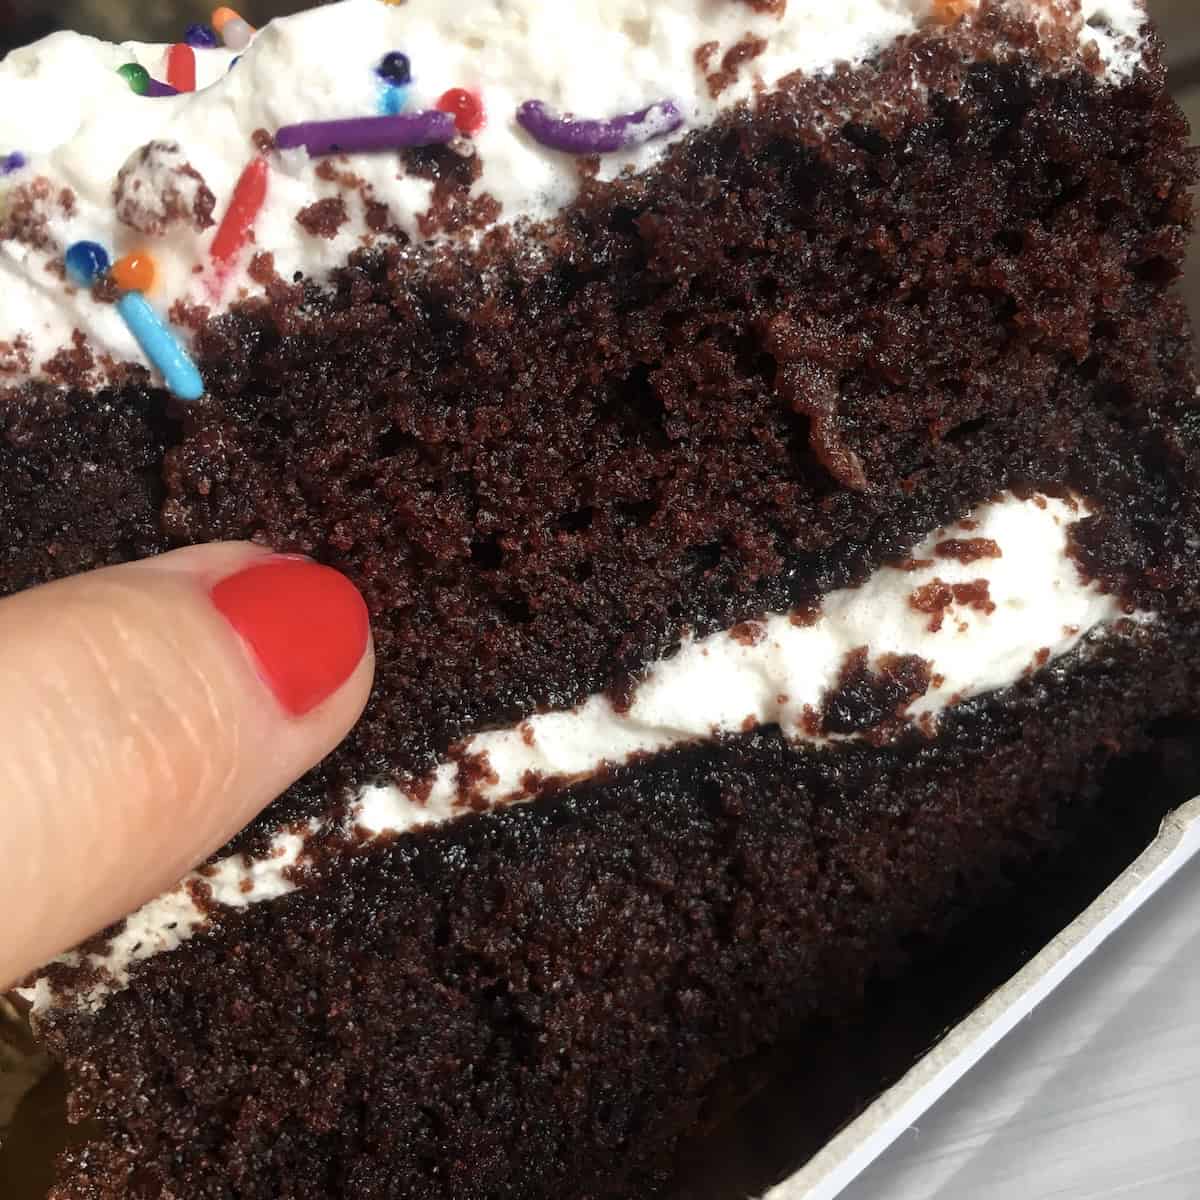
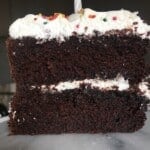
This vintage devil's food cake recipe with homemade 7-Minute Frosting is 100% from scratch, but it's as moist as a boxed cake mix. It's rich, super chocolatey, and hands down the most tender chocolate cake I've ever eaten or made. The best part? You can make it entirely by hand using just a bowl and a whisk if you want.
This devil's food cake comes from my 99-year-old Granny's vintage cookbook collection (submitted by Mrs. Greer). I made a few modern tweaks to get it just right, and the proof is in the cake batter!
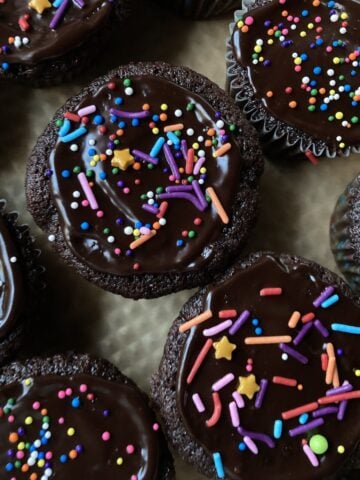
If you love this homemade devil's food cake recipe, you might also enjoy my Super Moist Devil's Food Cupcakes (w/Chocolate Ganache Frosting) or my Incredibly Moist and Easy Carrot Cake.
Jump to:
- What is Devil's Food Cake?
- Why You'll Love This Devil's Food Cake Recipe
- Devil's Food Cake vs Chocolate Cake: What's the Difference?
- Why This Vintage Devil's Food Cake Recipe Works
- Homemade Devil's Food Cake vs Boxed Cake Mix
- Devil's Food Cake Ingredients
- How to Make Devil's Food Cake From Scratch
- What Frosting Goes Best with Devil's Food Cake?
- Top Tips for Perfect Devil's Food Cake
- Pan Size Variations
- Troubleshooting Devil's Food Cake
- Substitutions
- Storage & Freezing
- Serving Suggestions
- FAQ
- Related Recipes
- 📖 Recipe
- Food Safety
What is Devil's Food Cake?
Devil's food cake is a rich, intensely chocolatey American layer cake that emerged in the late 19th century. It's characterized by its dark mahogany (almost black) color, ultra-moist crumb, and deep cocoa flavor.
The cake gets its signature darkness and fluffy texture from Dutch-process cocoa powder combined with extra baking soda. This combination raises the pH of the batter, deepens the color, and creates more air bubbles during baking for a tender crumb.
Why You'll Love This Devil's Food Cake Recipe
- SO moist it rivals a boxed cake mix, but tastes way better because it's 100% from scratch
- No need to cream butter and sugar forever like most cake recipes
- One bowl, one whisk, no mixer needed if you don't have one
- The quickest homemade chocolate cake recipe I've ever made
- Espresso and Dutch-process cocoa deliver intense chocolate flavor and extra lift
- Delicious without frosting, though Granny's 7-Minute Frosting makes it irresistible
- An easy cake recipe for kids who love to bake
Devil's Food Cake vs Chocolate Cake: What's the Difference?
While all devil's food cakes are chocolate cakes, not all chocolate cakes are devil's food. Here's what sets this cake apart:
Cocoa vs. Melted Chocolate: Devil's food cake relies on Dutch-process cocoa powder for its deep chocolate flavor, while regular chocolate cake typically uses melted baking chocolate. This gives devil's food its signature dark color and more intense cocoa taste.
Extra Baking Soda: Devil's food contains more baking soda than standard chocolate cake. This raises the batter's pH level, creating a darker hue, tender texture, and richer chocolate flavor. It's also why the cake has that distinctive reddish-mahogany undertone.
Hot Liquid: The addition of boiling water (or sometimes coffee) helps bloom the cocoa, intensifying the chocolate flavor and creating an incredibly moist crumb that regular chocolate cakes can't match.
Why Does Devil's Food Cake Have a Reddish Color?
That distinctive reddish-mahogany tint comes from the chemical reaction between baking soda and cocoa powder. When baking soda (an alkaline ingredient) meets the natural acids in cocoa, it deepens the color and can create reddish undertones. This is the same reaction that originally gave red velvet cake its color before food dye became common.
What About Red Velvet?
Red velvet cake (photo above) contains only a small amount of cocoa powder. It's known for its bright red color, not its chocolate intensity. Devil's food cake is the chocolate lover's choice, while red velvet is more about the tang from buttermilk, cream cheese frosting, and the visual drama.
Why This Vintage Devil's Food Cake Recipe Works
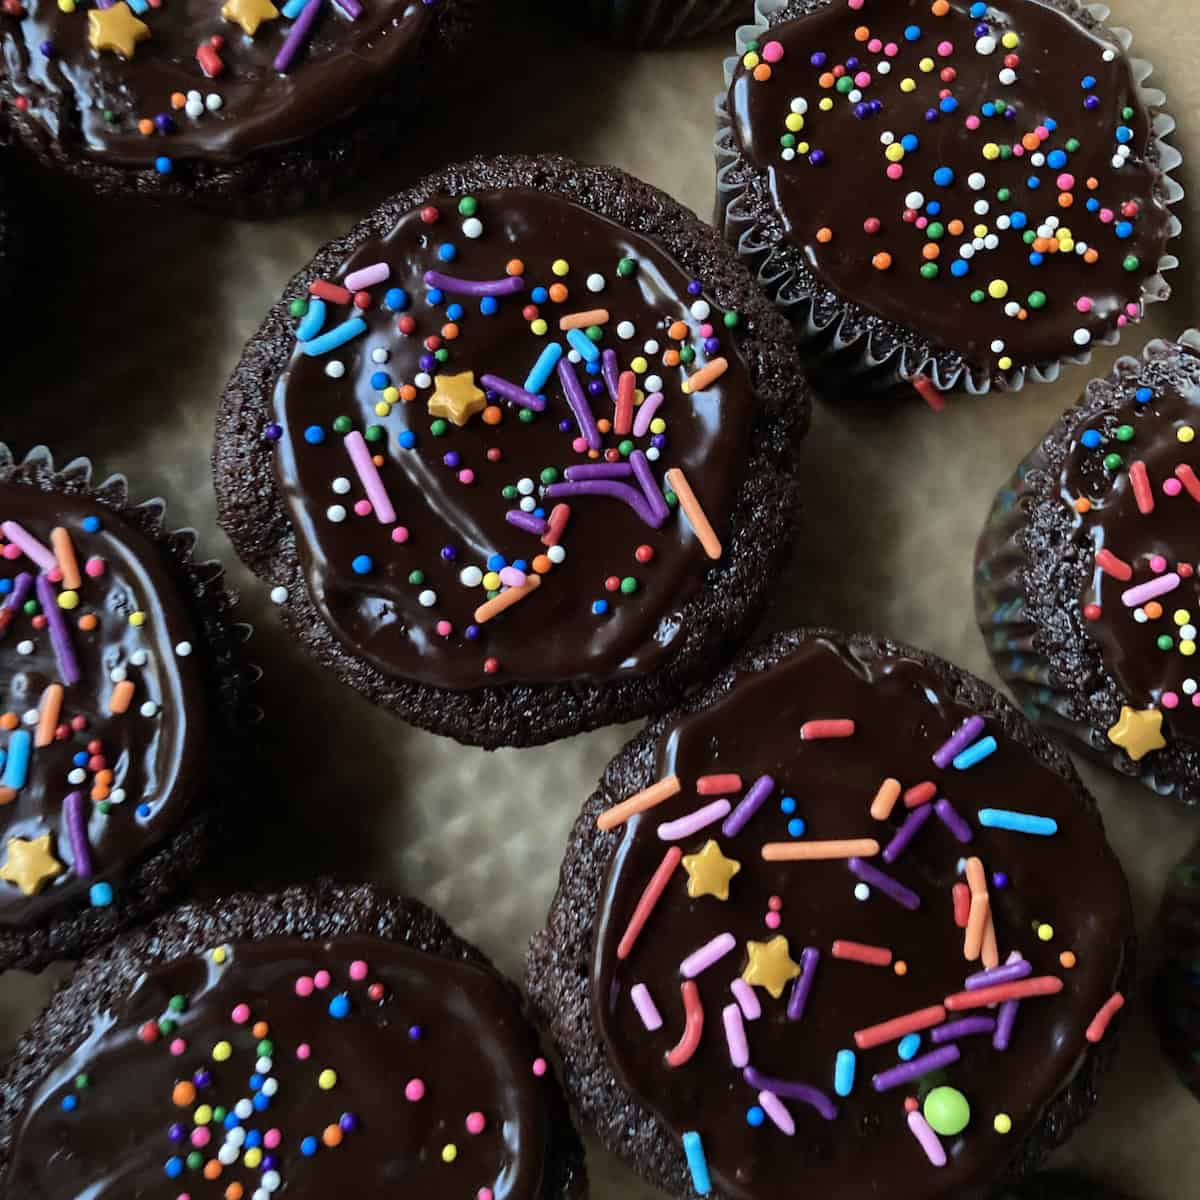
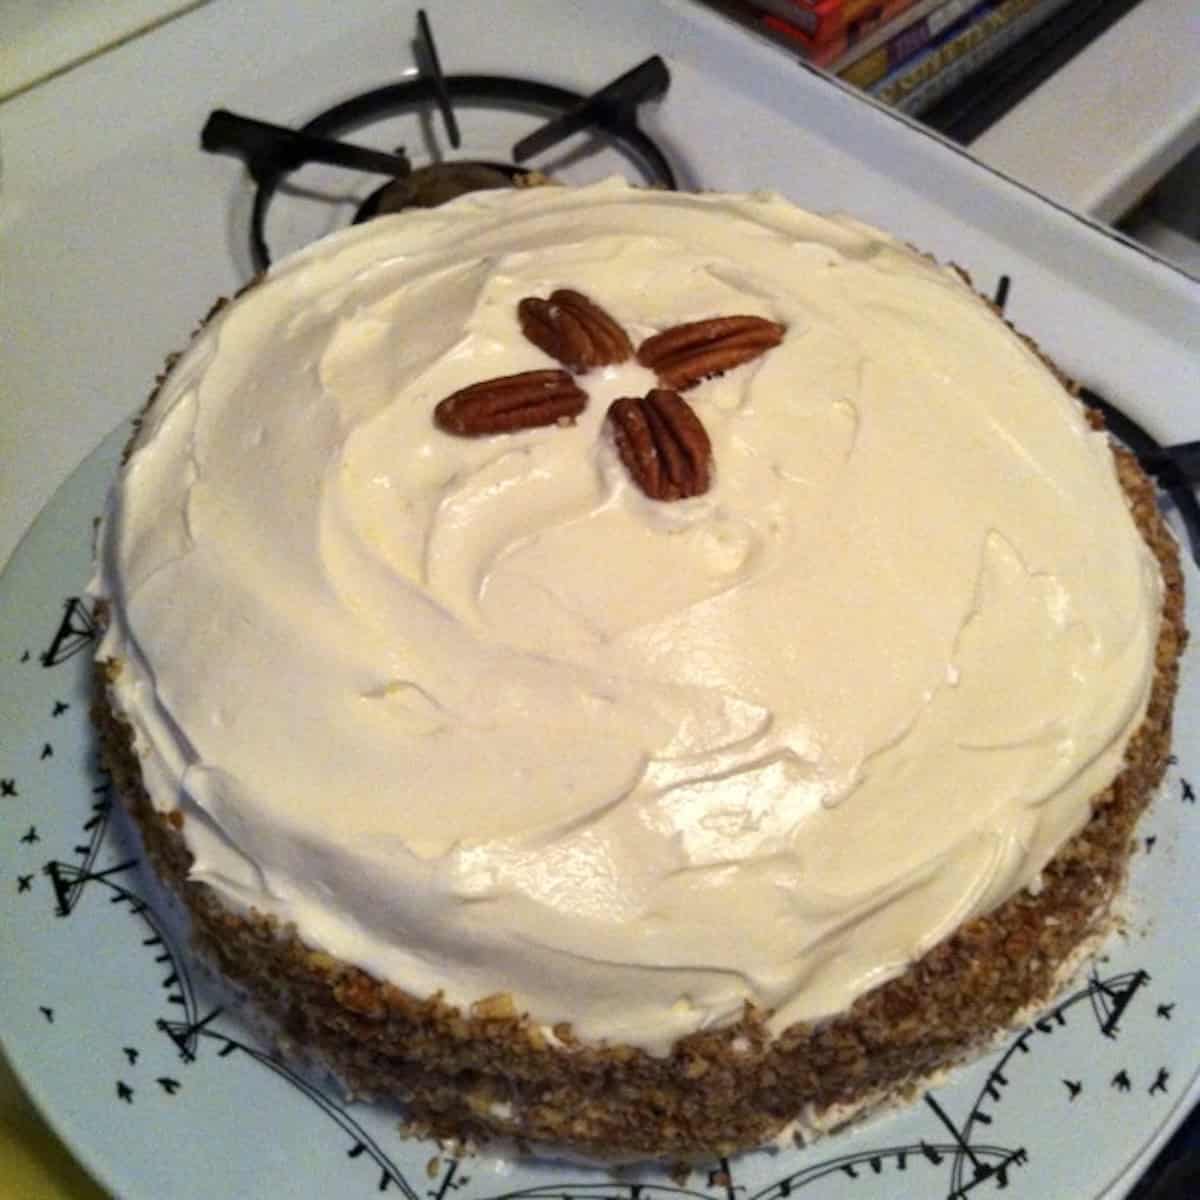
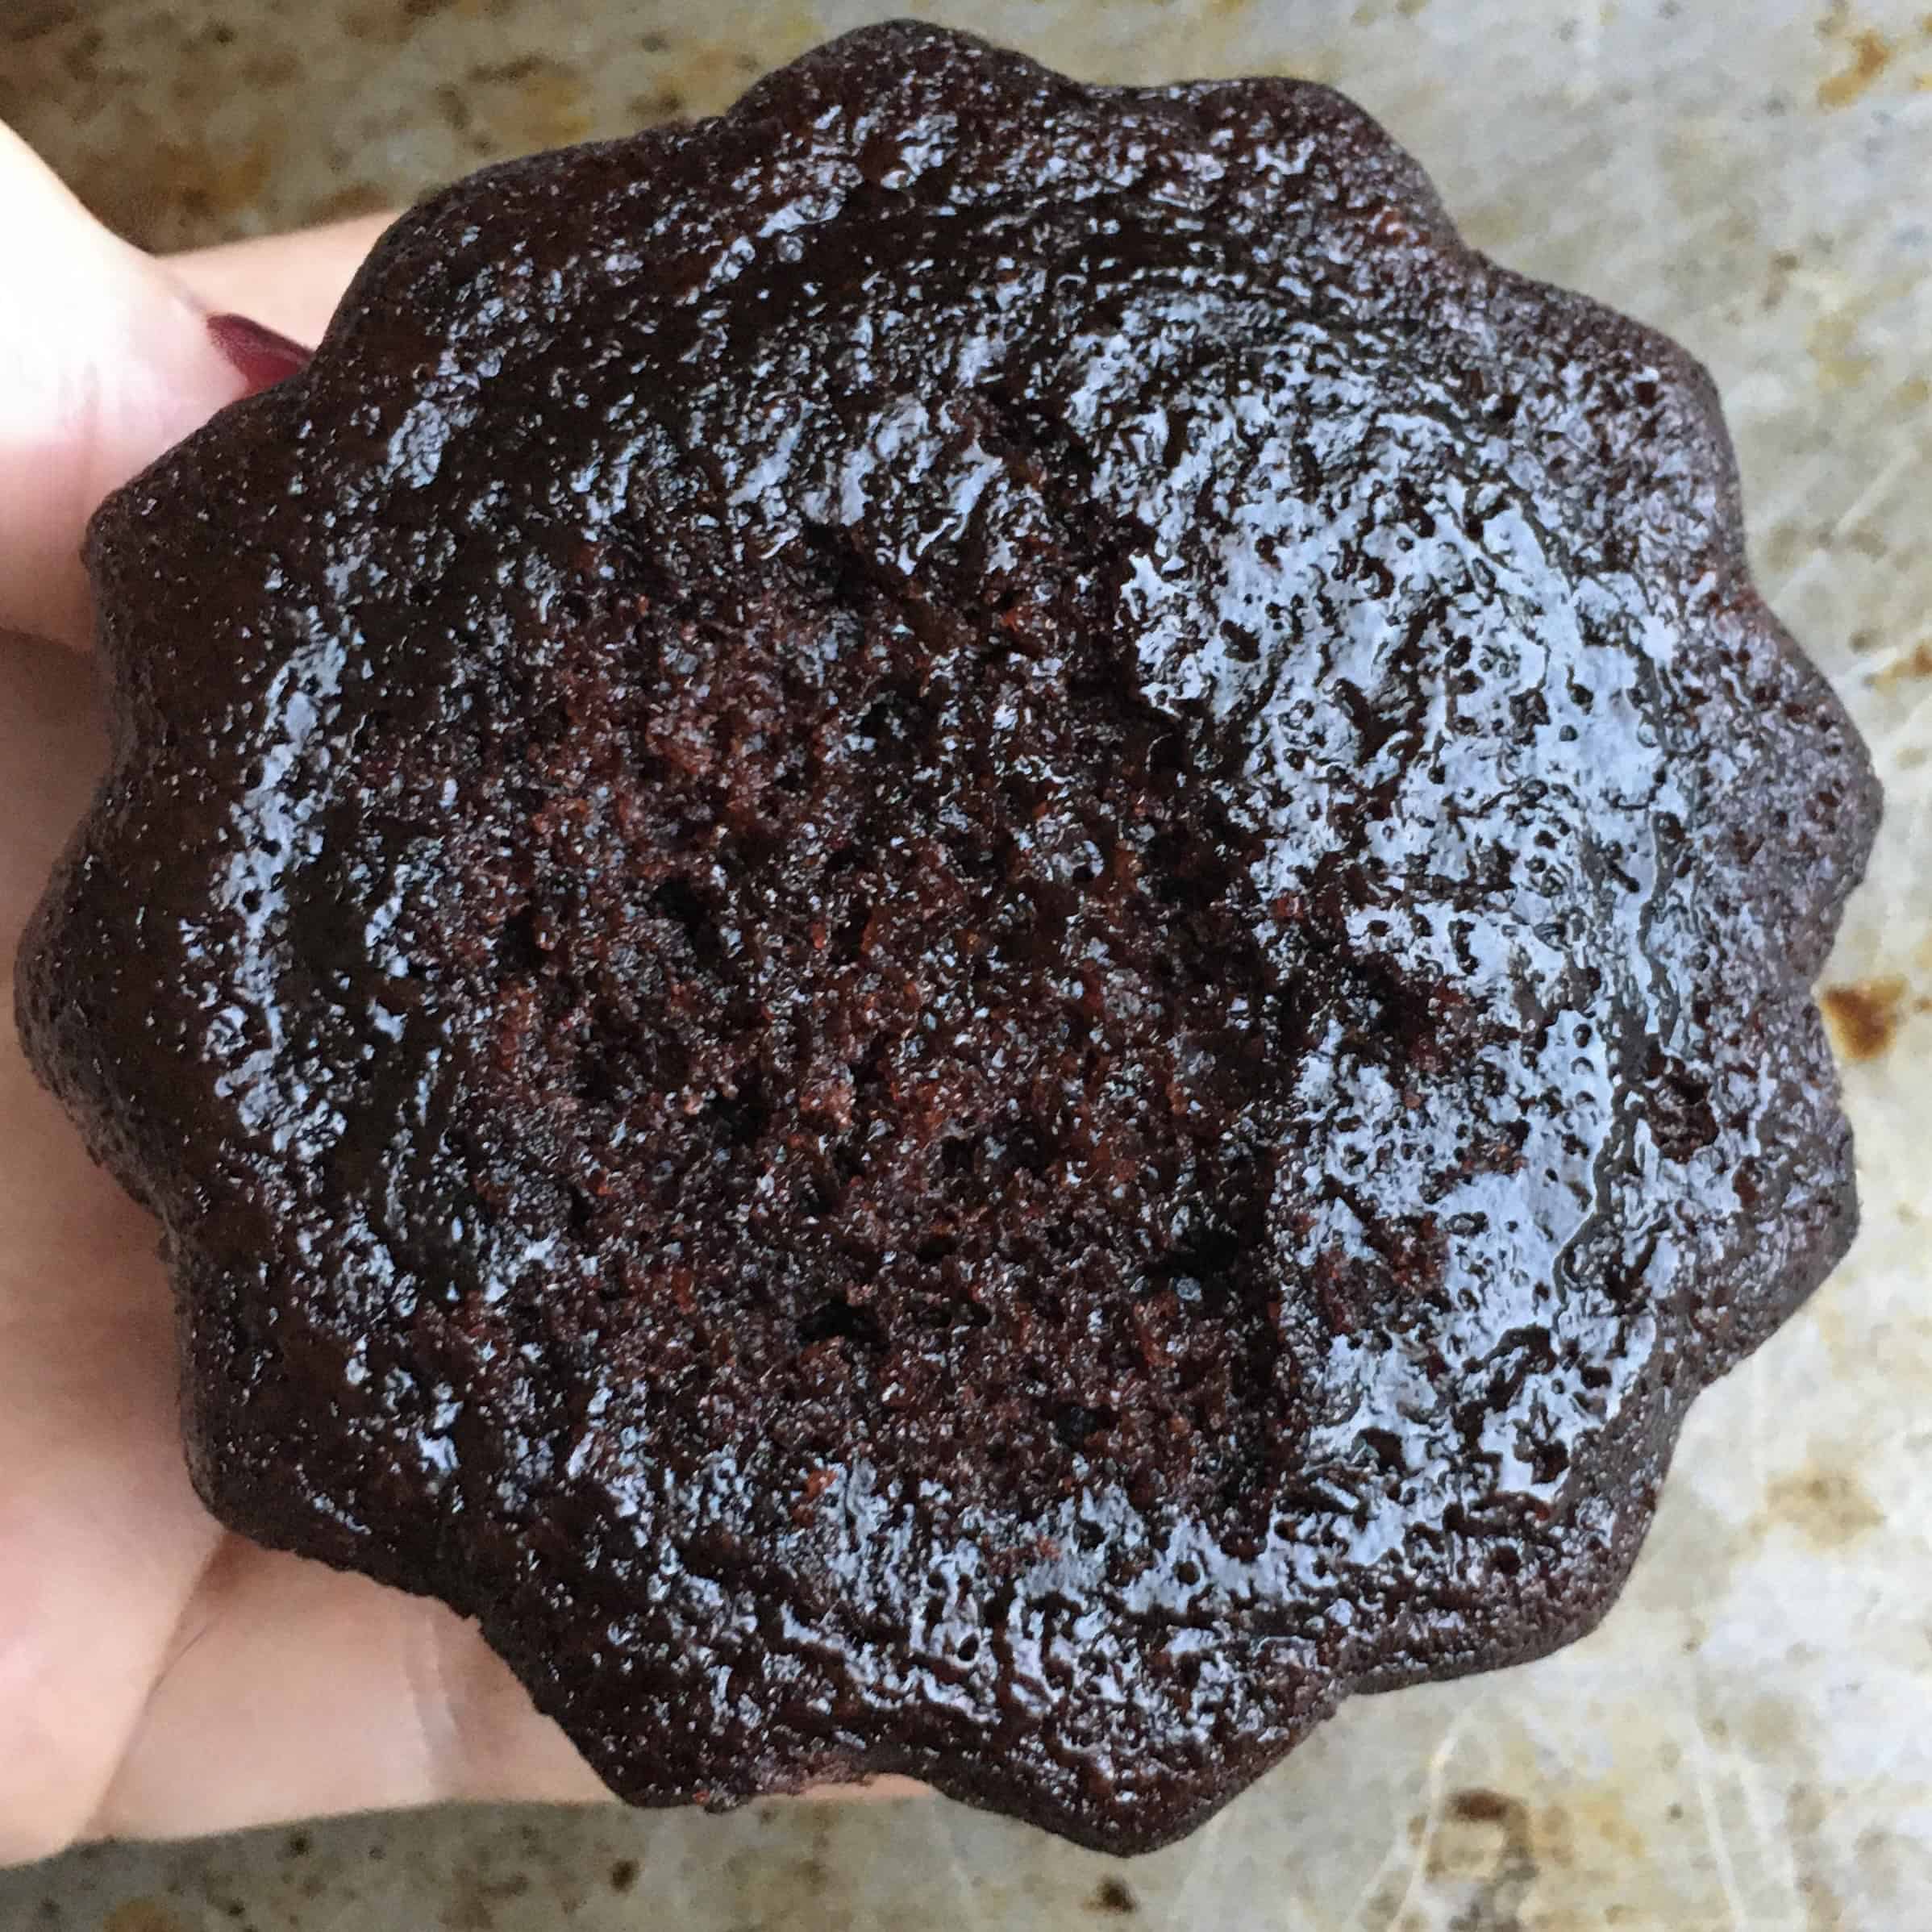
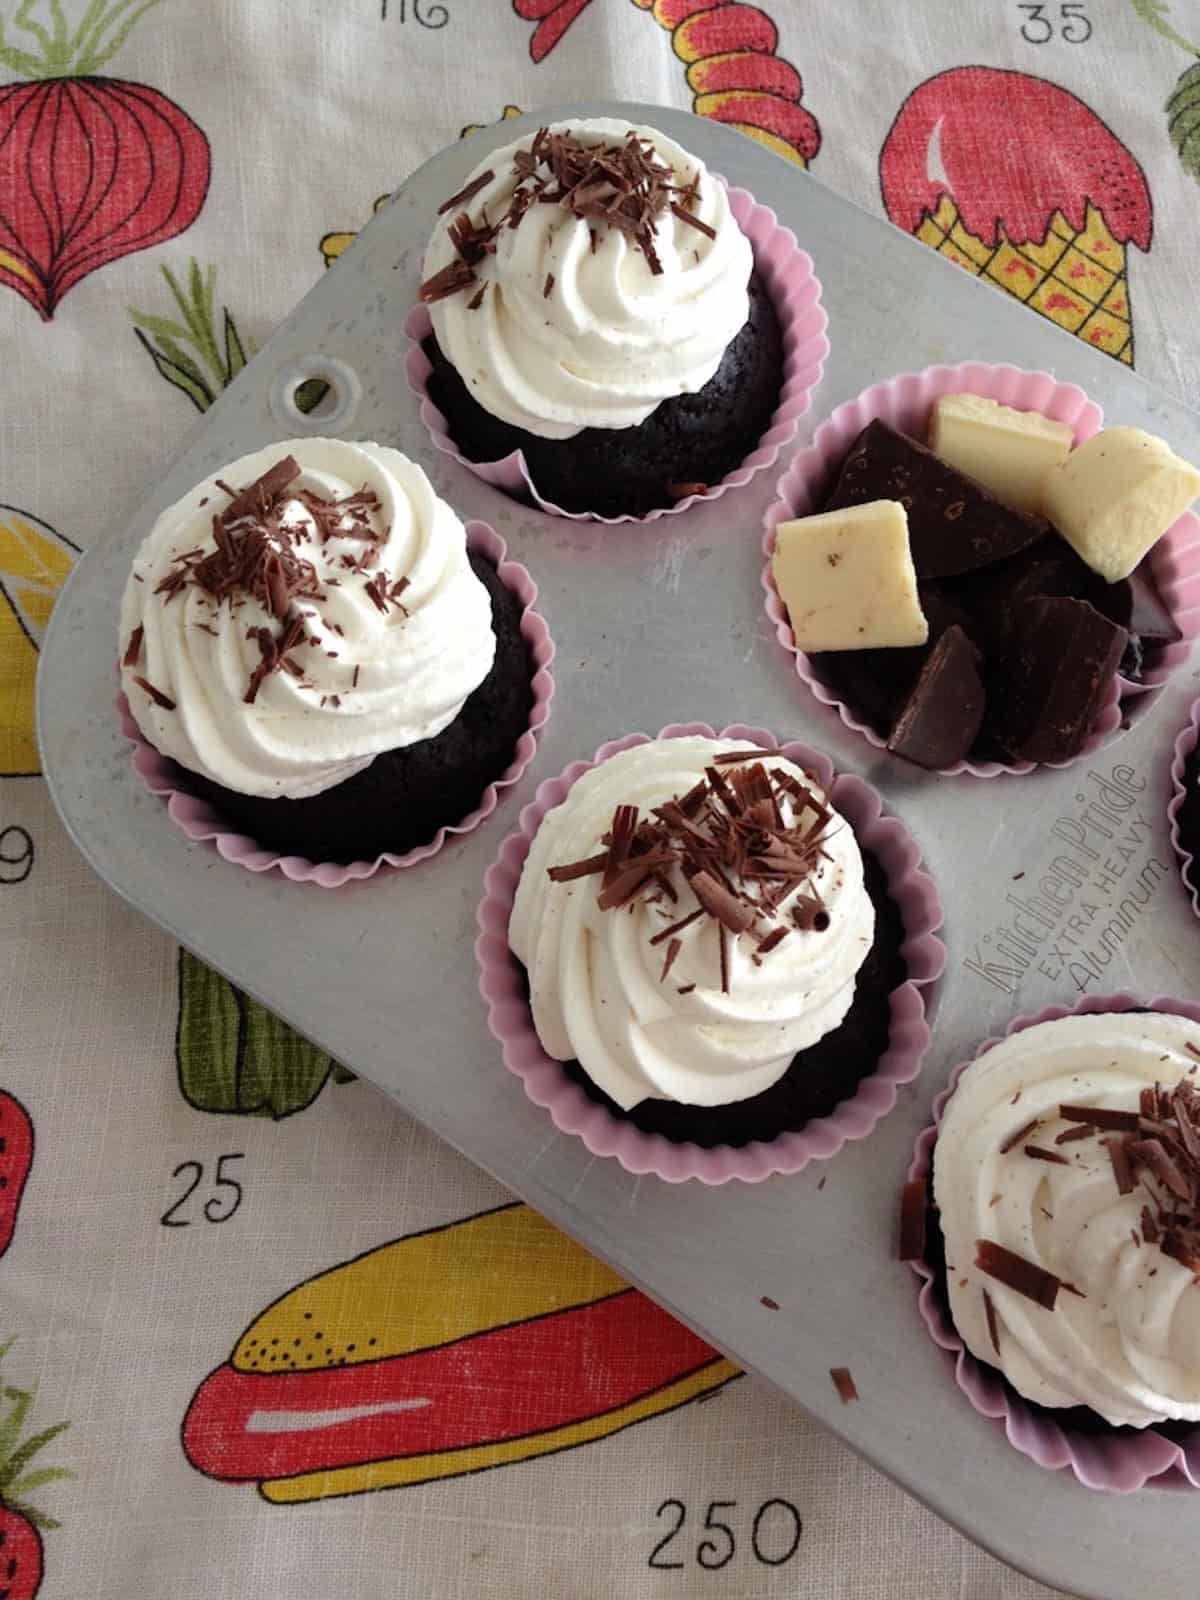
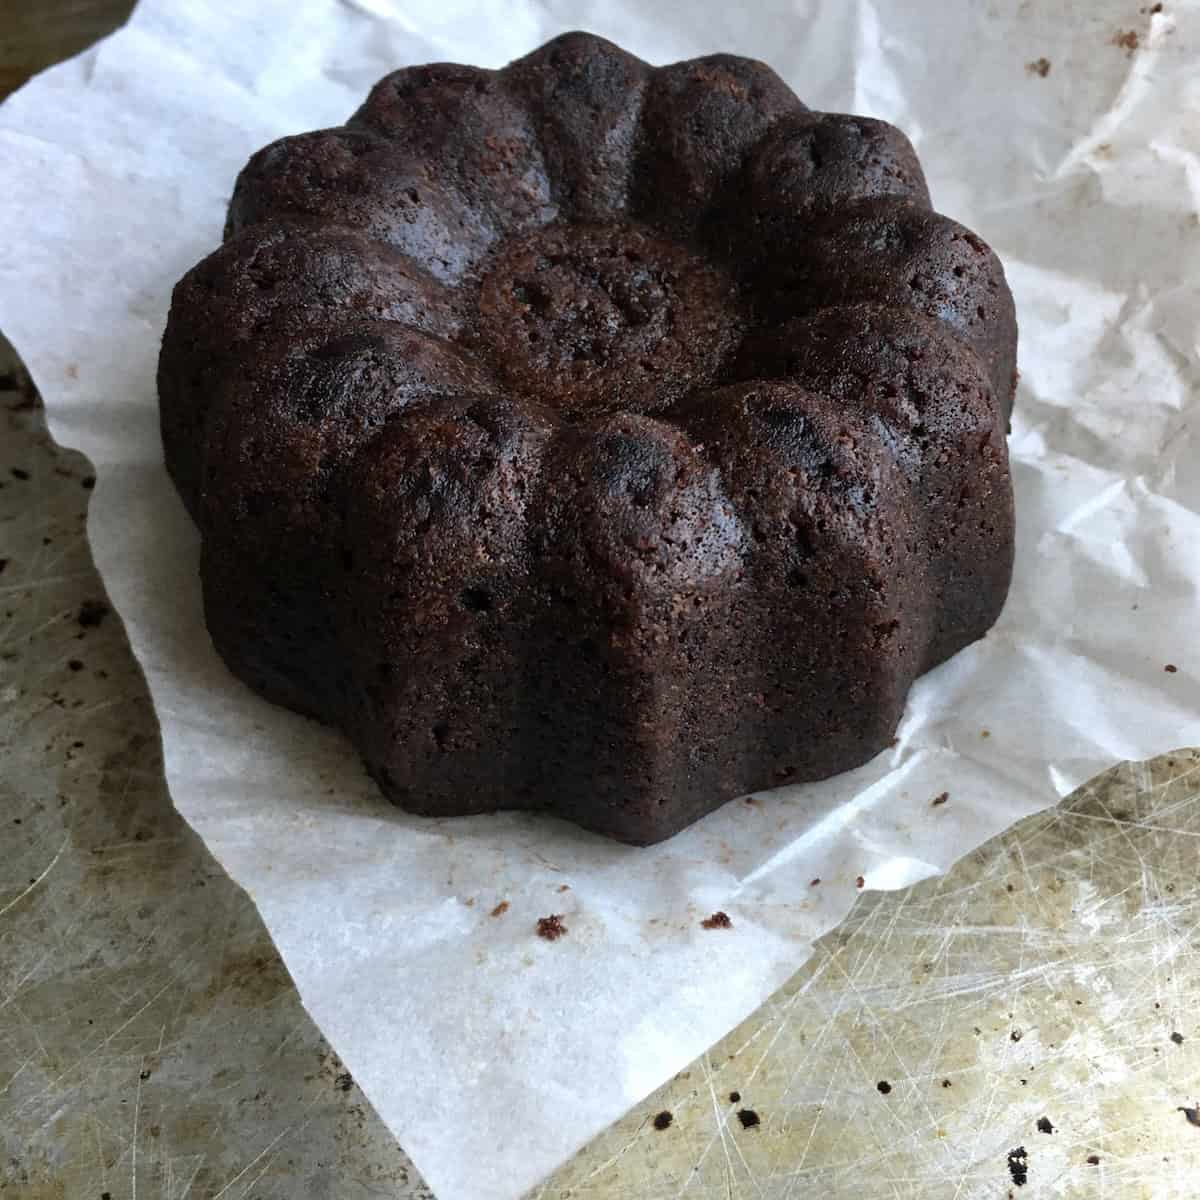
As you can see from the photos, I use this super moist chocolate cake recipe for all kinds of desserts: double-layer cakes, sheet cakes, cupcakes, frozen cheesecake ice cream sandwiches, and even mini bundt cakes. It's versatile and really hard to beat.
After researching the seven or so different devil's food cake recipes in my 99-year-old Granny's vintage cookbook collection, I decided to use one submitted by Mrs. Greer as the inspiration for this recipe. I paired it with my Granny's vintage 7-Minute Frosting, and it's perfectly balanced and delicious!
I altered it to ensure it would end up being as moist as the boxed version (it really is) and a little more devilish and even more chocolatey!
Here's what I changed:
- Added baking powder for extra lift
- Substituted half the butter with oil for moisture
- Swapped regular milk for tangy buttermilk for flavor and texture
It's a five-star chocolate cake recipe thanks to starting with a good foundation.
And if you have kiddos, this is a wonderful recipe for them to help with. They're always so surprised at how good something they made from scratch tastes. That never gets old ♡
Homemade Devil's Food Cake vs Boxed Cake Mix
I know a lot of people reach for a devil's food cake mix because it's convenient. But here's the thing: this scratch recipe is nearly as fast and tastes SO much better.
Why make it from scratch?
- Better flavor: Real butter, quality cocoa, and fresh ingredients create a deeper, more complex chocolate taste
- No preservatives: You control exactly what goes in
- Same moisture level: The butter + oil combination gives you boxed-mix moisture without the artificial ingredients
- Almost as easy: One bowl, one whisk, 10 minutes of active prep
If you love the convenience of cake mix but want better results, this homemade devil's food cake recipe is your answer.
Devil's Food Cake Ingredients
This super moist devil's food cake recipe uses simple pantry staples, which makes it convenient to bake any time you need a quick birthday cake or chocolate dessert.
Devil's Food Cake Batter Ingredients
- Unsalted butter - for flavor and structure
- Vegetable oil (grapeseed, canola, or vegetable) - for moisture
- Sugar - granulated white sugar
- Vanilla extract - pure vanilla, not imitation
- Eggs - at room temperature
- Boiling water - blooms the cocoa for intense chocolate flavor
- Buttermilk (sub faux buttermilk; see recipe notes)
- All-purpose flour or 00 flour
- Dutch-process cocoa powder - the key to dark color and rich flavor
- Baking powder - for lift
- Baking soda - reacts with buttermilk and cocoa
- Espresso powder - enhances chocolate flavor (won't taste like coffee)
- Kosher salt - balances sweetness
7-Minute Frosting Ingredients
- 1 ½ cups granulated sugar (298g)
- ⅓ cup cold water (74g)
- 2 large egg whites
- 2 teaspoons Lyle's Golden Syrup or light corn syrup (15g)
- ¼ teaspoon cream of tartar (about 1g)
- 1 teaspoon vanilla extract (4g)
- pinch of salt
See recipe card for quantities.
Why Dutch-Process Cocoa Matters
Dutch-process cocoa powder has been treated to neutralize its acidity, giving it a darker color, smoother flavor, and less bitter taste than natural cocoa.
When combined with baking soda in this recipe, it creates that signature deep mahogany color and rich chocolate flavor that makes devil's food cake so distinctive.
If you only have natural cocoa powder, you can use it. The cake will be slightly lighter in color with a tangier chocolate flavor.
The Secret: Butter + Oil Combination
Most cake recipes use either butter OR oil. This recipe uses both, and that's just one secret to its incredible texture.
Butter provides rich flavor and helps with structure, while oil keeps the crumb incredibly tender and moist (even after refrigeration). It's the best of both worlds, and why this homemade devil's food cake rivals any boxed mix for moisture.
How to Make Devil's Food Cake From Scratch
If you're looking for the convenience and moistness of boxed chocolate cake but want to make a healthier cake without preservatives, this devil's food cake from scratch checks off all the boxes.
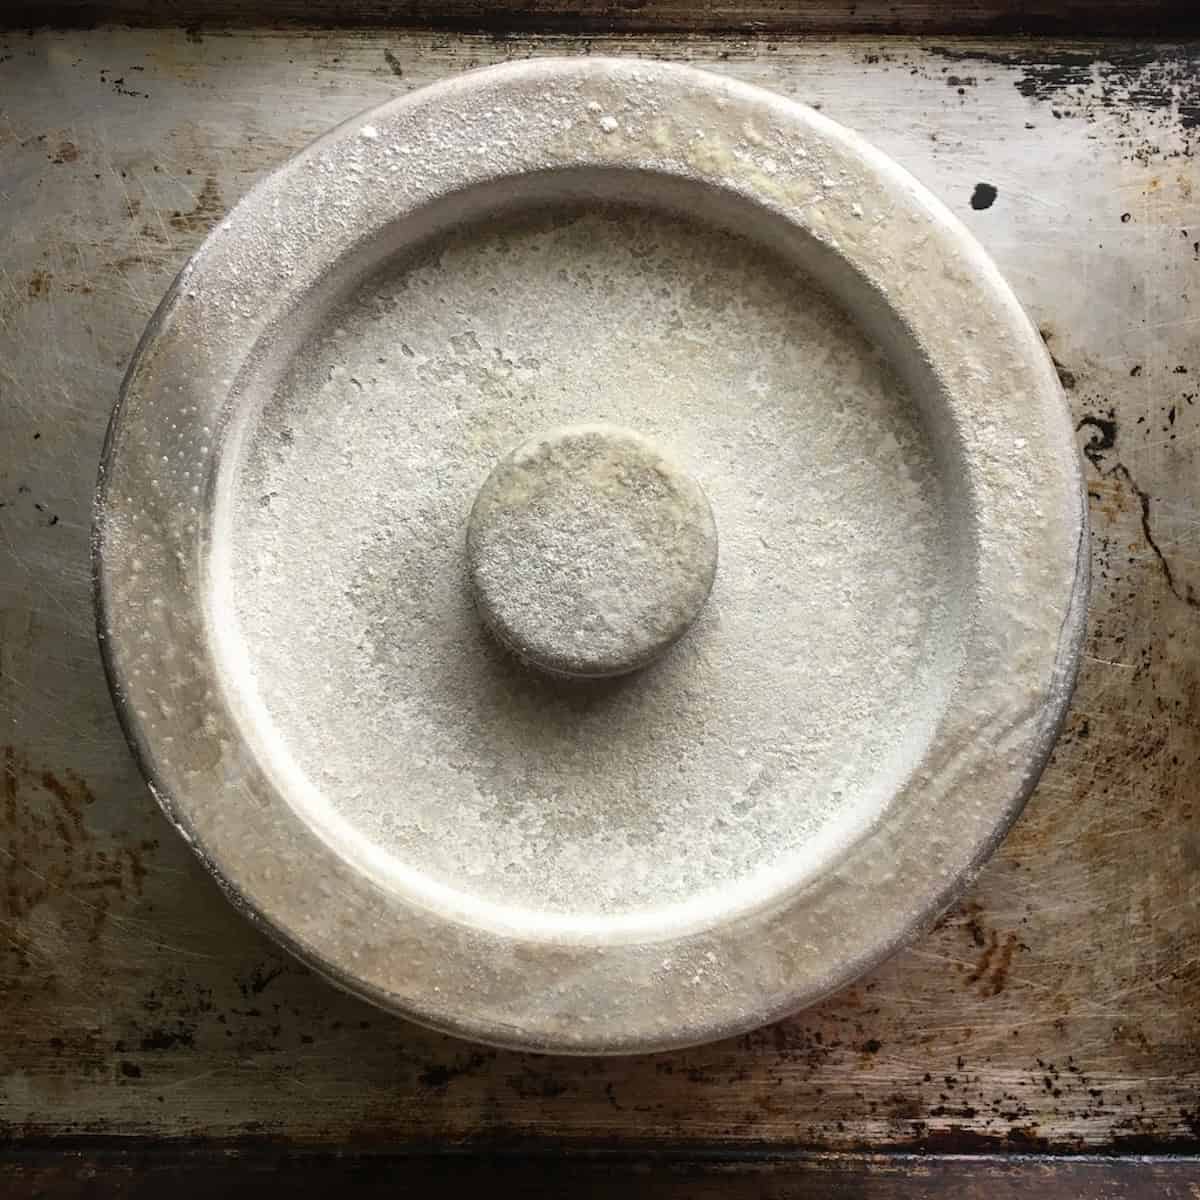
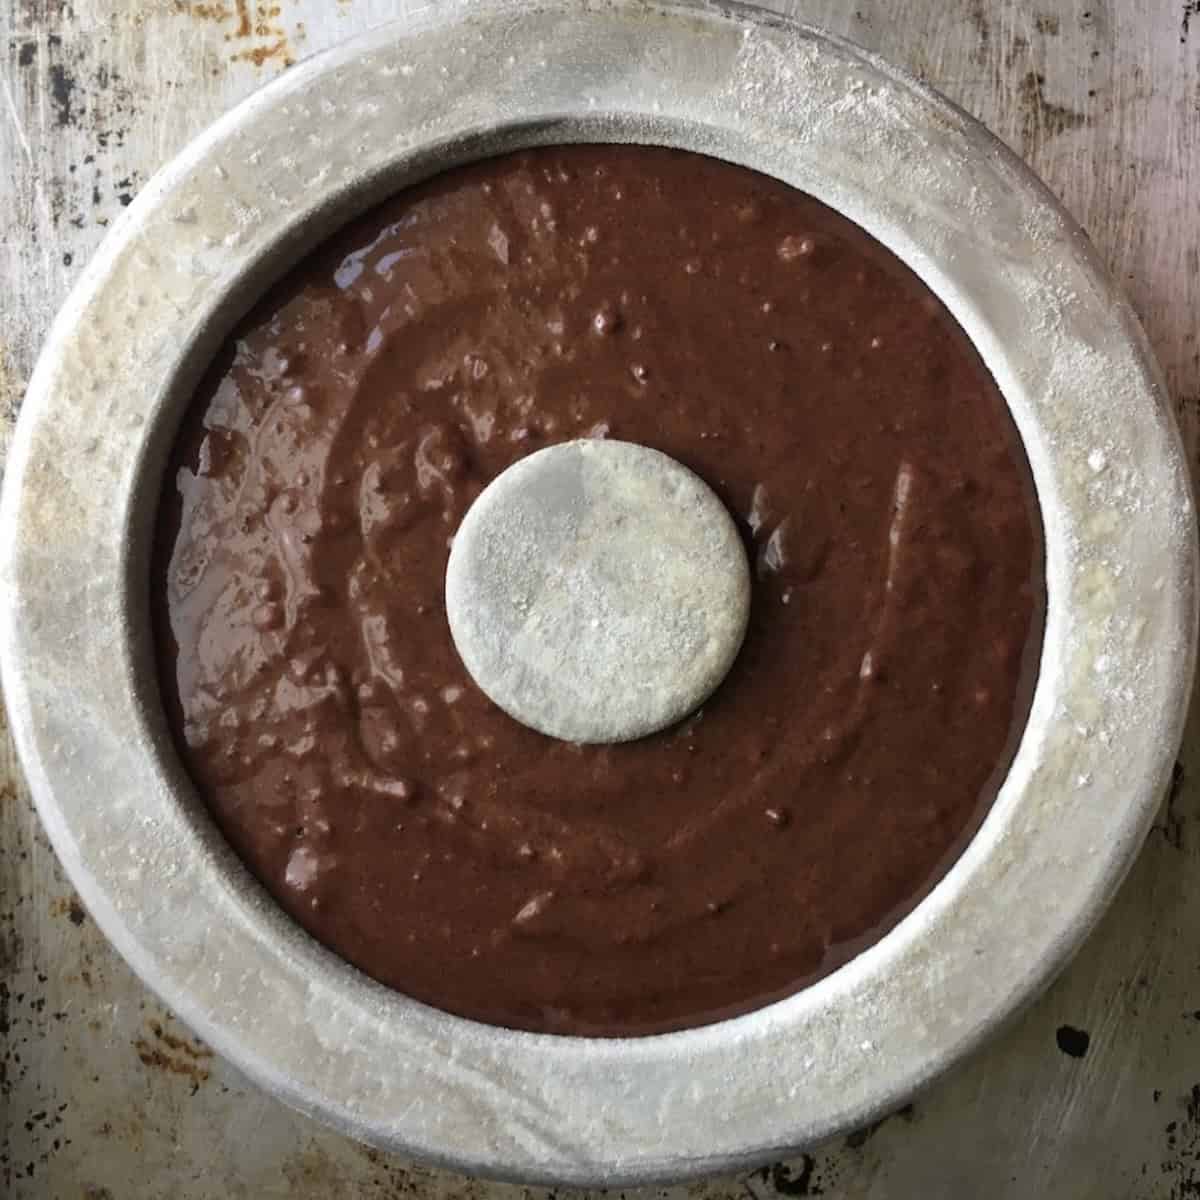
Step 1. Preheat the oven to 350°F/176°C + Prep the cake pans. Heat the oven and butter or spray two 8-inch aluminum cake pans (or any differently shaped baking pan). Lightly flour the pans, making sure to cover the inside well. Tap out any remaining flour. Line the bottoms with parchment paper and set aside.


Step 2. Prepare the dry ingredients. Add the flour, cocoa powder, espresso, baking powder, and salt to a medium bowl and whisk well to combine. Set aside.


Step 3. Prepare the baking soda + water solution. Boil the water (or microwave it until very hot), add the baking soda, and stir until dissolved. Set aside.
Step 4. Prepare the wet ingredients. In the bowl of an electric mixer (or by hand using a whisk), beat the butter, oil, sugar, and vanilla until light and fluffy, approximately 2-3 minutes. Scrape down the sides of the bowl once or twice while mixing. Add the eggs and whisk just until incorporated. Add the buttermilk and baking soda water mixture and mix just until combined.


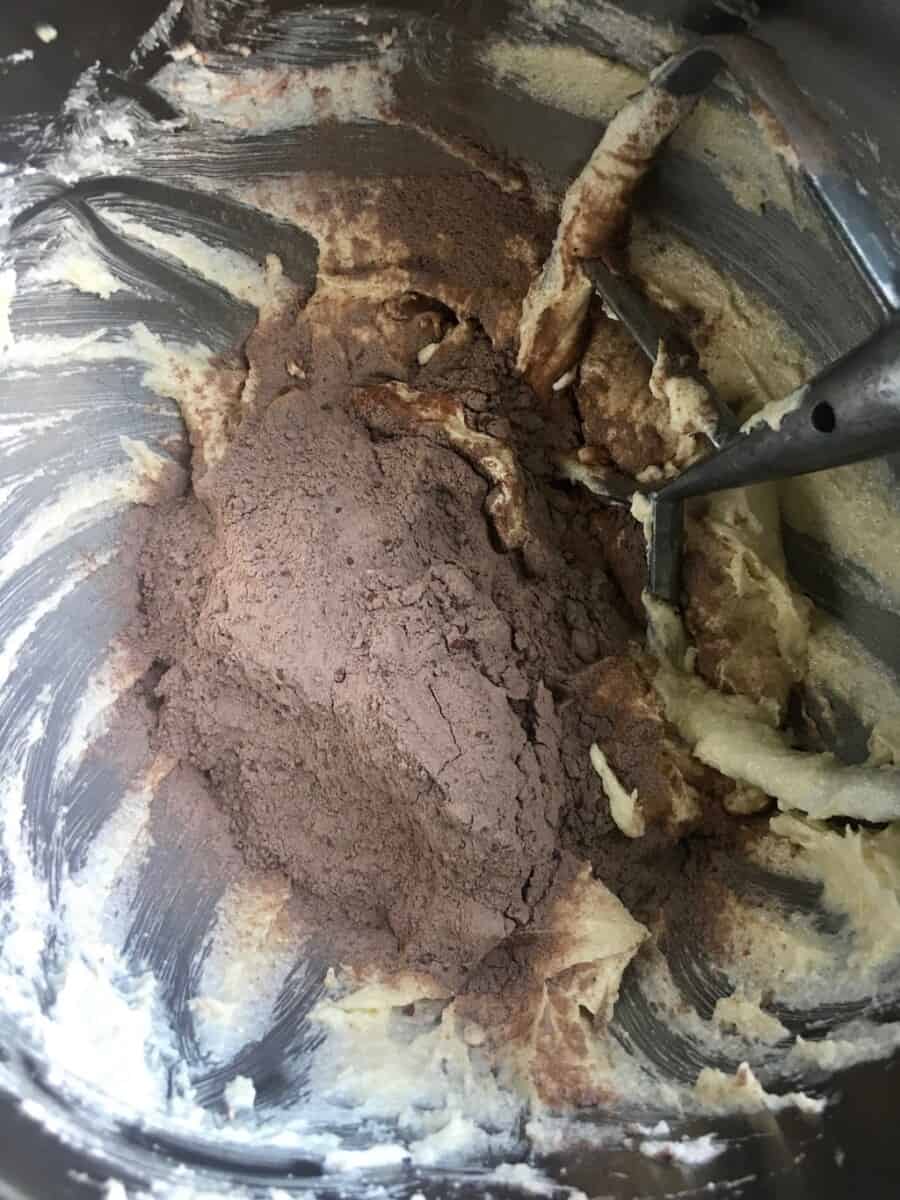
Step 5. Combine the wet and dry ingredients. Add the dry ingredients to the wet ingredients and use a rubber spatula or whisk to gently combine until no flour streaks remain. *After combining, you should still have some visible lumps. That's exactly what you want.


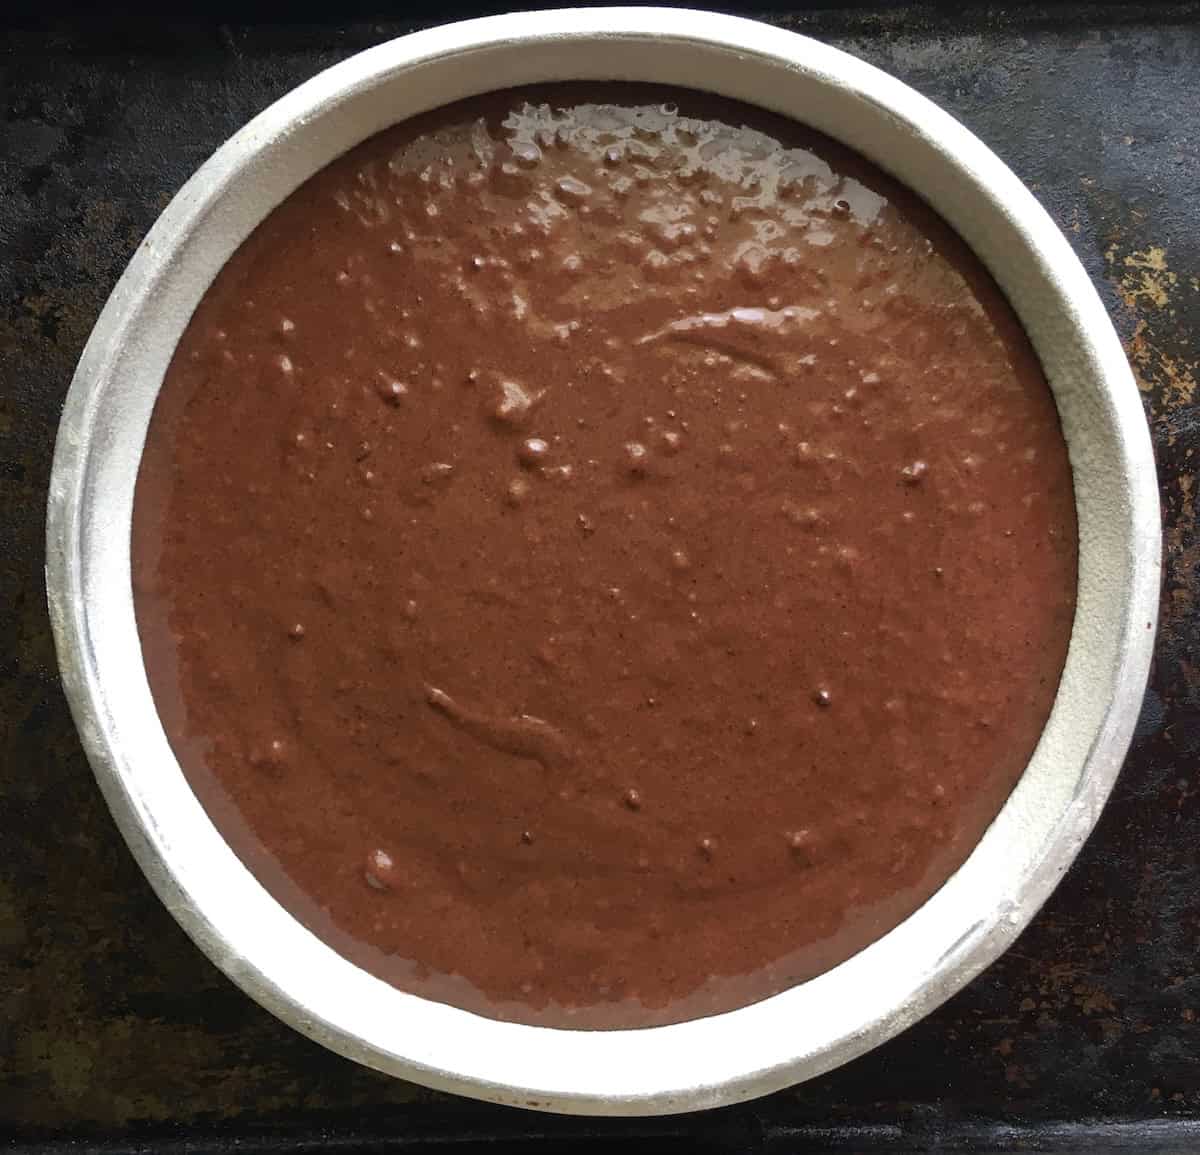
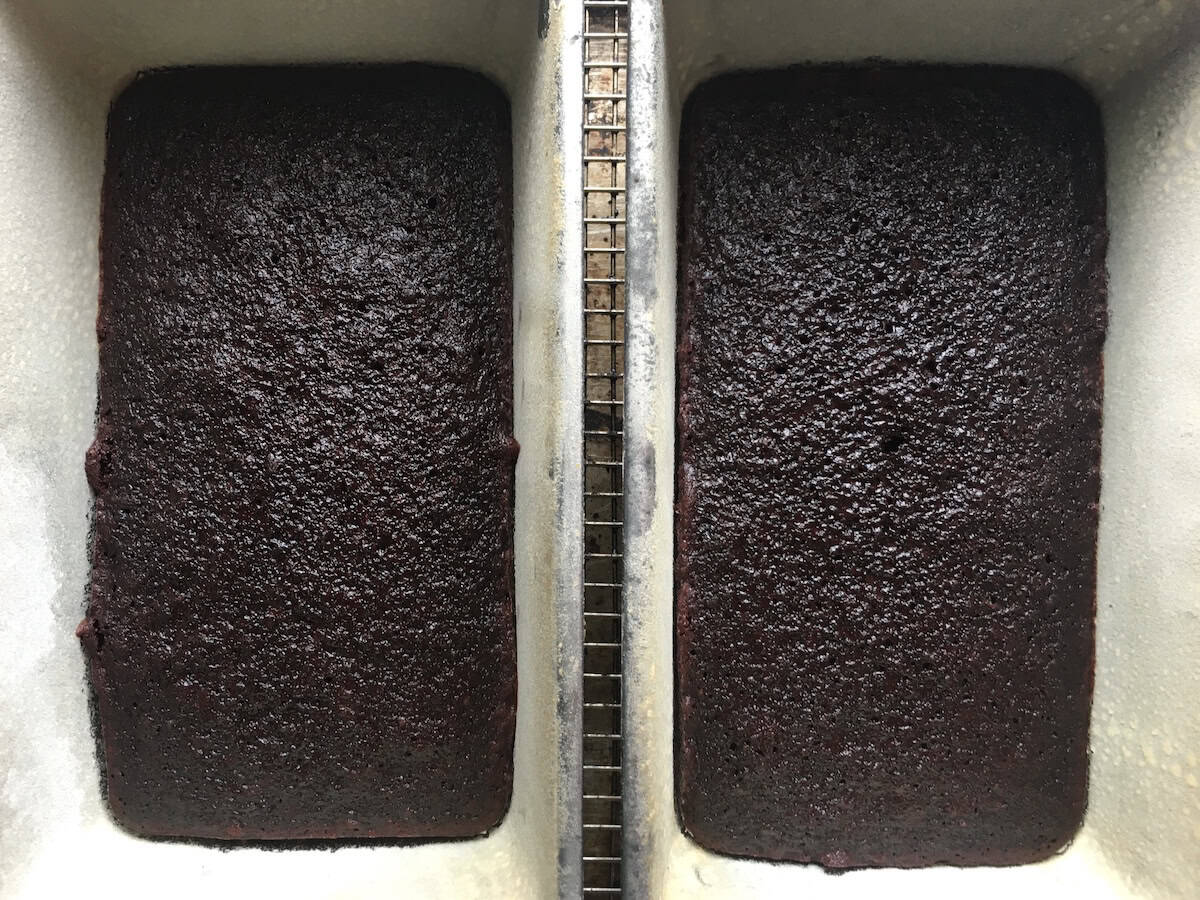
Step 6. Portion the cake batter. Split the cake batter evenly between two 8-inch cake pans.
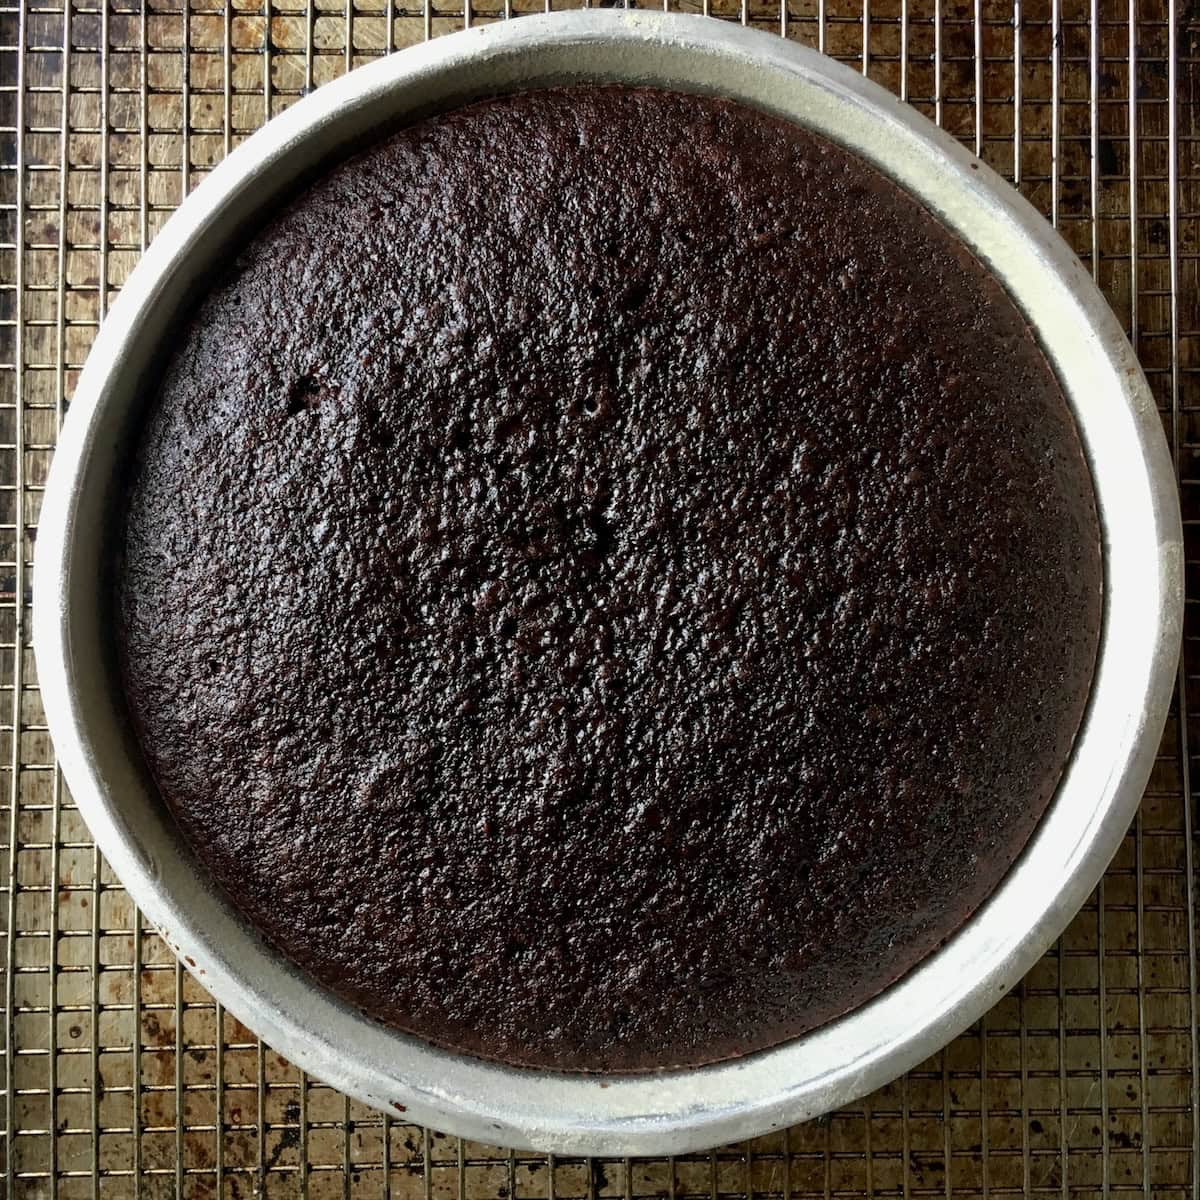
Step 7. Bake the cakes. Bake for 30-35 minutes, or until a cake tester (or toothpick) comes out clean and the tops are just set and slightly springy when touched. Internal temperature should reach 210°F for perfect doneness.
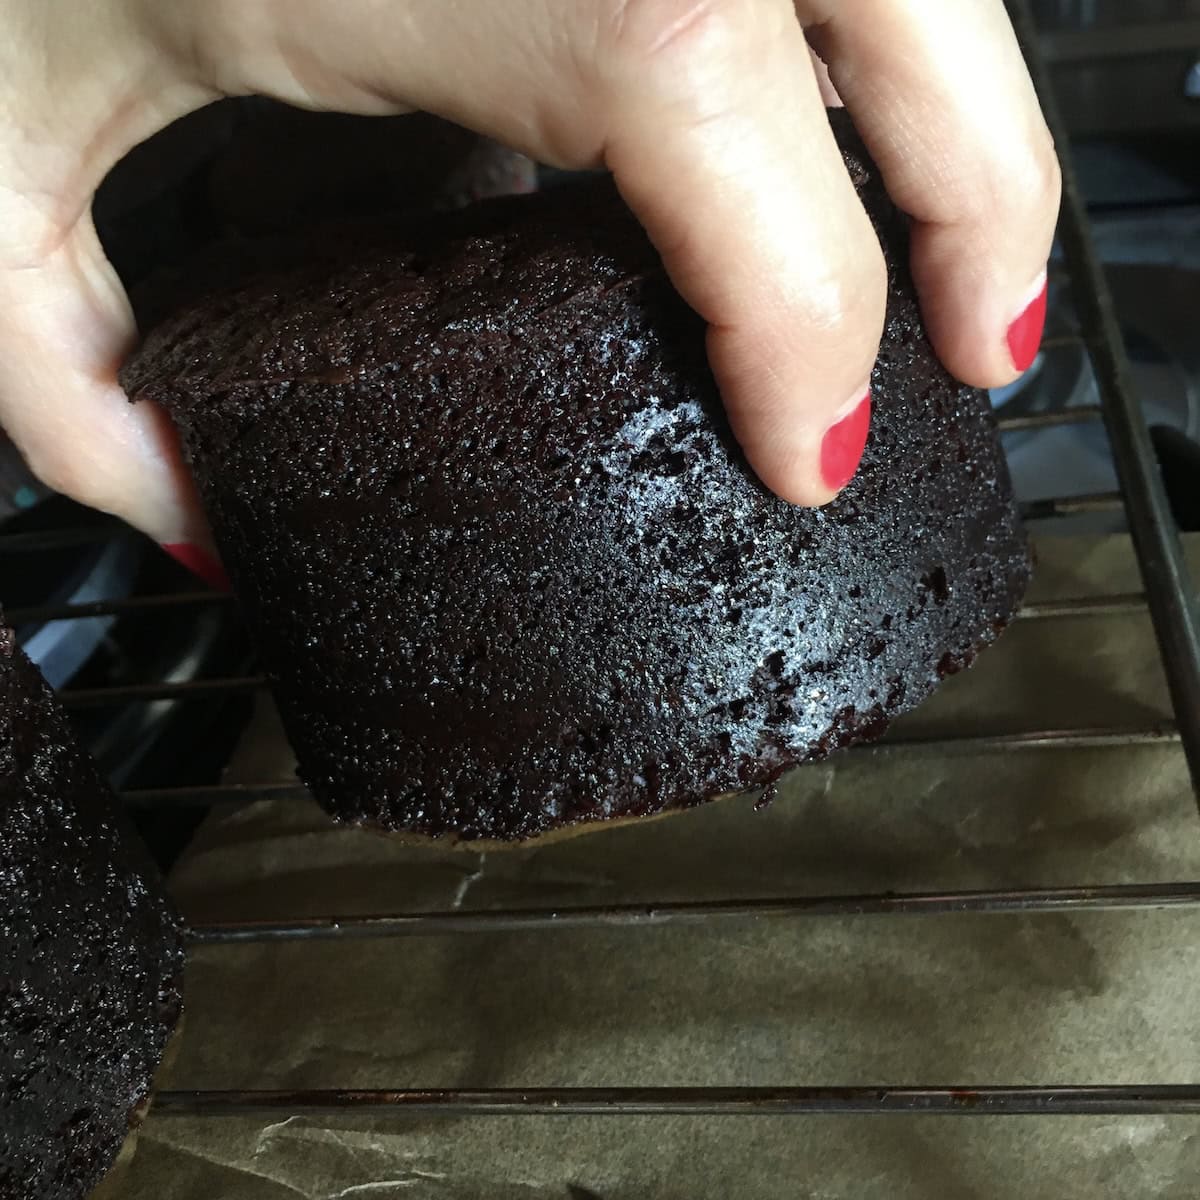
Remove from the oven and place onto a cooling rack for 15-20 minutes, then gently remove from pans to finish cooling directly on the rack. When completely cooled, frost if desired.
Find detailed instructions + 7-Minute Frosting recipe in the recipe card below.
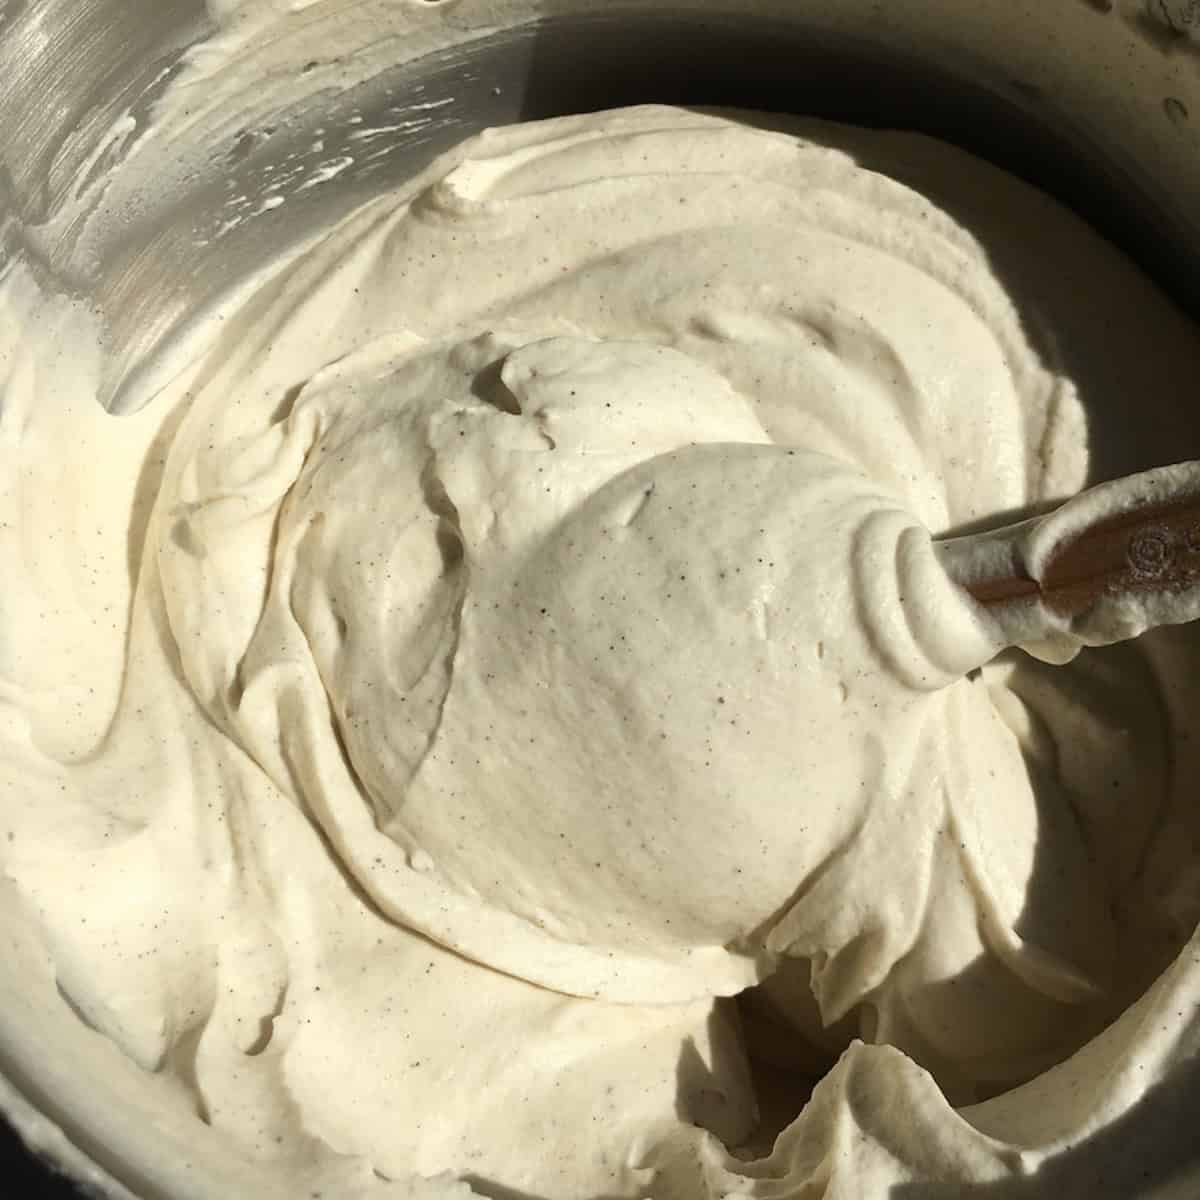
How to Make 7-Minute Frosting From Scratch Step-by-Step Photos
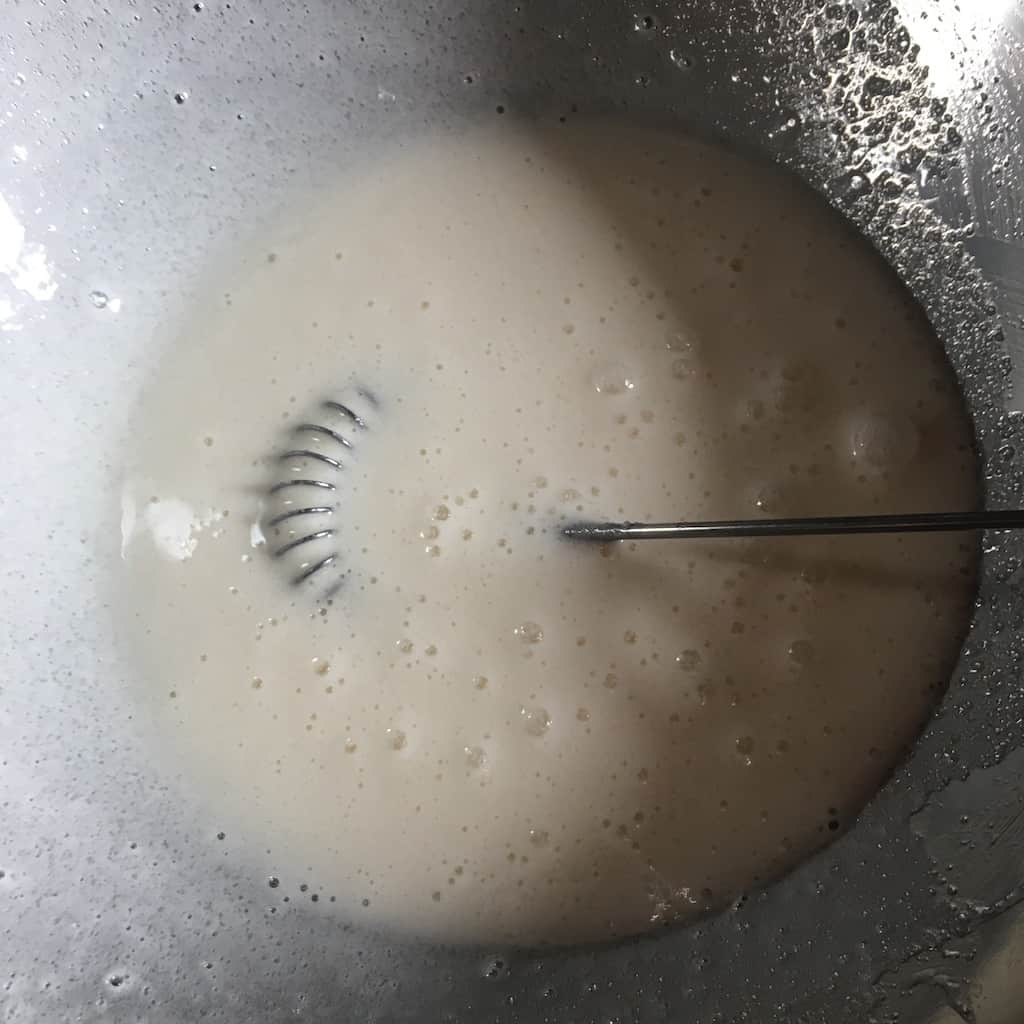
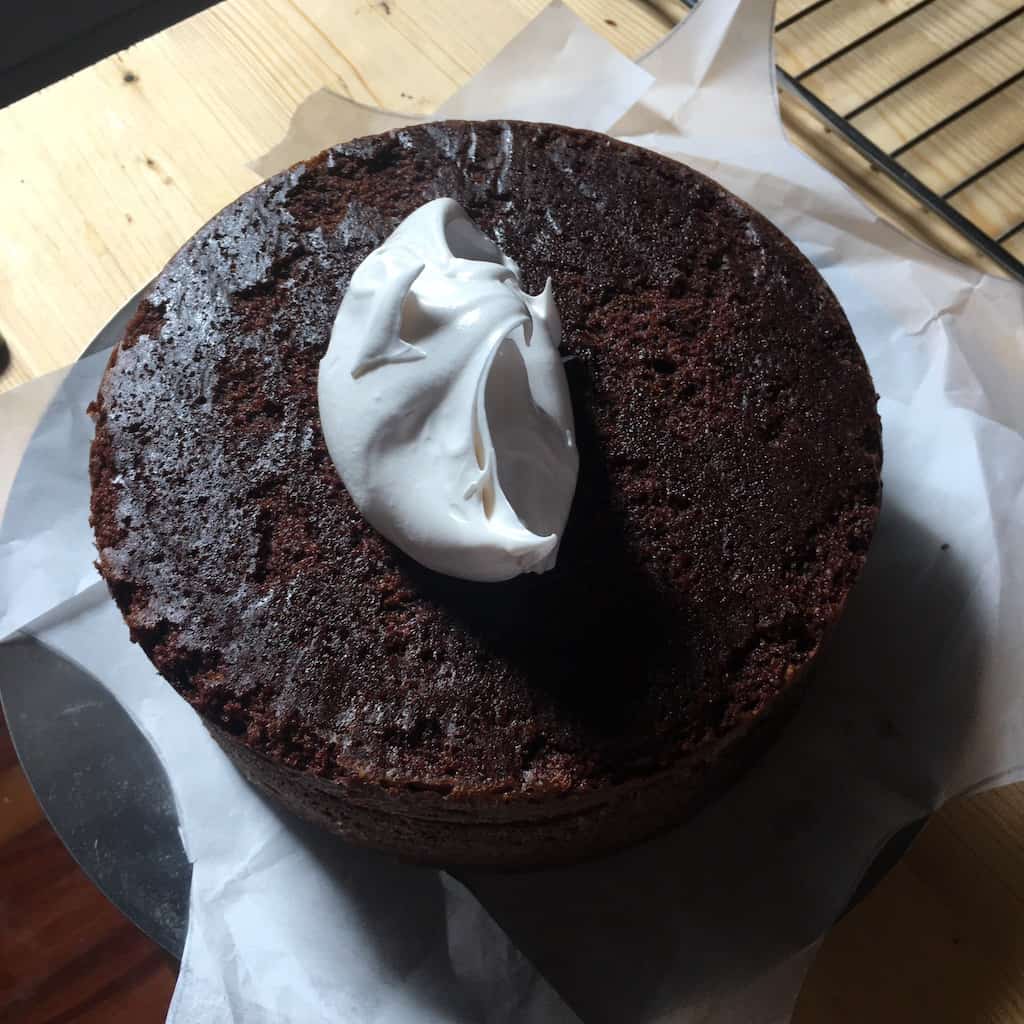
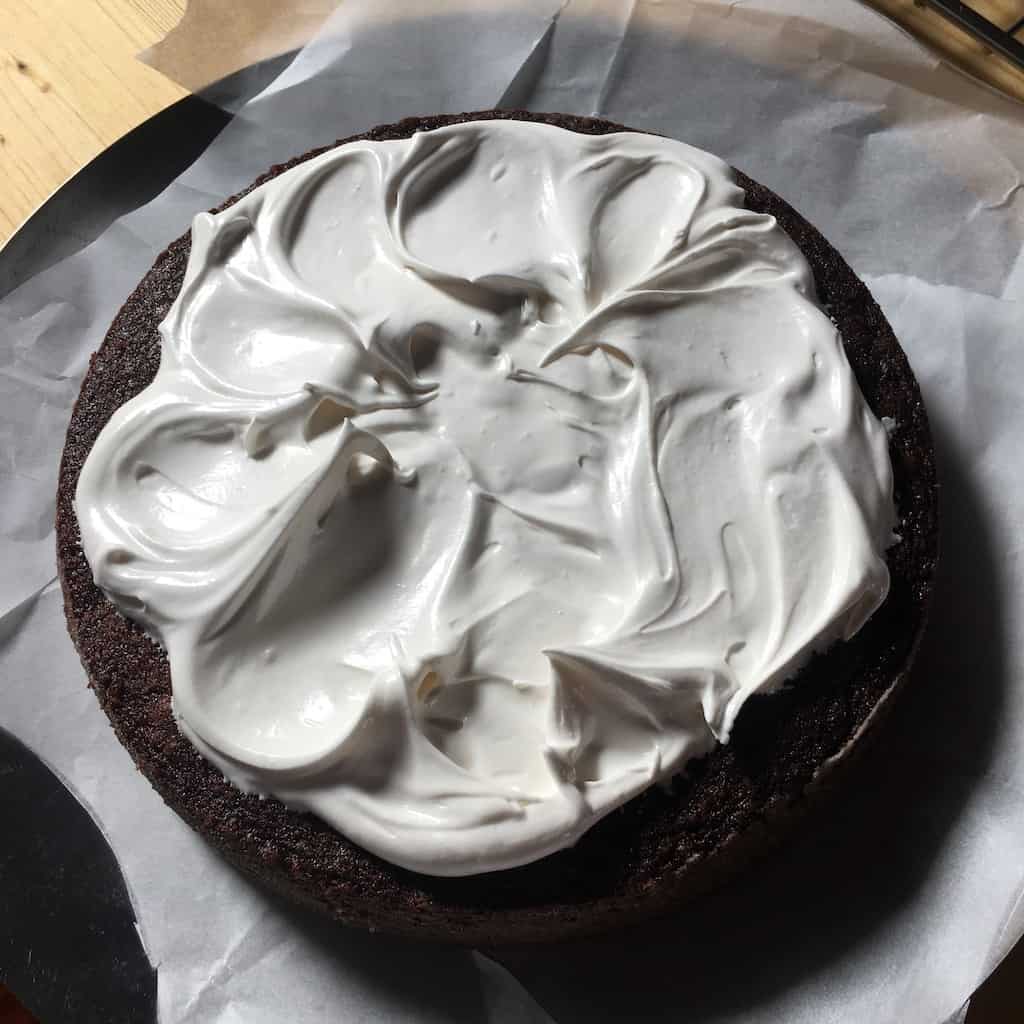
Although it takes a lot of arm strength💪, it is possible to hand-whip a 7-Minute Frosting as I've done for this recipe.
Why would you whip 7-Minute Frosting by hand?
I didn't yet have my KitchenAid stand mixer (or any mixer) after just having arrived back in Italy, but I really wanted to make this frosting. And as you can see from the photos, if you whip the egg white mixture long enough, you will be rewarded with ethereally light 7-Minute frosting!
It's so much easier to use a handheld or stand mixer, but in a pinch, you can hand whip it too!
What Frosting Goes Best with Devil's Food Cake?
This is one of the most common questions I get! Here are the best frosting options for devil's food cake:
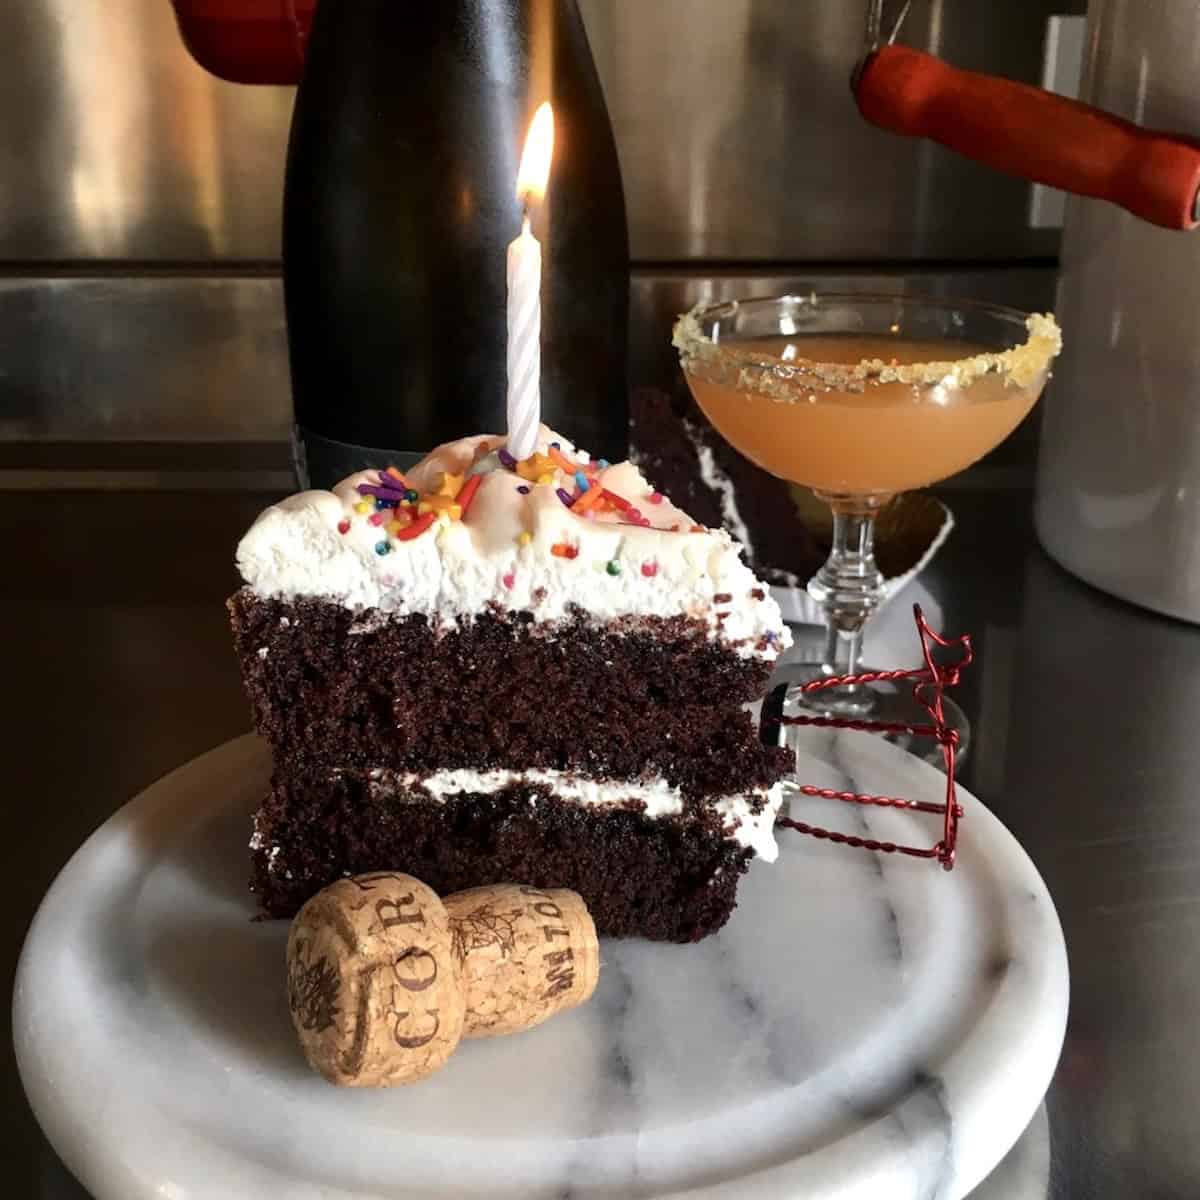
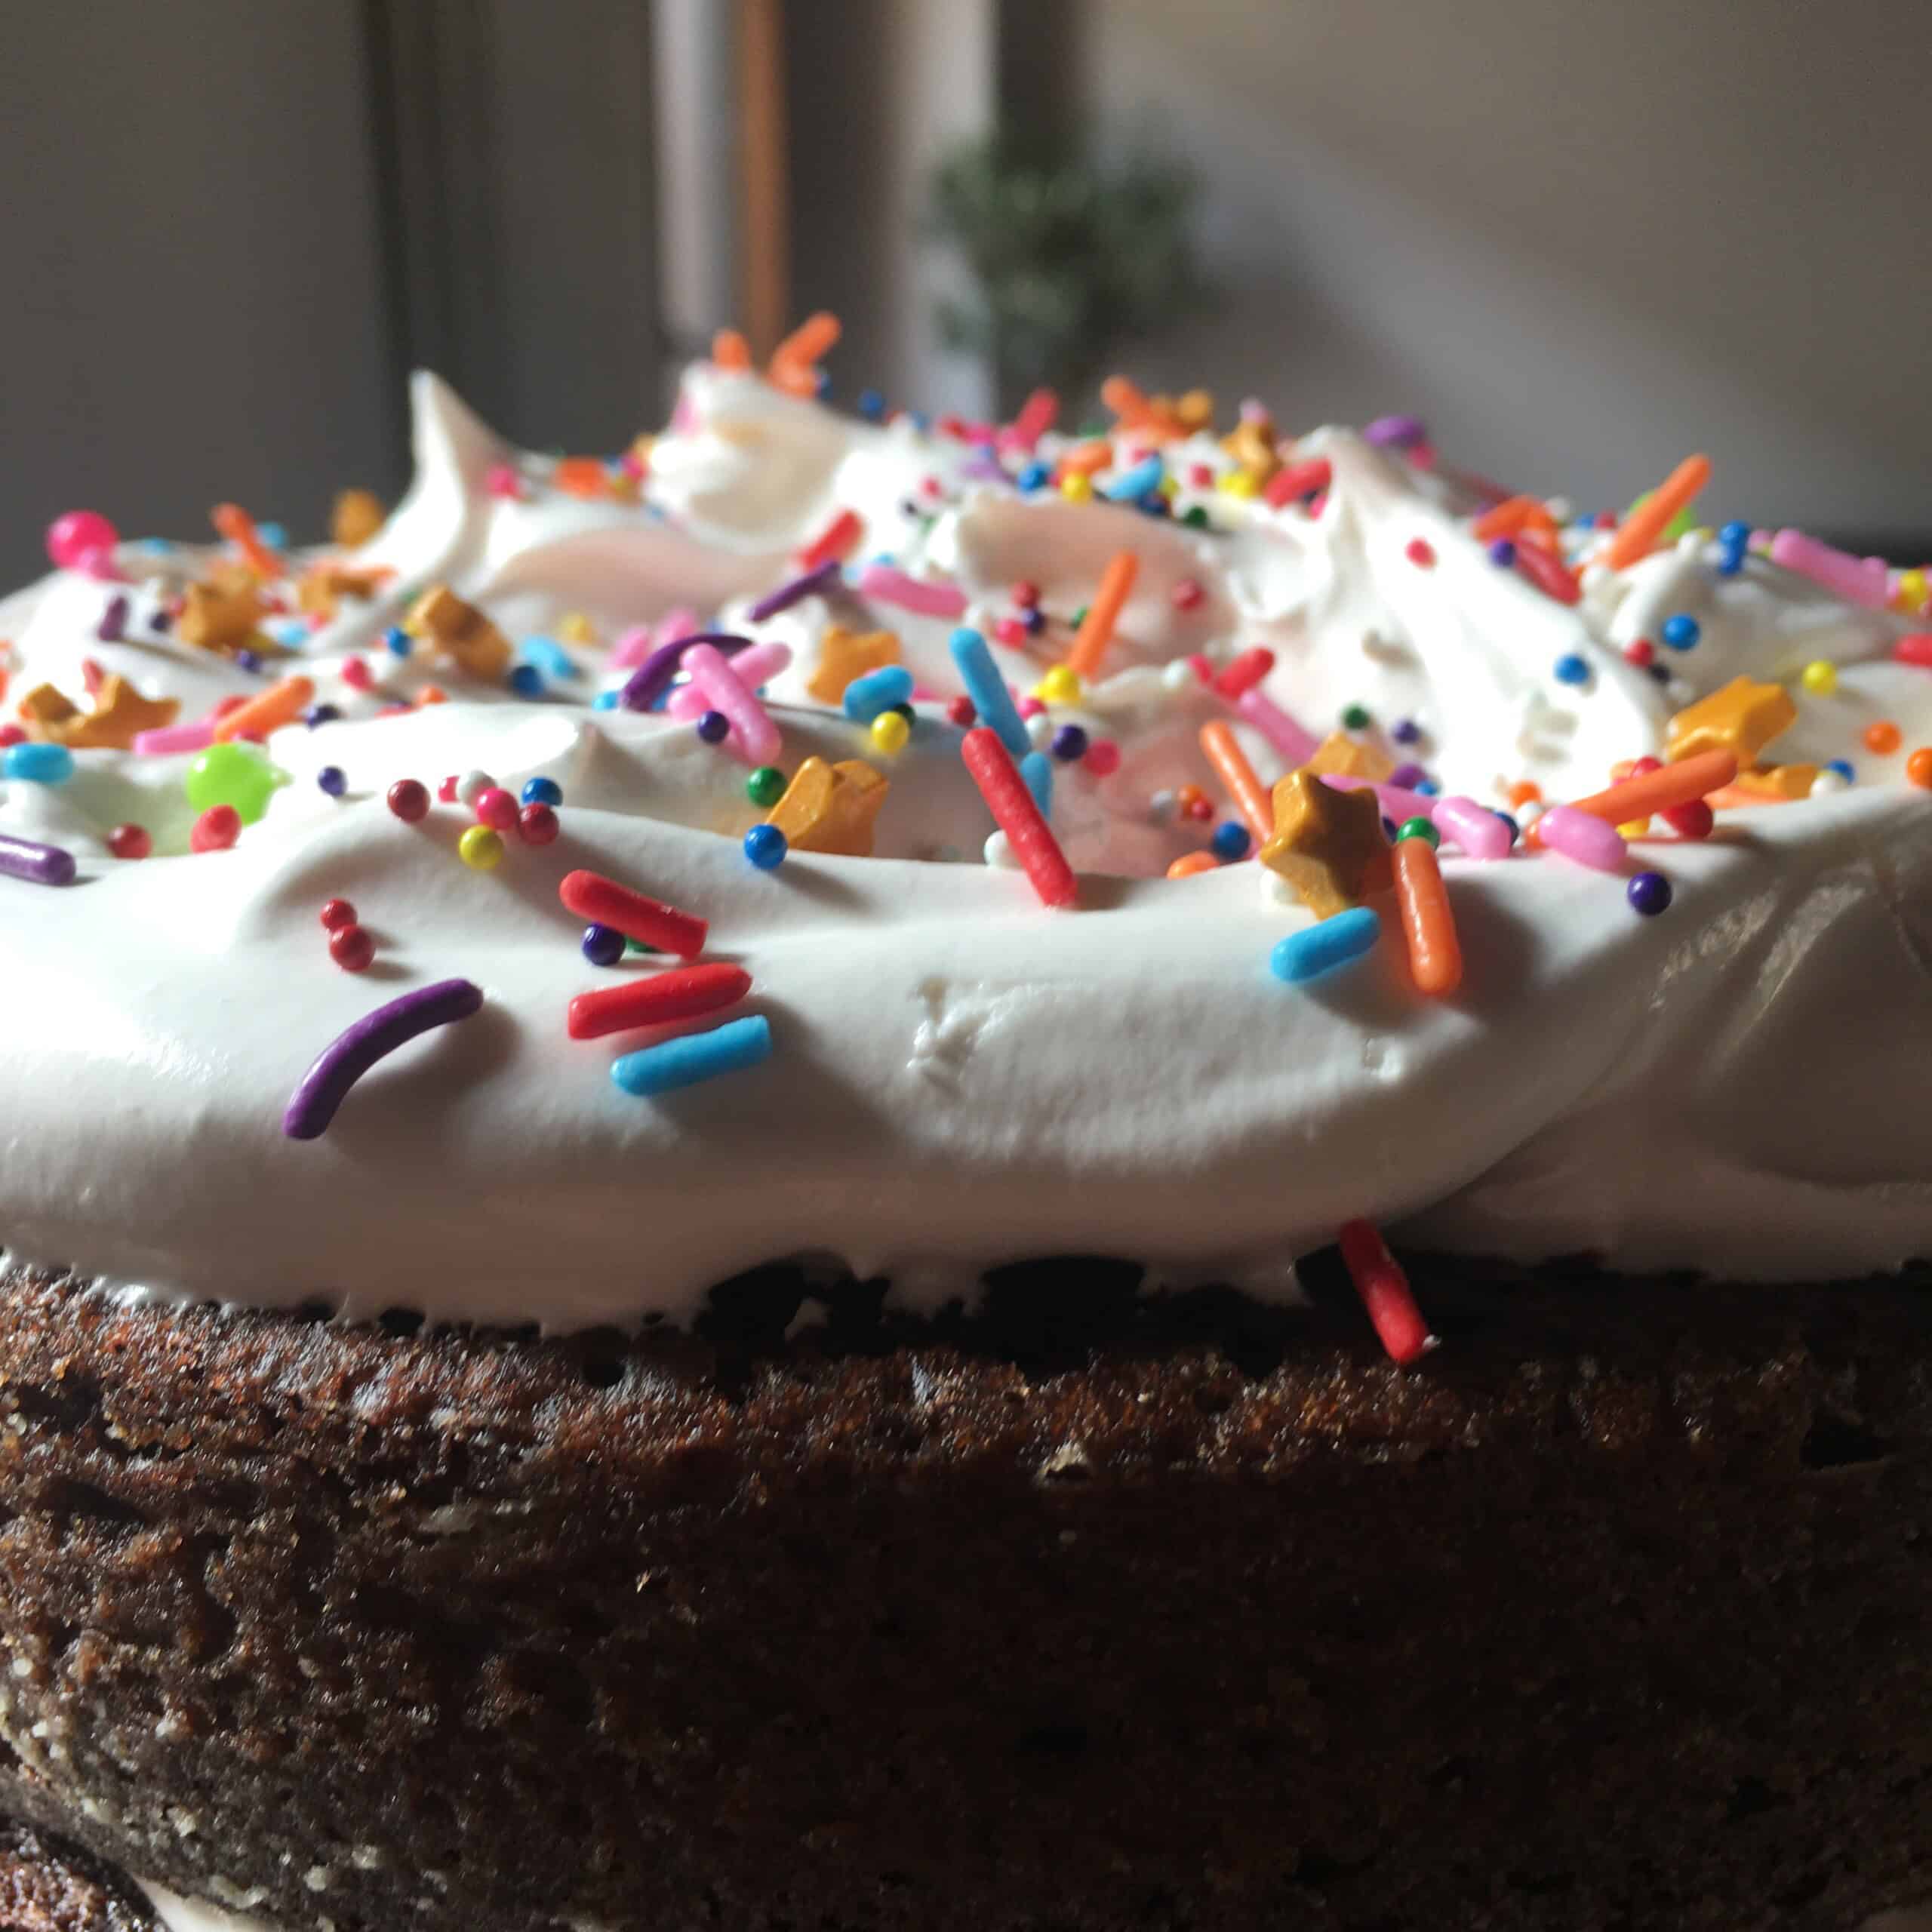
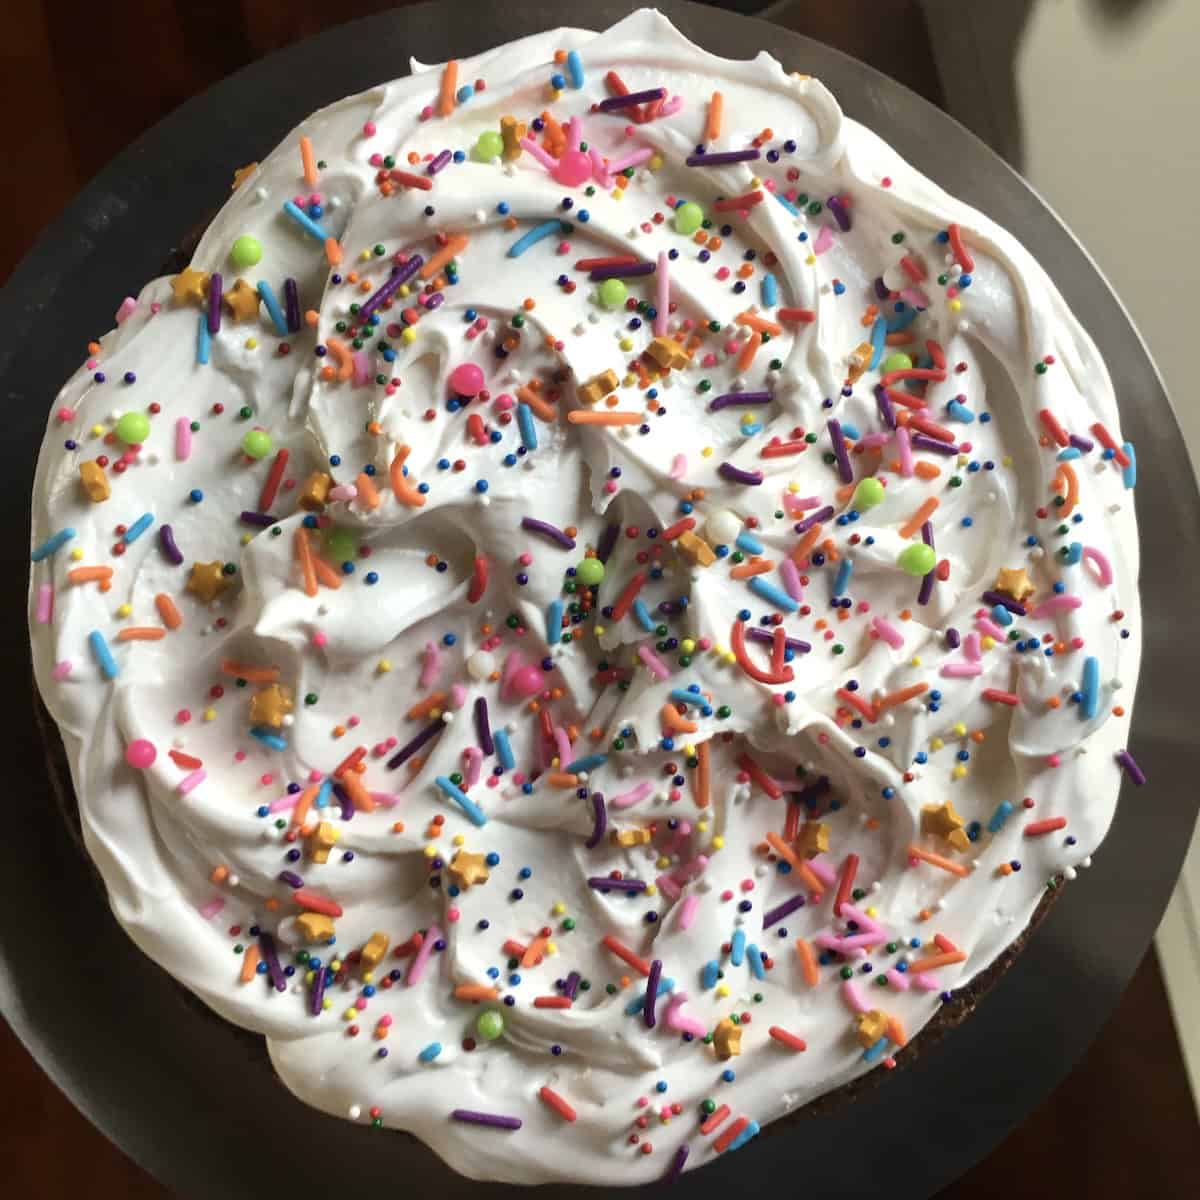
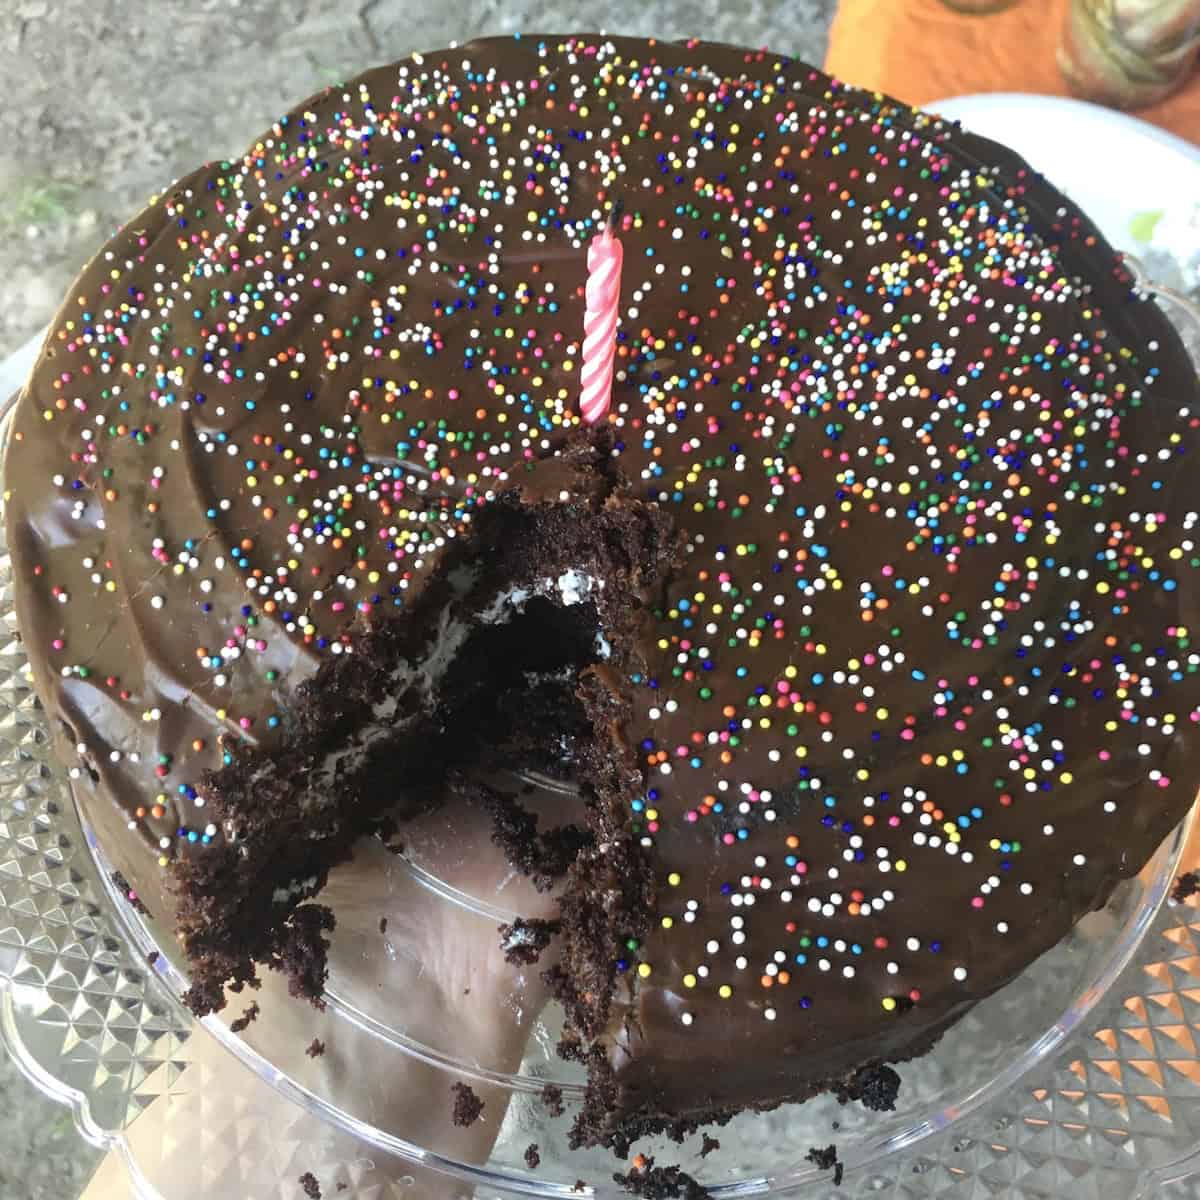
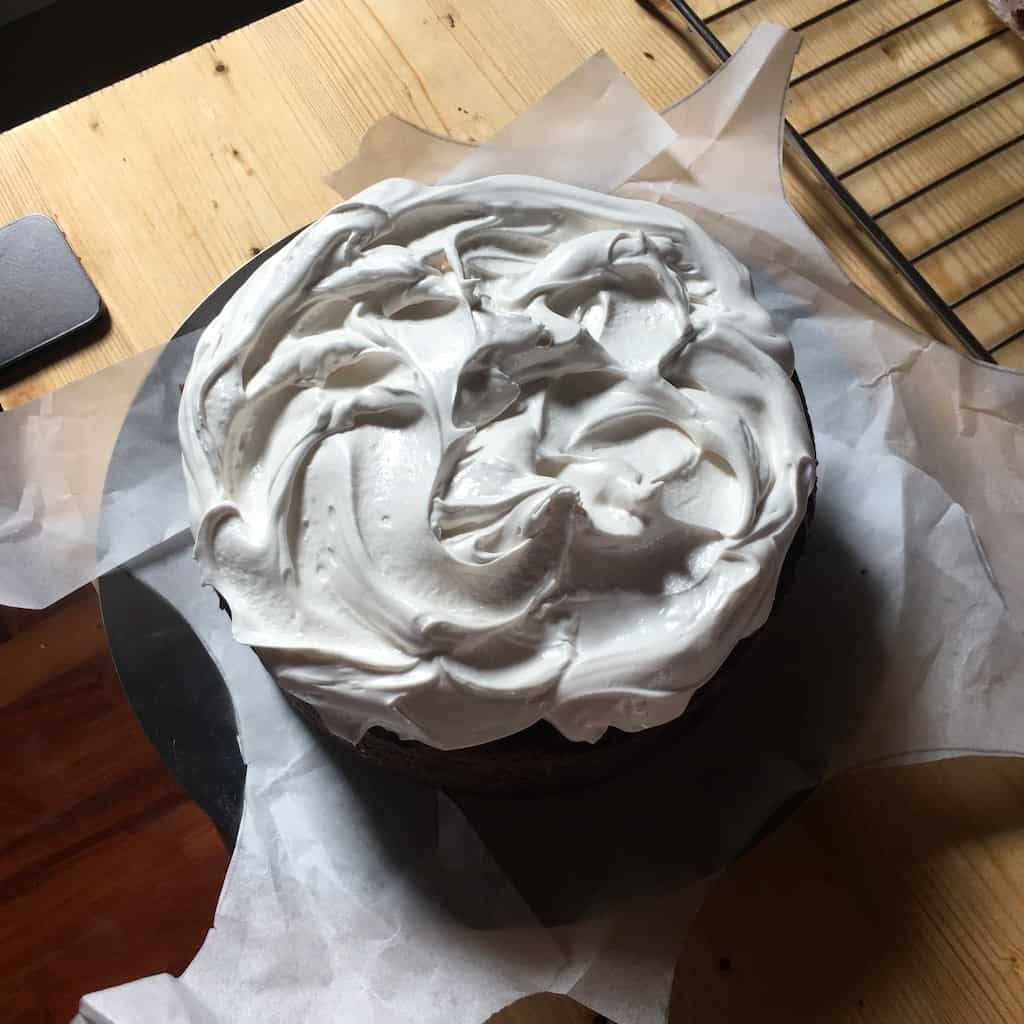
- 7-Minute Frosting (Granny's favorite): This billowy white meringue-style frosting is the traditional pairing. The contrast of fluffy white frosting against dark chocolate cake is stunning and delicious.
- Chocolate Ganache: For chocolate lovers who want more chocolate, but nothing overly sweet! Rich, glossy, and decadent. See my Devil's Food Cupcakes for the recipe.
- Cream Cheese Frosting: The tang of cream cheese beautifully balances the rich chocolate. A family favorite!
- Chocolate Buttercream: Classic American-style frosting that pairs perfectly with any chocolate cake.
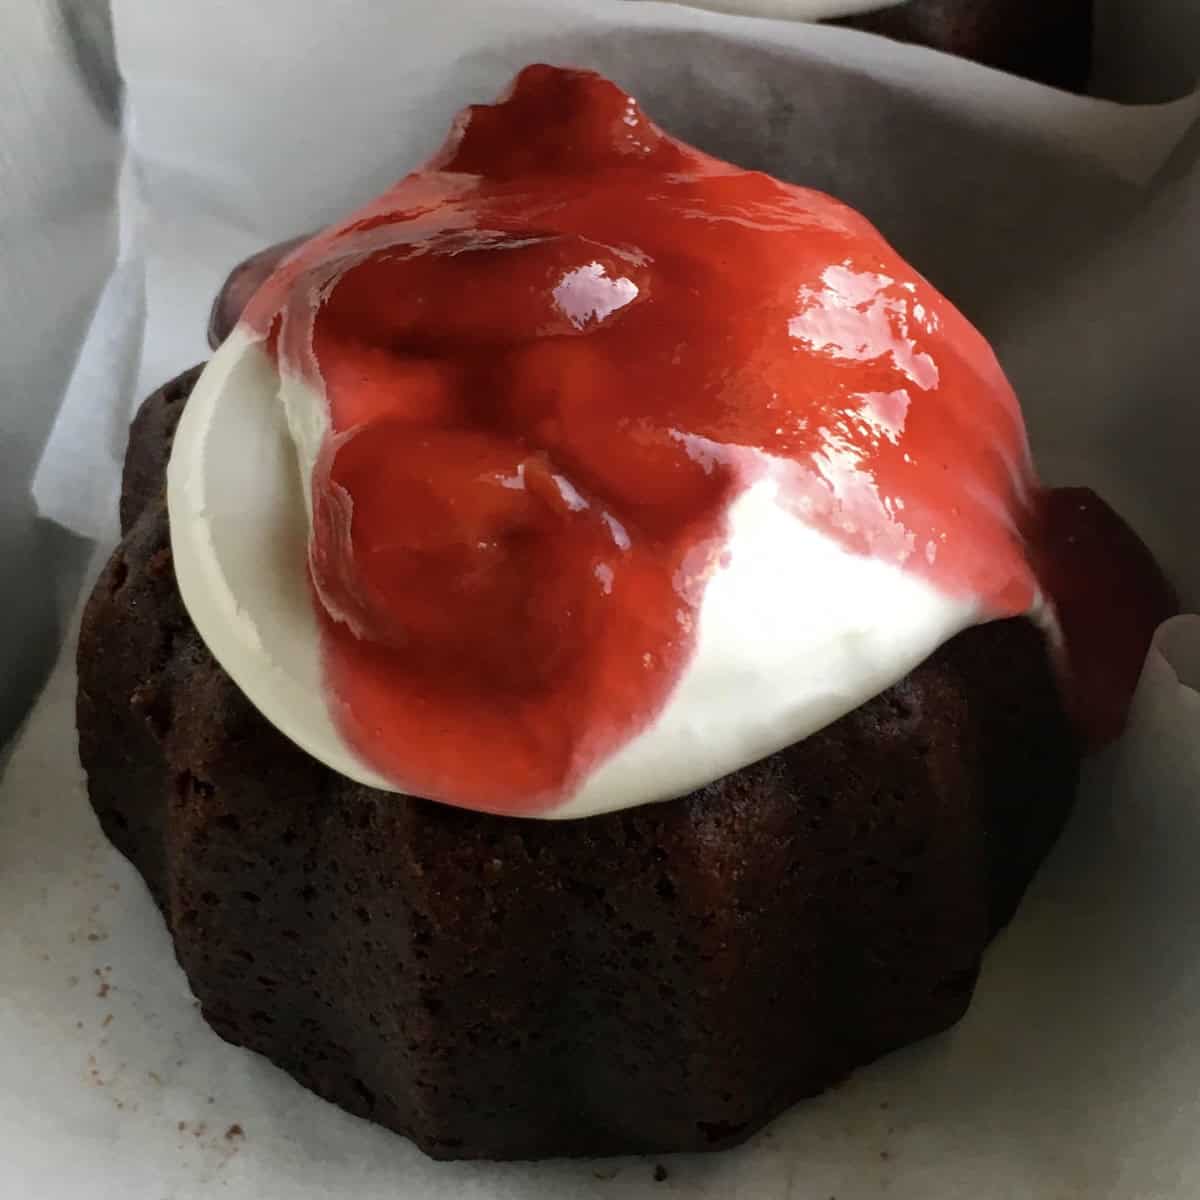
- Ultimate Cherry Pie Filling Recipe (10-Minutes, Homemade): Black Forest Devil's Food Cake: 7-Minute Frosting + my homemade cherry pie filling is perfection!
- No Frosting at All: Honestly! This cake is so moist that it makes its own glossy "icing" as it cools. It's absolutely delicious on its own or with just a scoop of vanilla ice cream.
Top Tips for Perfect Devil's Food Cake
- Use room temperature ingredients. Room temperature eggs, butter, and buttermilk form an emulsion that traps air inside the mixture. This trapped air expands during baking, producing a fluffier, more tender cake.
- Don't overmix the batter. Stirring too much activates the gluten in the flour, making your cake dense. Mix gently just until no flour streaks remain. Some lumps are perfectly fine!
- Use a kitchen scale. Measuring ingredients by weight produces more consistently reliable results than measuring cups. Plus, it's quicker, and there's less mess to clean up.
- Check with an oven thermometer. Most ovens run hot or cold. An oven thermometer ensures your oven is actually at 350°F.
- Don't open the oven door too early. Wait at least 25 minutes before checking on the cake. Opening the door too soon can cause the cake to sink.
How to Make Devil's Food Cake More Moist
Follow this recipe to the letter, and you will have the most moist devil's food cake ever(these photos don't lie!).😉 But if something goes awry by accident try these tips:
- Don't overbake. Start checking for doneness at around 25 to 28 minutes. The cake continues cooking as it cools.
- If you overbake the cake by accident, use simple syrup. Brush warm cake layers with simple syrup (equal parts sugar and water, heated until dissolved) before frosting.
- Use cake flour or Swap 2 tablespoons of all-purpose flour for 2 tablespoons of cornstarch for an even more tender crumb.
Pan Size Variations
This recipe is written for two 8-inch round cake pans, but it's versatile enough for different formats:
- Two 9-inch rounds: Reduce bake time to 25-30 minutes
- 9x13-inch sheet cake: Bake for 35-40 minutes
- Bundt pan: Bake for 45-55 minutes
- Cupcakes: Makes about 24; bake for 17-18 minutes (see my Devil's Food Cupcakes recipe for details)
Troubleshooting Devil's Food Cake
Why Did My Cake Sink in the Middle?
A sunken center usually means the cake was underbaked or removed from the oven too soon. It can also happen if you open the oven door during the first 25 minutes or slam the door. Use a cake tester. If it comes out with wet batter, continue baking in 3-5 minute increments.
Why Is My Cake Dry?
Overbaking is the most common culprit. The cake can go from perfectly moist to dry quickly, so start checking at 28 minutes. Also make sure you're measuring flour correctly. Use the spoon-and-level method or (better yet) a kitchen scale. Too much flour creates a dry, dense cake.
Why Did My Cake Dome Too Much?
Doming happens when the outside of the cake sets before the middle has finished rising. Try using cake strips (wet strips wrapped around the outside of the pan) to insulate the edges. You can also reduce your oven temperature by 25°F.
Substitutions
- Buttermilk: Make faux buttermilk by adding 1 tablespoon lemon juice or white vinegar to 1 cup regular milk. Let sit 5 minutes until slightly curdled.
- Dutch-process cocoa: Natural cocoa works but produces a lighter-colored cake with a tangier flavor.
- Espresso powder: Use instant coffee or simply omit. The espresso enhances chocolate flavor but won't make the cake taste like coffee.
- Boiling water: Hot brewed coffee intensifies the chocolate flavor even more.
- Vegetable oil: Canola, grapeseed, or any neutral-flavored oil works.

Storage & Freezing
Room temperature: Unfrosted cake layers can be stored wrapped in plastic wrap for up to 2 days. Frosted cake will keep at room temperature for up to 48 hours.
Refrigerated: Frosted cake can be refrigerated in an airtight container for up to 5 days. Bring to room temperature before serving for the best flavor and texture.
Freezing: Yes, you can freeze devil's food cake! Wrap unfrosted layers tightly in plastic wrap, then aluminum foil. Freeze for up to 3 months.
Thaw in the refrigerator overnight or at room temperature for 30 minutes to 1 hour. You can even frost the cake first and then freeze. It thaws beautifully, but it's also amazing slightly frozen! (See my homemade devil's food cake ice cream sandwich above with cheesecake filling instead of ice cream! Delicious!)
Serving Suggestions
This cake is so moist that it makes its own glossy "icing" as it cools. It really doesn't need frosting to be delicious, and it pairs really well with just a scoop of vanilla ice cream.
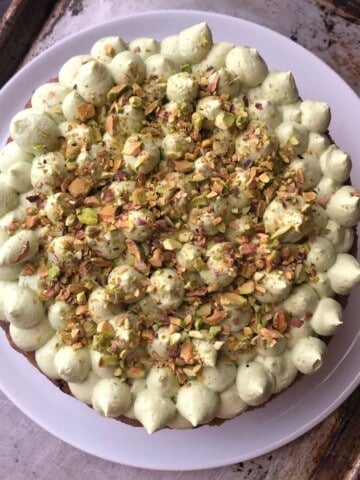
That said, Granny's 7-Minute Frosting recipe (included in the recipe card) is the traditional pairing. But I also like to top it off with this homemade cherry pie filling for a Black Forest Devil's Food Cake Bundt Cakes!
Other delicious options include chocolate buttercream, chocolate ganache, or cream cheese frosting.
FAQ
According to food historians, devil's food cake was invented in the United States around the end of the 1800s or early 1900s. One of the first recipes was published in Sarah Tyson Rorer's cookbook in 1902. The name likely comes from being the total opposite of Angel Food Cake, which was popular during the Victorian era. Where angel food is light, airy, and white, devil's food is dark, rich, and decadent. The term "devil" was also used at the turn of the century to describe anything intensely flavored or spicy (like deviled eggs or deviled ham), so the name may reference the cake's intensely rich, "sinfully delicious" chocolate flavor.
Absolutely! This is one of the things I love most about this recipe. You can make it 100% by hand using just a bowl and a whisk. The key is ensuring your butter is at room temperature so it creams easily with the sugar. I've made this cake every which way, and the results are always the same: super moist and delicious.
Yes! This cake freezes extremely well. Wrap unfrosted layers tightly in sustainable cling film, then aluminum foil, and freeze for up to 3 months. Thaw overnight in the refrigerator or at room temperature for 30 minutes to 1 hour. You can even frost the cake first and then freeze. It's a great make-ahead option for parties.
Traditional options include 7-Minute Frosting (a fluffy meringue-style frosting), chocolate ganache, chocolate buttercream, or cream cheese frosting. Honestly, this cake is so moist it doesn't need frosting at all. It's delicious with just a scoop of vanilla ice cream!
No! The espresso powder intensifies the chocolate flavor but doesn't make the cake taste like coffee. Coffee and espresso are known for enhancing chocolate's natural flavors. It's a baker's trick. If you're sensitive to caffeine or don't have espresso powder, you can omit it entirely.
Devil's food cake gets its dark color from Dutch-process cocoa powder combined with baking soda, not from dark chocolate. The cocoa gives it an intensely chocolatey flavor, but it's not the same as using dark baking chocolate. The result is a deep, almost black-colored cake with rich cocoa flavor.
Spray pans with non-stick baking spray (or rub them with butter ensuring full coverage). Sprinkle with flour or cocoa powder (or a 1:1 mixture of the two) and turn the pan while tapping to ensure a light, even coating. Tap out excess. Line the bottoms with parchment paper for extra insurance. This ensures your cake releases cleanly every time.
Unfrosted cake layers can be wrapped in plastic wrap and stored at room temperature for up to 2 days. Frosted cake keeps at room temperature for 48 hours or refrigerated for up to 5 days. For longer storage, freeze wrapped layers for up to 3 months.
Related Recipes
Looking for more chocolate cake recipes or moist cake ideas? Here are a few of our favorite scratch-made cakes and desserts:


Let's Get Started!
Made this Recipe? We'd love for you to rate ⭐️ it and tell us how it went for you!
Print📖 Recipe
Best Devil's Food Cake With 7-Minute Frosting (From Scratch)
- Total Time: 50 minutes
- Yield: One 8-inch double layer cake
- Diet: Vegetarian
Description
This slightly enhanced vintage Devil's Food Cake recipe is a keeper! It's rich, super chocolatey, and is hands down the most tender (and moist) Devil's Food Cake I've ever eaten. This recipe comes from a vintage cookbook in my 99-year-old Granny's collection. Plus, it's just as easy to make without a mixer as it is with a handheld or stand mixer. This is my go-to chocolate cake.
Ingredients
CAKE INGREDIENTS
- 5 ½ tablespoons butter, room temperature (75g)
- 5 ½ tablespoons vegetable oil (grapeseed, canola, or vegetable) (75g)
- 2 cups sugar (400g)
- 1 ½ teaspoon vanilla extract (20g)
- 2 large eggs, at room temperature (100g)
- ½ cup boiling water (118g)
- 1 cup buttermilk, room temperature (250g)
- 2 cups all-purpose flour (240g)
- ½ cup cocoa powder (50g)
- 1 teaspoon baking powder (4g)
- 1 teaspoon baking soda (4g)
- 1 ½ teaspoons espresso powder (3-4g)
- 1 teaspoon kosher salt (6g)
7-MINUTE FROSTING INGREDIENTS
- 1 ½ cups granulated sugar (298g)
- ⅓ cup cold water (74g)
- 2 large egg whites
- 2 teaspoons Lyle's Golden Syrup or light corn syrup (15g)
- ¼ teaspoon cream of tartar (about 1g)
- 1 teaspoon vanilla extract (4g)
- pinch of salt
*I use 00 flour when I'm in Italy, and the weight of different flours varies based on the humidity content and absorption potential of the flour you're working with. Just be sure to use the 'scoop and level' method to measure your flour into measuring cups and spoons and the recipe works perfectly every time.
Instructions
- Preheat the oven to 350°F/176°C and prep the cake pans. Heat the oven and butter or spray two 8-inch aluminum cake pans. Lightly flour the pans making sure to cover the inside well. Tap out any remaining flour. Line the bottoms of the cake pans with parchment paper and set aside until ready to fill.
- Prepare the dry ingredients. Add the flour, cocoa powder, espresso, baking powder, and salt to a medium bowl and whisk well to combine, set aside..
- Prepare the baking soda + hot water solution. Boil the water (or microwave it until very hot), add the baking soda, and stir until dissolved, set aside.
- Prepare the wet ingredients. In the bowl of an electric mixer (or by hand using a whisk), beat the butter, oil, sugar, and vanilla until light and fluffy approximately 2-3 min - scraping down the sides of the bowl once or twice while mixing to ensure all ingredients are well incorporated. Add the eggs and whisk just until incorporated. Add the buttermilk and baking soda-hot water mixture and mix just until combined.
- Combine the wet and dry ingredients. Add the dry ingredients to the wet ingredients and use a rubber spatula or whisk to gently combine the ingredients until no flour streaks remain. *after combining everything you should still have some visible lumps and that's exactly what you want.
- Portion the cake batter. Split the cake batter evenly between two 8-inch cake pans.
- Bake the cakes. Bake the cakes for 30-35 minutes, or until a cake tester (or toothpick) comes out clean and the tops are just set and slightly springy when touched.
- Cooling the cakes. Remove the cakes from the oven and place them onto a cooling rack for 15 to 20 minutes to slightly cool and then gently remove the cakes from the pans to finish cooling directly on the cooling rack. When cakes are completely cooled, they may be frosted.
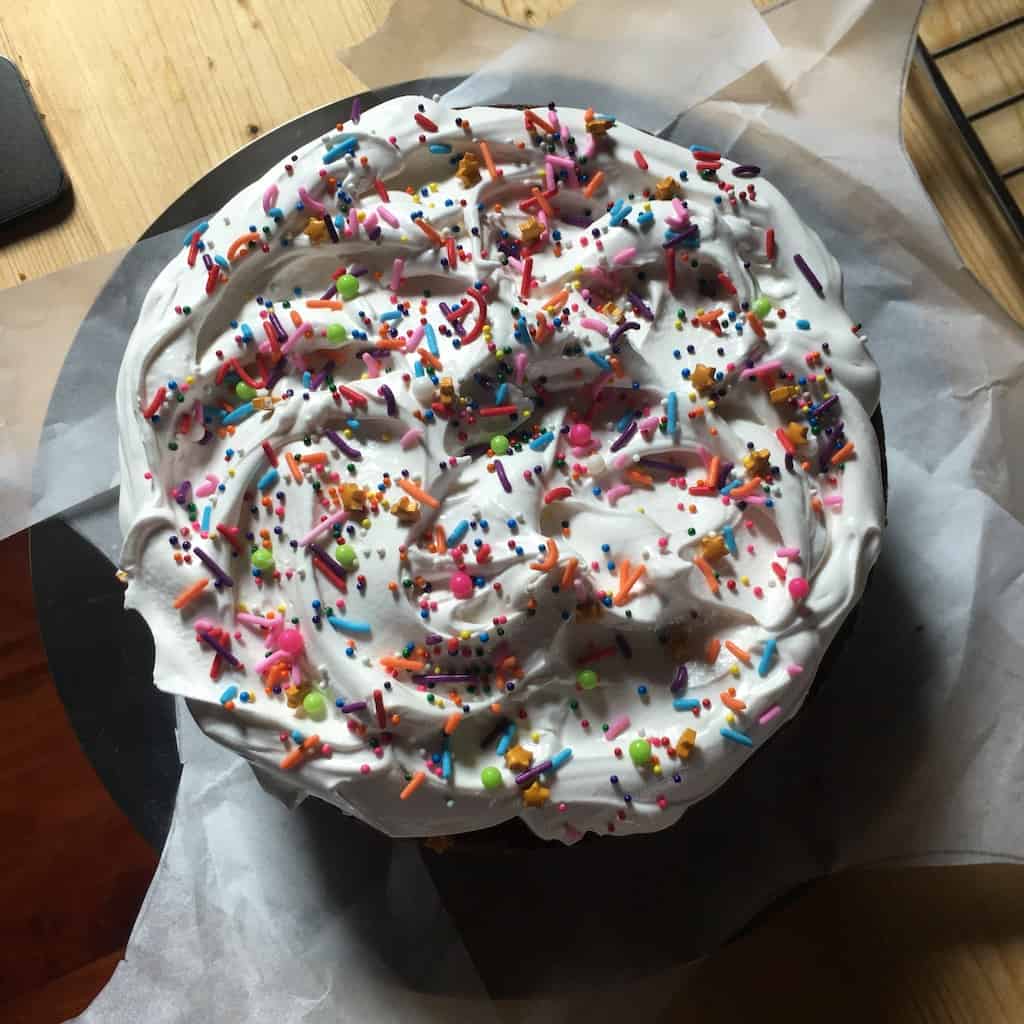
- Prepare the 7-Minute frosting. Fill a small pot with 1-2 inches of water, bring to a boil, then reduce to a simmer. Add all frosting ingredients EXCEPT vanilla to a large heatproof bowl that's wider than the pot. Place the bowl over the simmering water (the bottom should not touch the water). Beat with a handheld mixer on high for 7 minutes, or by hand for 10-12 minutes, until stiff and glossy. Remove from heat, add vanilla, and beat 30 seconds more. Frost cooled cupcakes and add sprinkles for extra fun. Enjoy!
Notes
If you don't have buttermilk, make your own by simply squeezing 1 tablespoon of freshly squeezed lemon juice (or white vinegar) into a liquid measuring cup then add the milk until you reach one total cup of liquid. Stir the mixture and set aside for 10-15 minutes at room temperature. The mixture will thicken and might even curdle a bit and that's normal.
If you don't have espresso, substitute instant coffee or omit it altogether, or use hot coffee to replace the hot water that gets mixed with the baking soda.
Fine all the other best tips and techniques for success in the main post.
- Prep Time: 20 minutes
- Cook Time: 30 minutes
- Category: Cakes + Tortes
- Method: Oven Bake
- Cuisine: American
Nutrition
- Serving Size: 1 slice
- Calories: 435
- Sugar: 60g
- Sodium: 390mg
- Fat: 13g
- Saturated Fat: 4g
- Unsaturated Fat: 9g
- Trans Fat: 0g
- Carbohydrates: 78g
- Fiber: 2g
- Protein: 5g
- Cholesterol: 39g
Food Safety
- Wash hands and all surfaces before beginning
- Store frosted cake at room temperature for up to 48 hours, or refrigerate for up to 5 days
- Eggs should be fresh and properly stored at 40°F or below before use
- When making 7-Minute Frosting, ensure the egg white mixture reaches at least 160°F during cooking for food safety
See more guidelines at USDA.gov.


Kelly Leding says
This is an easy, super moist, chocolate cake recipe even for beginner bakers!
Kermit says
This cake was unbelievably easy to make and even better tasting! A huge hit for my son's birthday party🥳 Thanks