What's better than a delicious dough-filled Chinese dumpling? Its crispier cousin is the fried golden-brown chewy potsticker(or Jiaozi). This pork potsticker recipe is easy, and it's one of our favorite dinners to make when we're craving takeout.
Filled with house-ground fatty pork belly and pork shoulder, chives, wood ear mushrooms, cabbage, and a ginger-infused Shaoxing wine, soy, and sesame sauce.

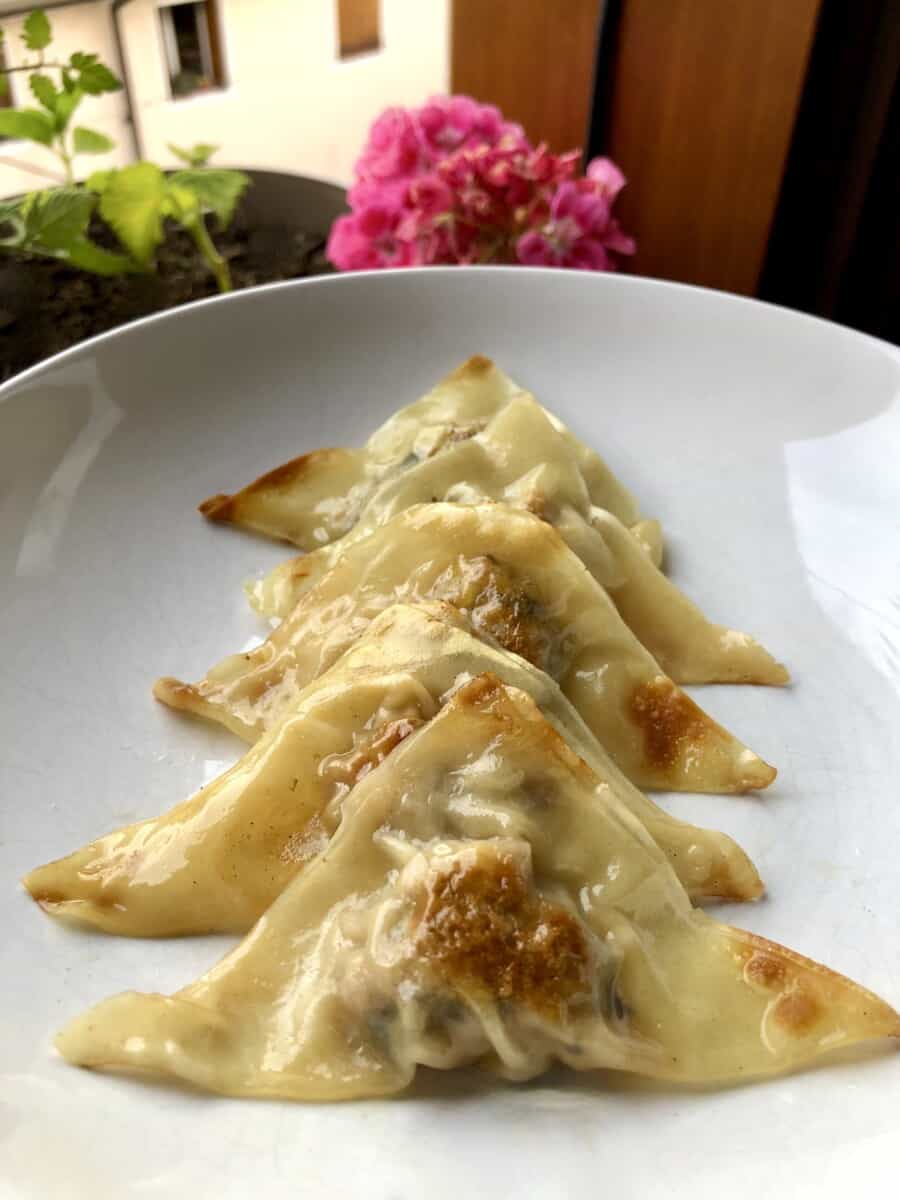

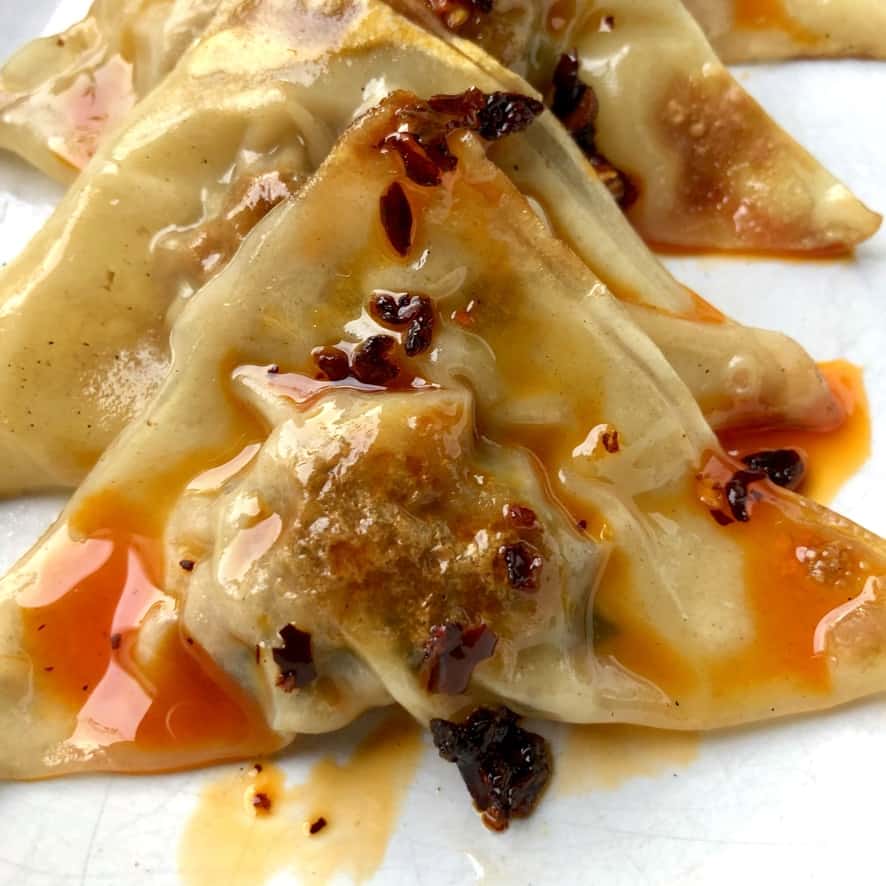
This is a seriously delicious dumpling filling that's only made better because of the tasty pan-sear it gets just before being steamed. Plus, I include a really tasy potsticker dipping sauce to go with them.
This is a perfect recipe to meal prep and freeze if you have the space. Double the recipe so you always have a quick, wholesome dinner any night of the week with just about no work or cleanup whatsoever.
What's the Difference Between a Chinese Dumpling and a Potsticker?
Potstickers are part of the humble (and seriously delicious) Chinese dumpling family. Made with a wrapper that's somewhere in between the thickness of a typical dumpling wrapper and a thinner wonton wrapper, it's filled with a mixture of meat or veggies (or both), and a few Chinese pantry staple seasonings and sauces like chives, Shaoxing wine, soy, and sesame oil, to name just a few.
Each region of China has its own popular fillings to choose from (and within each region, every home will crank out its own special family recipe).
There is no right or wrong filling, but it's important that the filling is moist and tender. You do this by making sure you add just enough liquid to the meat mixture, but never too much that it's wet when you're trying to fill them.
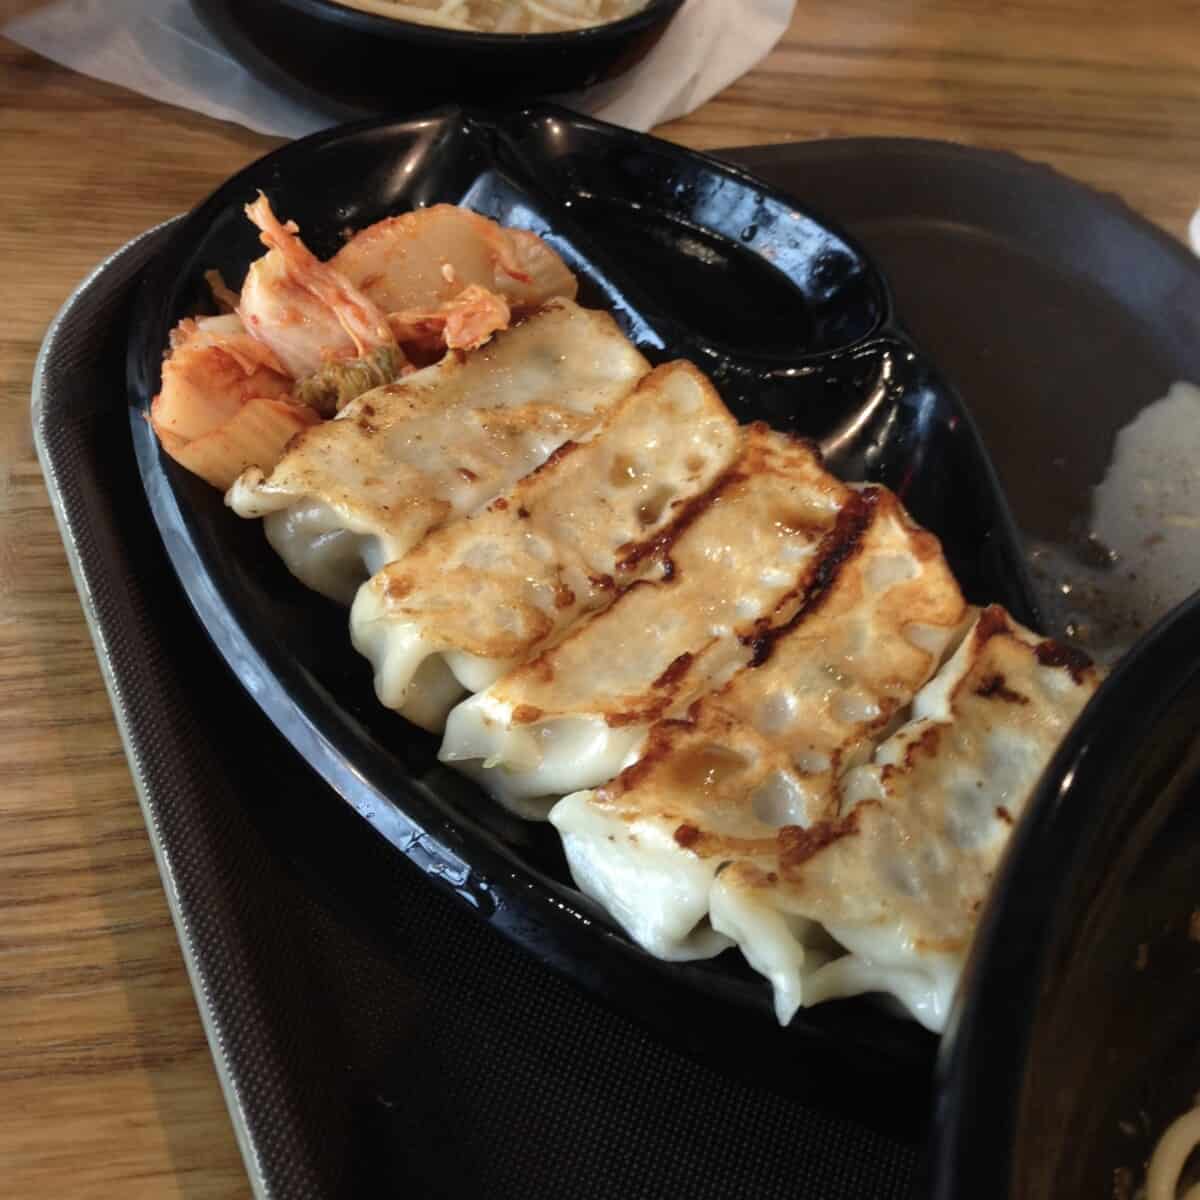
What sets the potsticker apart from its delicious cousin, the dumpling, is that after it's filled, it gets fried on one side in a little oil and then steamed right in the same pan.
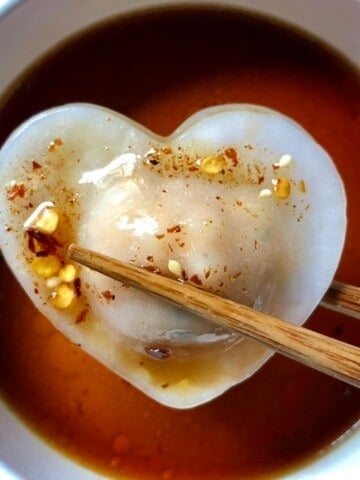
This is where it gets its name from (and its delicious texture and extra flavor). Below you can see what the typical shape and folds are for a traditional Chinese potsticker from a lunch with my Mom in Hong Kong (it's a dumpling that's been fried).


The Easy Way to Assemble Potstickers at Home
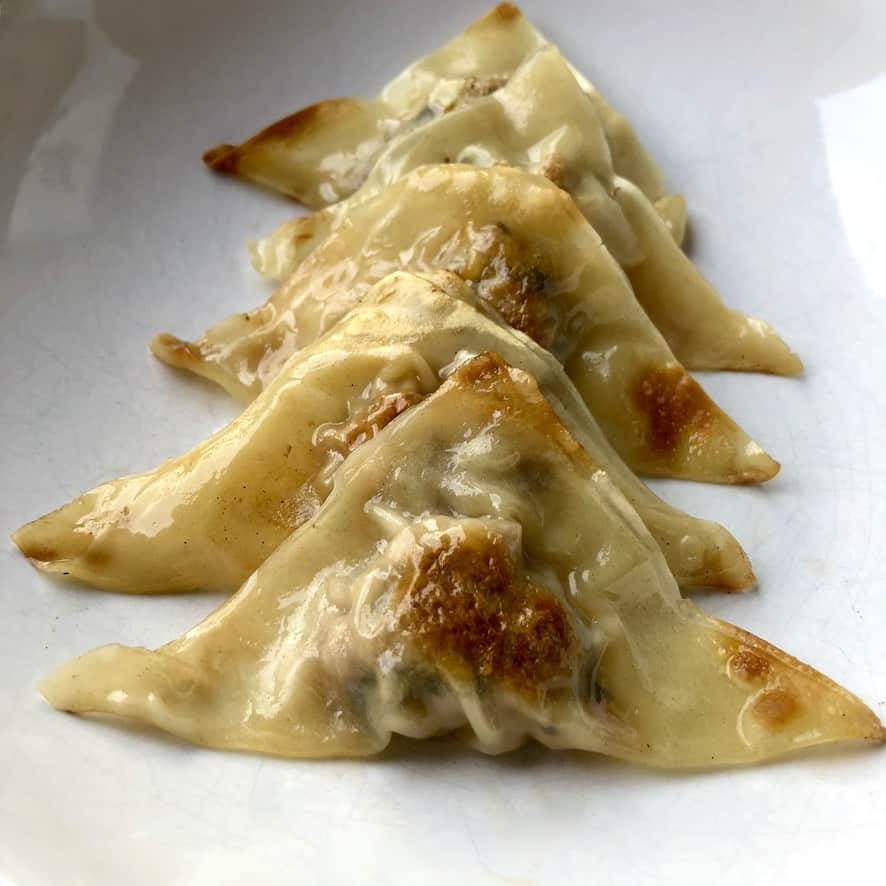
Making triangular potstickers is the easiest (quickest) way to assemble potstickers if you don't know how to make traditional pleated dumplings. It's even easier to buy a pack of dumpling or wonton wrappers (square or round), fill them, seal them with a simple cornstarch slurry, and cook them or freeze them for later.
But, if you have time and want to make the dough from scratch (it's really easy), just use my easy 2-Ingredient dumpling wrapper recipe over here. Making the dough from scratch makes it easy to fold the potstickers into the traditional shape and even easier to make the pleats.
However, if convenience is what you're after without sacrificing flavor or texture, follow these simple steps below:
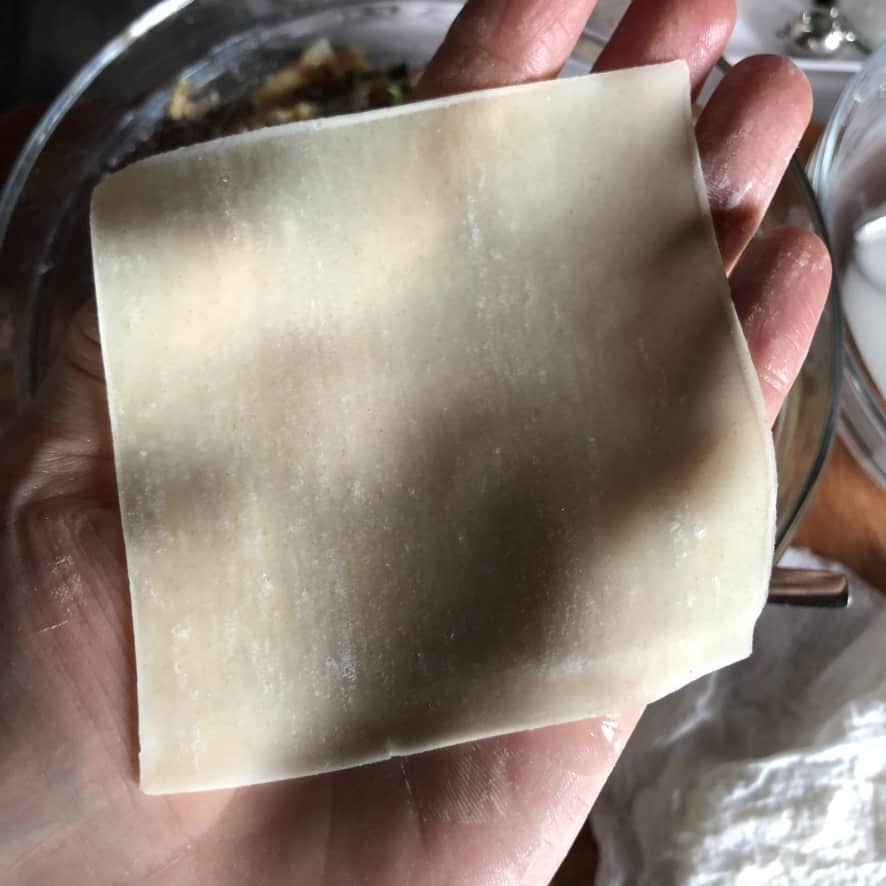
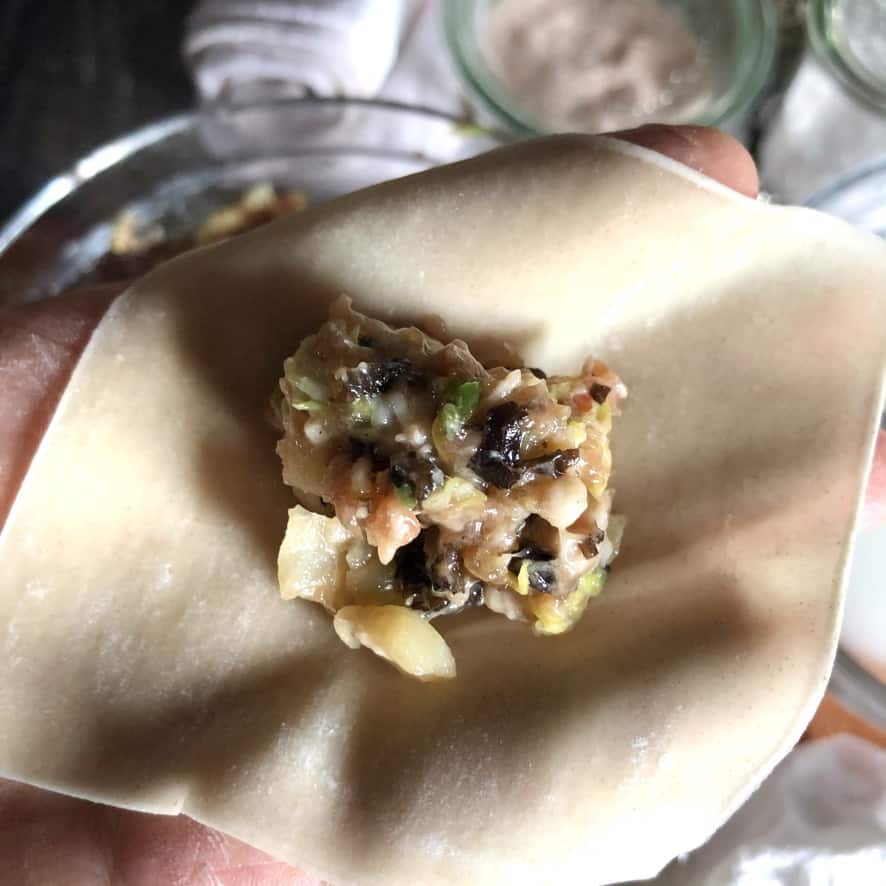
Step 1. Place a wonton or dumpling wrapper in the palm of your hand and add about 1 tablespoon (15g) of filling to the center.
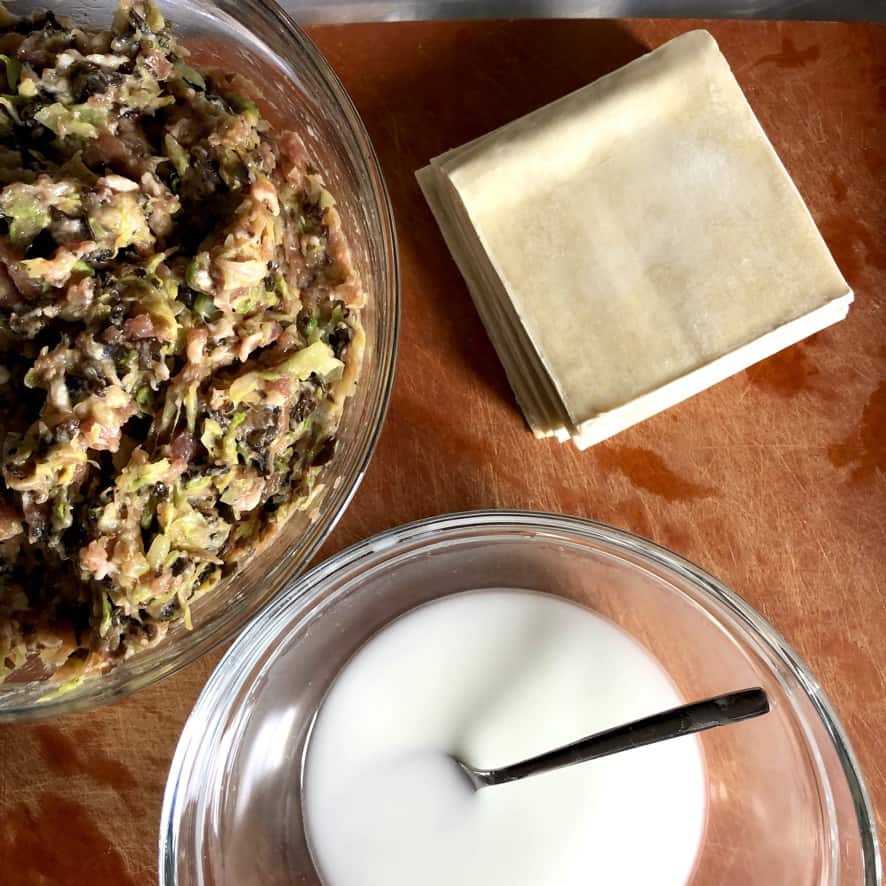
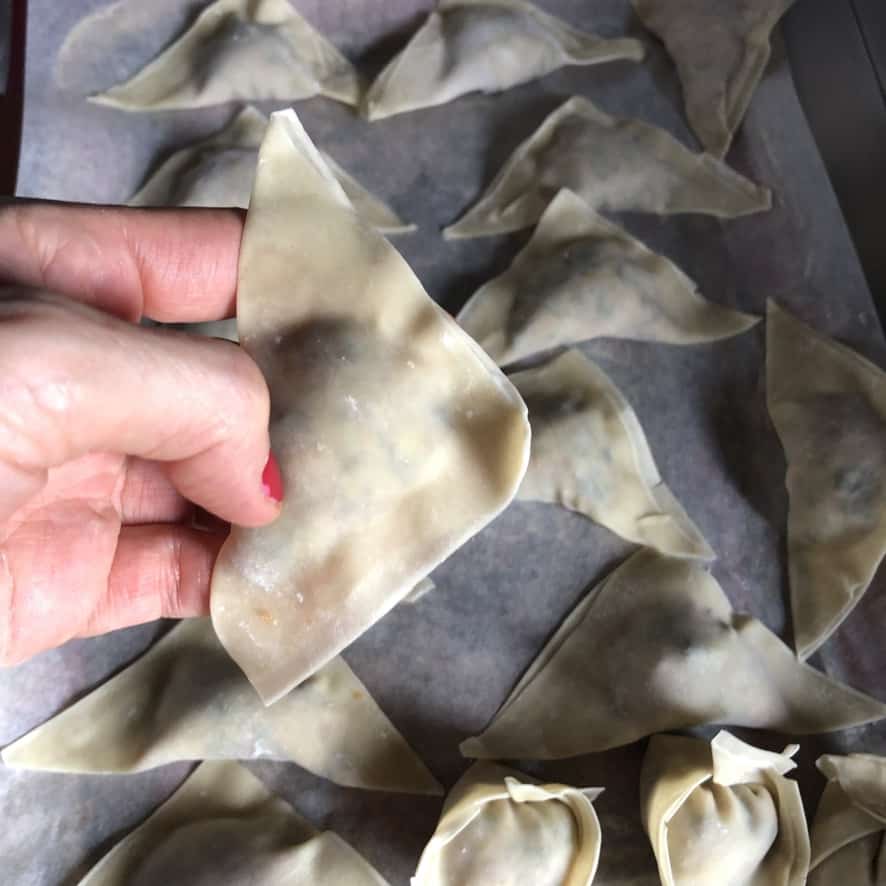
Step 2. Using your finger, brush two opposite sides of the dumpling square with the cornstarch slurry (which acts like glue), and close the wrapper to create a triangle, being sure to press out any air around the filling mixture as you go. Seal the wrapper well by pinching the dough together around the perimeter.

Pork Potsticker Ingredients (Cantonese-style)
For this potsticker recipe, I ground the meat myself using a combination of fatty pork belly and pork shoulder to get a really "springy" texture and delicious filling, but you can just buy fatty pre-ground pork.
If you're ever wondering why the Chinese dishes you make at home don't taste as much like your favorite take-out spot, there could be a few reasons, but a good place to start is the addition of Shaoxing wine (aka Xiaoxing or Chinese cooking wine).
In particular, this cooking wine is used in many traditional everyday Chinese dishes and provides a ton of flavor that you may be missing. I outline some substitutes for it if you're in a pinch, but it's worth it it buy a bottle if you're into cooking authentic Chinese or Chinese-American food at home.
FOR THE FILLING:
- fatty ground pork (at least 80/20)
- napa cabbage
- scallions (or sub Chinese chives)
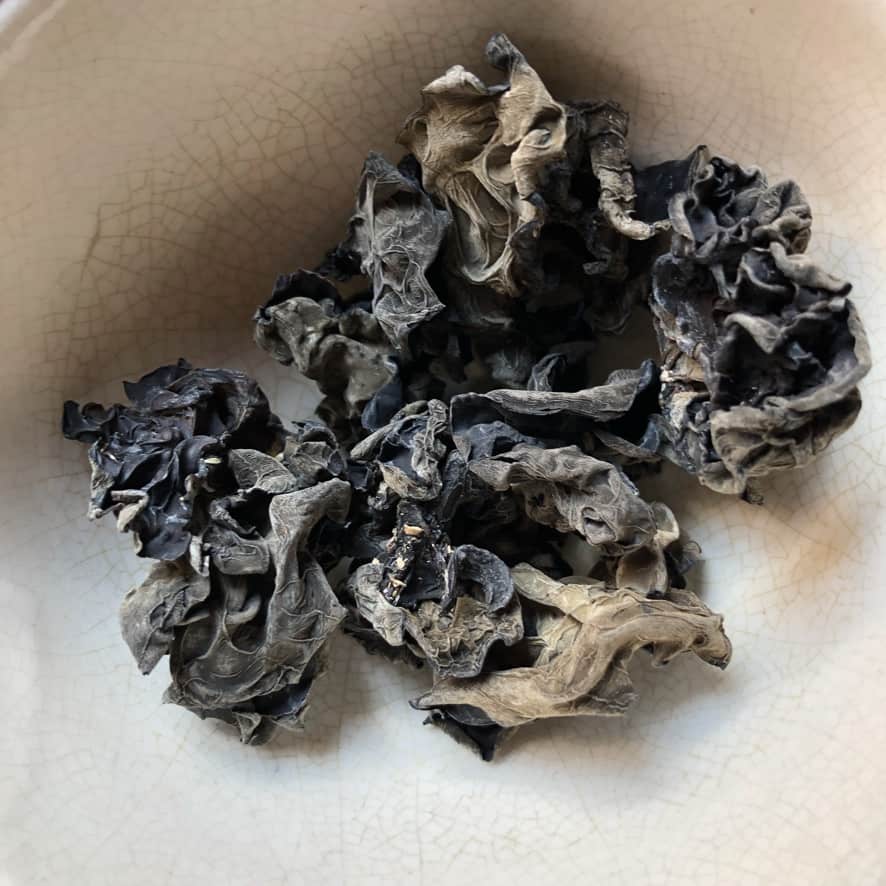
- dried wood ear mushrooms (sub dried shitake mushrooms)
- Shaoxing wine
- light soy sauce (or sub regular soy)
- toasted sesame oil
- high-quality fish sauce (optional but recommended)
- fresh ginger
- white pepper
- salt
FOR ASSEMBLING THE POTSTICKERS:
- cornstarch + water (to seal the potstickers)
- Homemade wonton wrappers or dumpling wrappers, or naturally-colored dumpling wrappers (or use store-bought wrappers)
TO SERVE (Traditional potsticker dipping sauce):
- Chinese black vinegar (Chinkiang or Zhenjiang vinegar)
- regular soy sauce
- sugar
- fresh ginger
- chili oil or sambal (optional)

How to Make Chinese Pork and Mushroom Potstickers
Dumplings of any kind are easy to make at home. If you have kitchen helpers, creating an assembly line makes it go even faster. But if it's just you, a bowl of filling, and a stack of wrappers, don't worry, because once you start assembling, it all goes really quickly.
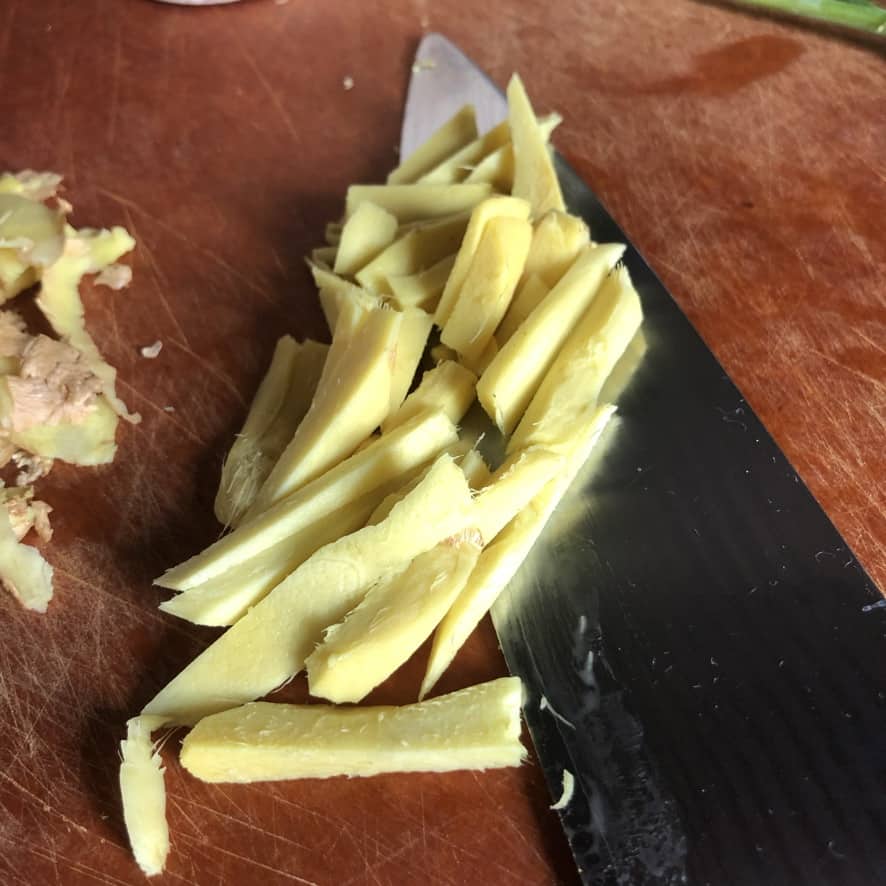
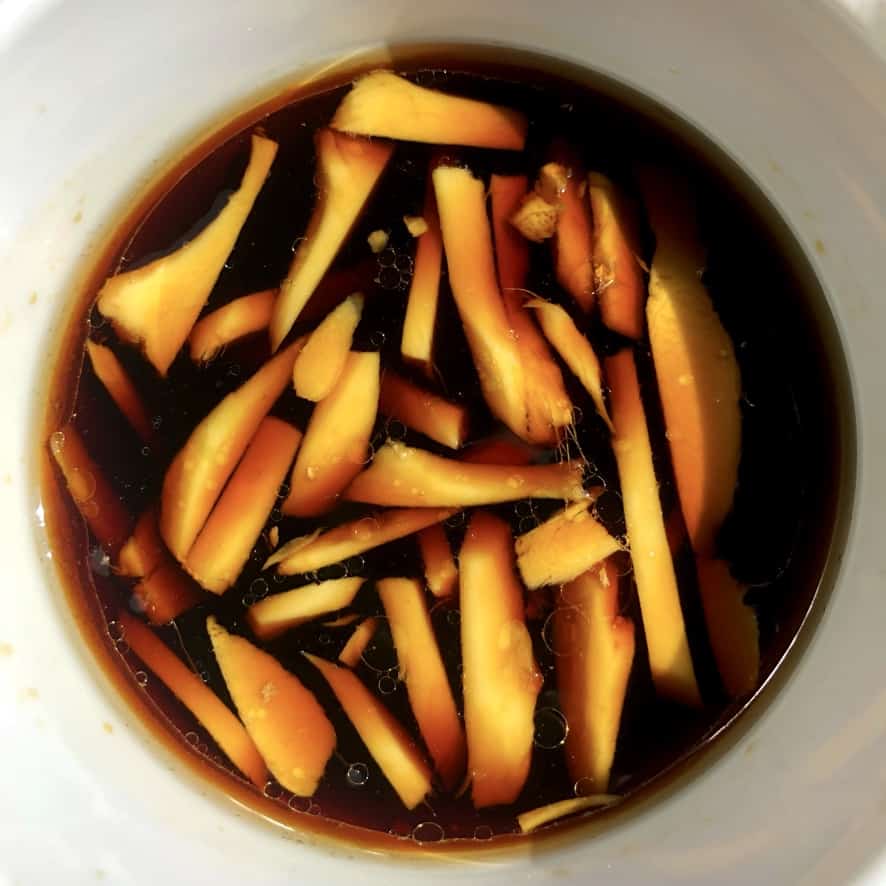
Step 1. Steep the ginger in the pork filling sauce. Add the Shaoxing wine, soy sauce, sesame oil, and fish sauce to a small bowl and stir to combine. Add the ginger matchsticks and allow the ginger to infuse the mixture while you prepare the rest of the filling.
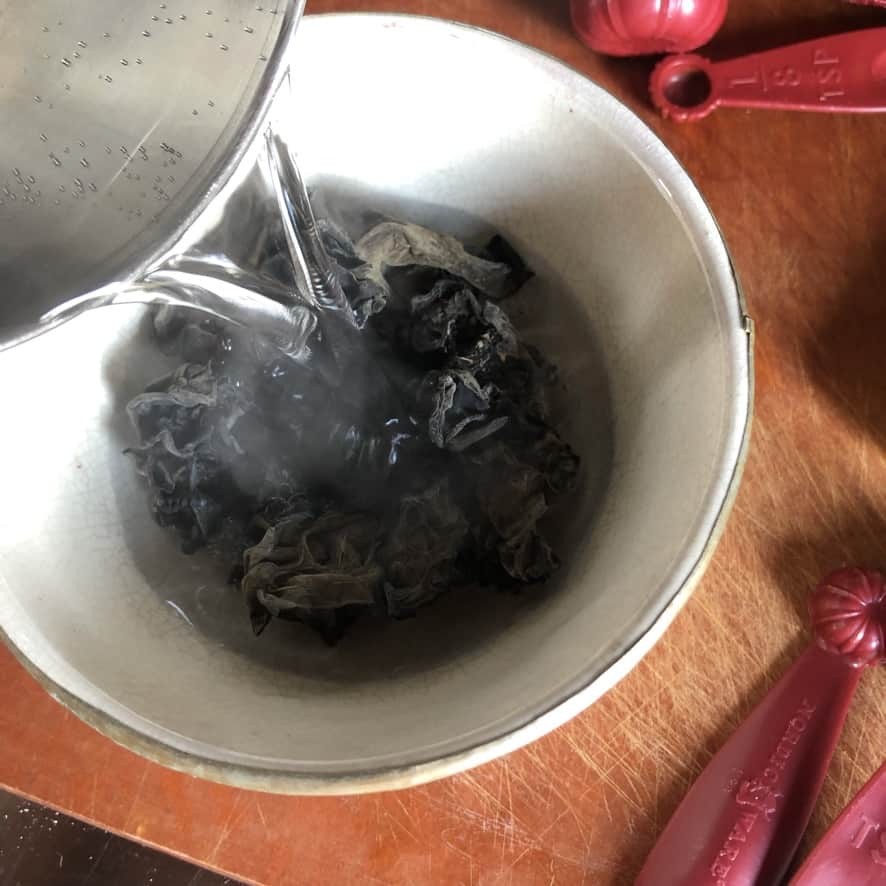
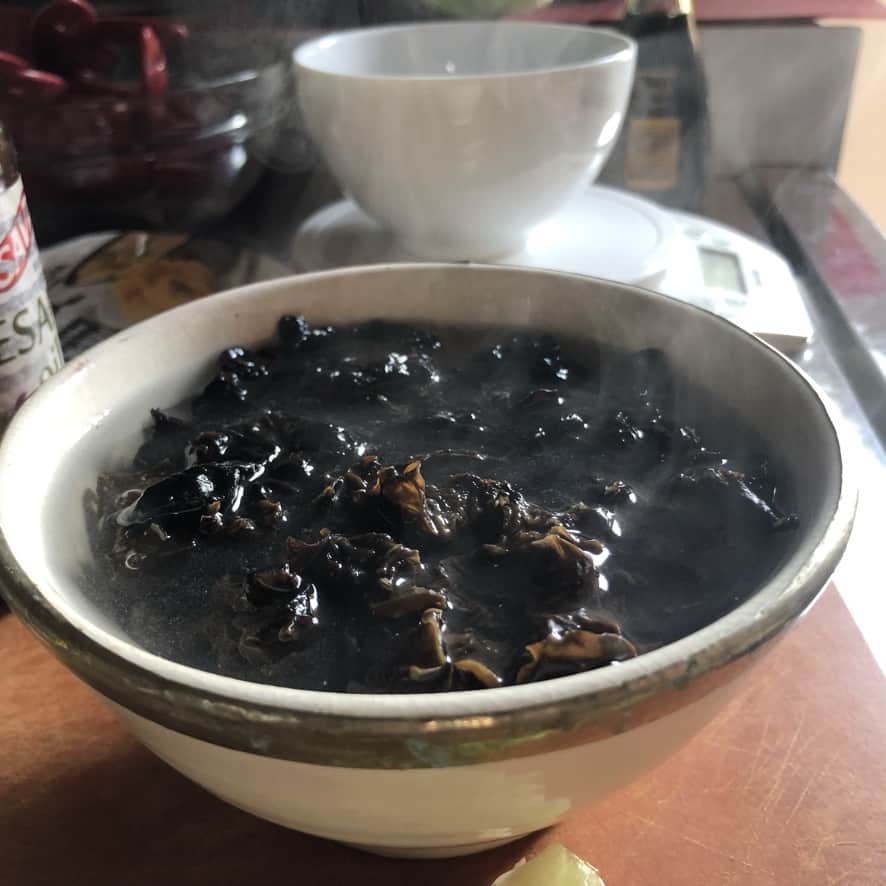
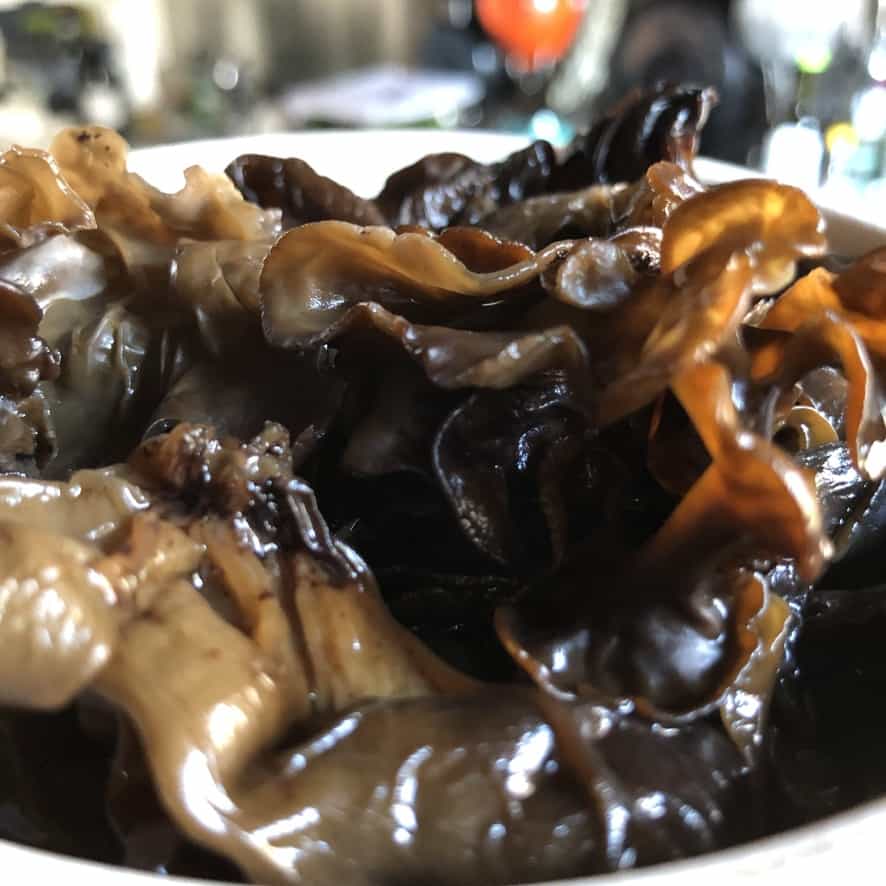
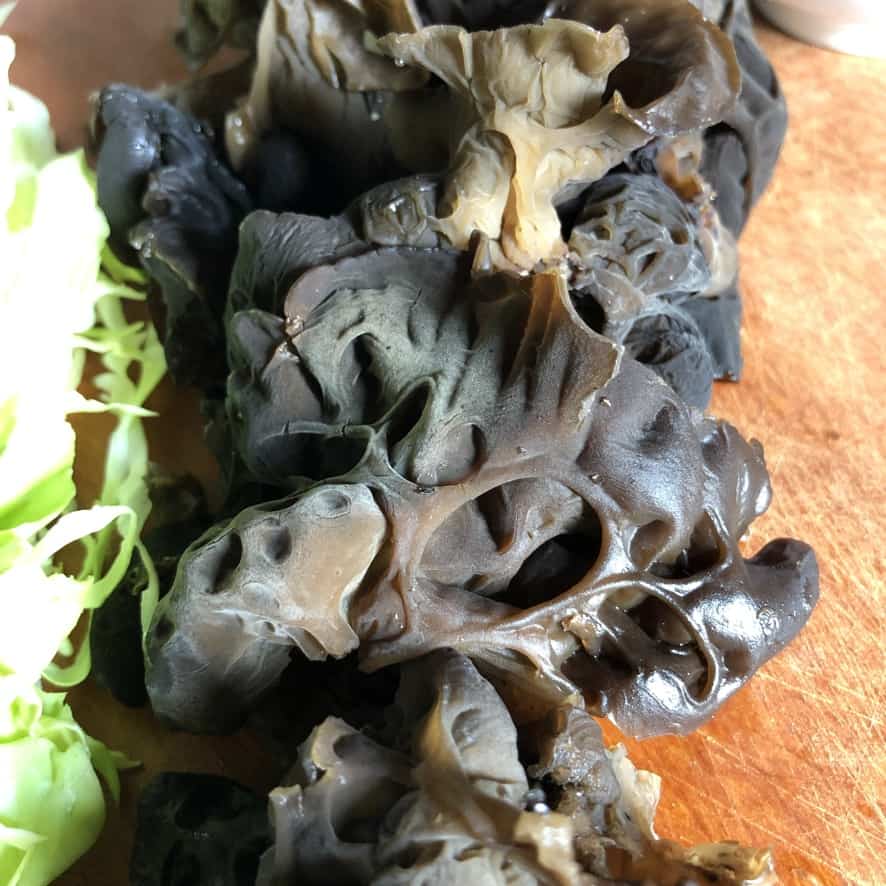
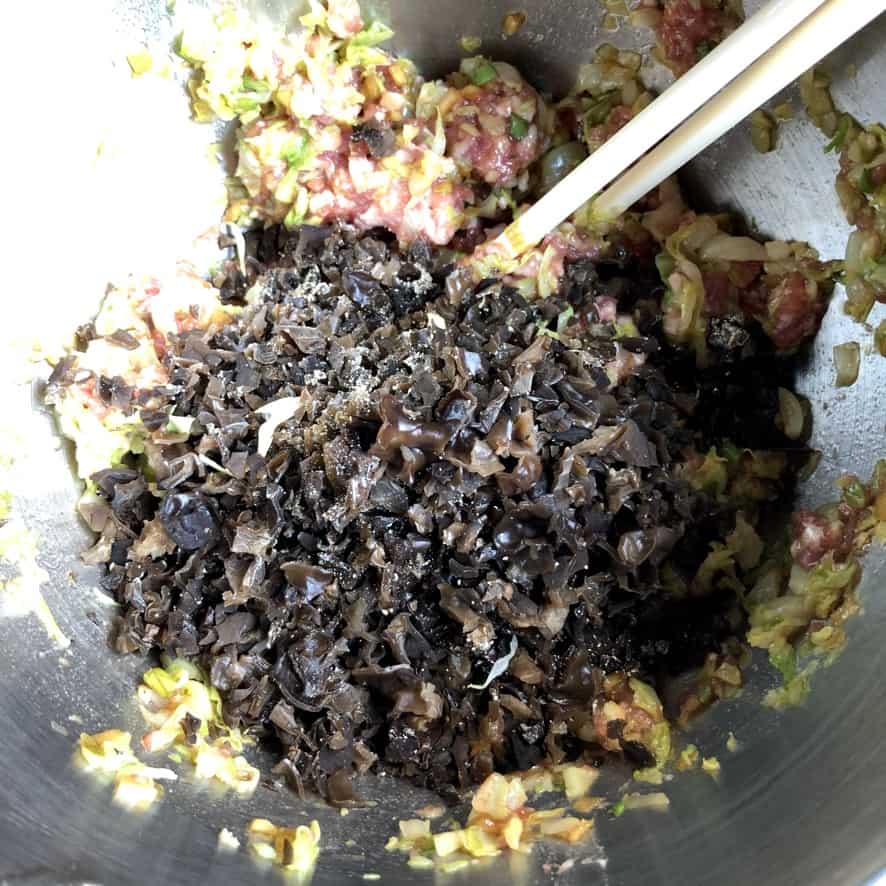
Step 2. Rehydrate the mushrooms. Add the dried mushrooms to a bowl and cover with boiling water, and allow to steep for about 10 to 15 minutes or until the mushrooms are rehydrated. Strain the mushrooms and squeeze out any excess water. Finely chop the mushrooms and set them aside.
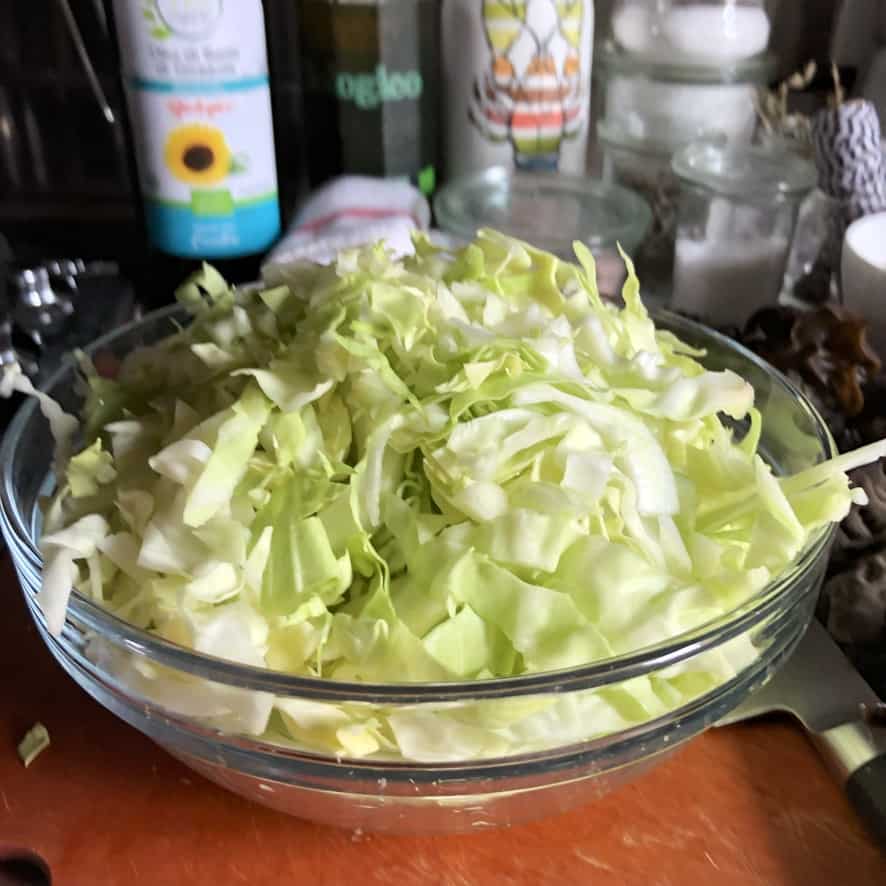
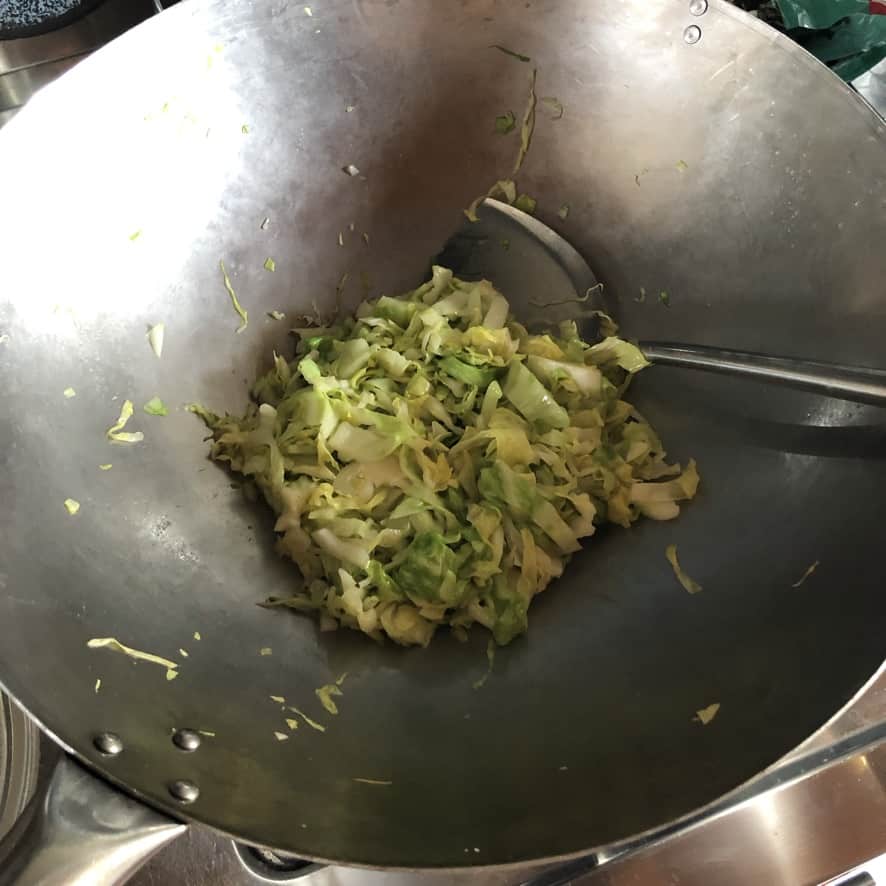
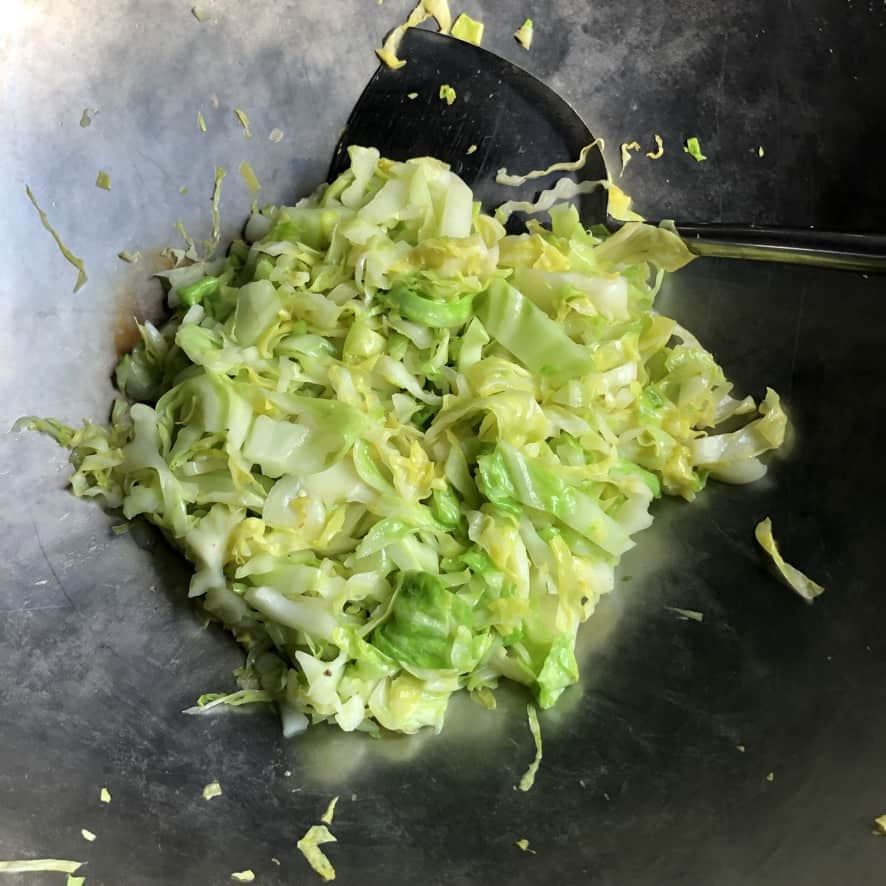
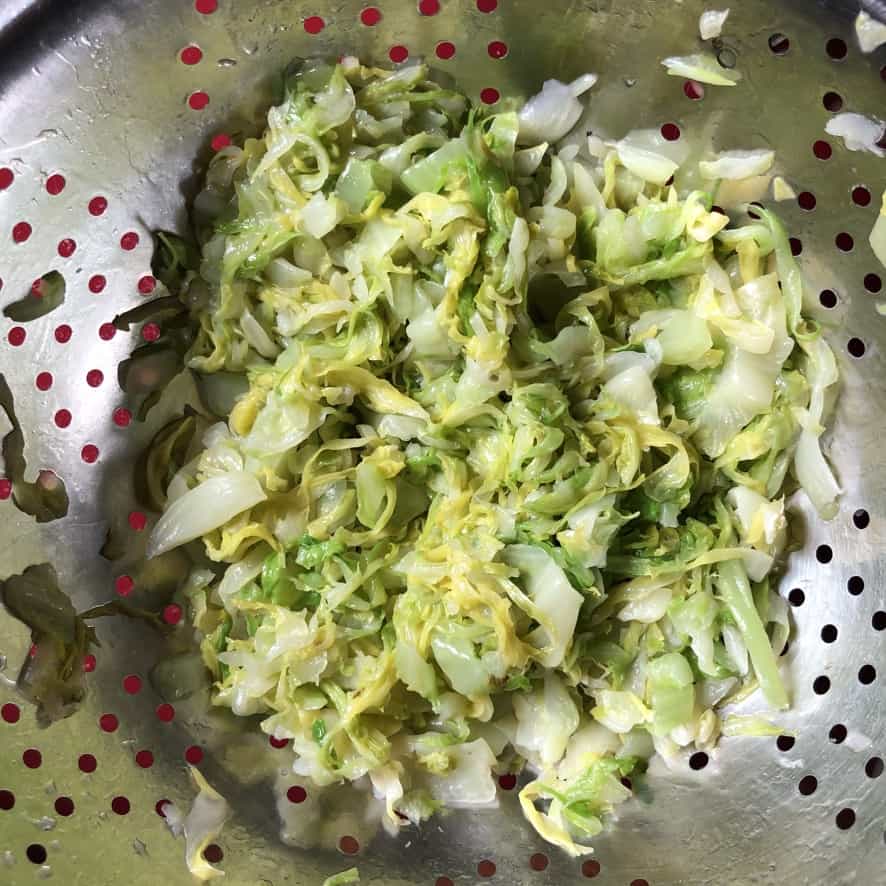
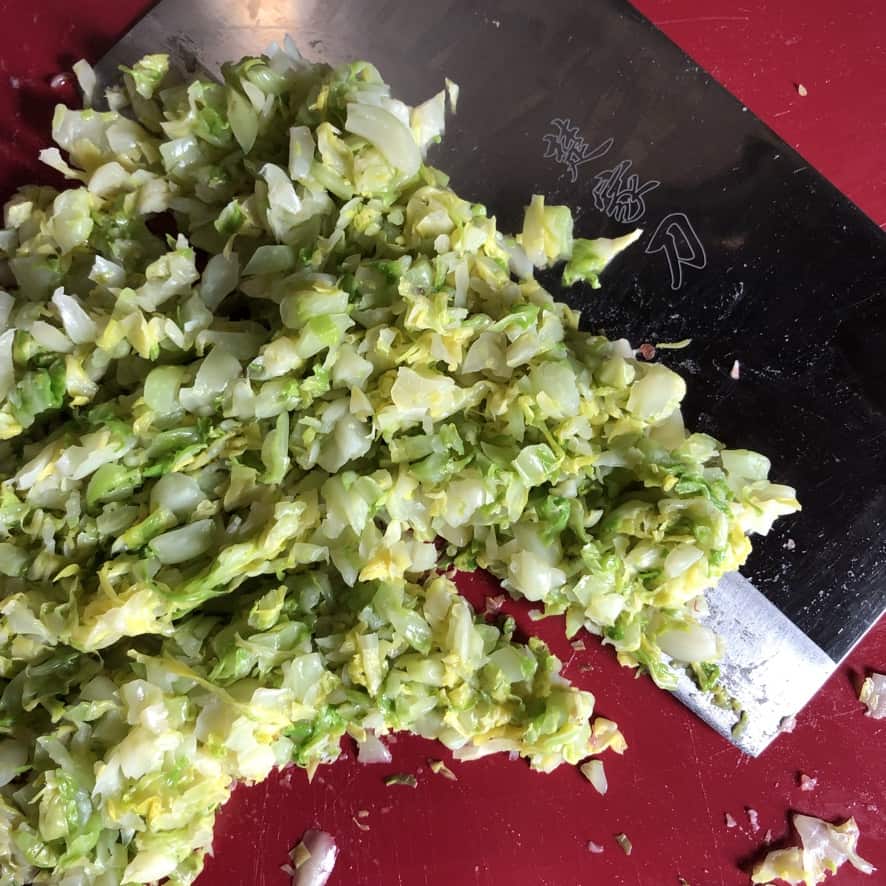
Step 3. Cook the cabbage. To a large wok or skillet, add about 1 tablespoon of vegetable oil and heat over medium-high heat. Just as the oil begins to smoke, add the shredded cabbage and sauté for about 3 to 4 minutes until cooked and wilted. Remove from the heat and when cool enough, wring out all the liquid from the cabbage. Add the strained cabbage to a cutting board and finely dice it. Add it to the bowl with the mushrooms.
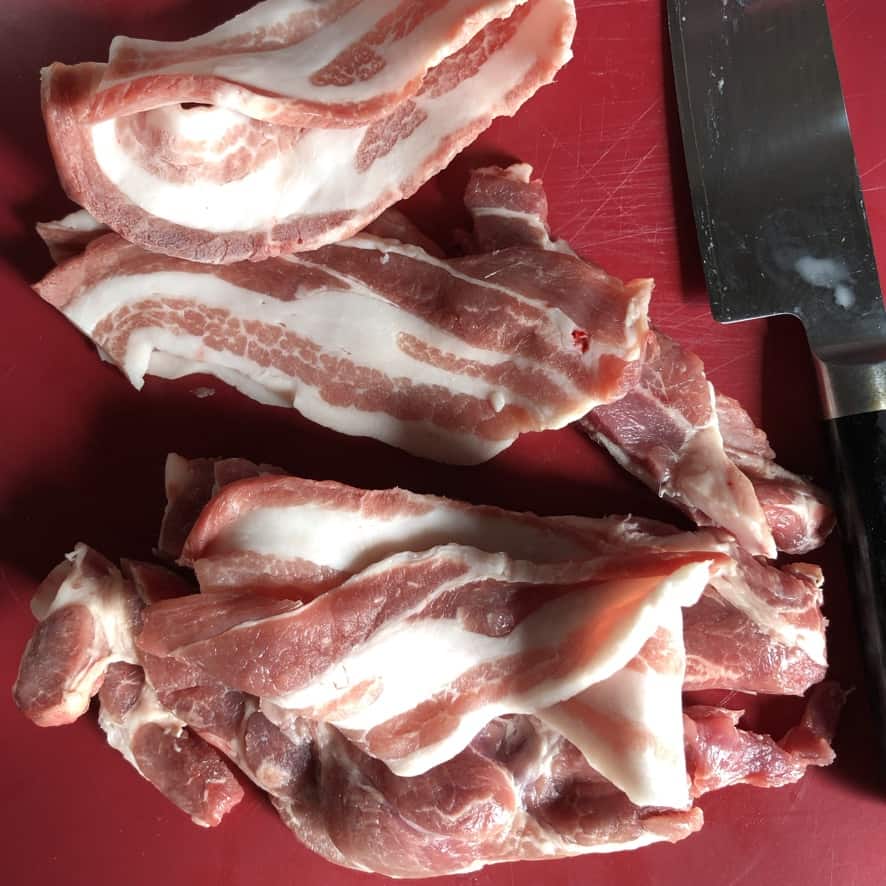
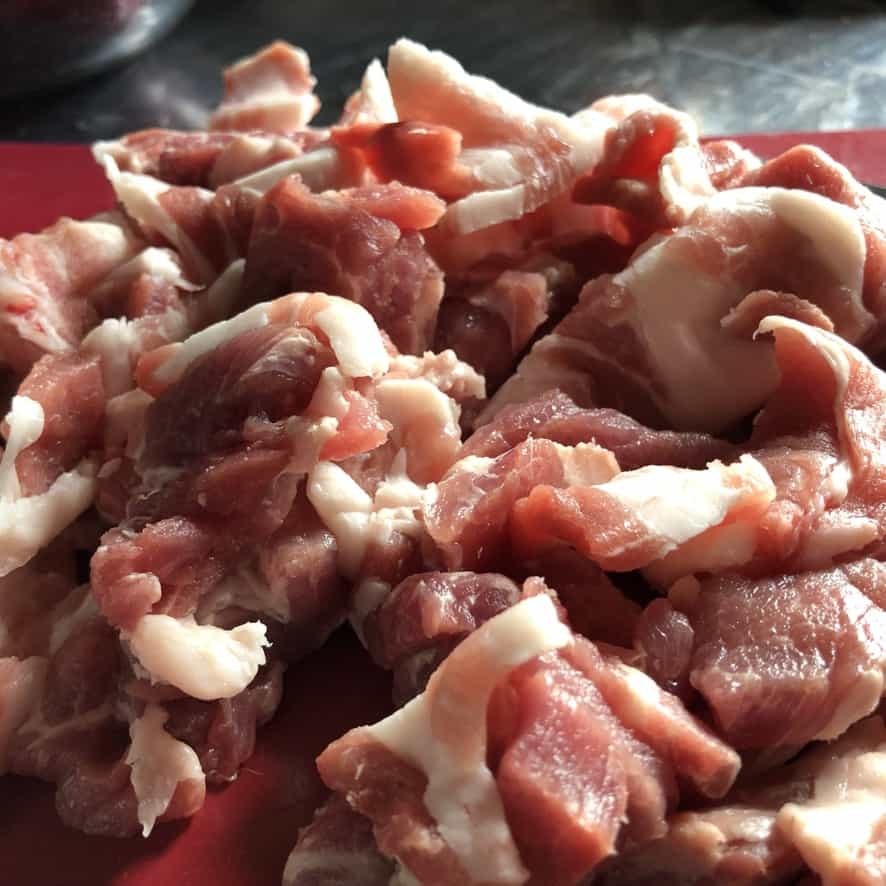
Step 4. Grind the pork (or use pre-ground pork). Dice the pork shoulder and belly into 2-inch cubes, toss everything together to combine, and place the meat into the freezer for about 15 minutes to firm up, but do not allow it to freeze. This will help the meat move through the grinder more easily.
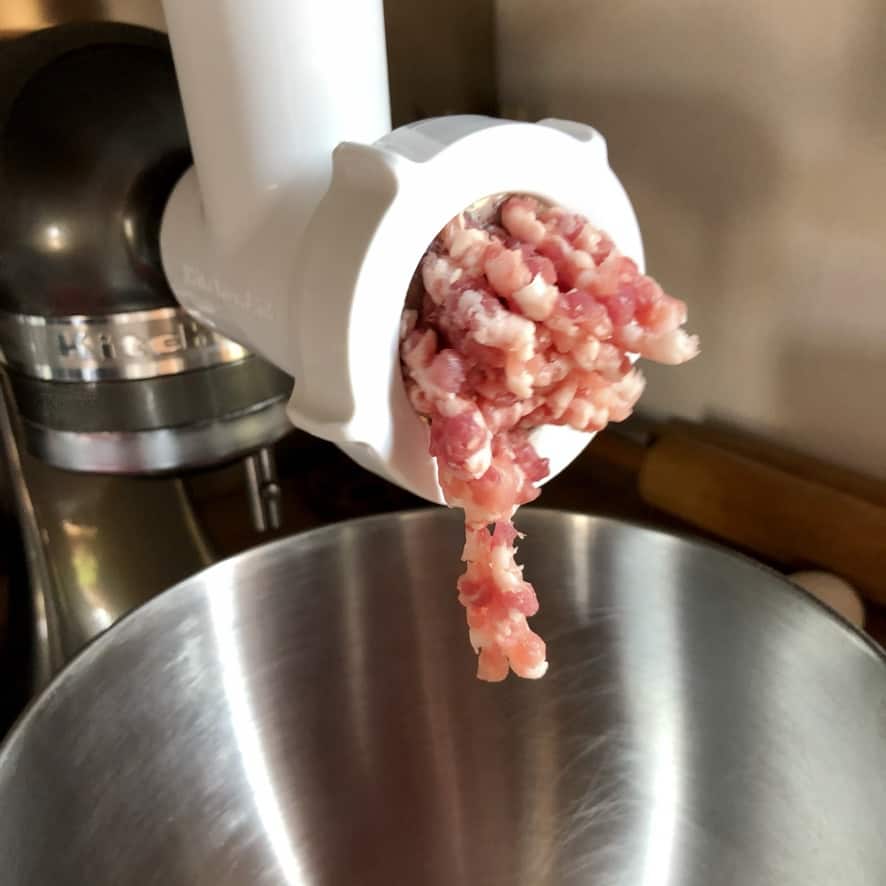
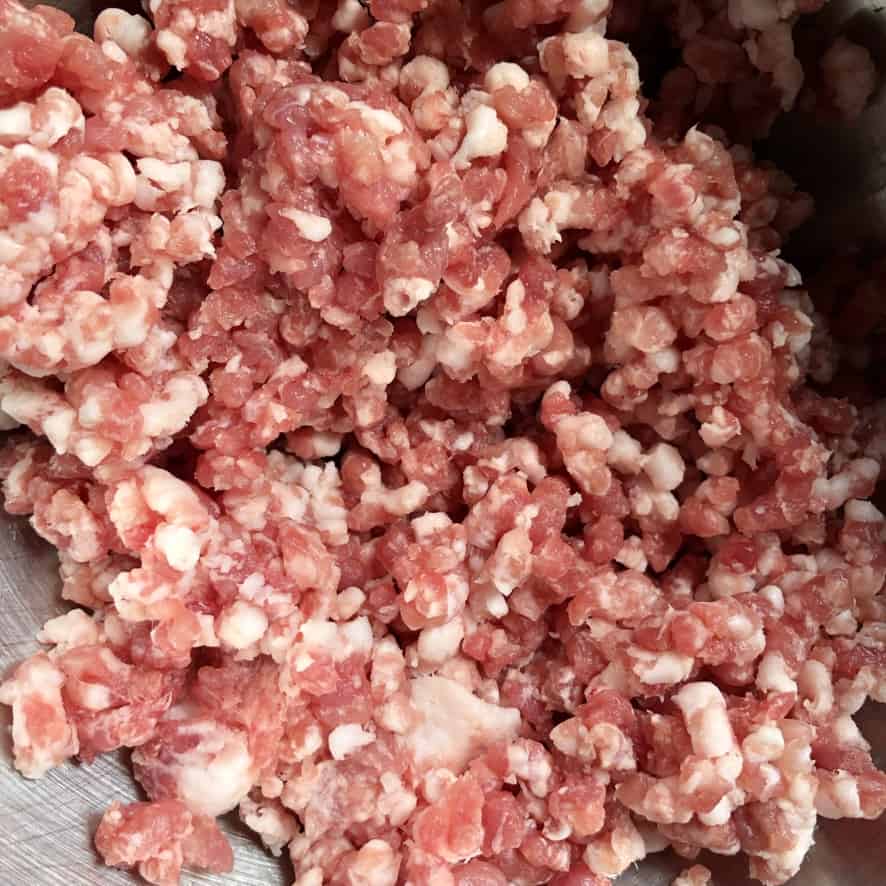
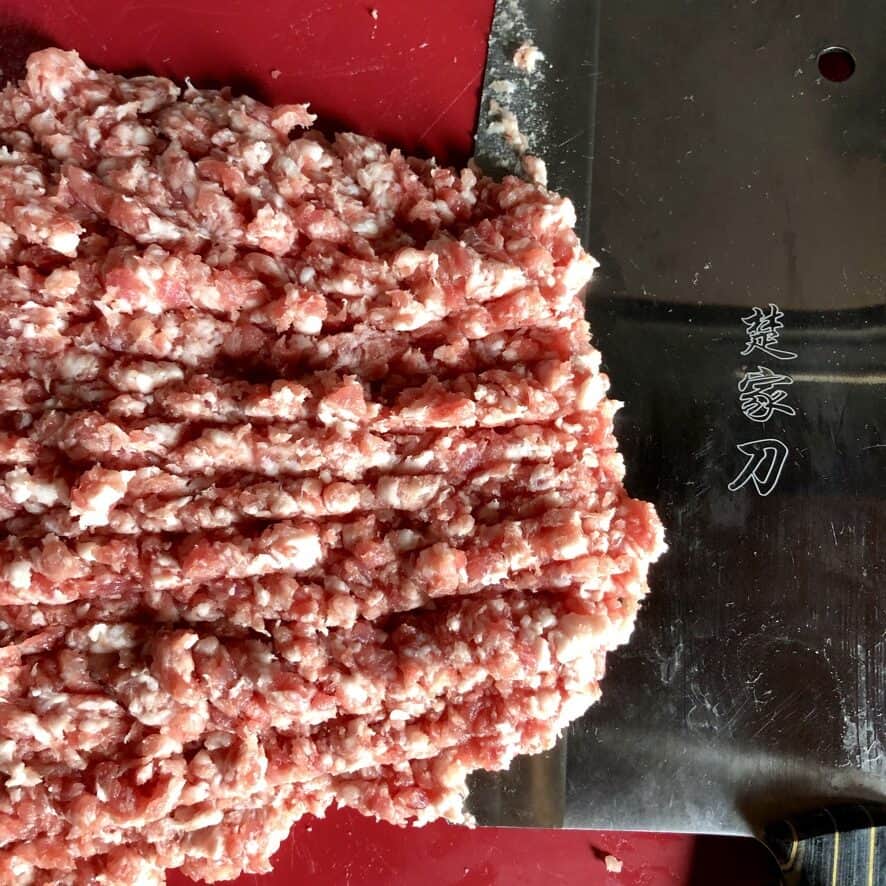
Attach the KitchenAid food grinder attachment with the larger blade, and start adding the meat and grinding, using the pusher to get all of the meat through the blades. You may choose to grind the meat a second time, using the smaller grinder attachment. But I opt to give it a second chop with my cleaver instead.
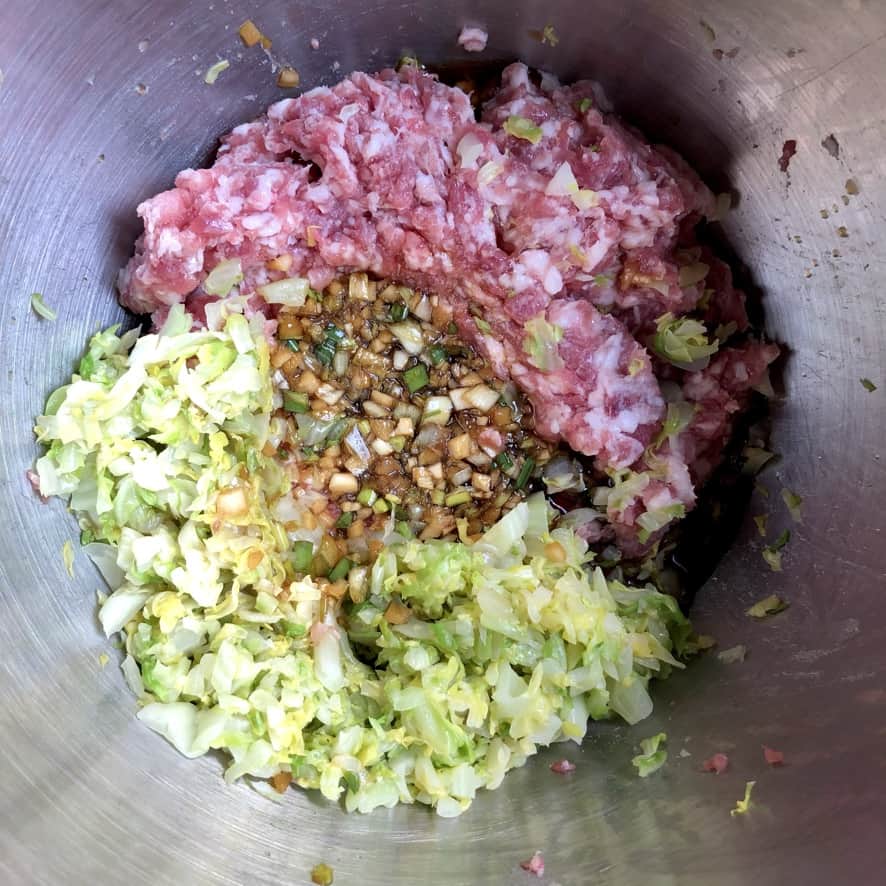
Step 5. Assemble the filling. To a large bowl, add the ground pork, mushrooms, scallions, cabbage, and white pepper. Give it a quick stir. Remove the ginger matchsticks from the pork filling sauce and add the sauce directly to the pork mixture.
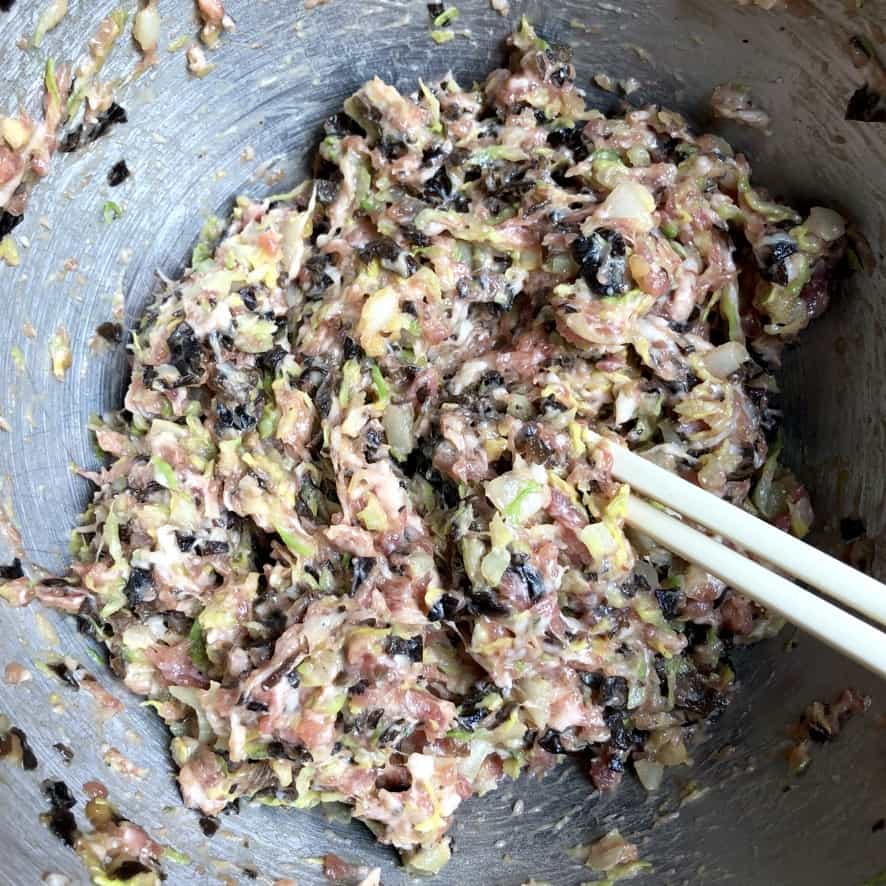
Stir the mixture in one direction (clockwise) with chopsticks, or a large spoon until the mixture becomes visibly "fluffy," and all of the ingredients are well combined (about 5 to 6 minutes by hand).
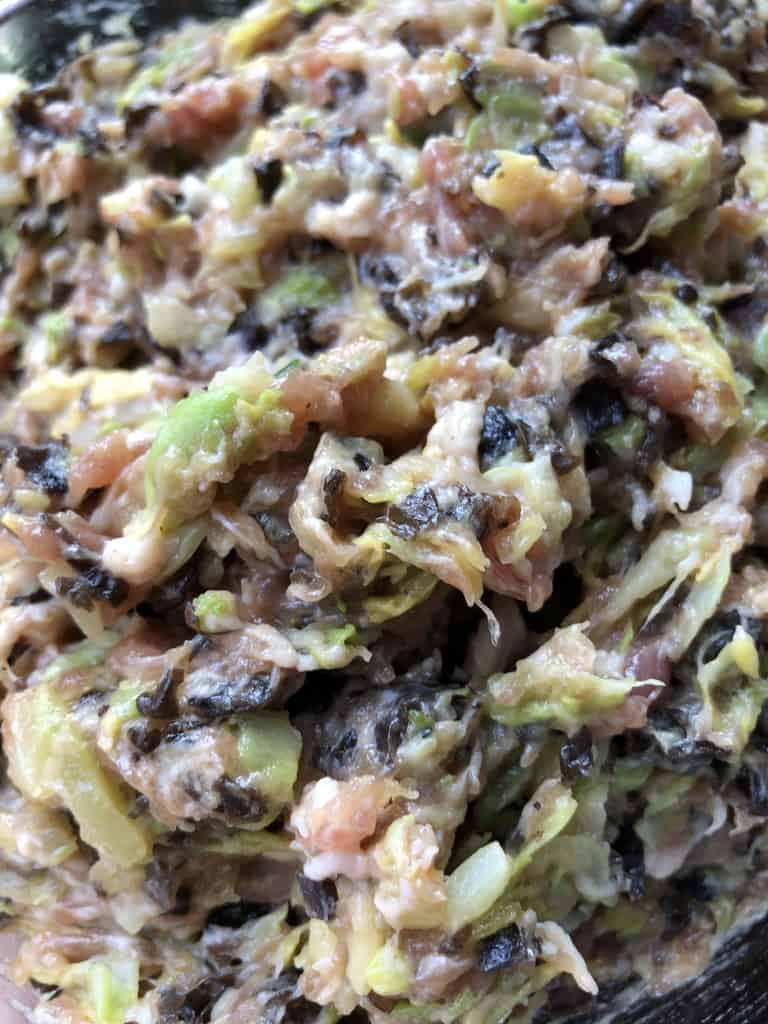
Step 6. Test the flavor of the filling. Pan fry a small amount of filling in a lightly oiled skillet to make sure the seasonings are just right. Adjust the salt and any seasonings as needed. Once you have the filling just right, you're ready to assemble the potstickers.

Step 7. Assemble the potstickers. Add about 1 tablespoon of pork filling to the center of each wrapper. Dip your finger into the cornstarch slurry and brush two opposite sides of the wrapper and seal to create a triangle, pressing out any air inside the potsticker around the meat (no air bubbles).
Set the filled potstickers on a parchment-lined tray without touching each other. *You can place parchment in between the potstickers if you need to stagger them a bit to fit more on the tray.
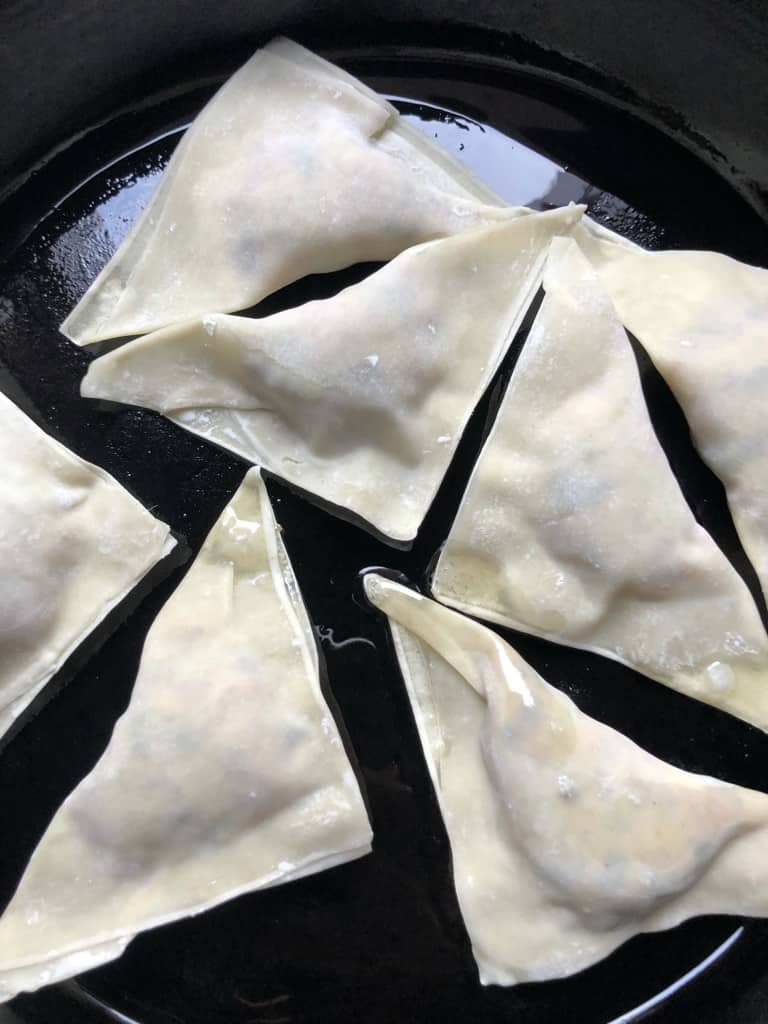
Step 8. Cook the potstickers. Heat a large skillet or wok to medium-high and drizzle it with a little vegetable oil. Just before the pan starts to smoke, add the potstickers in a single layer to the skillet and cook them for a couple of minutes, or until golden brown on the bottom.
Add about 3 tablespoons of water (or ice cubes) directly to the pan, cover immediately with a lid, and allow the potstickers to steam until cooked through and the liquid has evaporated, leaving you a glossy potsticker (about 3 to 4 minutes). Remove the potstickers to a serving platter and serve with the dipping sauce, Enjoy!
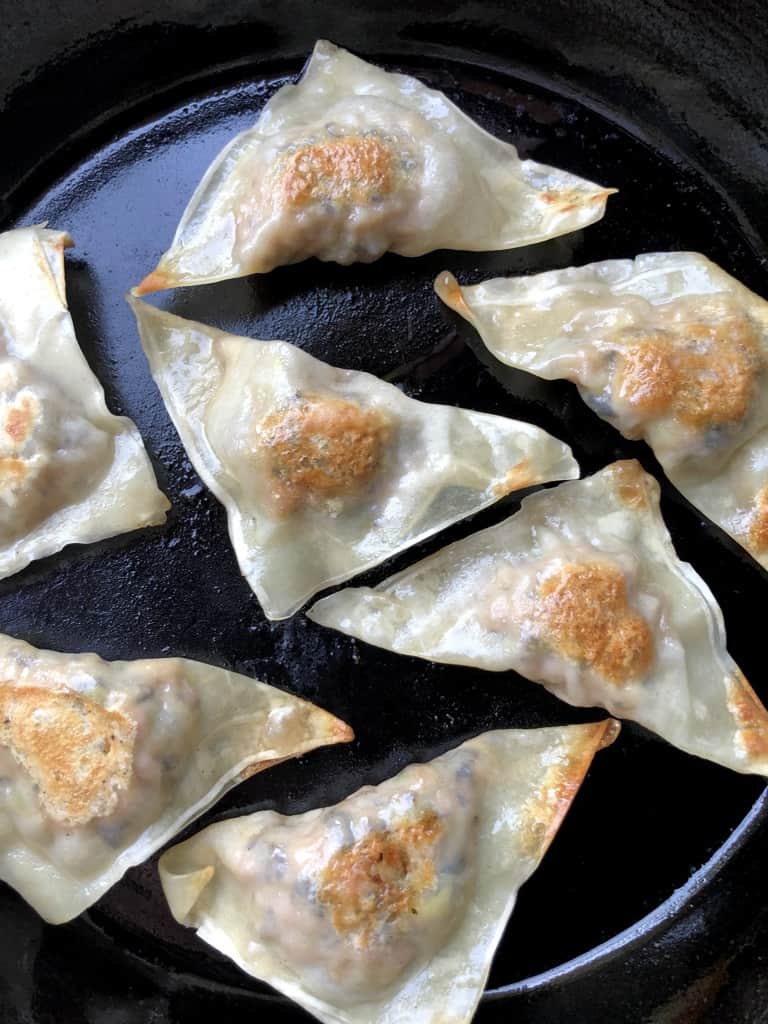

NOTE: When I make triangular potstickers like this, I like to brown both sides of the potstickers until golden brown for more flavor and texture. Then I add the water to steam them. But you can do it the traditional way if you like, and only brown one side.
More Dim Sum and Chinese Dumpling Recipes
If you love the flavors typically found in Asian or Chinese cuisine, or are looking for new, inspired dishes to celebrate the Lunar New Year, here are a few of our favorites to get you started.


Made this Recipe? We'd love for you to rate ⭐️ it and tell us how it went for you!
Let's get started!
📖 Recipe

Easy Pork Potstickers Recipe (Cantonese Style)
- Total Time: 40 minutes
- Yield: 60 Potstickers
Description
This pork potsticker recipe is so easy to make. Filled with house-ground fatty pork belly and pork shoulder, chives, wood ear mushrooms, cabbage, and a ginger-infused Shaoxing wine, soy, and sesame sauce -- this is a seriously delicious dumpling filling that's only made better because of that tasty pan-sear before it gets steamed. Plus, we have the best dipping sauce to go with them. This is a perfect recipe to meal prep and freeze for busy weeknight dinners.
Ingredients
FOR THE FILLING
- 1 pound of fatty ground pork (at least 80/20) (450g)
- 1 pound (about 5 cups) napa cabbage, washed and shredded (500g)
- ½ cup scallions, finely minced (or use Chinese chives) (55g)
- ⅔ cup (½ ounce) dried wood ear mushrooms (or use shitakes) (15g)
- 4 tablespoons Shaoxing wine (60g)*
- 2 tablespoons light soy sauce (30g) (or sub regular soy)
- ½ teaspoon toasted sesame oil (2g)
- 2 tablespoons high-quality fish sauce (optional but recommended) (30g)
- 2 tablespoons ginger, cut into matchsticks (25g)
- ¼ teaspoon white pepper (½g)
- salt to taste
FOR ASSEMBLING THE POTSTICKERS
- 1 tablespoon cornstarch (7.5g) plus ½ cup of water (118g) combined (cornstarch slurry to seal potstickers)
- 1 package of wonton wrappers or dumpling wrappers (50 to 60ct) (300 to 400g)
TO SERVE (traditional potsticker dipping sauce)
- ¼ cup Chinese black vinegar (Chinkiang or Zhenjiang vinegar) (60g)
- 2 ½ tablespoons regular soy sauce (35g)
- 2 tablespoons sugar (30g)
- 1 tablespoon fresh ginger, cut into matchsticks (20g)
- chili oil or sambal to taste (optional)
*If you use high-quality unsalted Shaoxing wine, you may need to increase the amount of salt you add. If you can't find Shaoxing wine, use dry sherry in a 1:1 ratio. If you're thinking about using mirin, it's acceptable if that's all you've got (but it really has a totally different flavor than Shaoxing wine and it's also a bit sweet).
Instructions
- Steep the ginger in the pork filling sauce. Add the Shaoxing wine, soy sauce, sesame oil, and fish sauce to a small bowl and stir to combine. Add the ginger matchsticks and allow the ginger to infuse the mixture while you prepare the rest of the filling.
- Rehydrate the mushrooms. Add the dried mushrooms to a bowl and cover with boiling water and allow to steep for about 10 to 15 minutes or until the mushrooms are rehydrated. Strain the mushrooms and squeeze out any excess water. Finely chop the mushrooms and set them aside.
- Cook the cabbage. To a large wok or skillet, add about 1 tablespoon of vegetable oil and heat over medium-high heat. Just as the oil begins to smoke, add the shredded cabbage and sauté for about 3 to 4 minutes until cooked and wilted. Remove from the heat and when cool enough wring out all the liquid from the cabbage. Add the strained cabbage to a cutting board and finely dice it. Add it to the bowl with the mushrooms.
- Grind the pork (or use pre-ground pork). Dice the pork shoulder and belly into 2-inch cubes, toss it all together to combine, and place the meat into the freezer for about 15 minutes to firm up, but do not allow it to freeze. This will help the meat move through the grinder more easily. Attach the KitchenAid food grinder attachment with the larger blade, and start adding the meat and grinding, using the pusher to get all of the meat through the blades. You may choose to grind the meat a second time, using the smaller grinder attachment, but I just gave it a good chop with my cleaver after grinding it only once.
- Assemble the filling. To a large bowl, add the ground pork, mushrooms, scallions, cabbage, and white pepper. Give it a quick stir. Remove the ginger matchsticks from the pork filling sauce and add the sauce directly to the pork mixture. Stir the mixture in one direction (clockwise) with chopsticks, or a large spoon until the mixture becomes visibly "fluffy" and all of the ingredients are well combined (about 8 to 10 minutes by hand).
- Test the flavor of the pork filling. Pan fry a small amount of filling in a lightly oiled skillet to make sure the seasonings are just right. Adjust the salt and any seasonings as needed. Once you have the filling just right, you're ready to assemble the potstickers.
- Assemble the potstickers. Add about 1 tablespoon of pork filling to the center of each wrapper. Dip your finger into the cornstarch slurry and brush two opposite sides of the wrapper and seal to create a triangle, pressing out any air inside the potsticker around the meat (no air bubbles). Set the filled potstickers on a parchment-lined tray without touching each other. *You may place parchment in between the potstickers if you need to stack them a bit to fit more on the tray.
- Cook the potstickers (jiaozi). Heat a large skillet or wok to medium-high and drizzle it with a little vegetable oil. Just before the pan starts to smoke, add the potstickers in a single layer to the skillet and cook them for a couple of minutes, or until golden brown on the bottom. Add about 3 tablespoons of water (or ice cubes) directly to the pan, cover immediately with a lid and allow the potstickers to steam until cooked through and the liquid has evaporated leaving you a glossy potsticker (about 3 to 4 minutes). *I prefer to get both sides golden brown before I add the water to steam them, but you can do it the traditional way if you like and only brown one side). Remove the potstickers to a serving platter and serve with the dipping sauce Enjoy!
Notes
- If you're buying pre-ground pork mince, look for 80/20 pork to fat ratio, and even better if you can find 75/25 or 70/30.
- If you can't find fatty ground pork where you live, either ask the local grocery store butcher to grind it for you, or use fatty pork belly or pork shoulder as I've used in this recipe.
- MealPrep potstickers by freezing them in a single layer on a tray in the freezer for about 30 minutes, or until firm. Then throw place them into an airtight container or freezer bag until ready to cook. When ready to cook, place frozen potstickers into a preheated skillet with a little oil and cook for about 3 to 4 minutes, or until golden brown on the bottom, add about ¼ cup of water to the skillet, cover immediately and cook for about 4 to 5 minutes longer, or until the water has evaporated and the filling has cooked through.
- A trick I learned from my friend in Chengdu for how to get ginger flavor without ever biting into actual pieces of ginger. Infuse dumpling fillings with ginger matchsticks instead of grating it or dicing it and adding it to the filling. It adds just enough fragrant ginger flavor without ever being overpowering.
- Prep Time: 30 minutes
- Cook Time: 10 minutes
- Category: Dumplings + Dim Sum
- Method: Skillet
- Cuisine: Chinese
Nutrition
- Serving Size: 6 Potstickers


Felipe says
We eat a lot of dumplings so i decided to try to make them - these are delicious! I never knew how easy dumpling wrappers, or dumplings in general, were to make. The filling was perfect..I was worried about getting the texture right, but I followed your "clockwise" stirring trick and they came out great. I'll be doubling the recipe next time so we have extra to freeze.