This is not your average pickled watermelon rind recipe -- for starters, it's not sweet like most, but instead, it's dill-pickled with fragrant lemongrass, mustard seed, dill, and garlic (and in select jars we've even added a delicious spicy component and a few poppy seeds). At first thought, this may seem like a total pickling train wreck, but all of these flavors work really well together. We leave just enough of the sweet pink flesh for a little contrasting flavor and so everyone knows exactly what kind of pickle they're eating. These pickled watermelon ribbons taste great on top of grilled short rib sandwiches, pulled pork sandwiches, grilled pork ribs, bacon-wrapped hotdogs, veggie burgers -- basically any dish that sweet melon naturally compliments. The pickled tidbits are firm, crunchy, and make a tasty accompaniment to cheeseboards, pasta salad, and antipasti platters (or nibbled right out of the jar).


What's the Difference -- Quick-Pickles Vs Canned Pickles Vs Fermented Pickles?
I grew up pickling, fermenting, and canning all kinds of delicious garden-fresh produce and fruit alongside my Mom and our extended family for as long as I can remember. When it comes to pickling there are three common types (or ways) of pickling fruits and vegetables. Quick pickling and canned pickling are both inexpensive and the least labor-intensive way to dip your toe into the world of home canning. Below are three ways to pickle vegetables and fruit beginning with the easiest method.
- Quick Pickles (must be kept refrigerated and consumed somewhat quickly). Quick pickles are the easiest pickles to make and are sometimes referred to as "refrigerator pickles". They're vegetables (or fruits) that are pickled in a brine made of vinegar, water, and salt (sometimes sugar, herbs, peppers, or spices are also added) and stored in the refrigerator and consumed within about two weeks. There is no need to sterilize the jars or wait for them to cure.
- Canned Pickles (shelf-stable long-term preservation pickles). Pickles (usually cucumber dill pickles) from the grocery store or home-canned pickles fall into the larger "quick pickle" category because they too are pickled in a brine made of vinegar, water, and salt (sometimes sugar, herbs, peppers, or spices are also added). However, these pickles have been safely canned so that they may be preserved for long periods of time and remain shelf-stable for many months or even years. You must sterilize the glass jars, lids, and bands, and ensure the ratio of acid (usually vinegar) and salt is sufficient in order to safely preserve the fruit or vegetable and avoid contamination that could lead to unwanted bacteria growth which could be harmful. Generally, there's enough acid in home-canned pickles you'll never likely run into this issue.
- Fermented Pickles (shelf-stable long-term naturally preserved pickles). Fermented pickles are the healthiest of all pickles because of the lacto-fermentation method of using only salt, water, and a warm (but not too warm) environment to allow the vegetables (or fruit) to slowly pickle over a period of several weeks. If you're familiar with sauerkraut or kimchi, then you know how the Lactic acid fermentation process works. Fermented pickles are also referred to as "the real dill pickles" and get their sourness naturally whereas quick pickle varieties get their sour quality from added acid (usually vinegar). The taste of fermented pickles is much milder than pickles made using vinegar. Fermented pickles retain more of the original cucumber flavor and are usually tangy, salty, garlicky, and delicious, but not vinegary.


Lemongrass Dill Pickled Watermelon Rind Ingredients
If you want a spicy lemongrass dill pickle, just add cayenne or crushed red pepper as we did, or even better, a few slices of fresh hot peppers like jalapeños or Sichuan bird's eye chilis to the brine. These pickles are really delicious either way.
You'll need 4 (16-ounce) Mason pint canning jars, or equivalent (473ml)
Ingredients for the brine
- 4 to 6 cups watermelon rind, peeled and sliced or diced (enough to fill 4 pint jars) (600-900g)
- 3 cups white distilled vinegar (715g)
- 3 cups of water (715g)
- 1 tablespoon granulated sugar (12g)
- 1 tablespoon kosher salt (18g)
Ingredients to pack inside each pint jar (473ml)
- 2 fresh dill sprigs (or alternatively use ½ teaspoon dried dill) (½g)
- 1 medium garlic clove
- one 2-inch piece of fresh lemongrass sliced vertically in half (6g)
- ¼ teaspoon mustard seed (1g)
- a pinch of poppy seed (optional)
- ⅛ teaspoon cayenne pepper (optional)


How to Make Lemongrass Dill Pickled Watermelon Rinds (Long-term Preservation)
If you're here, you're probably looking for a good pickle recipe, or you have an abundance of fresh watermelon you're trying to use up. Either way, these delicious pickles make a great addition to a cook's pantry and make great gifts for your food-loving friends.
- Prepare the watermelon rind. Peel the skin leaving a small amount of the red/pink flesh intact. Using a mandoline (or very sharp knife or vegetable peeler), slice the melon to create paper-thin "ribbons" and chop or dice the remaining pieces to make the "tidbits". Set aside while you prepare the brine and pack the jars.
- Sterilize the jars. Wash and rinse the jars and sterilize them by washing, rinsing, and boiling them for 10 minutes in a hot water bath. Alternatively, you may sterilize them using the oven method -- place the jars onto a sheet tray and bake in a preheated 320°F/160°C oven for approximately 20 minutes.
- Pack each jar. Add the dill, garlic, lemongrass, mustard seed, poppy seed, and cayenne pepper (if using) to each jar. Then add the watermelon rind being sure to leave ½" (1.5cm) headspace (clearance) from the top so you avoid compromising the seal.
- Sterilize the lid and band. Place the cleaned lid and band into a small pot of water and bring to a boil to sterilize it and also warm up the "gasket" for a better seal.
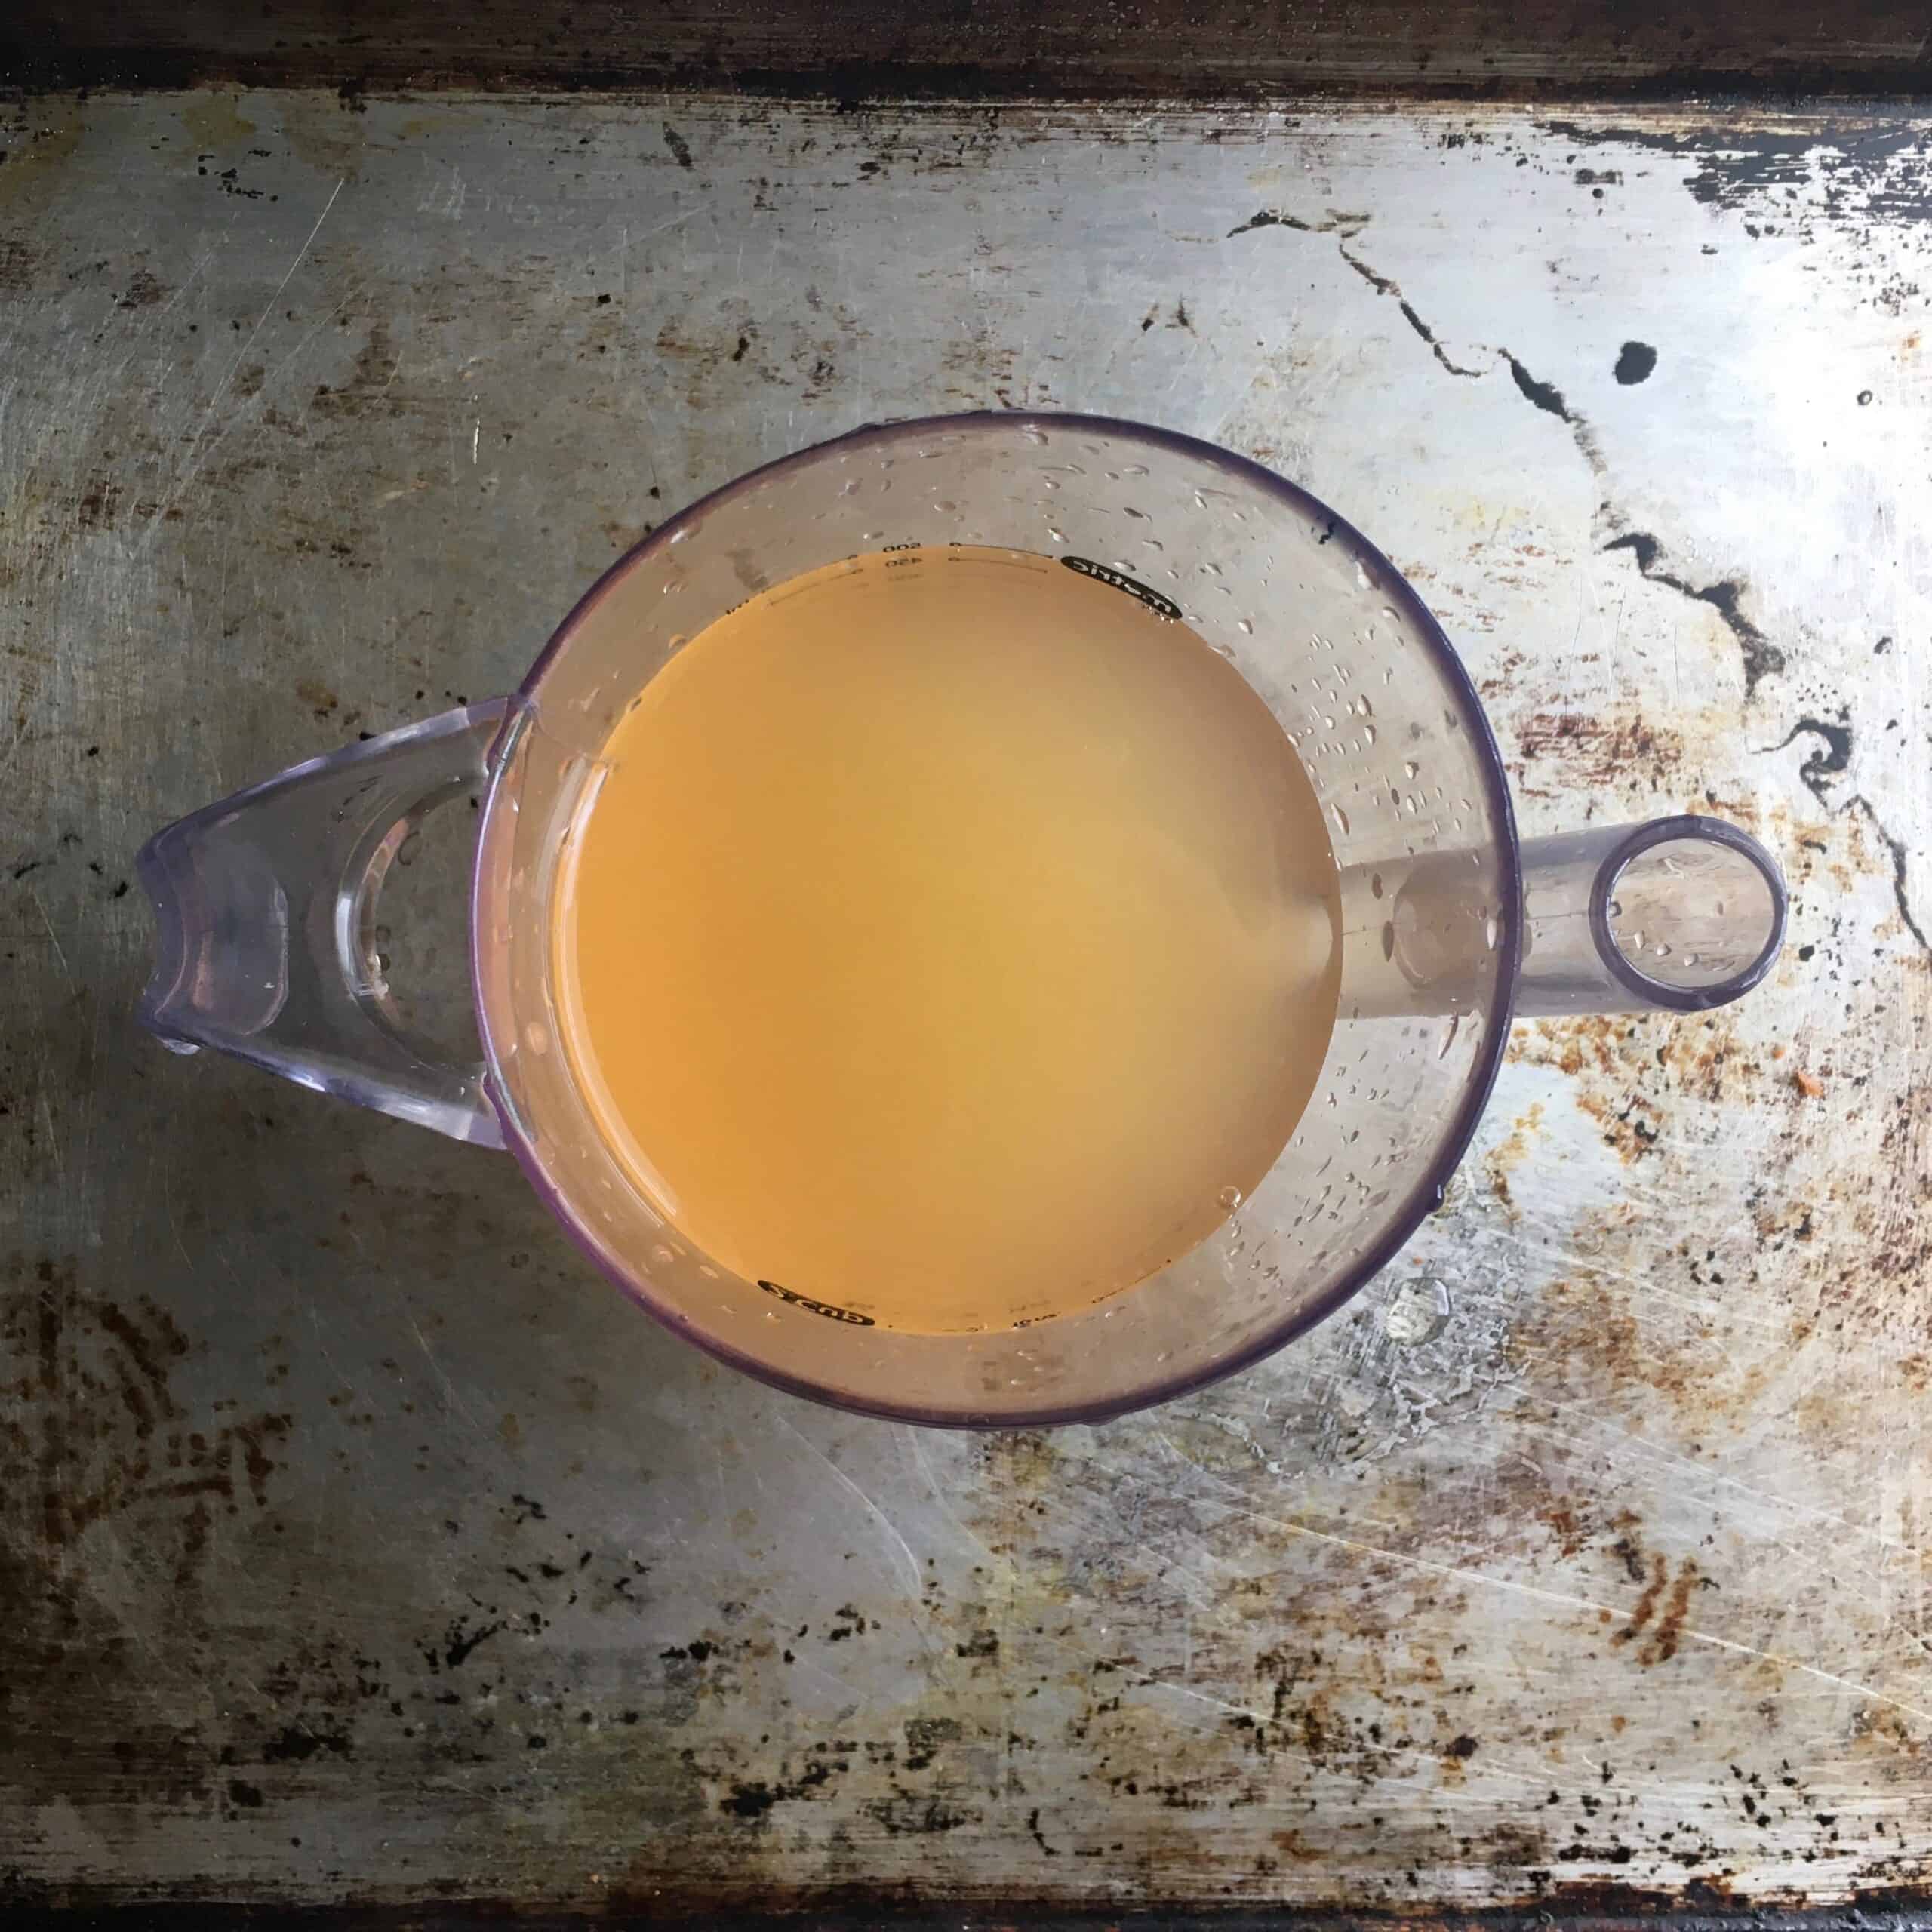
- Make the brine. Place all of the brine ingredients into a large stockpot and bring to a boil, make sure the sugar and salt have dissolved, reduce heat to a simmer, and using a ladle start filling each jar one by one, being sure to leave ½" (1.5cm) headspace. As soon as the first jar is filled, clean and wipe any brine from the top of the jar with a hot, wet towel, and top with the lid and band, and tighten to close and seal. Turn the jars upside down and leave them for 24 hours to cool and complete the sealing process. *Tighten the lids just to "finger tight" seal to allow some of the air to naturally escape during the sealing process. Enjoy!


Lemongrass Dill Pickled Watermelon tips + tricks + FAQ's
- Using fresh dill is always better in my opinion (not to mention it looks better in the jars once it's preserved). But, if yours hasn't come up yet in the garden, or it's the middle of canning season and everyone has bought up all the fresh dill from the store, then just use dried as I did in this post.
- Use a pair of tongs to make it easier to retrieve the hot lids and bands out of the boiling water when it's ready to screw them onto the filled jars.
- Once you've got the jars filled and sealed, turn the jars upside down in a place they'll be undisturbed. It's good practice for a couple of reasons: (1) it reduces the possibility of shocking a hot jar on a "cold" countertop and having it crack and (2) when turned upside down, all the heat from the brine is concentrated at the top of the jar near the seal helping to further warm the band, thus creating a better seal. This is how I was taught to do it, so it's how I do it. Decide for yourself if it's something you want to do or not.
- Allow the pickles to cure. The pickles can technically be eaten right out of the jar or on top of your favorite sandwiches, but leaving them for at least one month prior to opening and eating, ensures all of the flavors have time to develop. But no one will mind if you only wait a couple of weeks.
- Keep opened jars in the refrigerator.
- Where does pickling come from? Pickling started as a way to preserve food before there was refrigeration. Nowadays people eat them because they're tasty, but families like mine still pickle lots of things each year to preserve abundant fruits and vegetables grown in the garden.
- Where was pickling invented? Pickling has been around for thousands of years since at least 2030 B.C and is native to India near the Tigris valley. Cleopatra attributed part of her beauty to pickles and Aristotle said they were medicinal...and they're apparently even mentioned in the Bible (twice). Pickles have been around a while, but most of these pickles were made using the lacto-fermentation method and are great for promoting good gut health because they're full of probiotics. They don't taste like vinegar pickles.
- What is pickling? Pickling is the preservation of foods by a process known as anaerobic fermentation taking place in a brine of salt water and/or vinegar.

- smoky quick pickled red onions

- quick pickled carrots (plus spicy Sichuan bird's eye chili option)
Looking for More Delicious Pickles to Make?
Above are a few of our favorite homemade pickles we think you also may like. We'll be posting a lot more pickle and canning recipes soon, so be sure to check back with us as we add them to our Vim + Vinegar section.
- Smoky Quick Pickled Red Onions (refrigerator pickles)
- Spicy Mala Sichuan Flower Pepper-Pickled Carrots (花椒 pickled carrots)
Let's get started!
Print📖 Recipe

Lemongrass Dill Pickled Watermelon Ribbons + Tidbits (with Spicy Option)
- Total Time: 30 minutes
- Yield: 4 Pint Jars
- Diet: Vegan
Description
This is not your average pickled watermelon recipe -- to start with, it's not sweet like most, but instead, it's dill-pickled with fragrant lemongrass, mustard seed, dill, and garlic (and in select jars we've even added a delicious spicy component and a few poppy seeds). At first thought, this may seem like a pickling trainwreck, but all of these flavors work really well and add a perfect crunch to just about anything.
Ingredients
- 4 (16-ounce) Mason pint canning jars, or equivalent (473ml)
- 4 to 6 cups watermelon rind, peeled and sliced or diced (enough to fill 4 pint jars) (600-900g)
- 3 cups white distilled vinegar (715g)
- 3 cups of water (715g)
- 1 tablespoon granulated sugar (12g)
- 1 tablespoon kosher salt (18g)
- 2 fresh dill sprigs (or alternatively use ½ teaspoon dried dill) (½g)
- 1 medium garlic clove
- one 2-inch piece of fresh lemongrass sliced vertically in half (6g)
- ¼ teaspoon mustard seed (1g)
- a pinch of poppy seed (optional)
- ⅛ teaspoon cayenne pepper (optional)
Instructions
- Prepare the watermelon rind. Peel the skin leaving a small amount of the red/pink flesh intact. Using a mandoline (or very sharp knife or vegetable peeler), slice the melon to create paper-thin "ribbons" and chop or dice the remaining pieces to make the "tidbits". Set aside while you prepare the brine and pack the jars.
- Sterilize the jars. Wash and rinse the jars and sterilize them by washing, rinsing, and boiling them for 10 minutes in a hot water bath. Alternatively, you may sterilize them using the oven method -- place the jars onto a sheet tray and bake in a preheated 320°F/160°C oven for approximately 20 minutes.
- Pack each jar. Add the dill, garlic, lemongrass, mustard seed, poppy seed, and cayenne pepper (if using) to each jar. Then add the watermelon rind being sure to leave ½" (1.5cm) headspace (clearance) from the top so you avoid compromising the seal.
- Sterilize the lid and band. Place the cleaned lid and band into a small pot of water and bring to a boil to sterilize it and also warm up the "gasket" for a better seal.
- Make the brine. Place all of the brine ingredients into a large stockpot and bring to a boil, make sure the sugar and salt have dissolved, reduce heat to a simmer, and using a ladle start filling each jar one by one, being sure to leave ½" (1.5cm) headspace. As soon as the first jar is filled, clean and wipe any brine from the top of the jar with a hot, wet towel, and top with the lid and band, and tighten to close and seal. Turn the jars upside down and leave them for 24 hours to cool and complete the sealing process. *Tighten the lids just to "finger tight" seal to allow some of the air to naturally escape during the sealing process. Enjoy!
Notes
- Scale this recipe for larger crowds or cookouts and BBQs
- You may substitute rice wine vinegar for the distilled white vinegar.
- Sterilizing the jars — Most canners and picklers I grew up with, use the boiling method because turning on the oven in the middle of summer (when much of the yearly canning takes place) would be unbearable.
- As you use up the watermelon get creative with the leftover brine by re-purposing it for vinaigrettes, etc.
- Prep Time: 20 minutes
- Cook Time: 10 minutes
- Category: Vim + Vinegar
- Method: Pickling
- Cuisine: American
Nutrition
- Serving Size: 3 to 4 Ribbons


Made the Recipe? Tell Us What You Think!