This sweet, homemade artisanal Italian Easter bread recipe needs a little extra time and effort to make, but it's worth it. I developed this sweet Italian yeast bread(aka colomba di Pasqua) recipe based on our favorite version from Olivieri 1882, the internationally recognized Italian panettone and colomba producer here in Northern Italy.
You'll find everything you need in this post, including comparison photos and all my best tips and techniques for making your own Olivieri Colomba copycat at home!

Why This Recipe Works
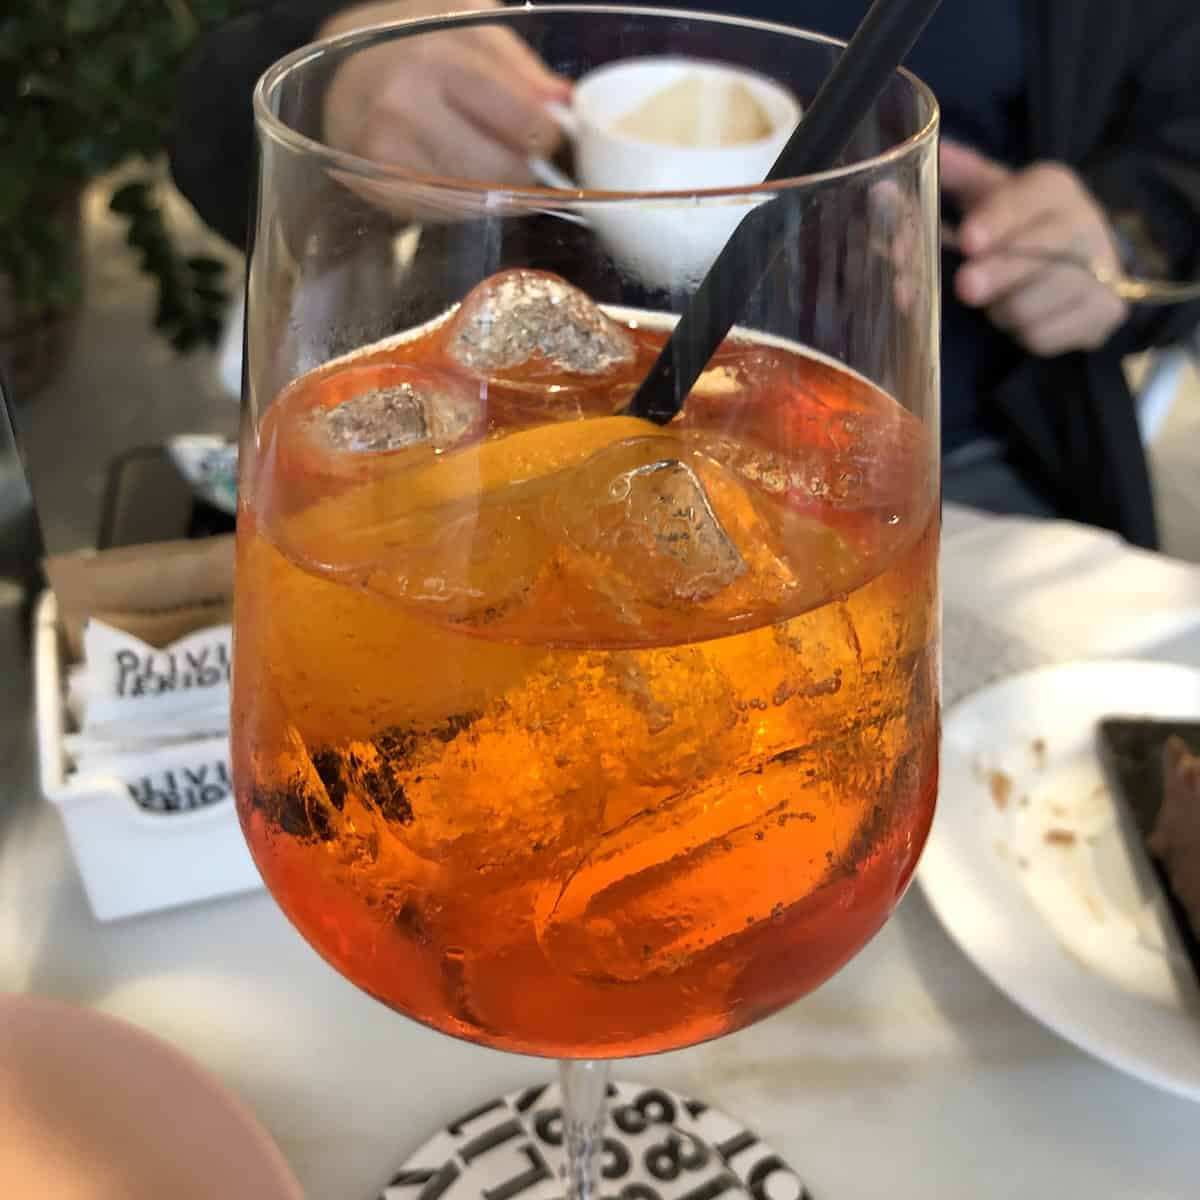
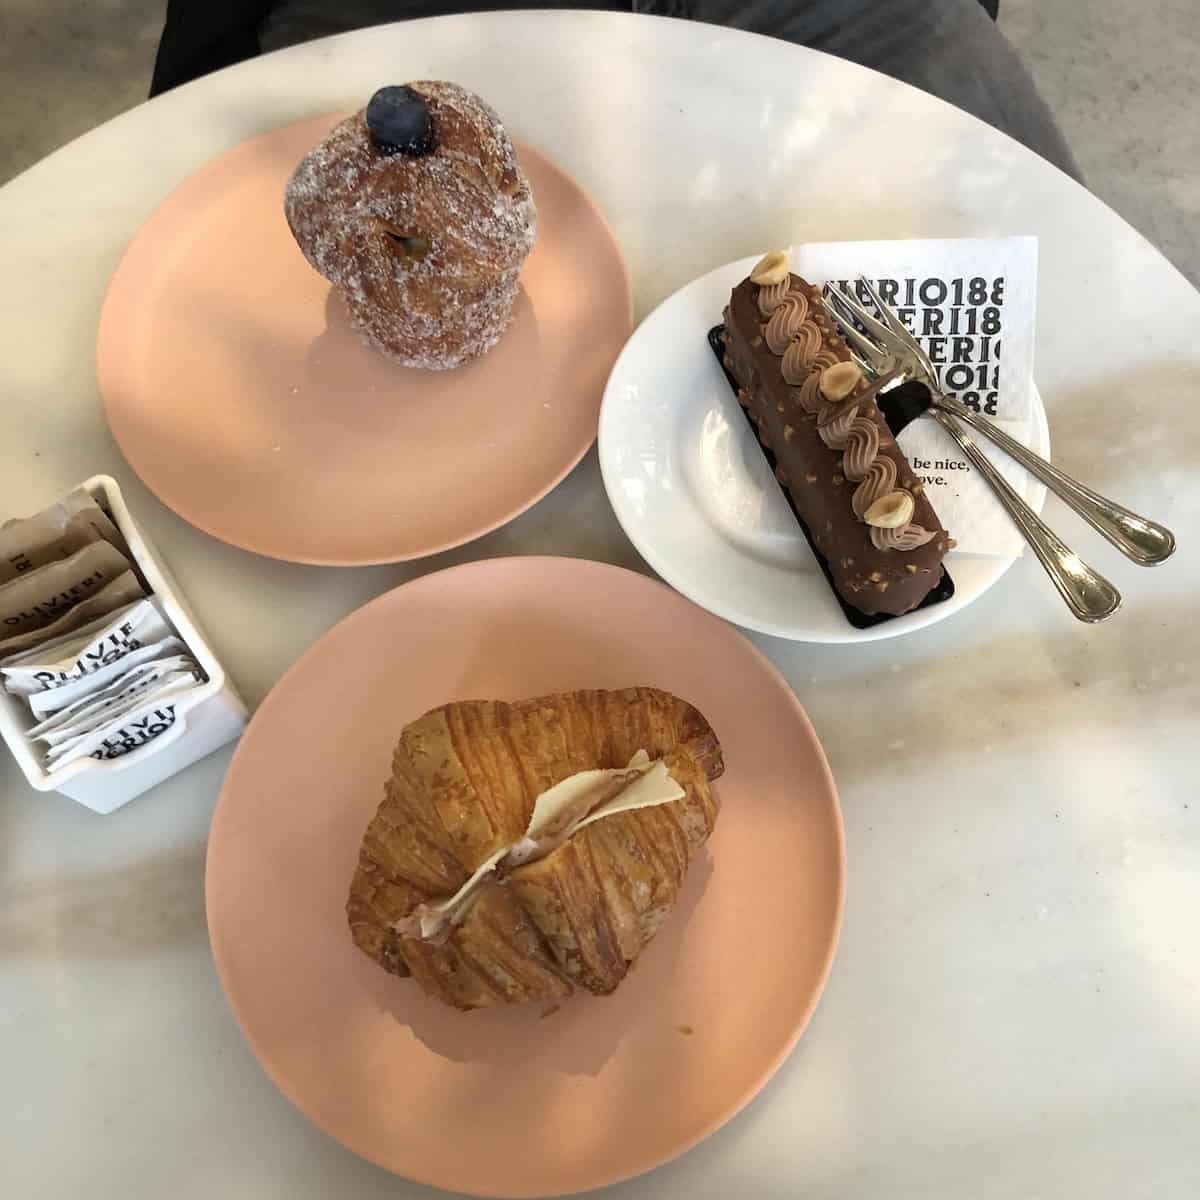
I developed and tested my Colomba directly against Olivieri 1882, which is located just a few short miles from where we live. We go there semi-often to have an aperitivo and/or coffee and one of their delicious pastries.
They also set up a pop-up shop each spring and winter in our main piazza downtown, where we buy our Christmas panettone, New Year's Pandoro, and Easter Colomba from.
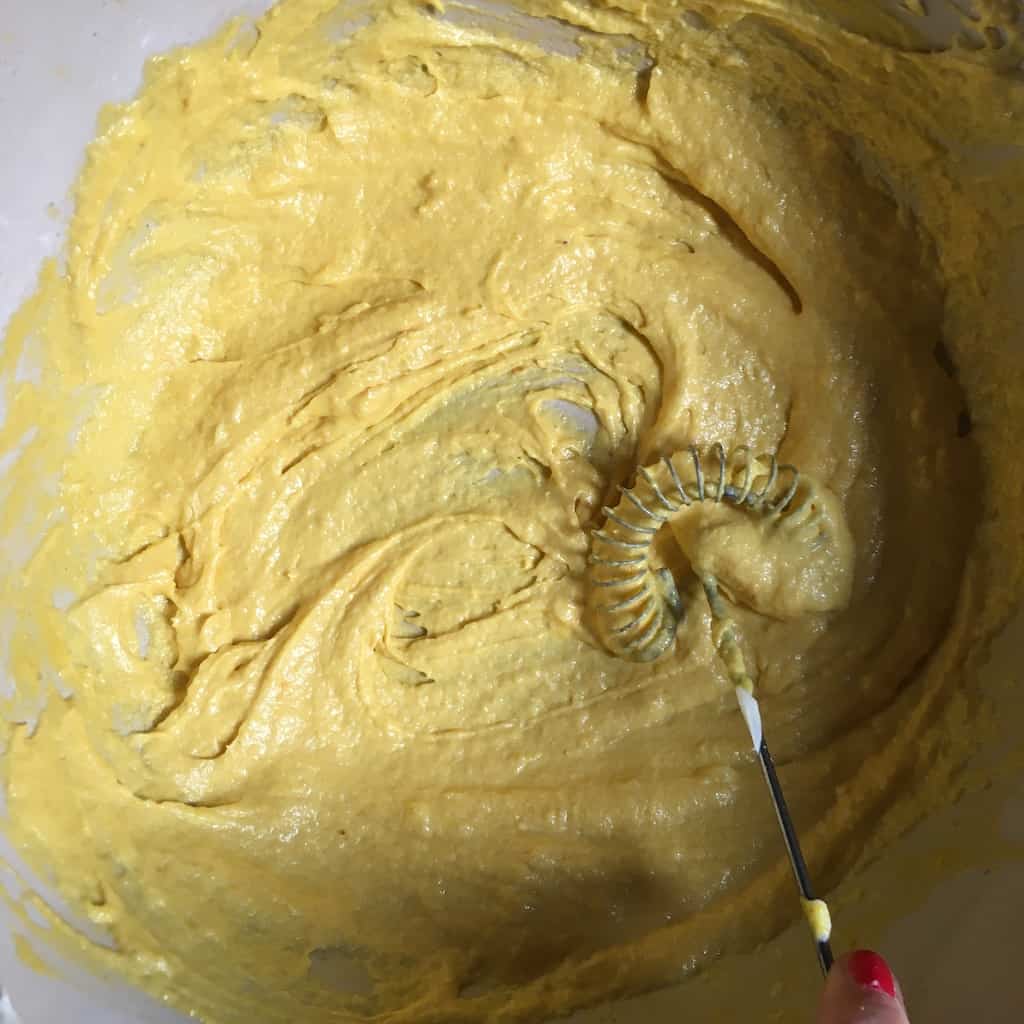
At the time I posted this, I made this Colomba entirely by hand with a coil whisk and sheer determination because I hadn't yet received my 220v European KitchenAid stand mixer.
It was bordering on insane, but I managed it, which means you can absolutely make this using your stand mixer without any problem. I'm happy to report it's much easier to make using a stand mixer😉!


It is a labor of love for sure, but if you have a long weekend, I suggest rolling up your sleeves and diving in. When you slice off that first piece and taste all your hard work, you won't be sorry you made this sweet Italian Easter bread.
I've included extensively detailed, color-coded step-by-step instructions and photos of each component to make it easier to replicate at home.
What is Italian Easter Colomba (Colomba Pasquale)?
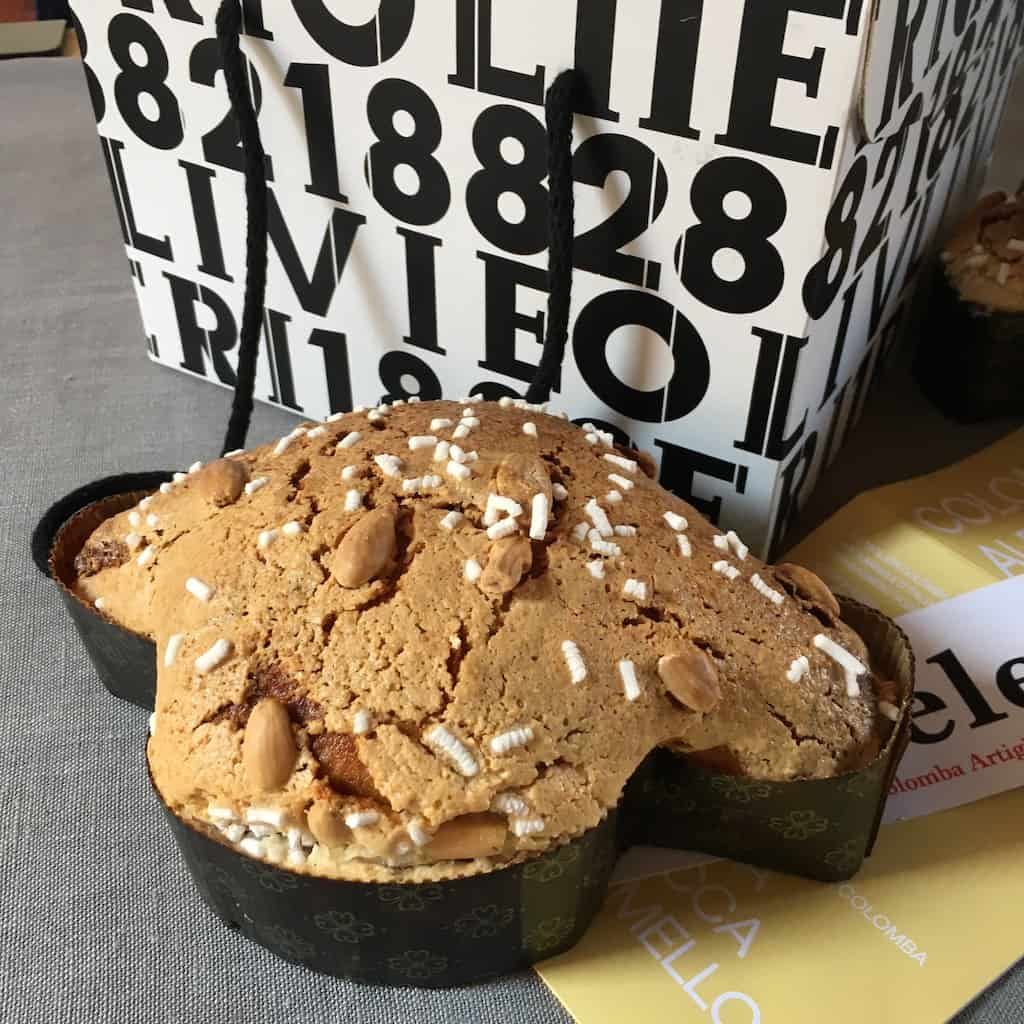
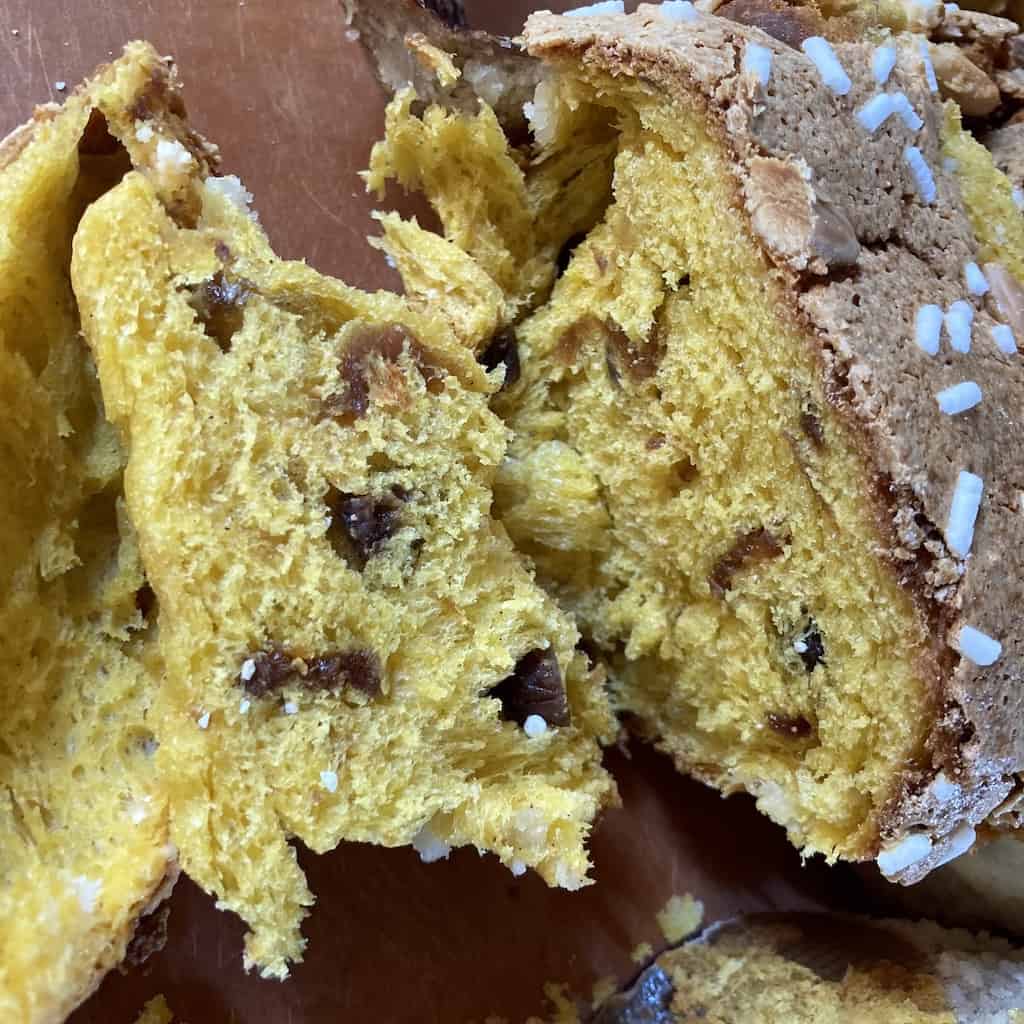
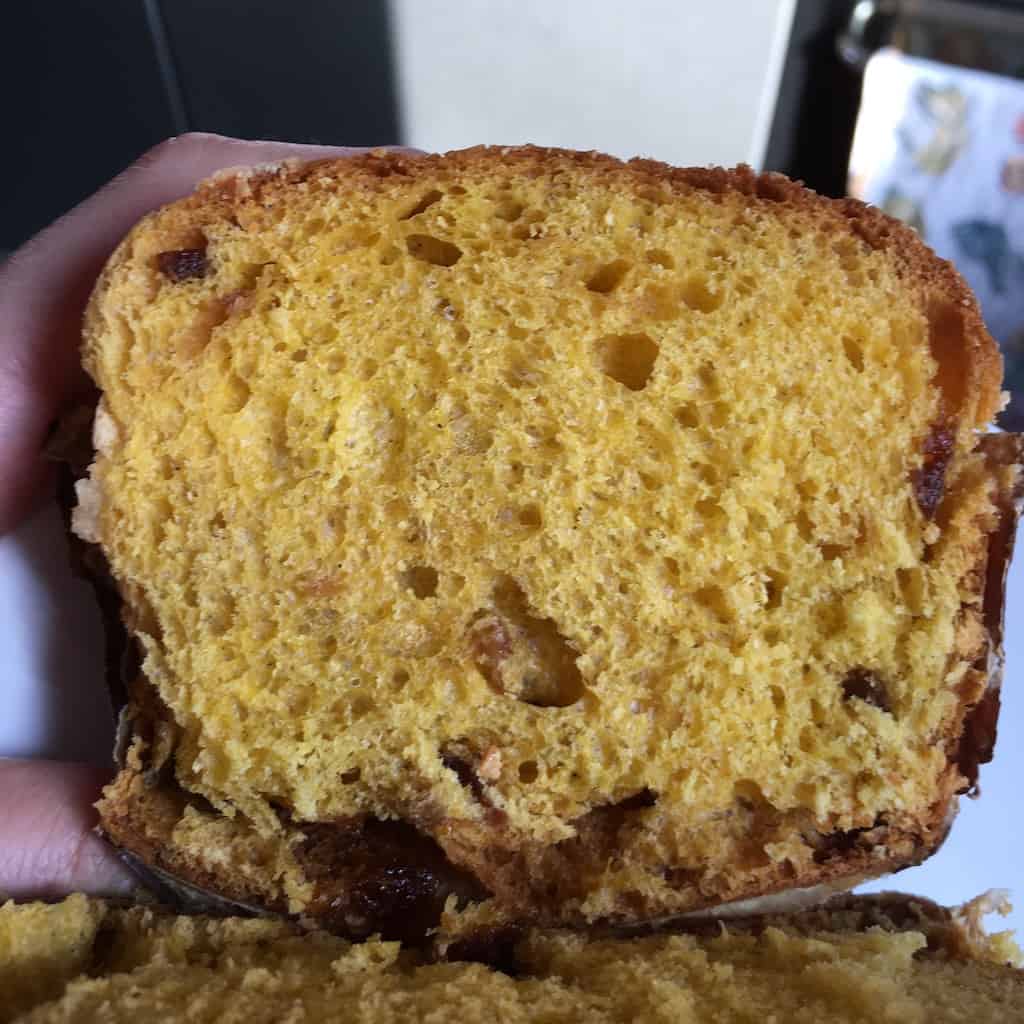
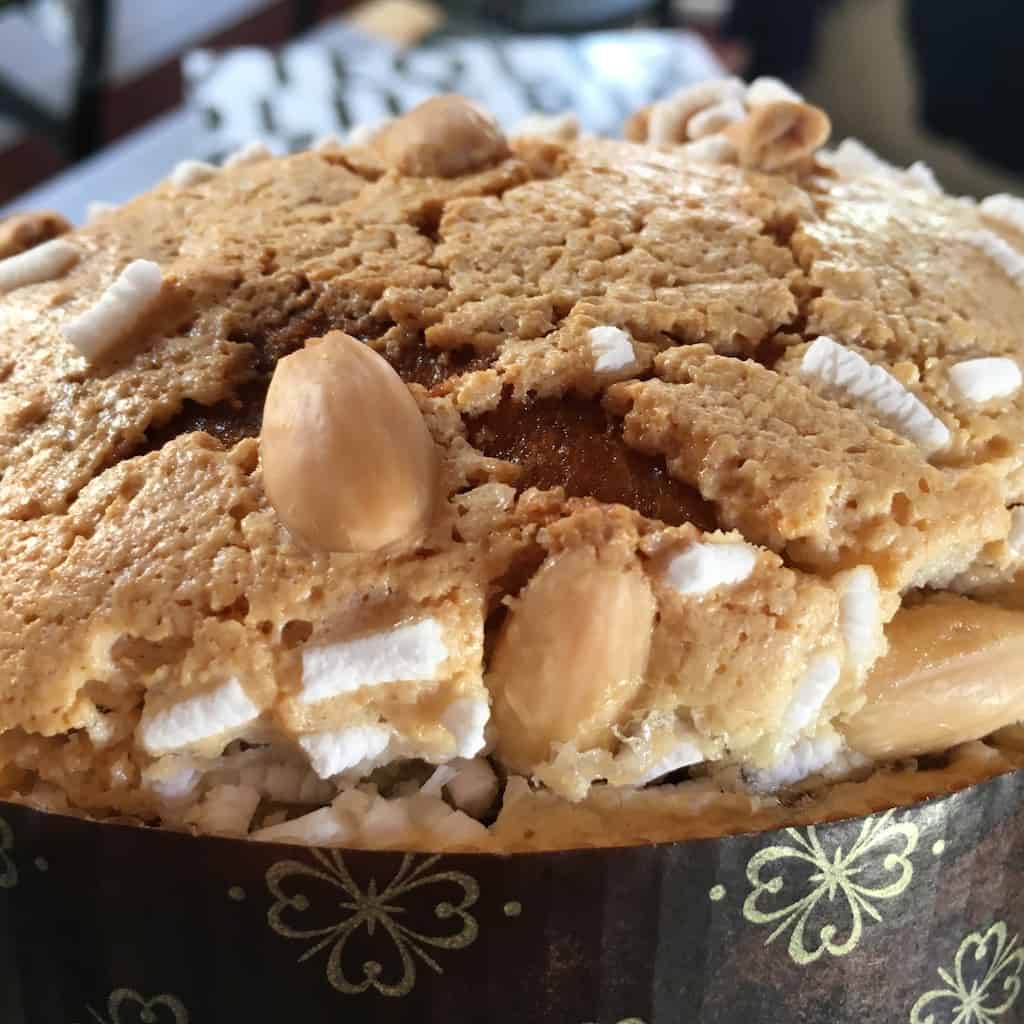
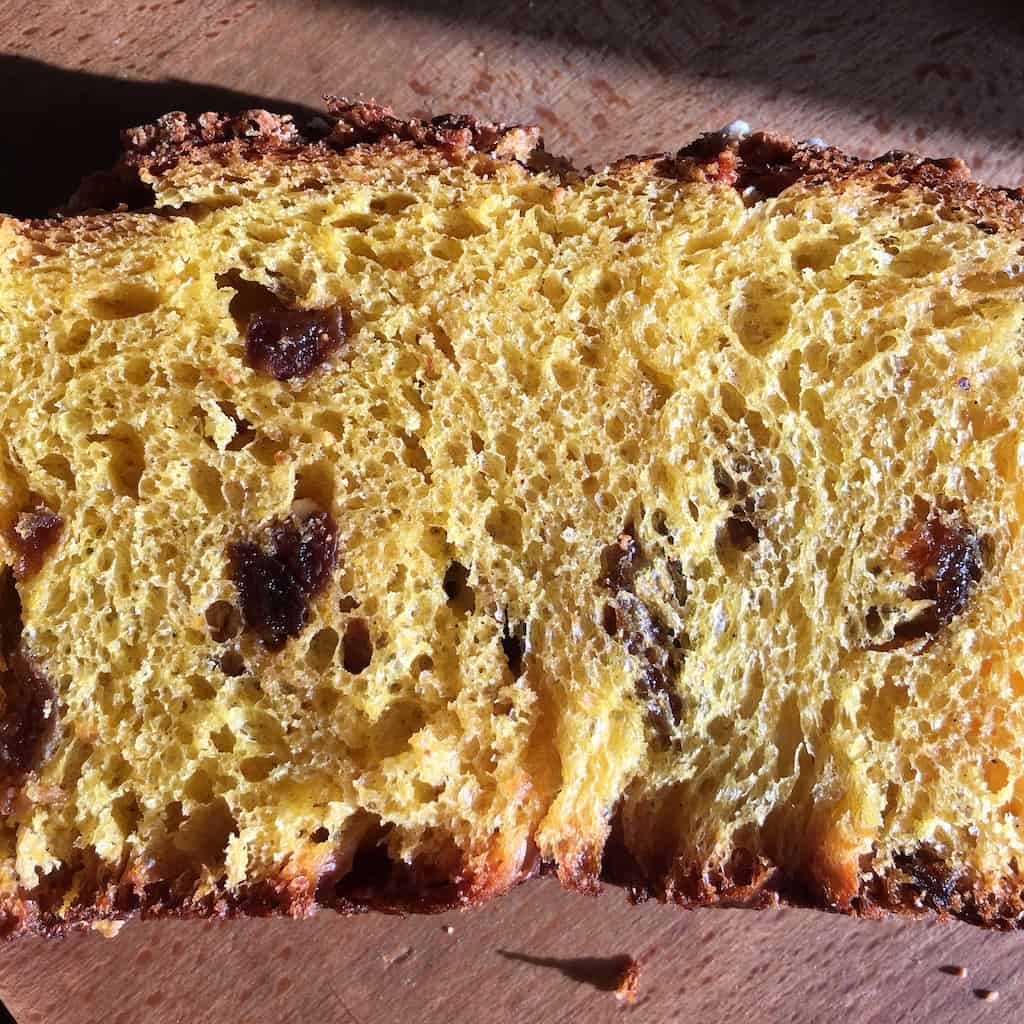
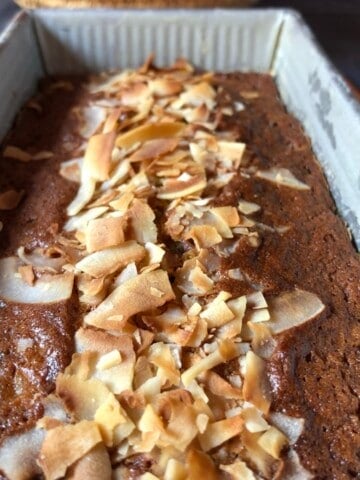
Colomba is a sweet, egg-rich Italian yeast bread with a long fermentation time, baked in a paper mold in the shape of a dove to represent Easter. It's basically panettone dough topped with a hard, crackly crust of almonds, egg white, and sugar before baking.
The taste is hard to describe, but it's somewhat like a cross between an even fluffier sweet Challah and cake, with a very distinctive aroma and flavor from the traditional Italian Fiori di Sicilia extract. It's totally delicious.
This "dove" bread is only produced and sold in the period leading up to and through the Easter holiday. You won't find a Colomba in August, which is what makes it special. It's by far one of the best-tasting dessert breads I've ever eaten.
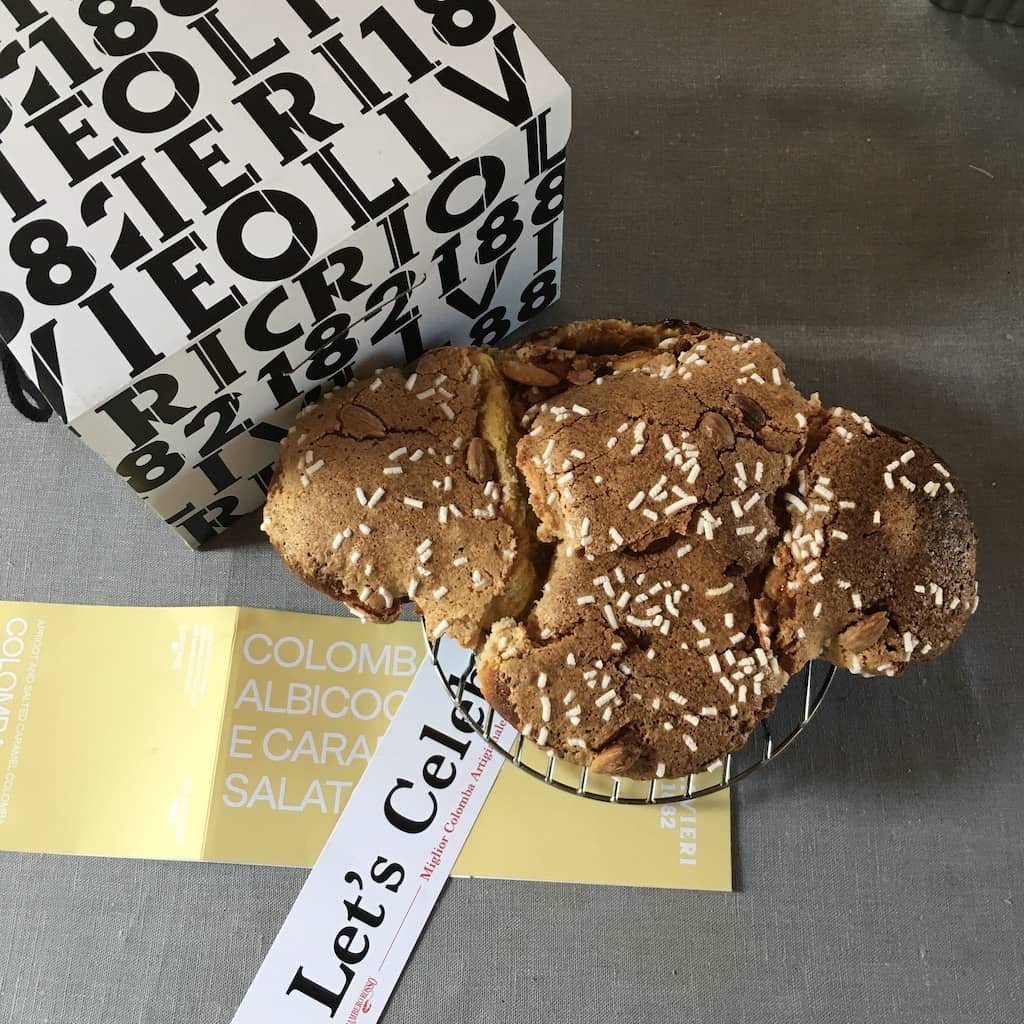
As I've mentioned, one of our favorite versions comes from Olivieri 1882. Our favorite flavor has typically been the Colomba Albicocca e Caramello Salato (apricot and salted caramel), but we've had many different varieties over the years, all of which are delicious.

Italian Colomba Research & Development - Understanding Artisanal Colomba
I researched Olivieri's ingredients plus numerous original versions from famous Italian pastry chefs and built a recipe based on all of this information. It helped a lot to have an actual Colomba to reference for both taste and texture. For any breadmakers out there, this is a challenging bread to make, but it's worth the time and effort.
I'll never forget this first Colomba because I couldn't stop eating it. I had to seal it back up, put it back into its box, and push it away. These artisanal versions of Colomba, Panettone, or Pandoro are becoming increasingly popular in America.
But too often these Italian desserts get a bad reputation because so many of the versions we've traditionally had access to in the States are mass-produced and full of preservatives and unnatural ingredients.
They're often made many months before they're even expected to be consumed, which is ok, as long as it's an artisanal version.

Artisanal Colomba uses a natural mother starter versus traditional active or active dry yeast for the leavening, along with slow fermentation (usually 48 hours), which makes it highly digestible. It relies on the highest quality natural ingredients for its incredible flavor (without the use of preservatives or additives).
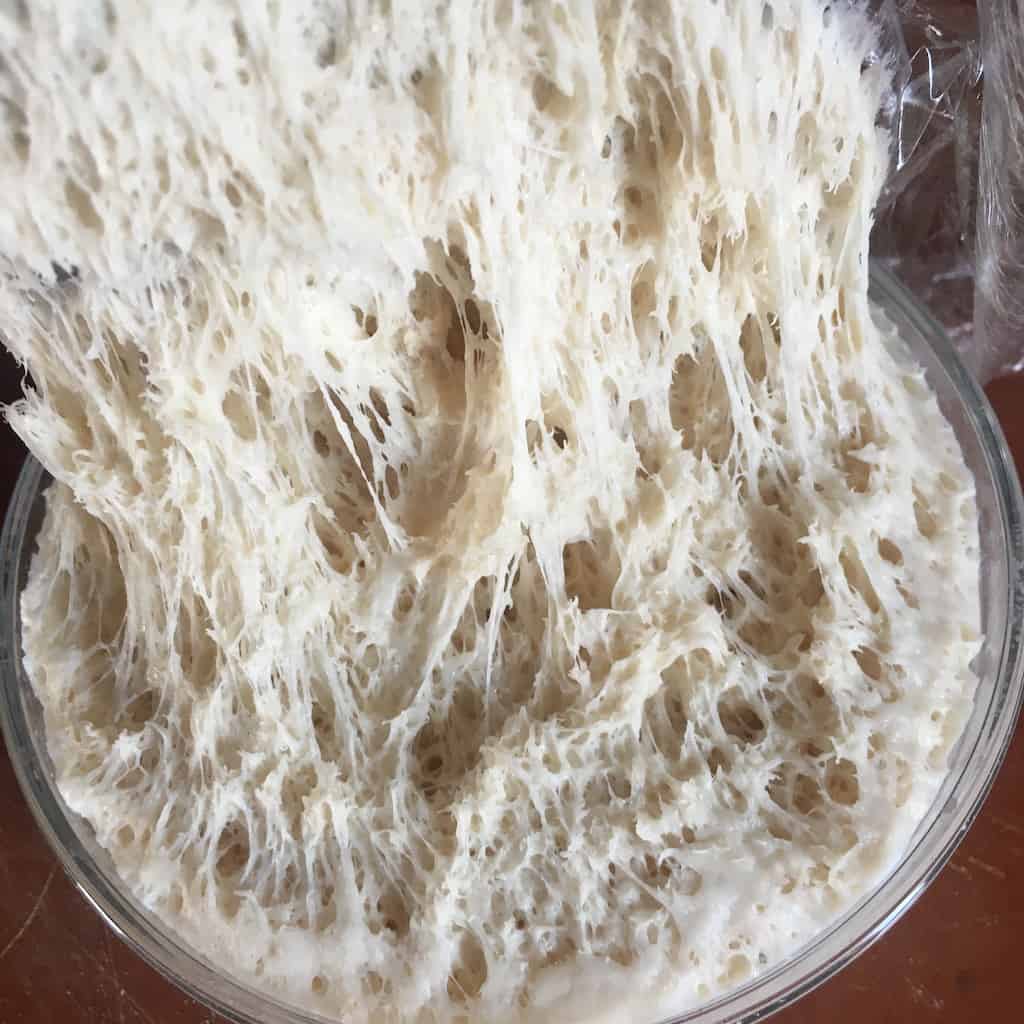
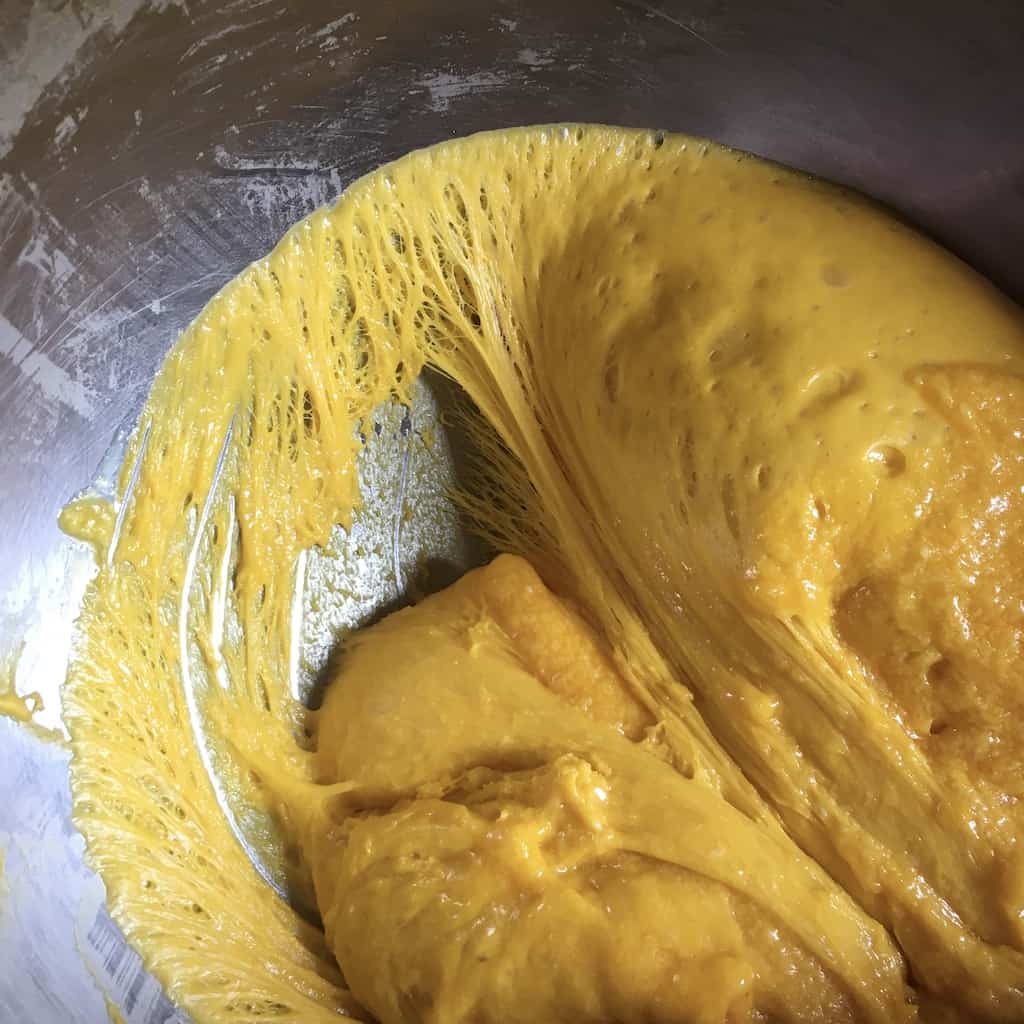
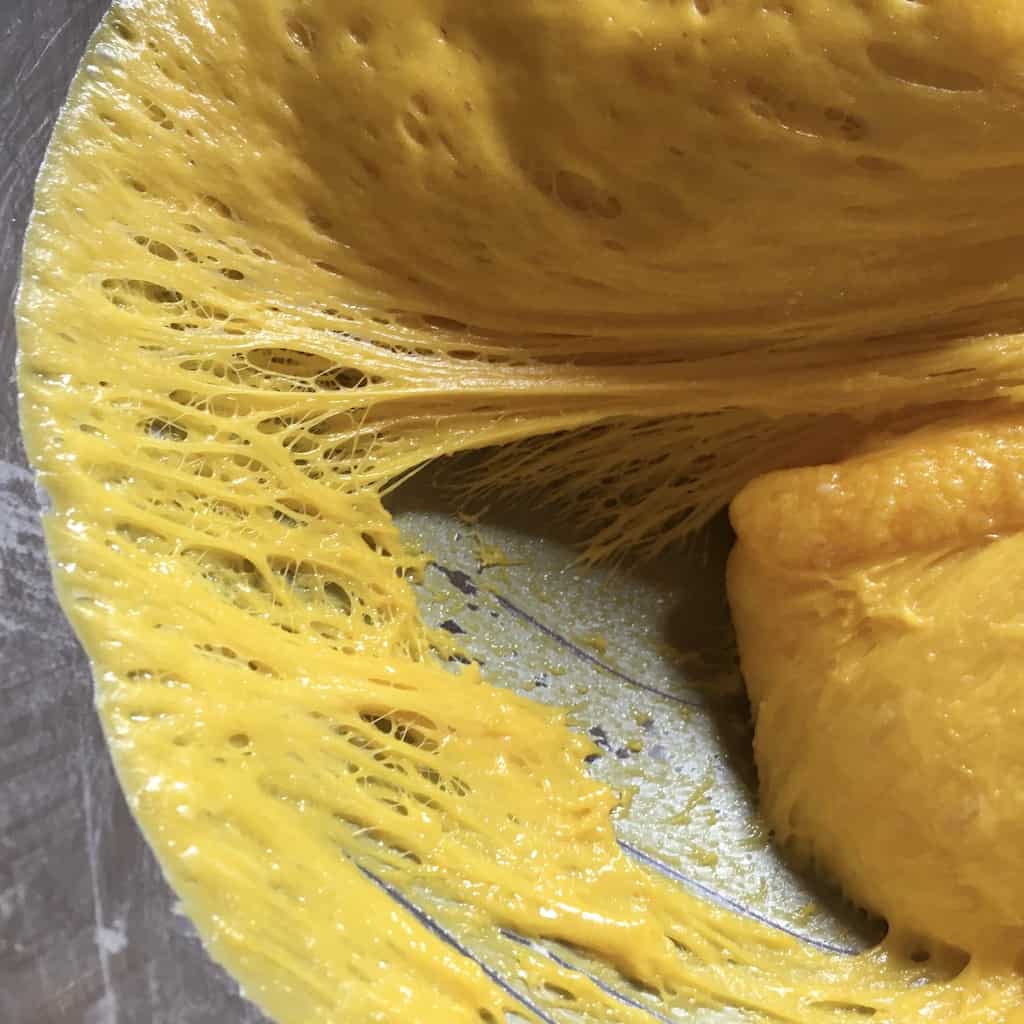
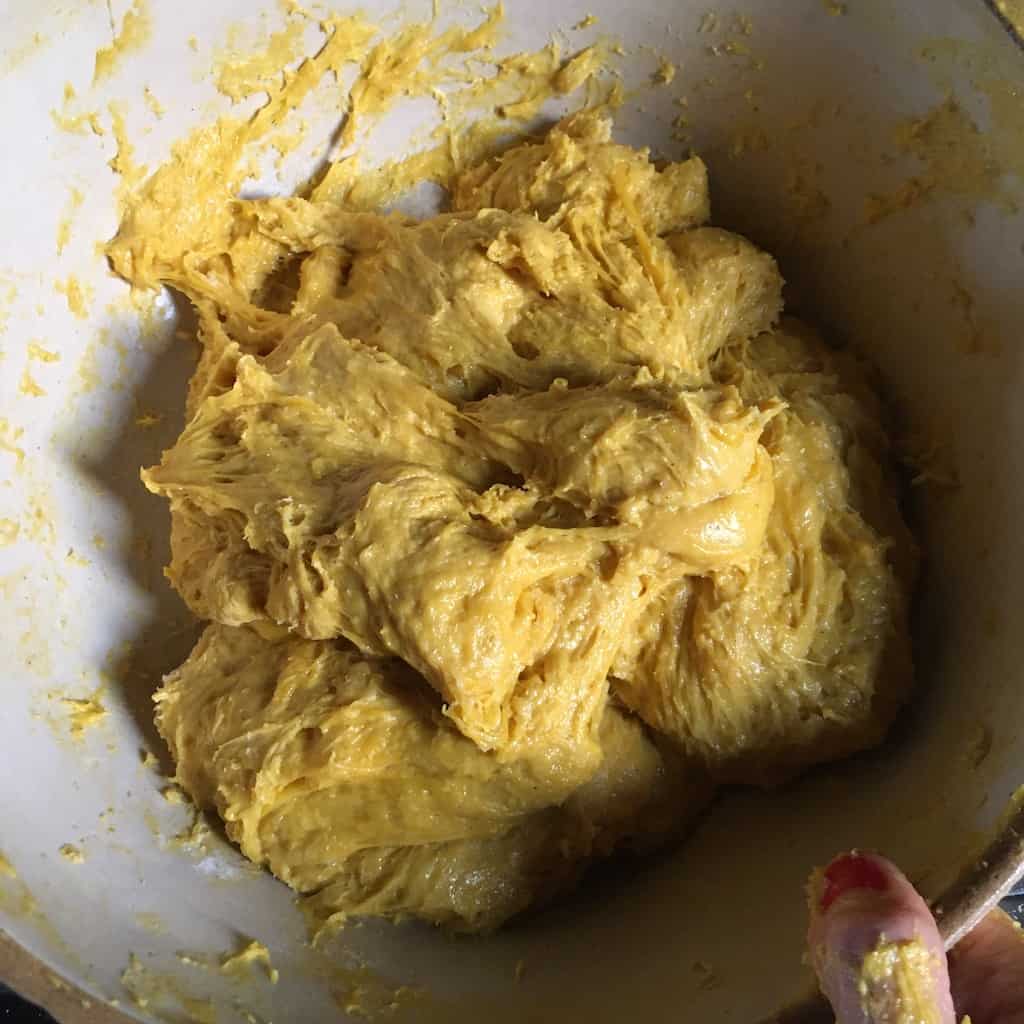
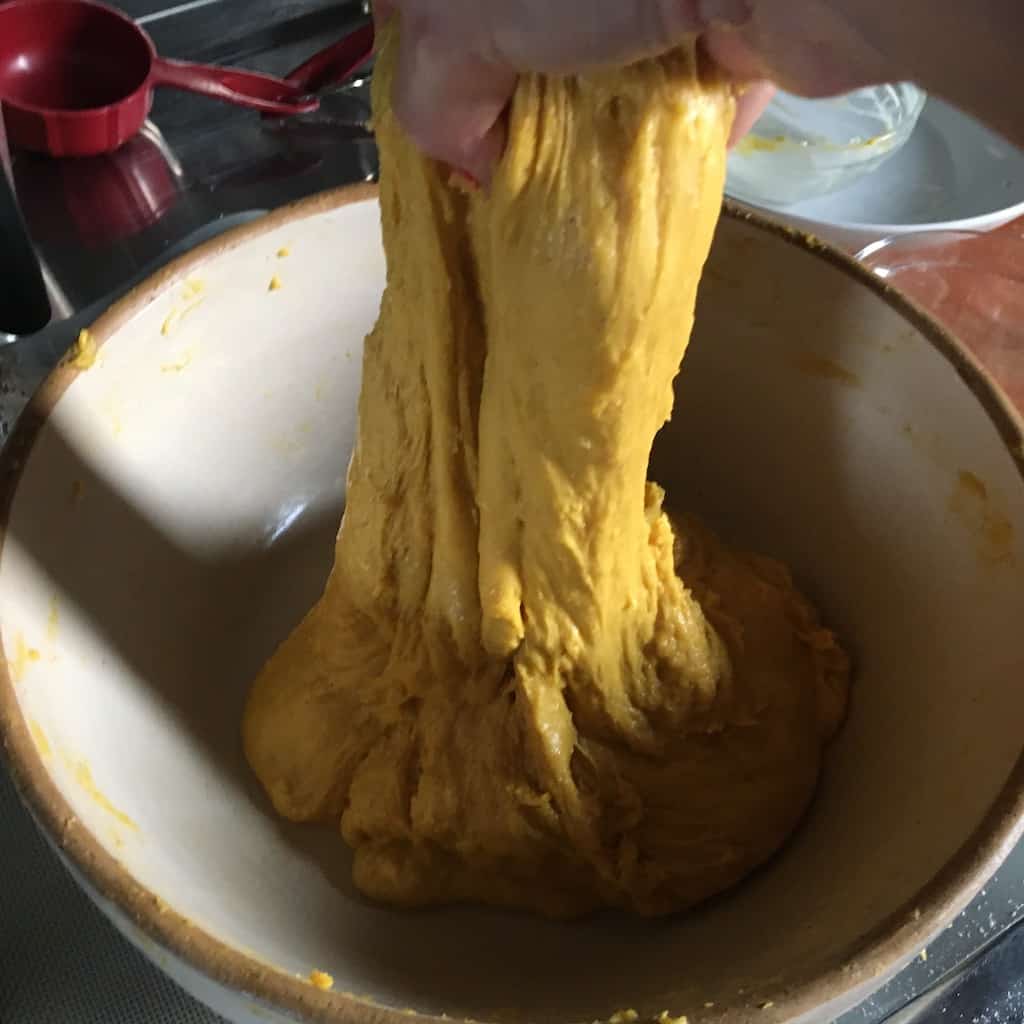
This dough develops one of the most beautiful weblike dough structures I've ever seen or worked with. You can still find excellent Colomba and Panettone outside of Italy, and if you're interested, I suggest seeking out a good one.


Colomba Comparison Photos (Olivieri's Artisanal Colomba vs. Biting at the Bits Colomba)
2026 UPDATE: Sadly, Bauli (a Verona-based commercial maker of panettone, pandoro, and colomba bought Olivieri some time back, and they have changed their ingredients to what used to be 100% artisanally made. Unfortunately, they are now using commercial ingredients to make what used to be one of our absolute favorite Colombe, which we felt good about eating because it was all natural. Although I'm sure it still tastes wonderful, it's not the same knowing their superior products have been replaced by syrups and other unnatural ingredients. Another nail in the coffin of artisanally-produced Italian products. Questa è vita...
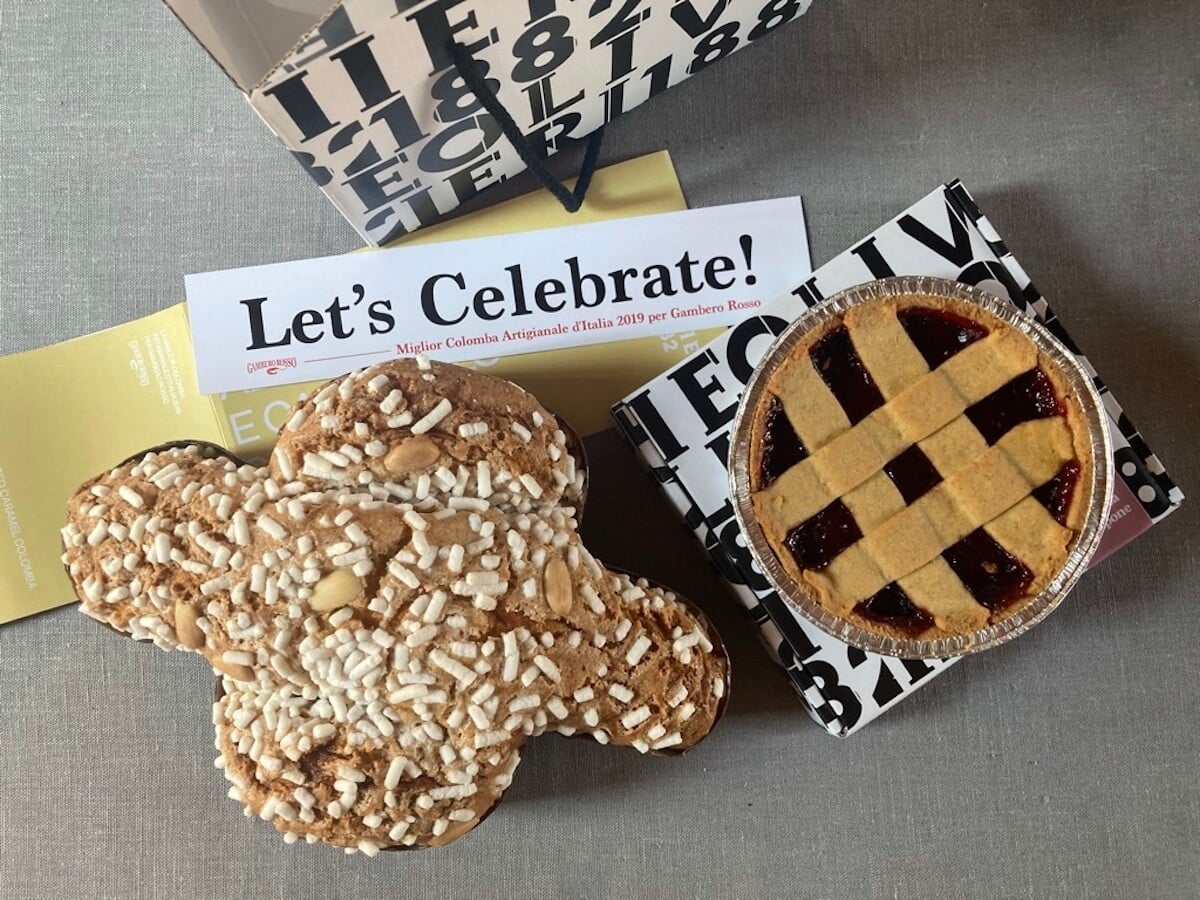
Olivieri 1882 is a local (internationally-famous) pastry shop that's been in the same family here in Italy for five generations. And lucky for us, it's about 25 minutes from where we live! It's won multiple awards for its Colomba di Pasqua, including "Best Italian Colomba di Pasqua, 2019" by Gambero Rosso (Italy's version of the Michelin Guide or Zagats).
Plus, numerous other awards, including by the NY Times for their "Luxurious feather-light domes" and "They are as good as it gets with Panettone" mentions. Everything this place makes is delicious!
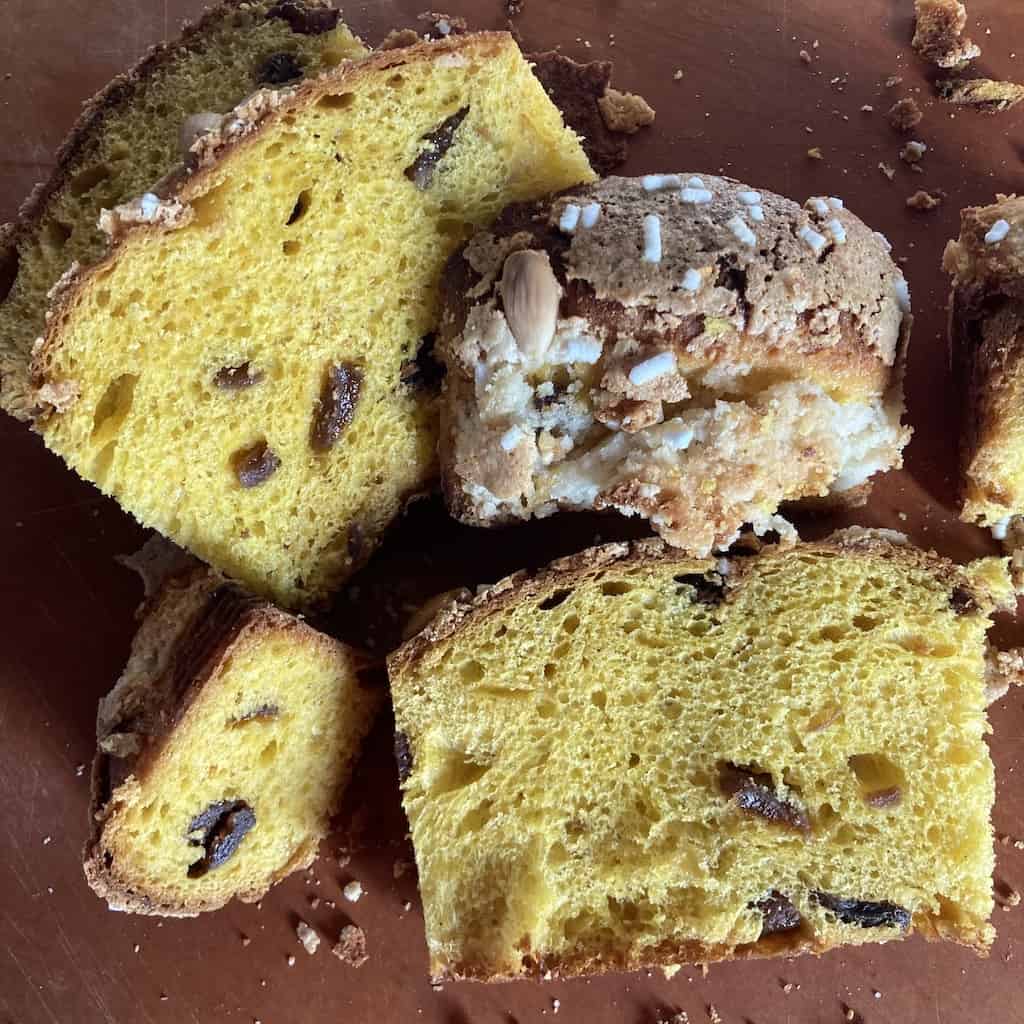
I wanted to try to recreate this famous colomba, and here are the comparison photos: Olivieri Colomba is in the left column, and my Colomba is in the right column. Not too shabby for my first-ever Easter dove bread!


If you don't have time to make your own dove bread, I recommend ordering from Olivieri since they ship express to America and worldwide. We've ordered multiple Colombe and Panettone as gifts, and it's been a great experience every time. In fact, my dad is now a loyal customer for the panettone and the colomba each year!
I'm not affiliated with anyone from Olivieri 1882. We just love everything they make. Whether you make your own or not, I recommend buying one from Olivieri to try it, if it's within your budget.
Italian Easter Dove Bread (Colomba) Ingredients
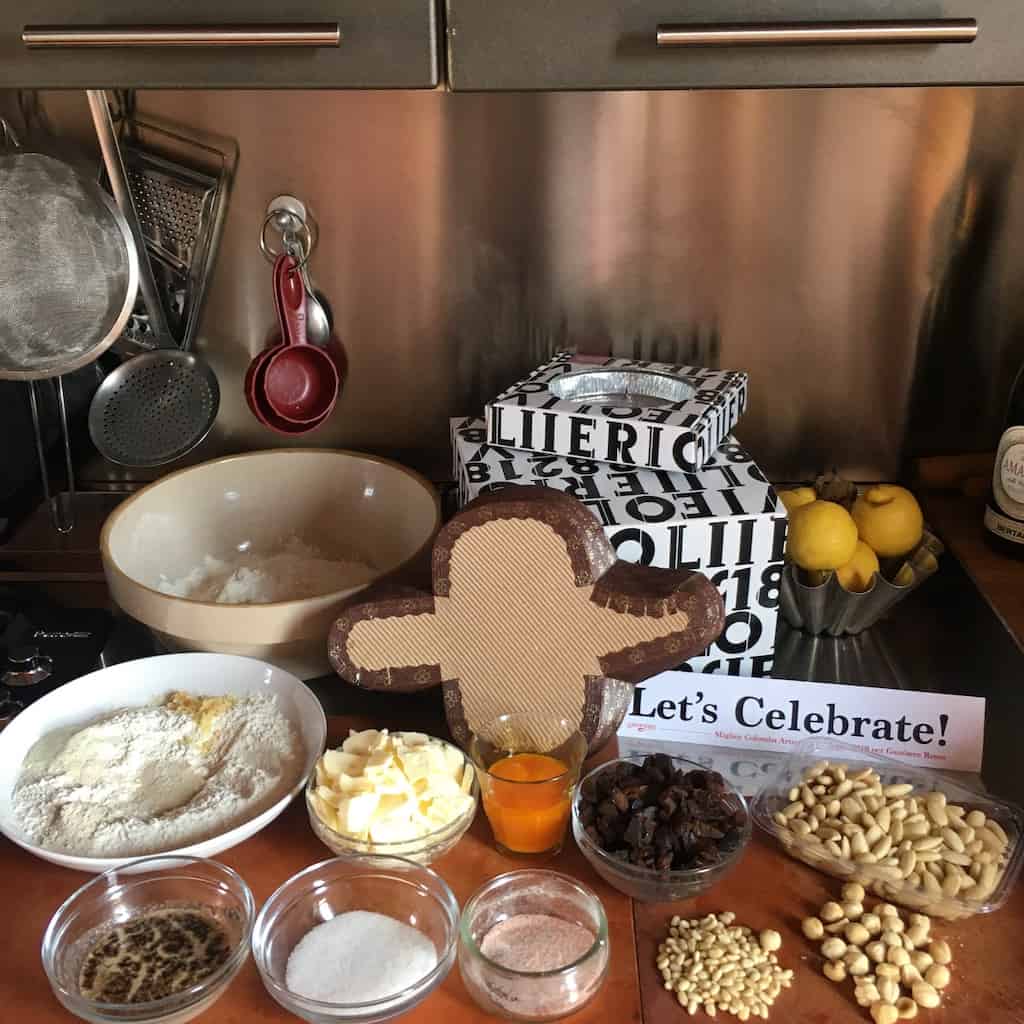
Colomba Dough
- Bread flour (farina Manitoba type O)
- Instant yeast (or substitute active dry yeast, but bloom it first)
- Butter, unsalted, at room temperature
- Cane sugar (You can substitute granulated sugar if needed.
- Egg yolks
- honey (I like to use Acacia honey)
- Warm milk
- Cool water
- Low-fat milk powder
- Diastatic malt powder
- Pure vanilla extract
- Pure vanilla bean powder (or Tahitian vanilla bean)
- Homemade Tarocco orange sugar (or regular sugar + orange zest)
- Himalayan salt or fine sea salt
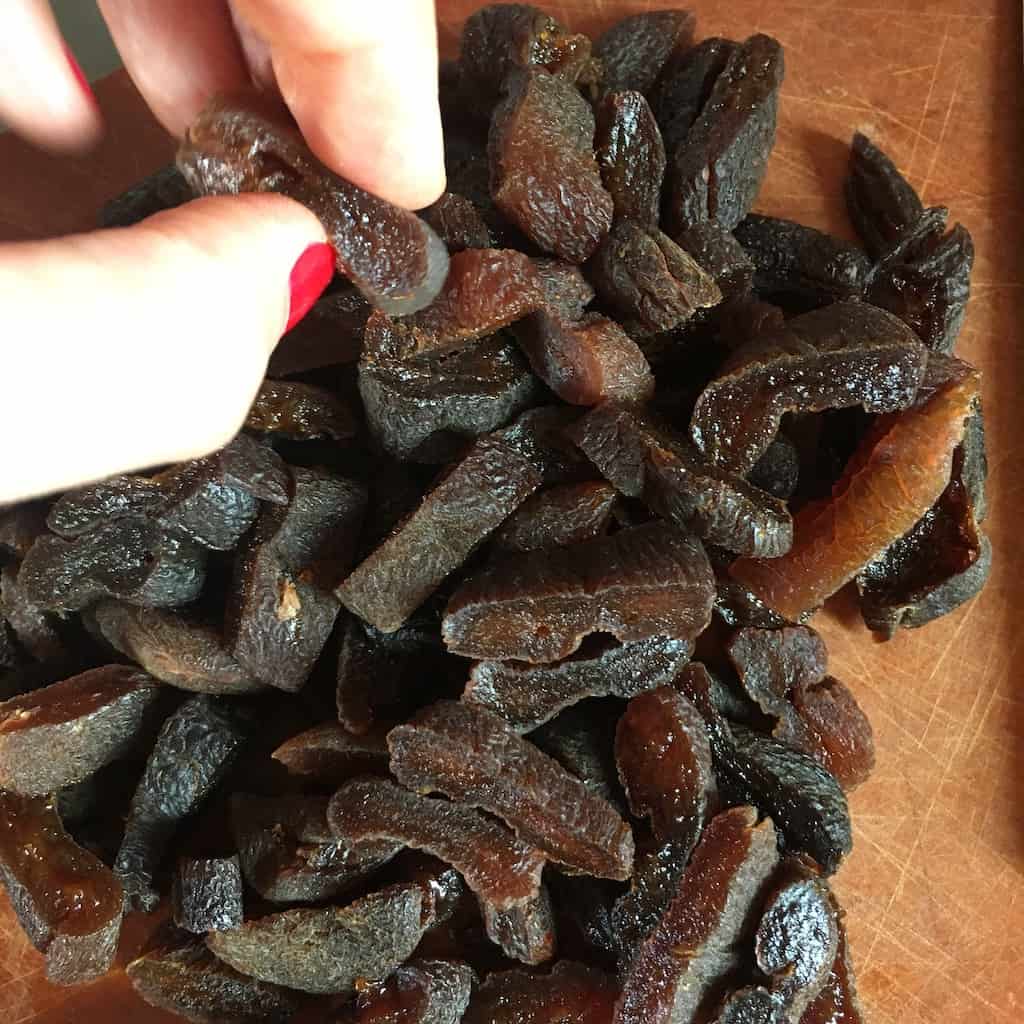
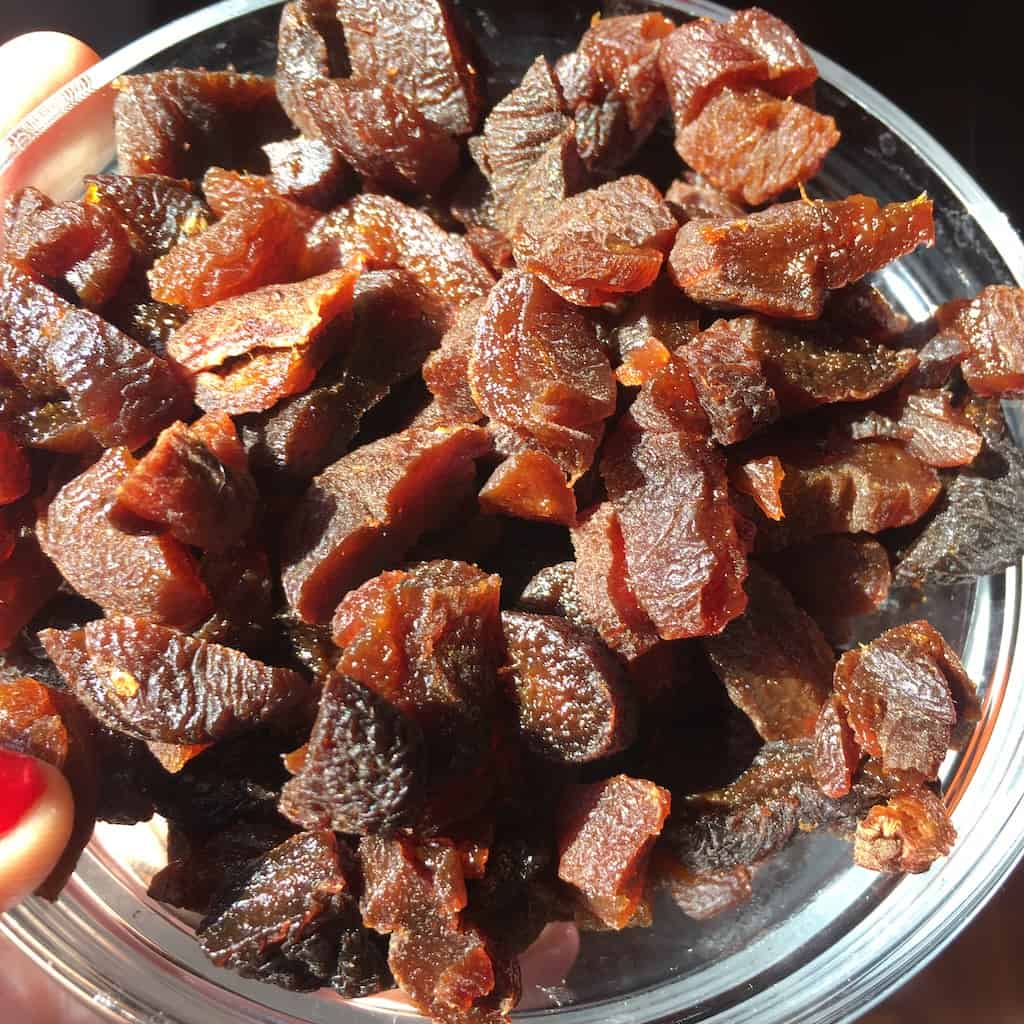
Candied Apricots
- Dried apricots (free of preservatives if possible)
- Sugar
- Water
Almond Sugar Crackly Topping
- Egg whites
- Cornstarch
- Cane sugar
- Blanched raw almonds
- Raw pine nuts
- Raw peeled hazelnuts
- Salt
For Decorating
- Raw blanched whole almonds
- Paneangeli "granella di zucchero" (Italian granular sugar) or raw turbinado sugar
See recipe card for quantities.
How to Make Colomba Pasquale (Italian Easter Dove Bread) Step-By-Step Instructions and Photos
It's important to show step-by-step photos of how to make Colomba di Pasqua because it helps simplify each stage in the process. Hopefully, having this as a resource will help alleviate questions about how or what something should look (or feel like) at any given point in the process.
Buona Fortuna for making your own best-ever Easter Colomba to share with your family and friends, and definitely use your stand mixer if you have one (I know I will next time).
Developing Colomba di Pasqua dough from start to finish (even without using an electric mixer)
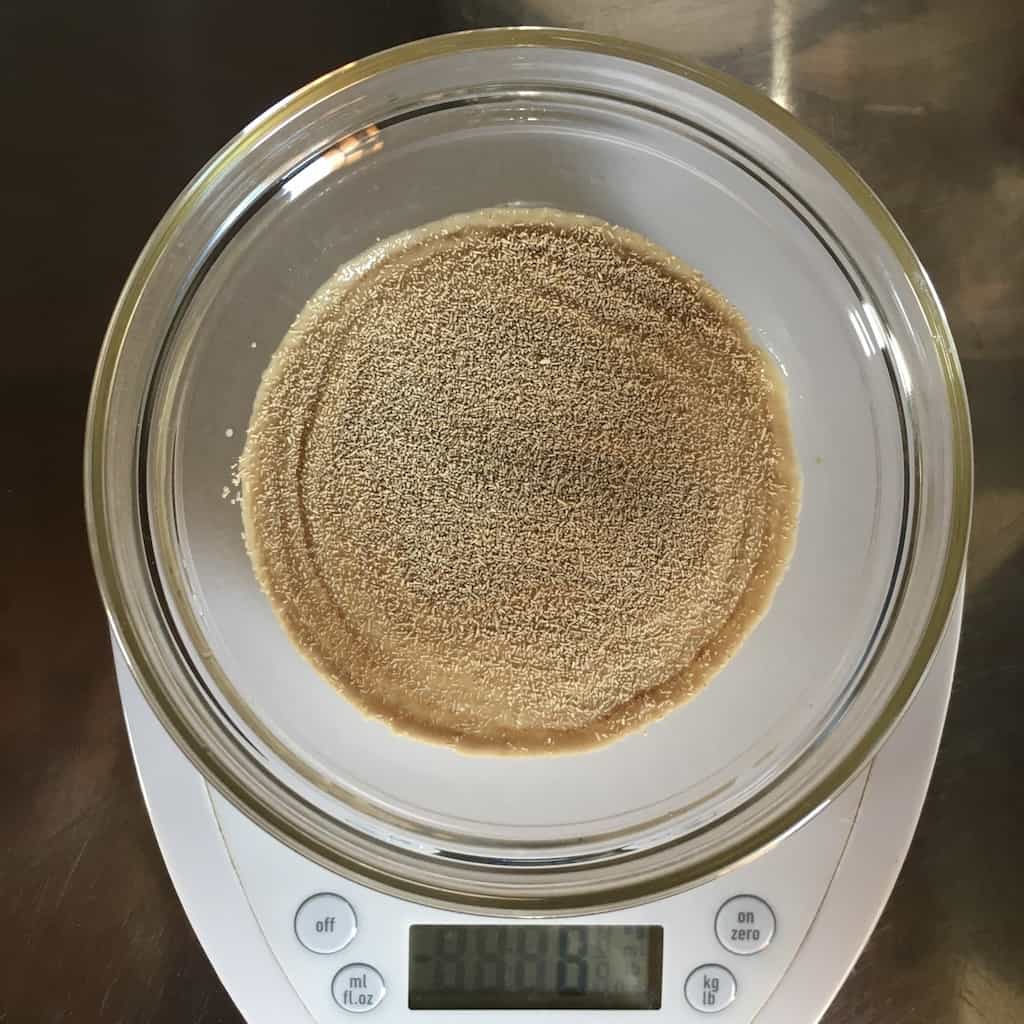
STEP 1: Making the biga starter
STEP 2: First kneading
STEP 3: Second kneading


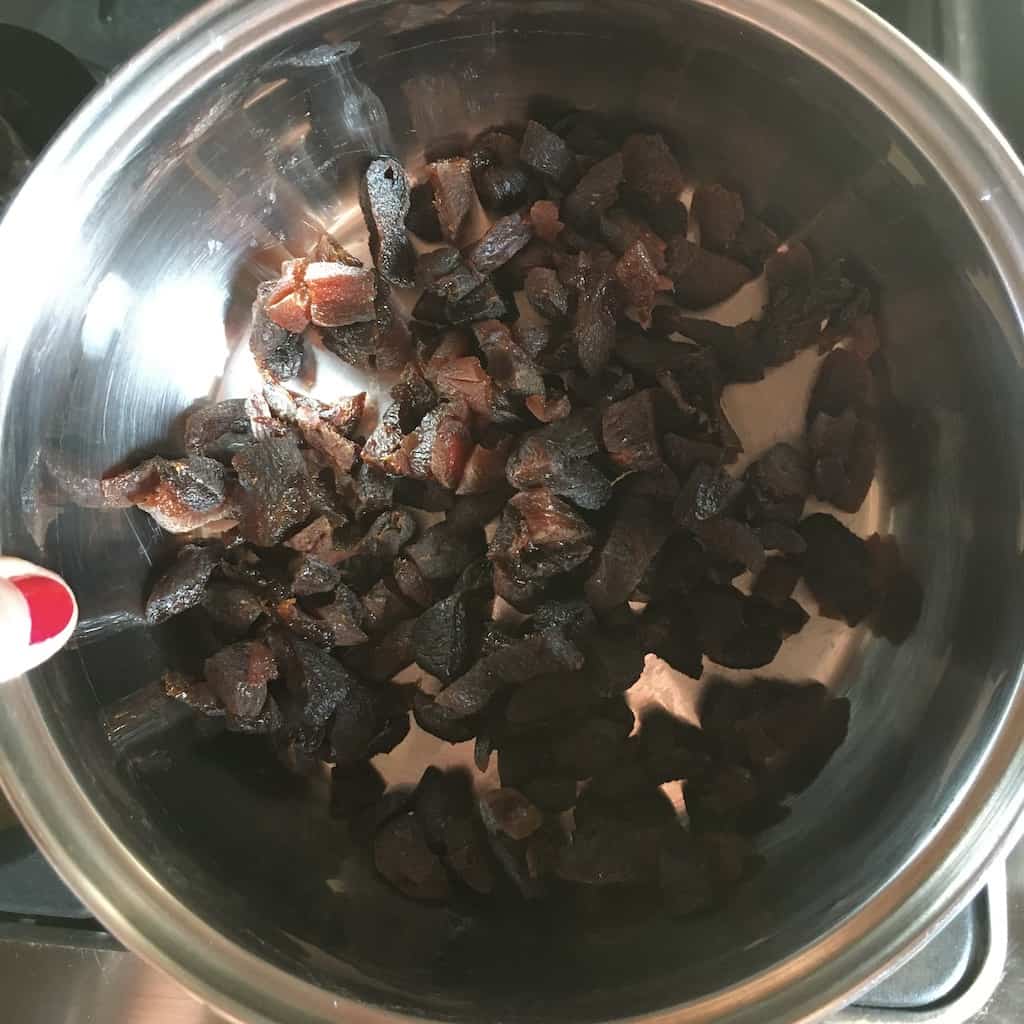
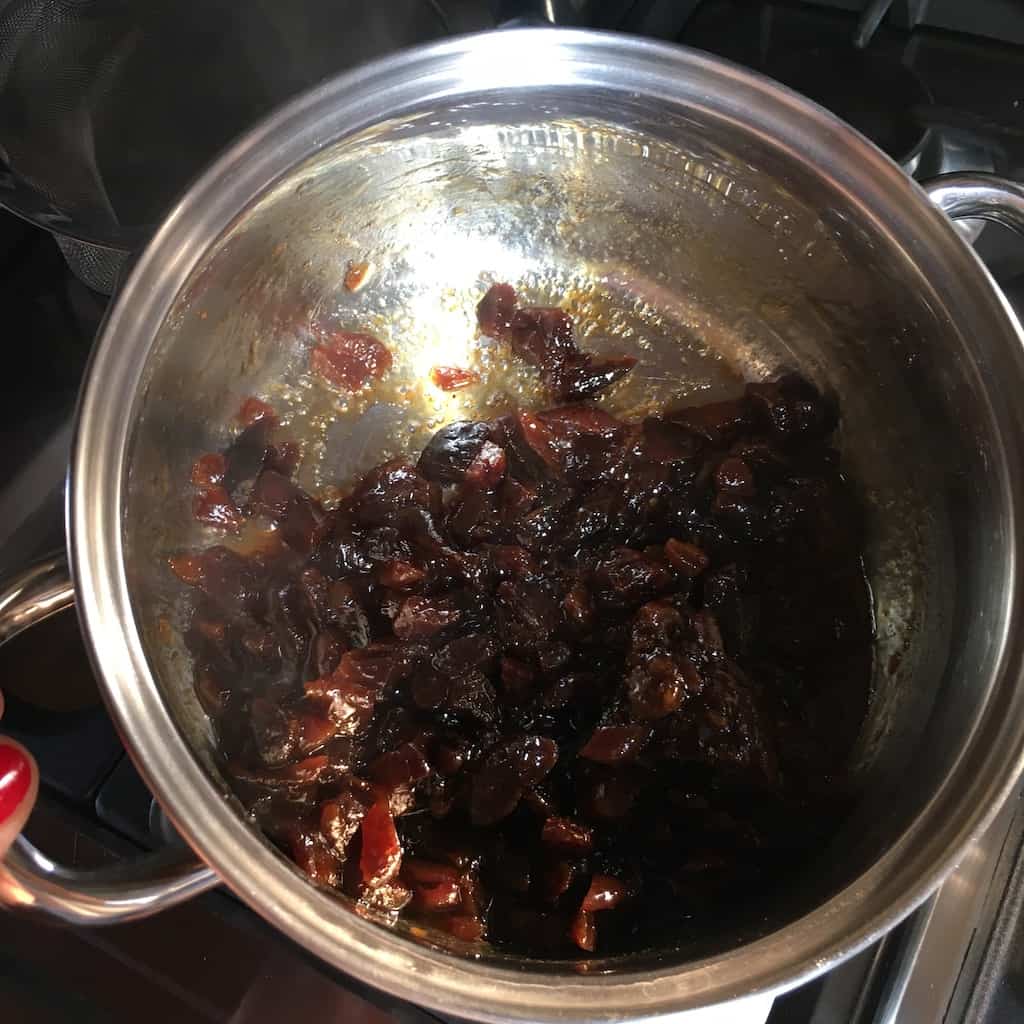
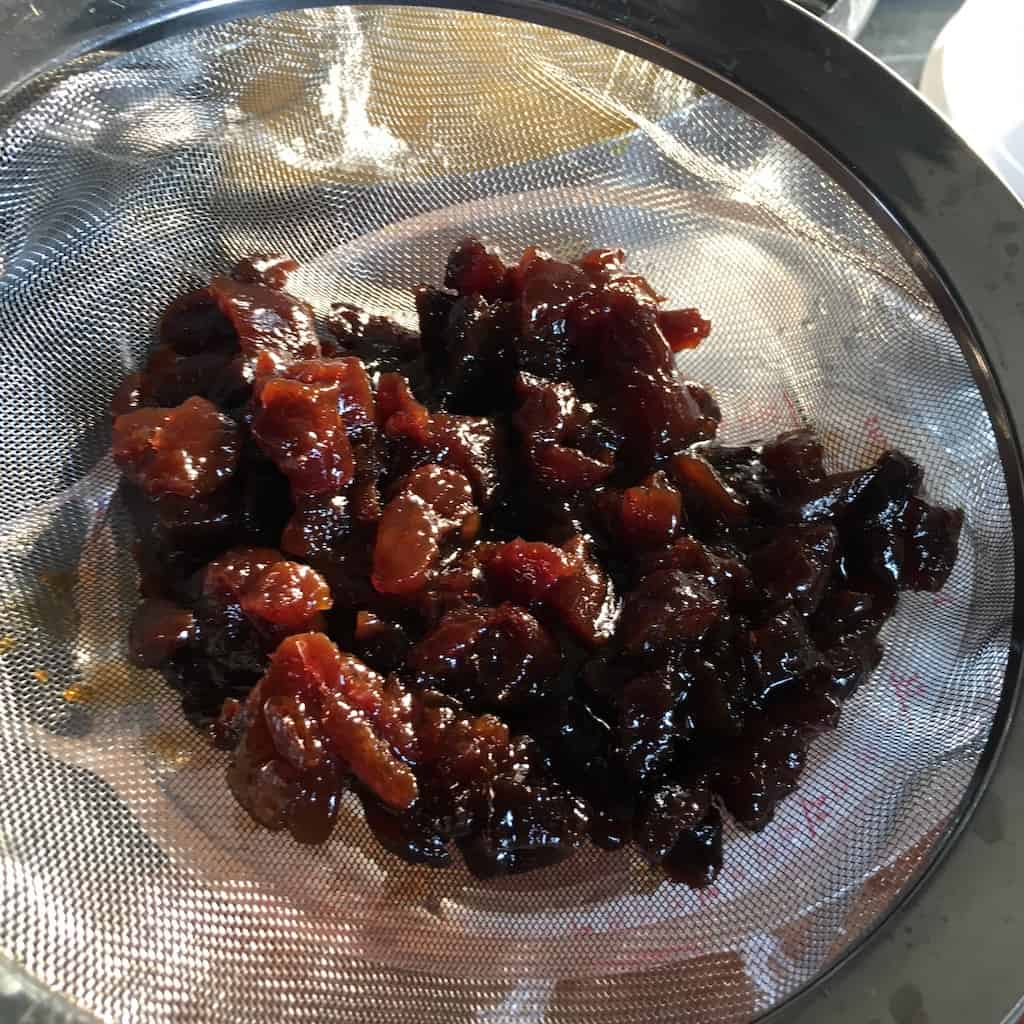
STEP 4. MAKING THE CANDIED APRICOTS WHILE THE DOUGH IS RISING
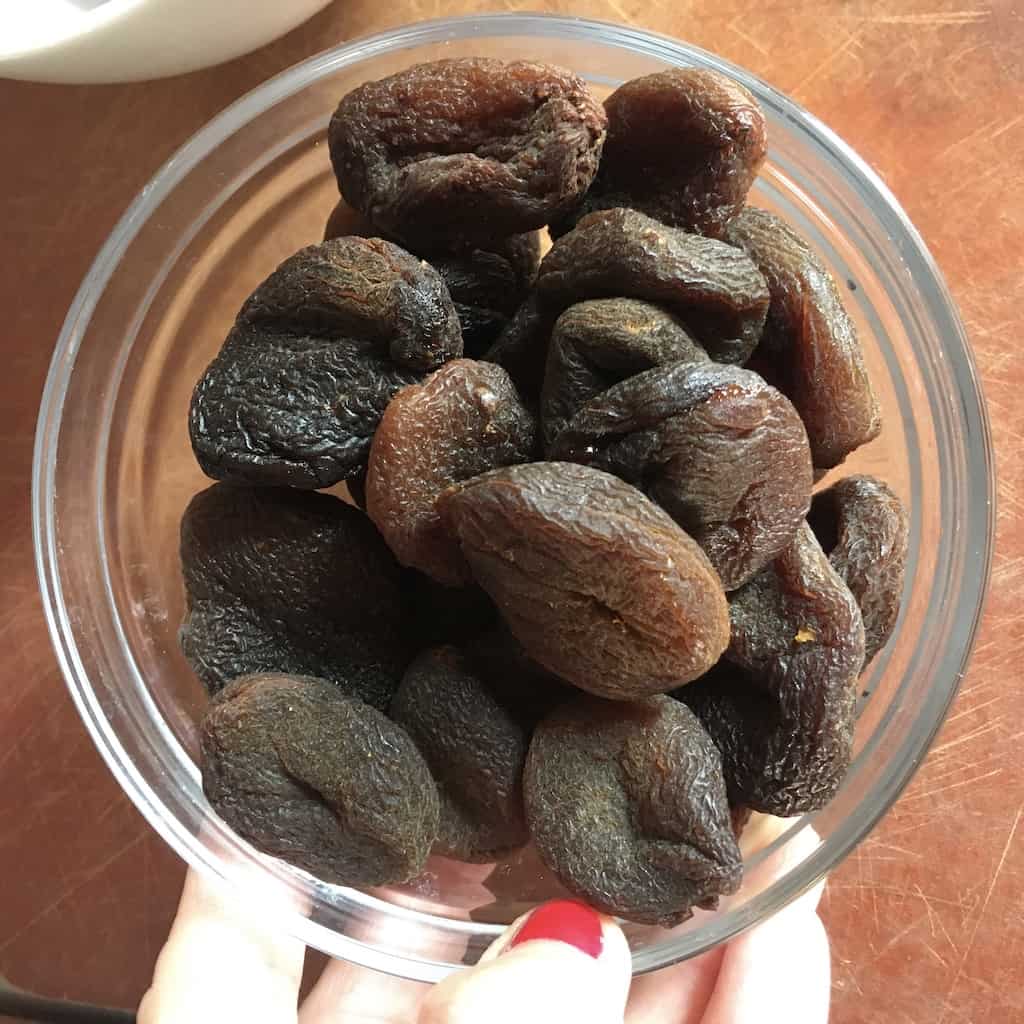
(These were all-natural, no sulphite apricots I used, but feel free to use the bright orange unsweetened apricots you can easily find.)

STEP 5: Third kneading for final dough and letting it rise


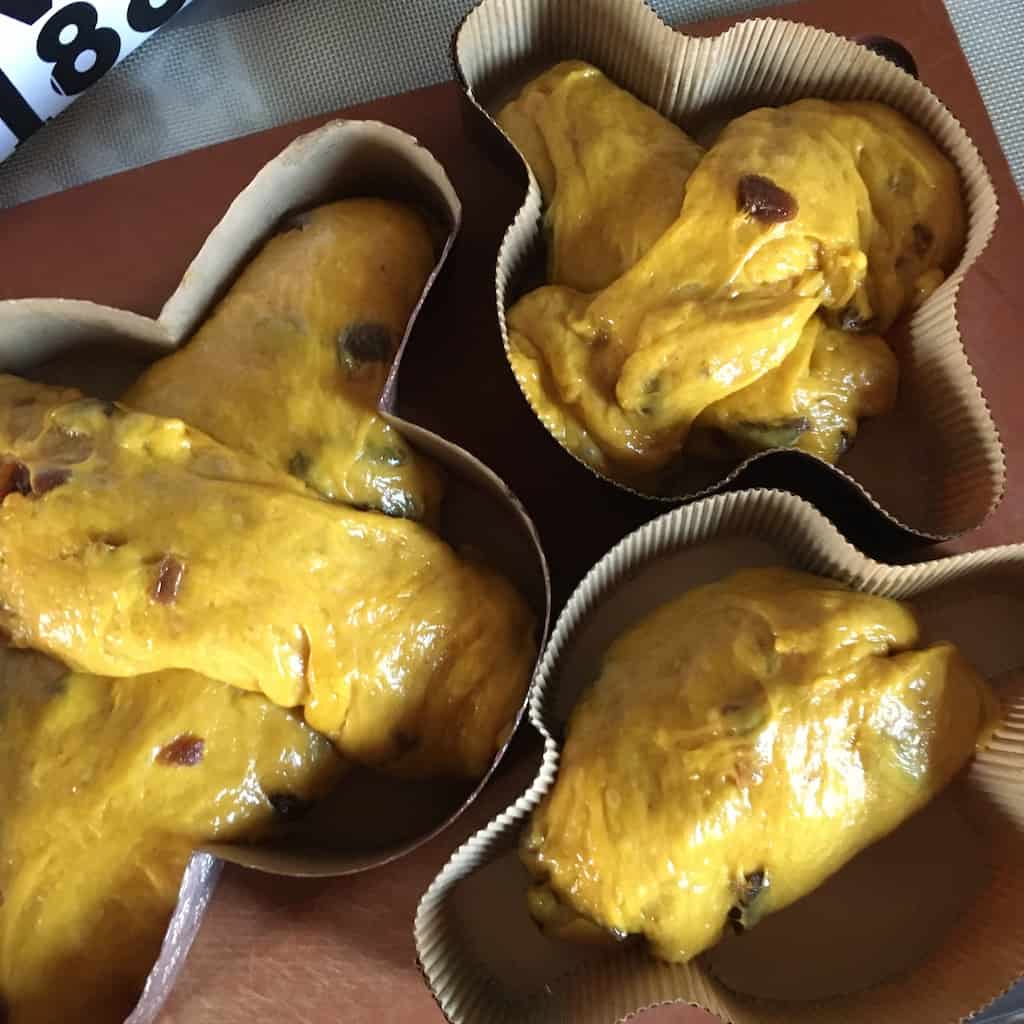
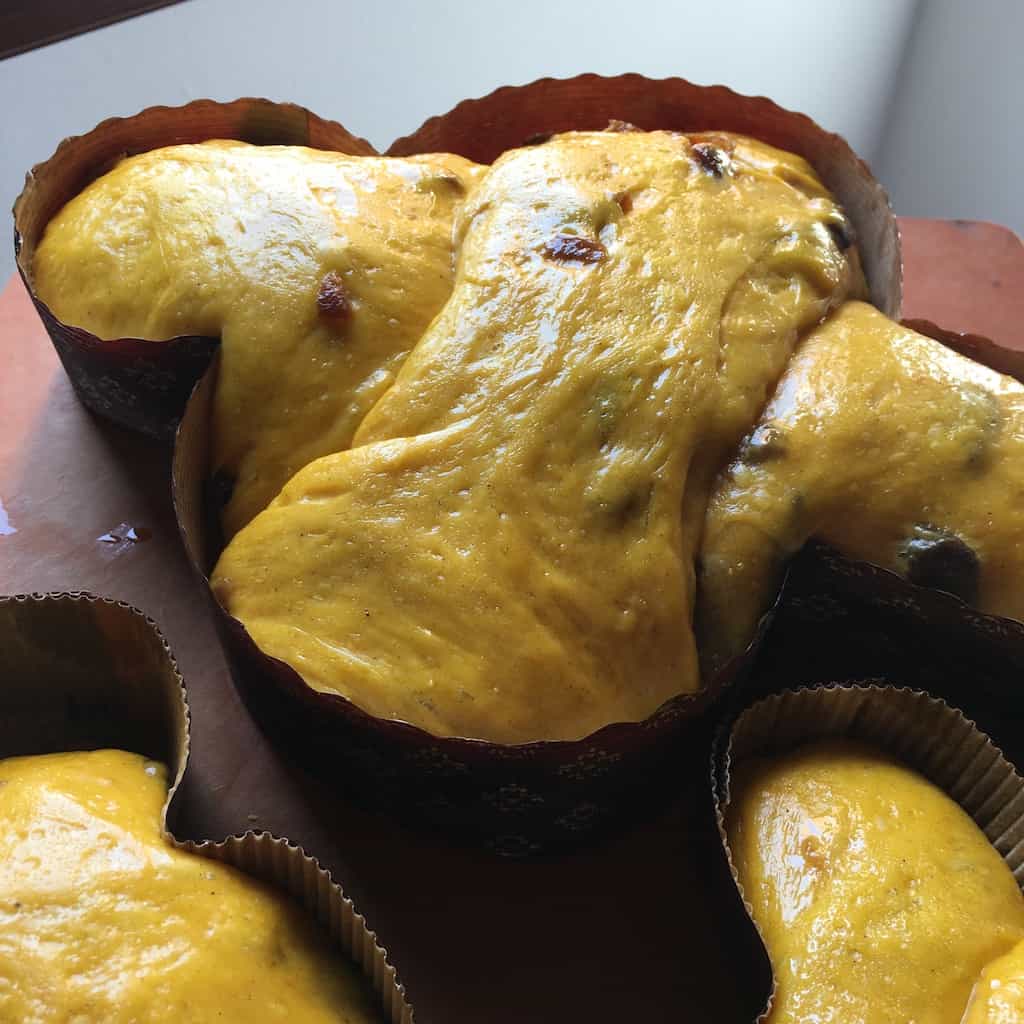
STEP 6: Shaping the Dove Bread into the Colomba Molds and letting them rise


STEP 7: Making the Almond Sugar Colomba Topping

STEP 8: Assembling the Colomba and Baking
How to Customize Homemade Easter Dove Bread (Italian Colomba)
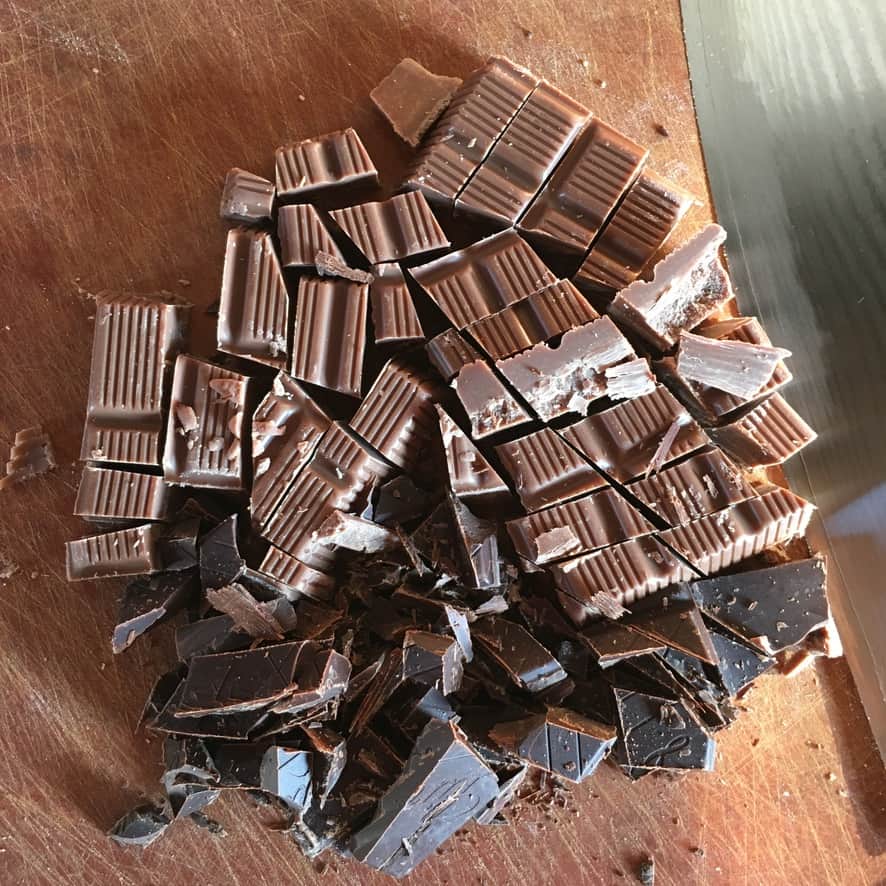
Colomba and Panettone both contain dried fruits or zest of citrus fruits, nuts, and even chocolate and espresso sometimes.
Original classic versions usually include candied citrus peel known as "candita" in Italy (or candied citron), which I'm not too crazy about in large amounts unless it's made the old-fashioned artisanal way, in which case it tastes amazing. The addition of dried fruits helps to keep these breads moist and also imparts flavor.
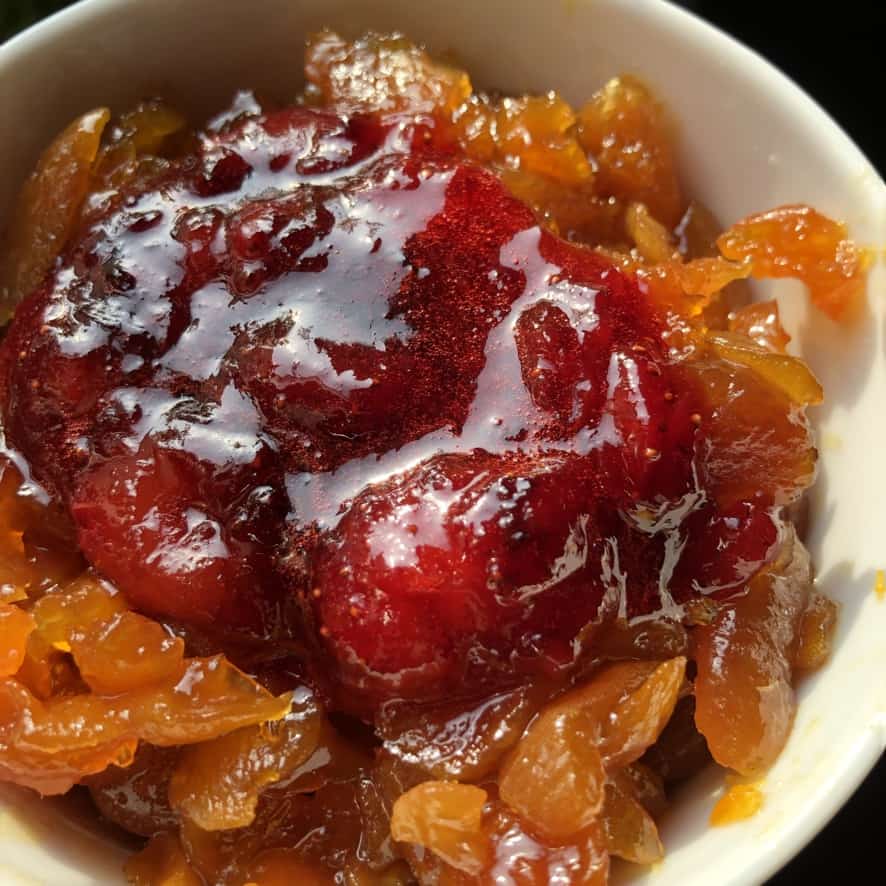
I used organic dried apricots and homemade blood orange sugar because I wanted to replicate Olivieri's Apricot and salted caramel colomba, which has a slightly fresh orange-caramel flavor. You can get creative with your Colomba fillings by using any of these add-ins or making up your own.
- candied citron (lemon, lime, or orange)
- ½ cup white chocolate chips
- ½ cup milk or dark chocolate chips
- dried fruit like cherries, raisins, pears. apples, or blueberries

This Italian Easter Colomba Recipe Makes Enough to Share
You can choose to halve this recipe, especially if it's your first time making Colomba. Whatever you decide, you'll just need to order the paper Colomba molds to accommodate your dough.
If you choose to make the whole recipe as is, you may choose to make one of the following combinations outlined below. It's possible that you'll have around 375g of dough in a 300g mold if you choose to make the mini Colomba, but it all works out just fine.
- Two 750g (or size C3 paper Colomba molds)
- One 750g (27 ounces)Colomba + two 300g mold (10.5 ounces) baby Colomba's (FYI, the 300g mold Colombas are much easier to handle, so If you go with the standard size (750g), have a helper in the kitchen to help you hang it upside down to cool and be sure to reinforce it with double metal skewers before inverting to hang.
- Four 300g (10.5 ounces) baby Colomba
Troubleshooting Homemade Italian Colomba Bread - Mistakes I Made & How You Can Avoid Them
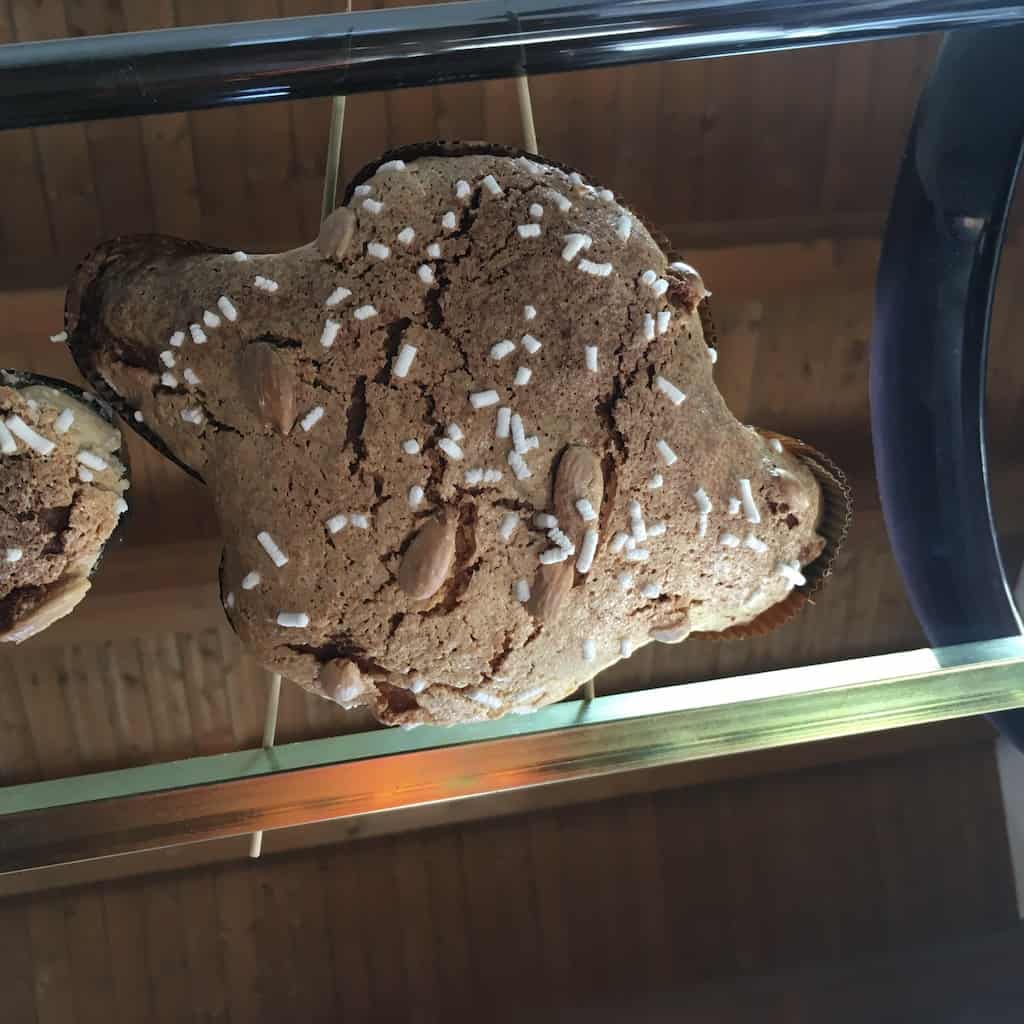
Although I had great success with making and baking this homemade Colomba dough, I had some avoidable mishaps once I removed the Colomba from the oven and hung them upside down to cool. Easter Colomba bread (like Panettone and Pandora) is hung upside down directly after baking so that it doesn't cave in or sink under its own weight as it cools.
Colomba's should be tall, light, and airy when baked properly, and since this is really a yeast bread filled with candied apricots and not an actual cake, the dough is denser and heavier. So, it should be hung upside down (as it is here in Italy) to maintain a nicely domed top. Hopefully, with these tips, you'll be able to avoid making these rookie mistakes.
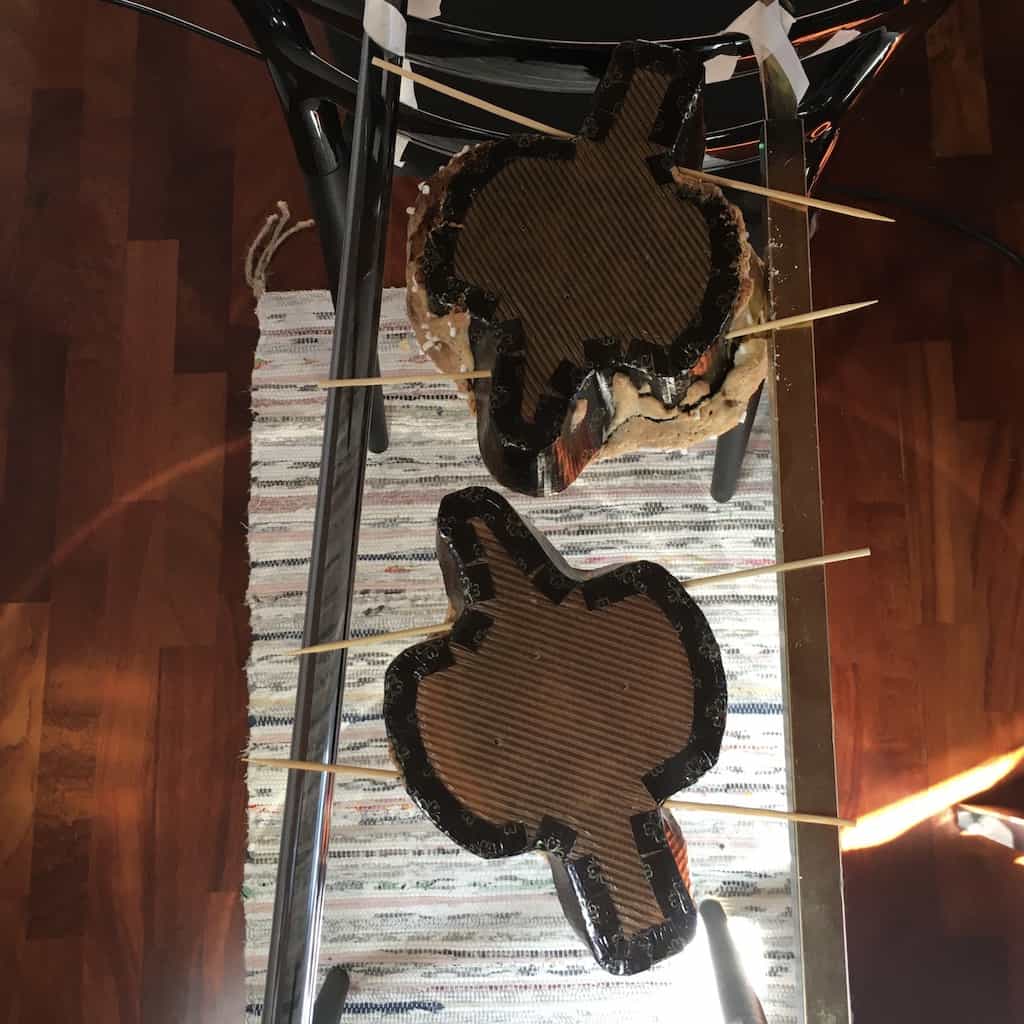
THE FIRST COLOMBA ISSUE
My first issue was that one of the mini Colombas dropped to the floor while hanging upside down to cool. It was properly secured by two wooden skewers through the bottom half of the bread, but the poles I'd haphazardly taped to two chairs were not. They rolled, and the Colomba fell. Plan ahead and make sure your Colomba "hanging station" is actually secure before you need it.

THE SECOND COLOMBA ISSUE
The next issue was with the regular, larger-sized Colomba. It rose perfectly, but when I pulled it from the oven, I was holding it upside down while scrambling to make room on my poorly constructed Colomba "hanging station," which already had the two smaller Colombas hanging from it.
I hadn't left adequate space for the large one, and the top dome crushed under its own weight in my hands. There was no room for it to fit on the poles I'd constructed, but I forced it anyway because I had nowhere else to put it.
That's when one of the skewers snapped, and the Colomba started to fall. I caught it, but not before the top tore open. I had to act fast. I set it down on the countertop, where it slowly sank a little more before I decided to flip it onto two wire spider strainers turned upside down. And when I flipped it? I crushed it with my hands again.

How To Avoid This Issue:
(1) Be sure to plan ahead and build and secure your Colomba "hanging station" on a countertop or table so that if a Colomba falls, it doesn't have too far to drop. Also, make sure there is enough room for all of the Colombas to fit in the given space between the poles.
Place two crates equal distances apart on the table. The crates are just tall enough to hang the Colombas from. Tape one pole in place and leave one end of the 2nd pole untaped so that you can adjust if needed to make a wider opening to help fit the largest Colomba. Once the Colomba is in place, move the pole back to position and tape it down to secure it in place.
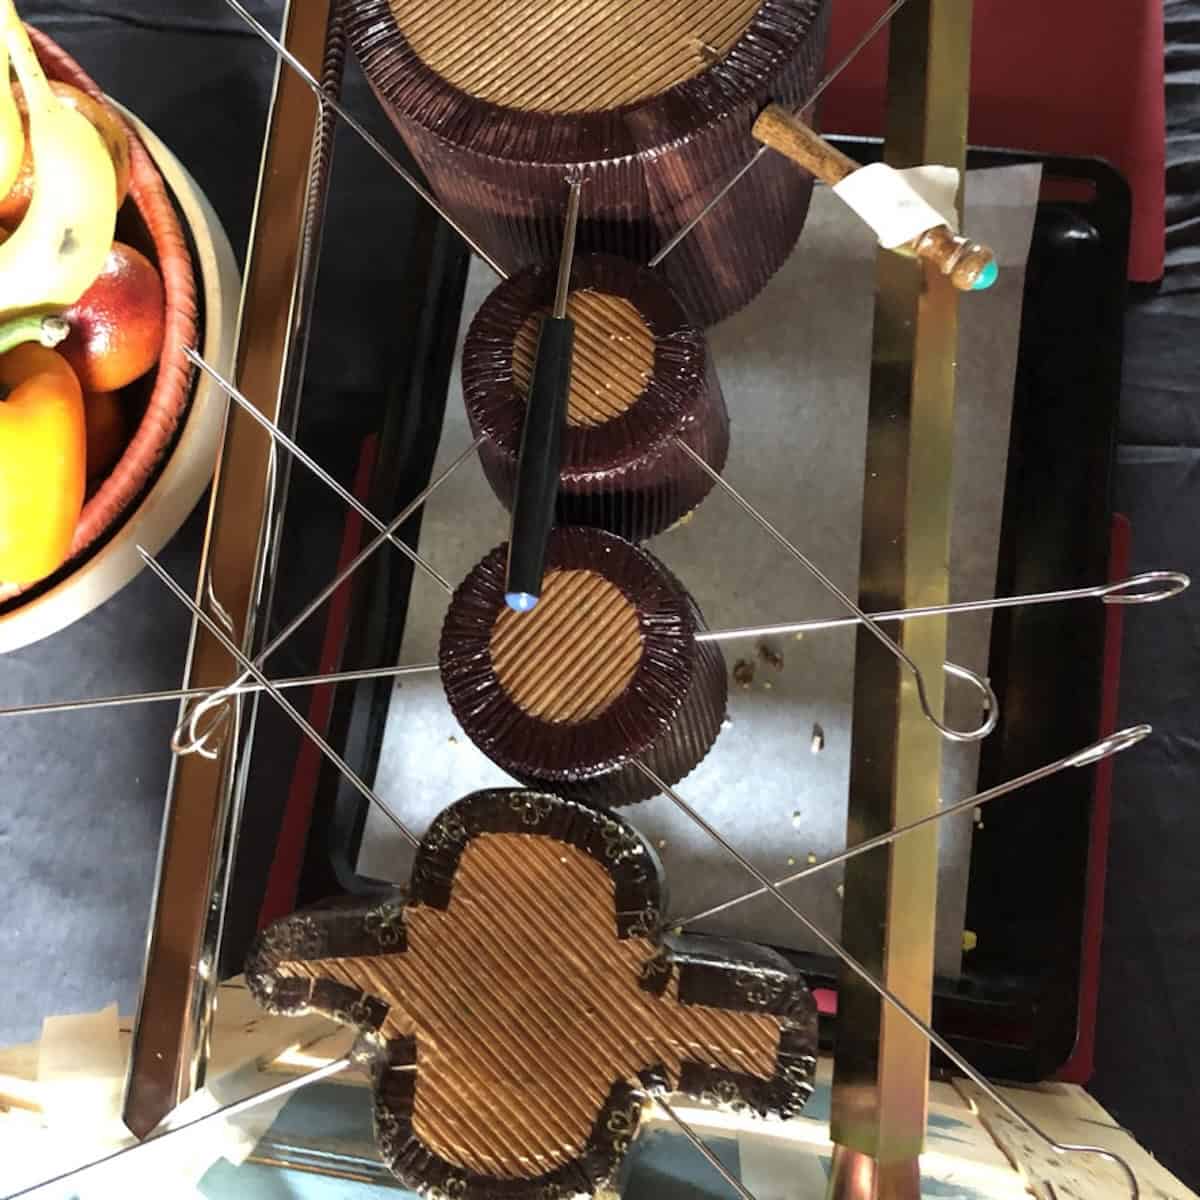
(2) Use metal skewers that are stronger and won't snap (or add a total of 4 wooden skewers to make a double "X" shape and help better support the weight).
(3) Ask someone to help you so you have an extra set of hands to help position the Colomba as you're turning it over and securing it to the "hanging station".
What to do differently next time:
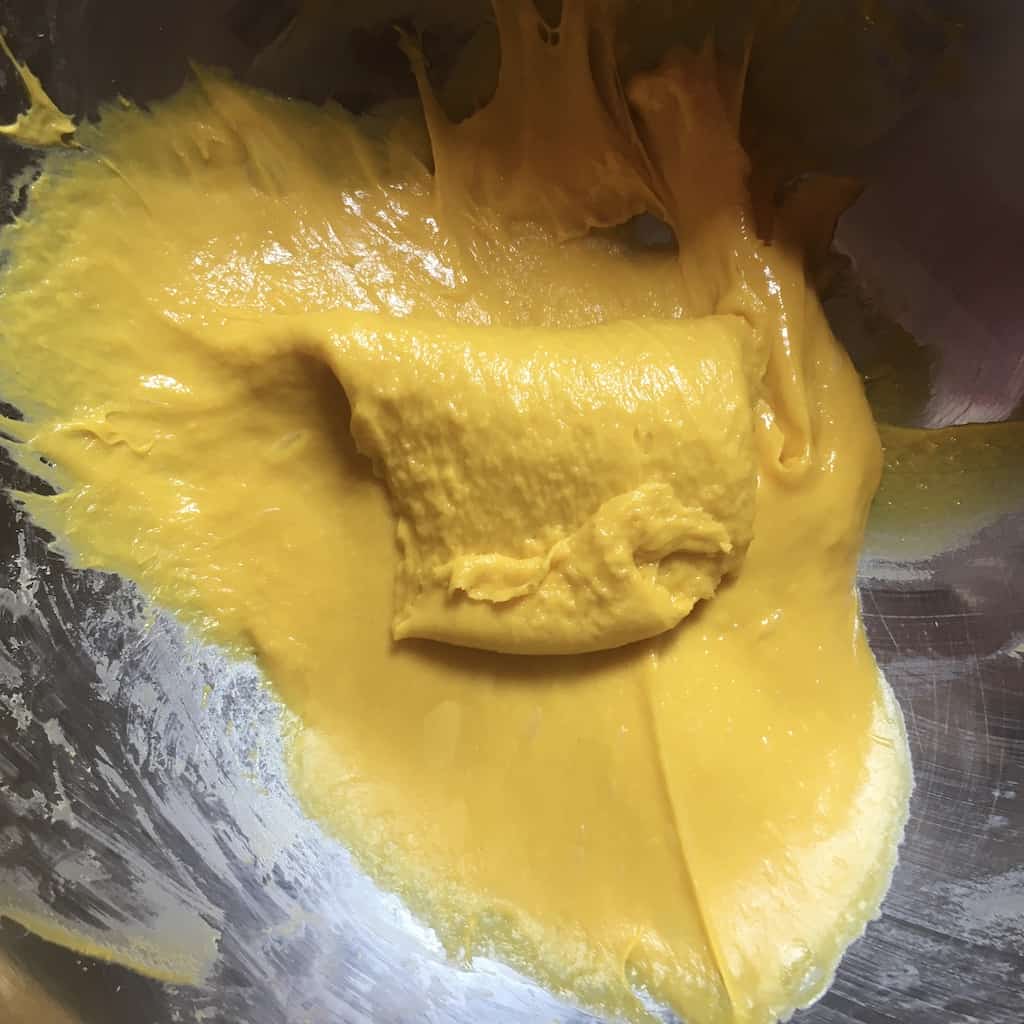
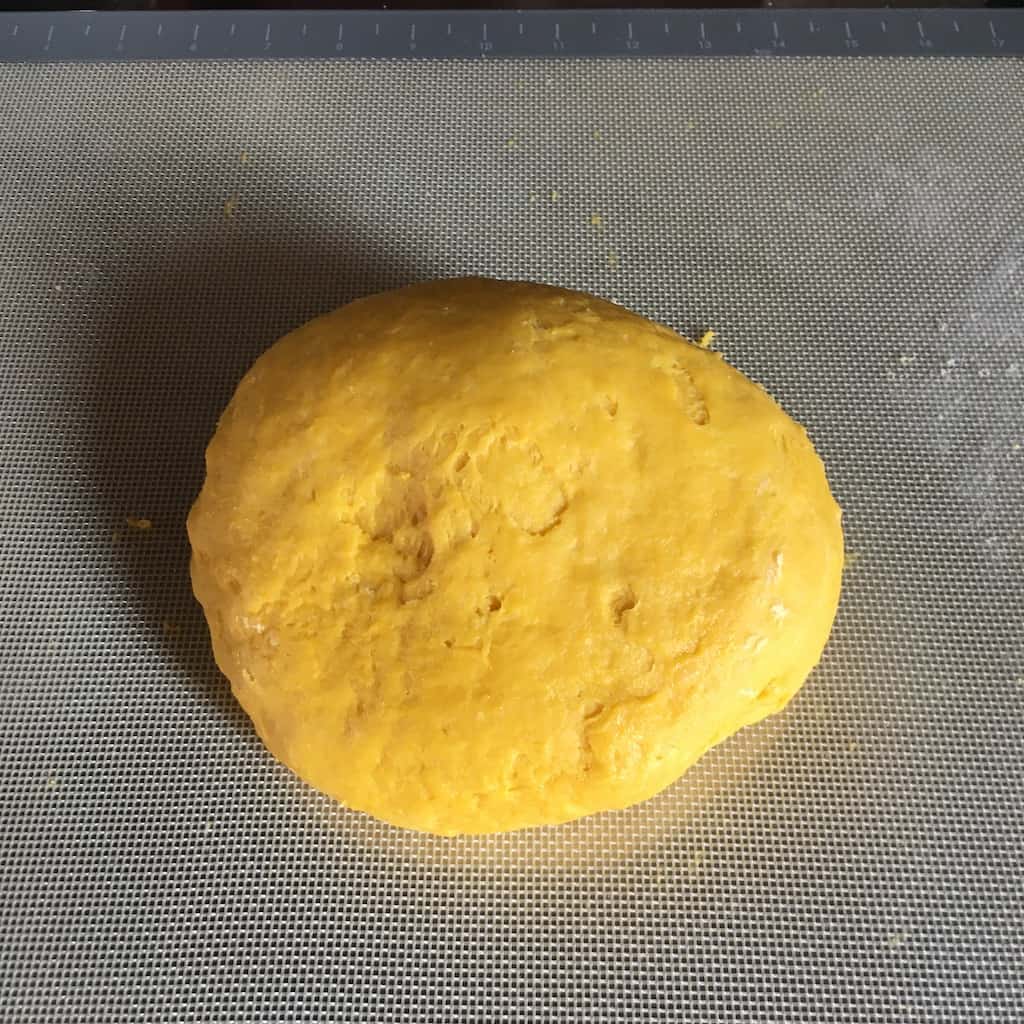
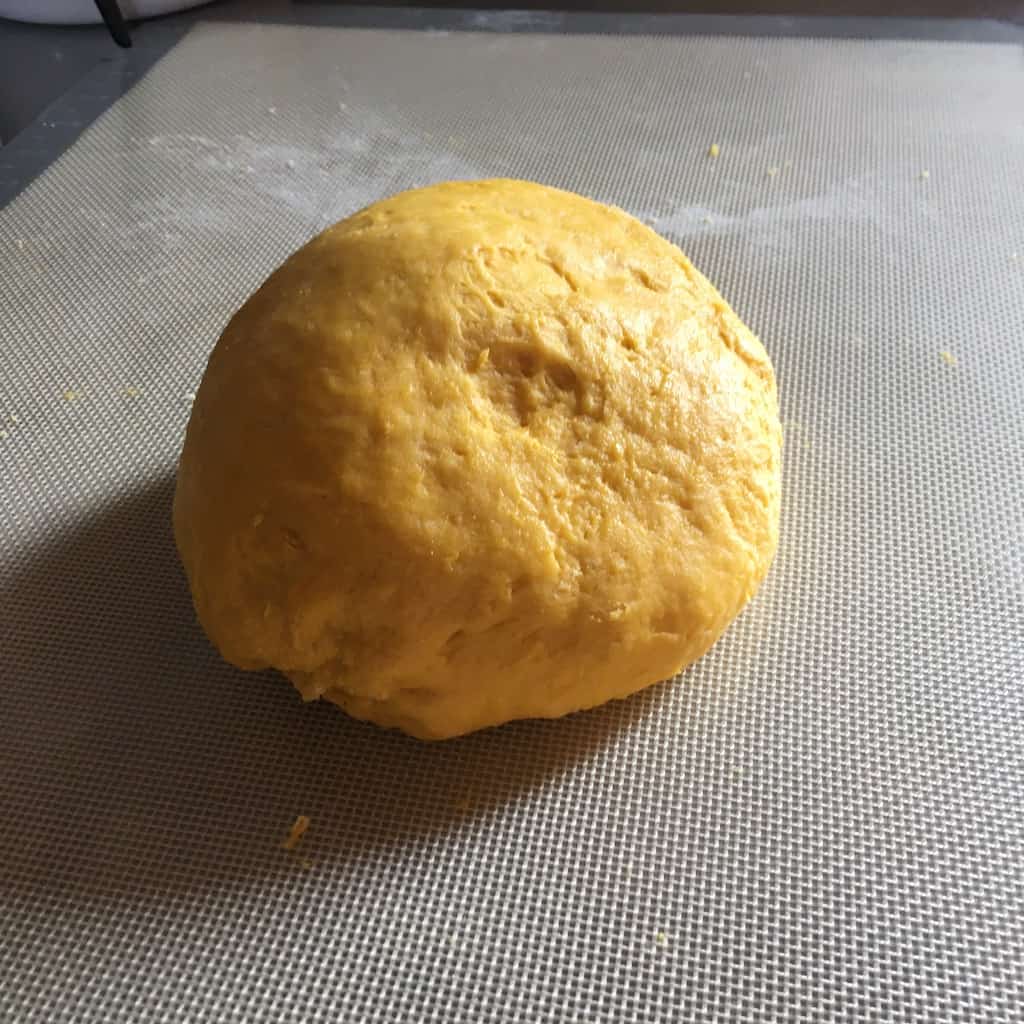
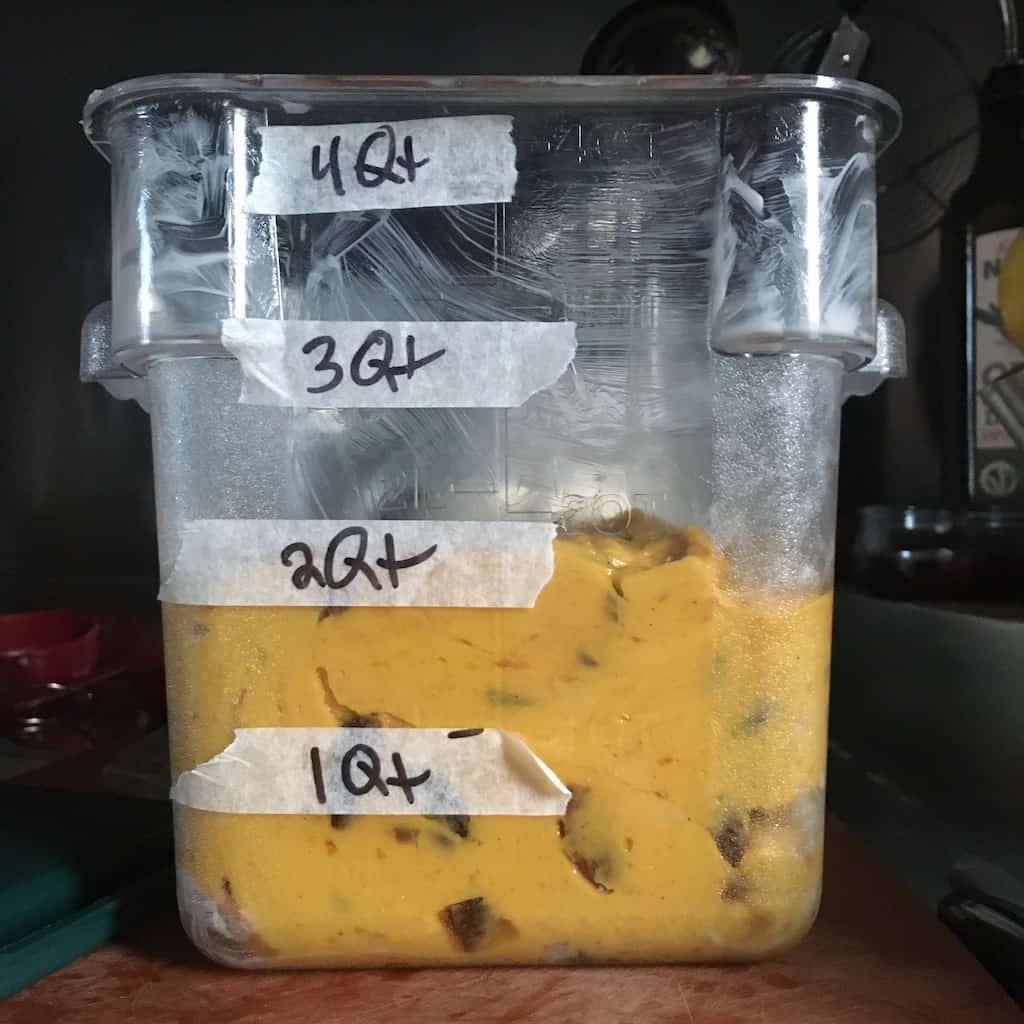
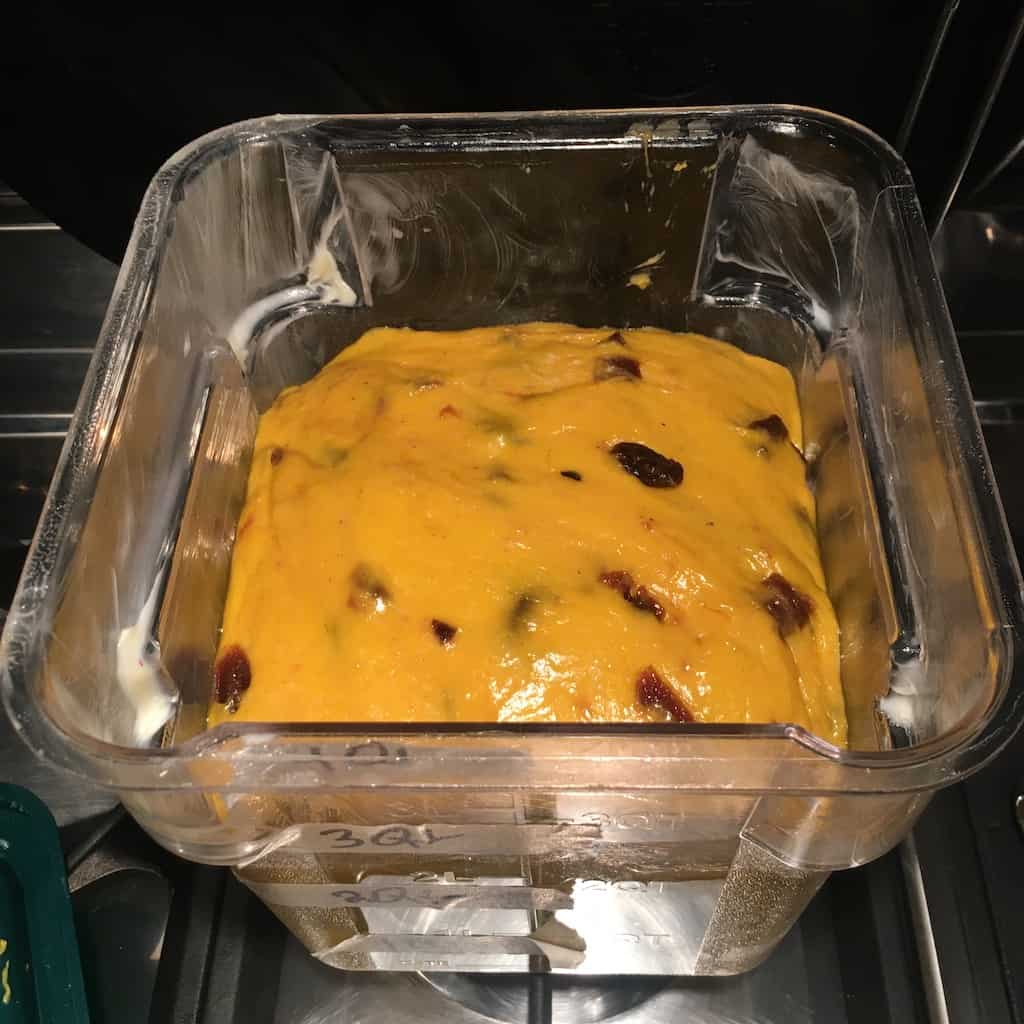
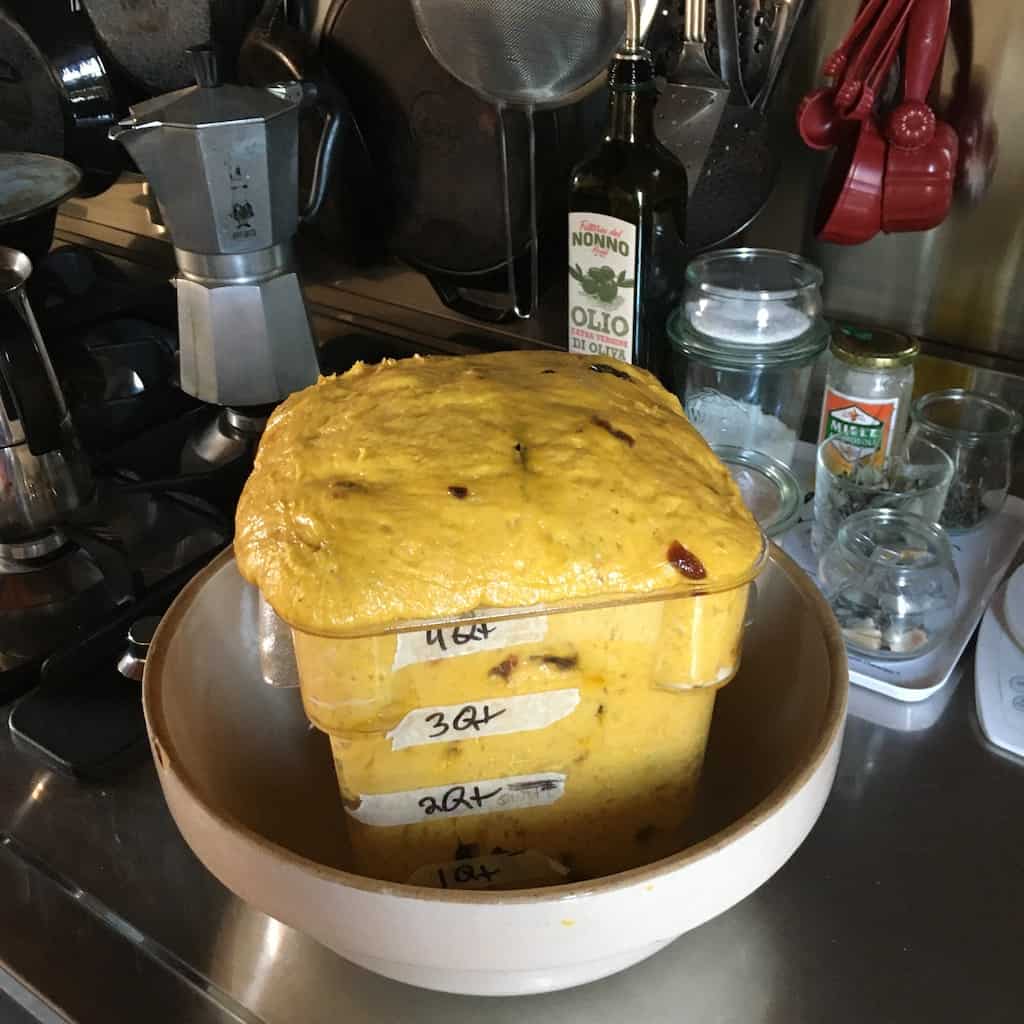
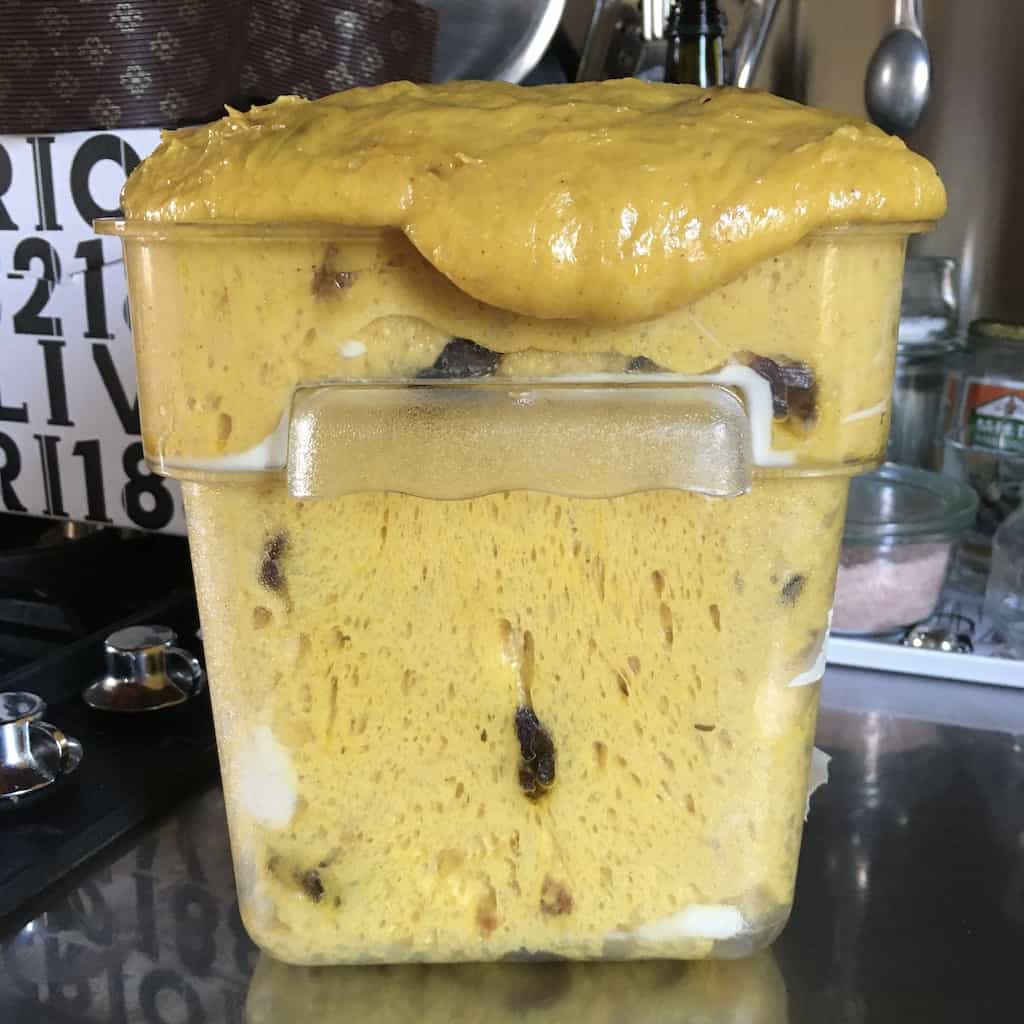
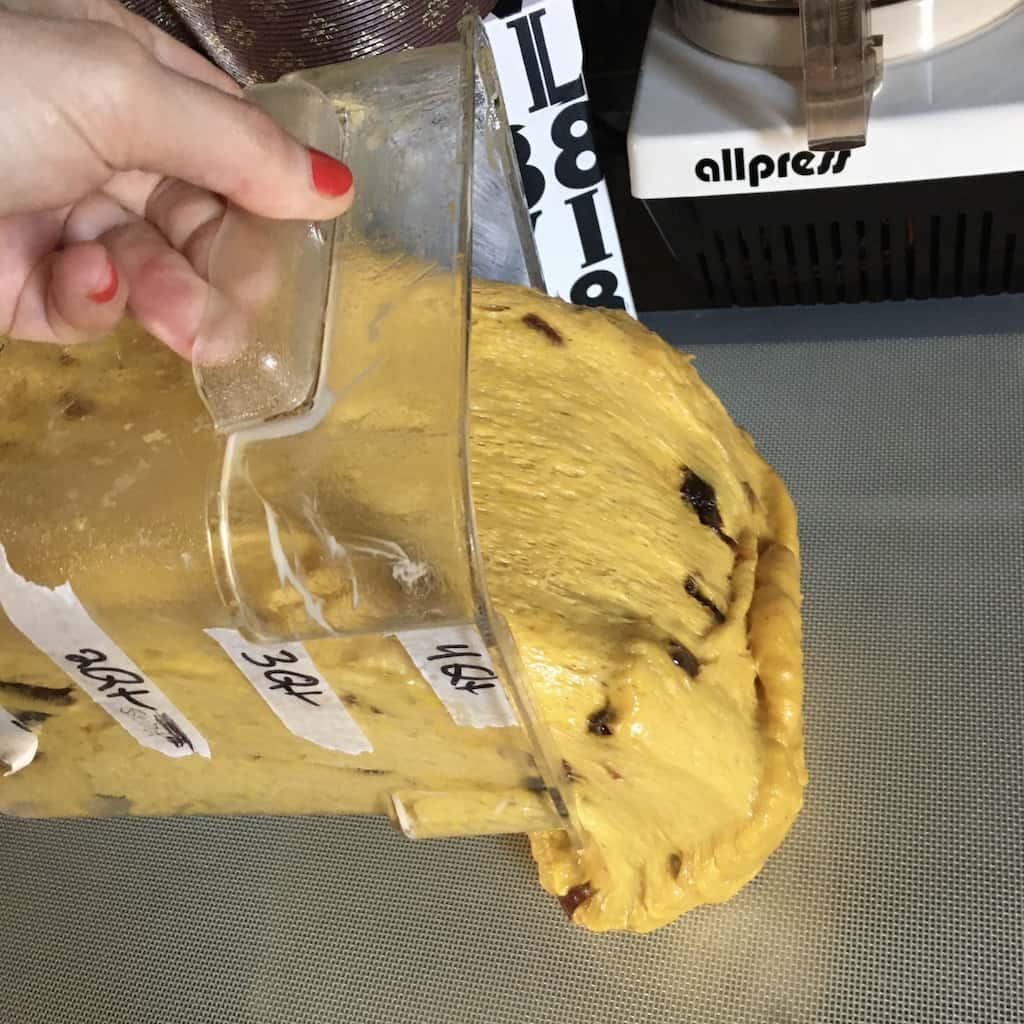
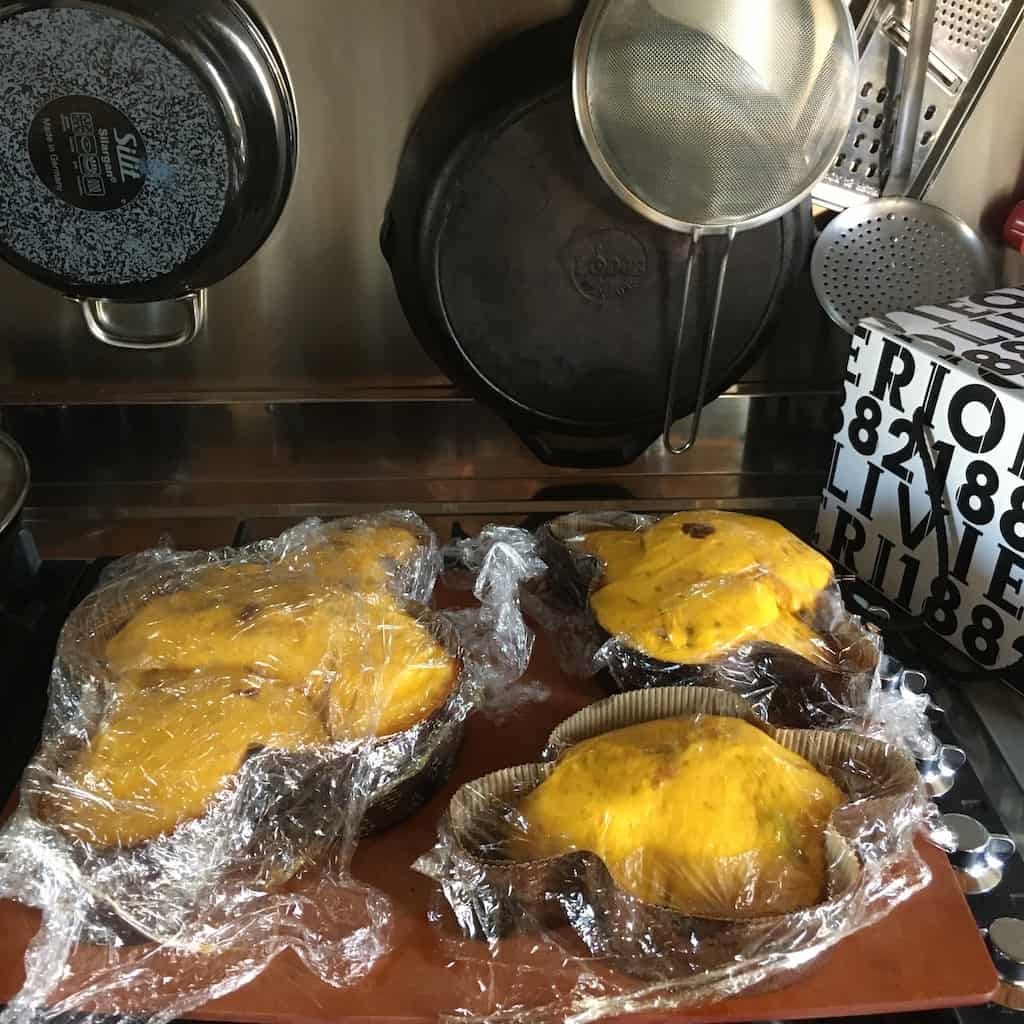
Next time, I'll portion the dough rounds before they spend the night slowly rising. You'll see in the photo above that the rectangular dough, just gently scooped out of its container, is full of little air bubbles. Next time, I'll divide the dough into exact portions right after the last stage of kneading and before the overnight rise.
Each portion will go into its own smaller, buttered container to rise individually. When it's time to bake, I'll gently shape each portion into an oval, tuck it under itself slightly, and place it directly into the paper mold. I think this will help maintain the dough structure and preserve as much air as possible.
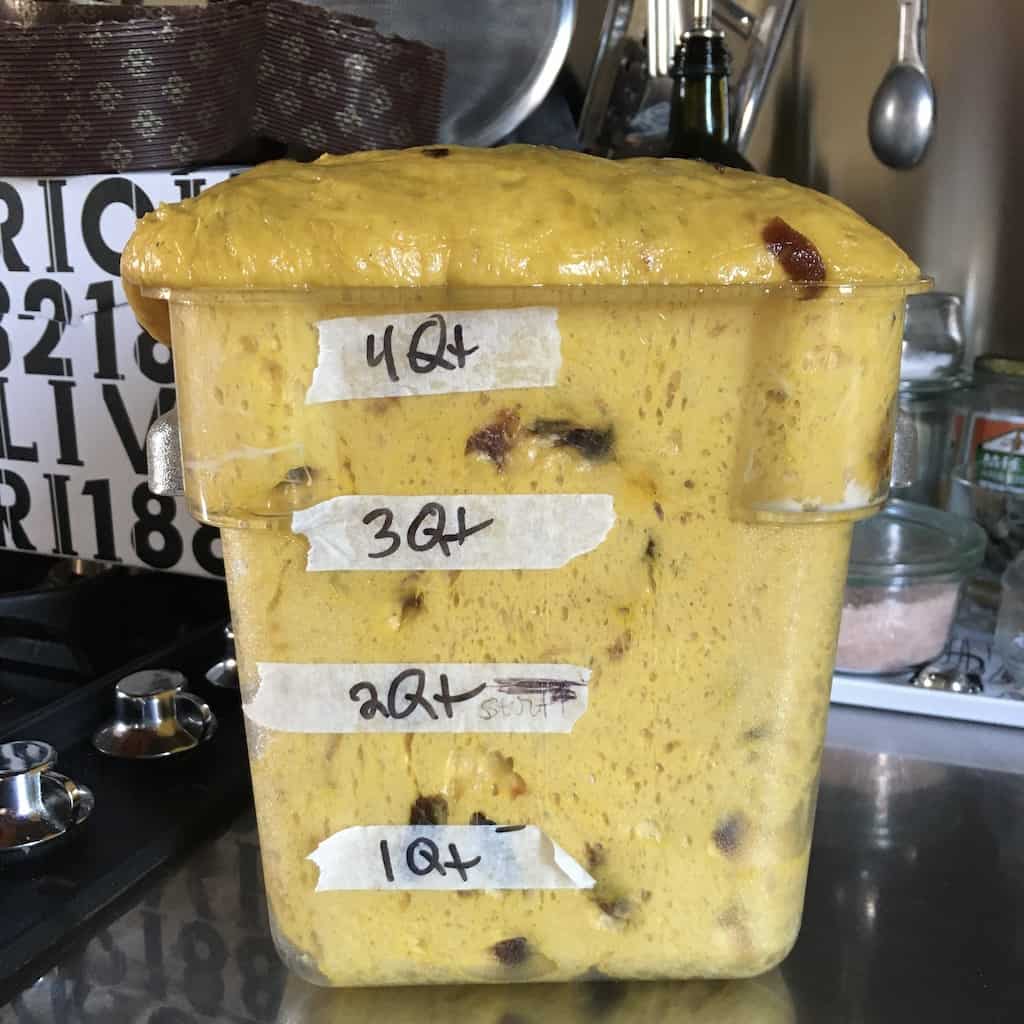
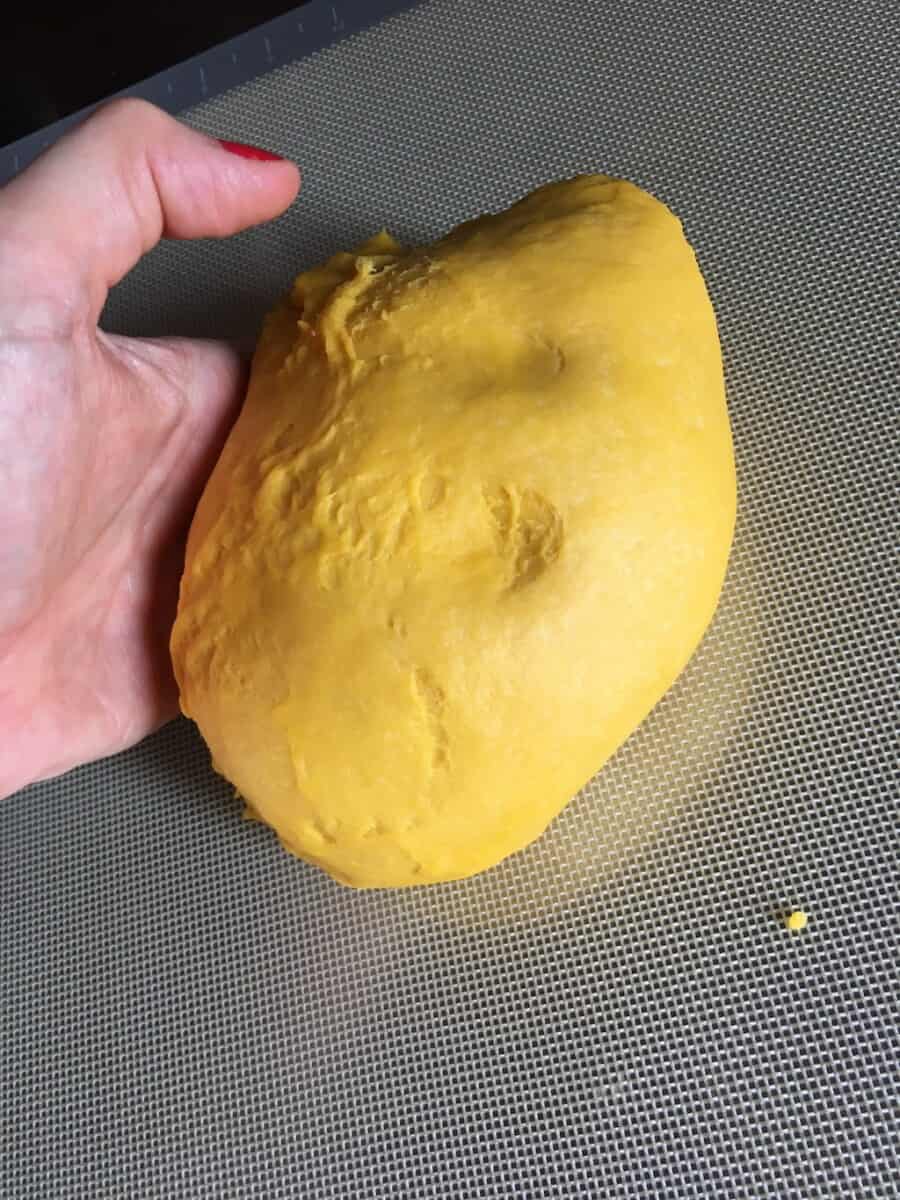
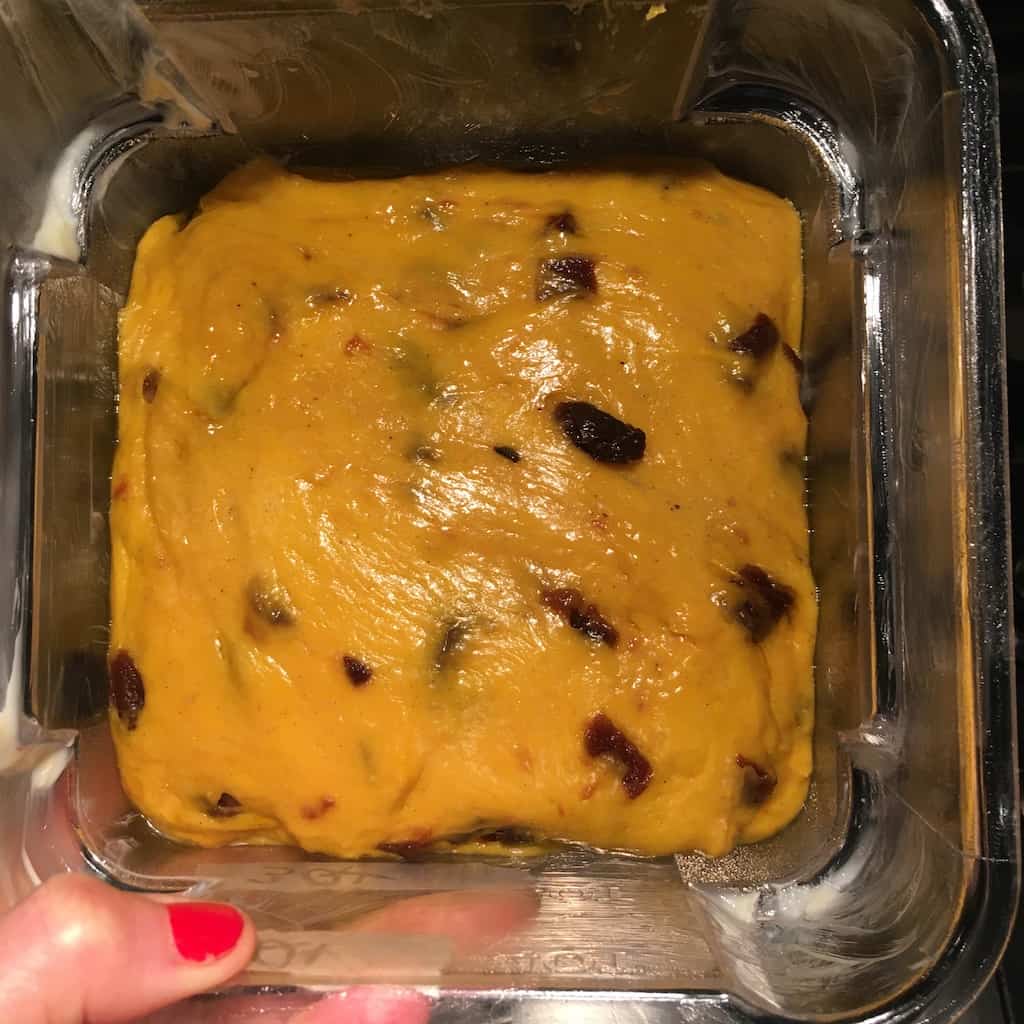
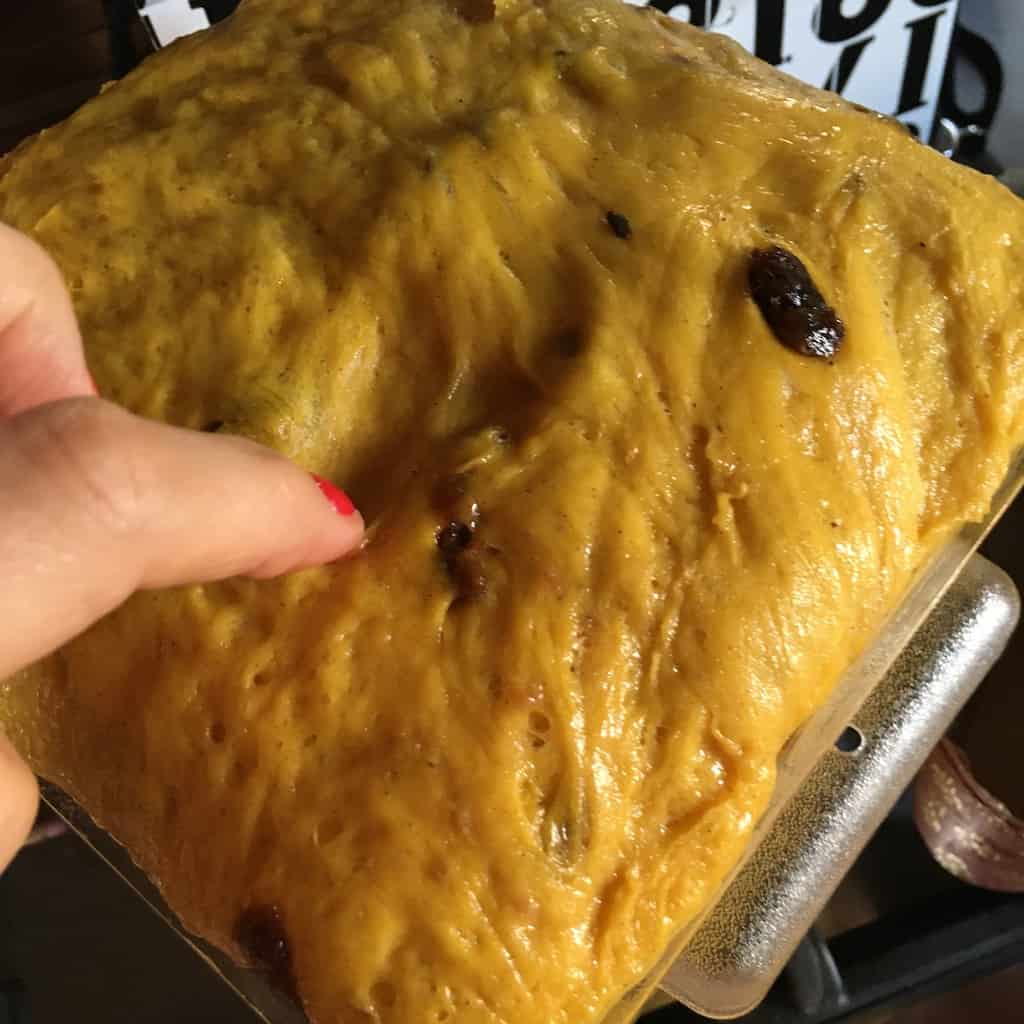
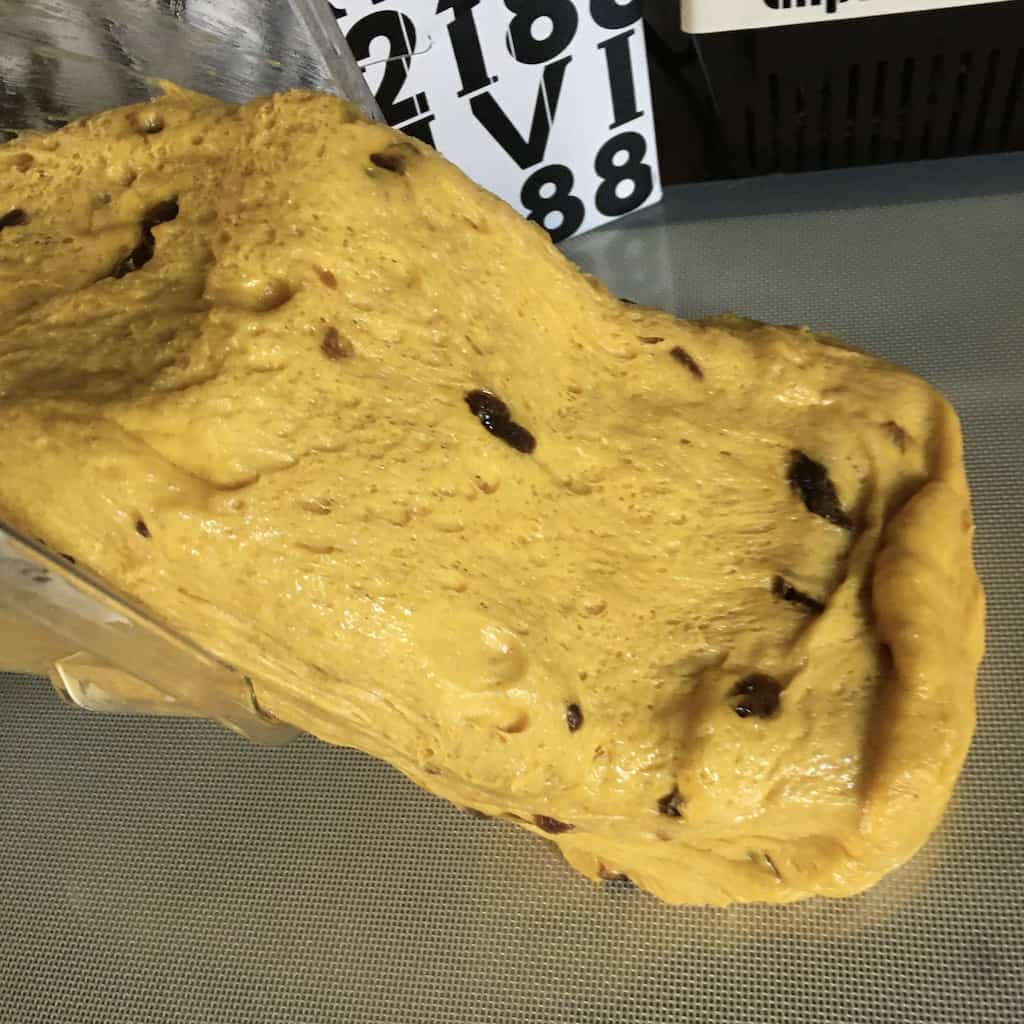
Something I noticed is the sound of this dough. It was so full of tiny air bubbles that it was making noise as soon as I unwrapped it in the morning. It's unlike any dough I've ever worked with. It's amazing. But cutting, portioning, and trying to form the "logs" ended up deflating so many of those air pockets, which was disappointing.
At one point, I wondered if it was even going to rise properly. I think you'll see from the photos of my Colomba vs. Olivieri's Colomba that even though I was a bit too rough on the dough and knocked out a ton of bubbles, it still turned out really well!
Easter Dove Bread FAQ's
Colomba is a rich, sweet, light, and fluffy Italian bread topped with a mixture of nuts, sugar, and egg white before baking. Shaped like an Easter dove, it's enjoyed throughout Italy at Easter. It originated in Milan and may date back to the sixth century, though it was most likely dreamed up by a clever pastry chef in more recent history to sell bread dough leftover from the Christmas Panettone season. Its most traditional flavor is candied orange zest, though modern versions can include candied citrus or other fillings. It's hung upside down just after baking to keep the domed top high and the crumb light and airy.
Yes, you can make Colomba at home. Traditionally, most Italians buy it each year from their favorite pasticceria (pastry shop) because it's a very labor-intensive yeast bread, but it's absolutely doable in a home kitchen.
Yes, but it's a lot of work because the dough is very sticky. The results are worth it, but a stand mixer makes it much easier and is what I suggest.
They're almost identical. The traditional difference is that Colomba had only orange zest or candied orange peel, while Panettone included dried fruits or nuts along with the citrus.
Colomba comes from Italy, where it was developed for the Easter celebration. Bakers most likely needed a way to use up ingredients left over from making the traditional Christmas Panettone, and since the bread is so delicious, the Easter dove shape was born and became a tradition.
Italians enjoy Colomba with coffee in the morning, alongside fresh fruit or whipped cream for dessert, or as an afternoon snack. It's just as enjoyable eaten on its own. The best Italian pastry shops recommend slicing the Colomba and warming it slightly in the oven at a low temperature to release the natural fragrance and flavors of the bread.
Let's get started!
Print📖 Recipe
Artisanal Italian Easter Bread Recipe (Colomba di Pasqua)
- Total Time: 25 hours 45 minutes
- Yield: Two 750g Colombas or various smaller Colomba
Description
This homemade artisanal Italian Easter Dove bread recipe needs a little extra time and effort to make, but it's totally worth it! This Italian dessert bread is based on our favorite local pasticceria, Olivier 1882's Colomba di Pasqua (from here in NE Italy). A sweet Italian Easter bread that we look forward to and celebrate with every year!
Ingredients
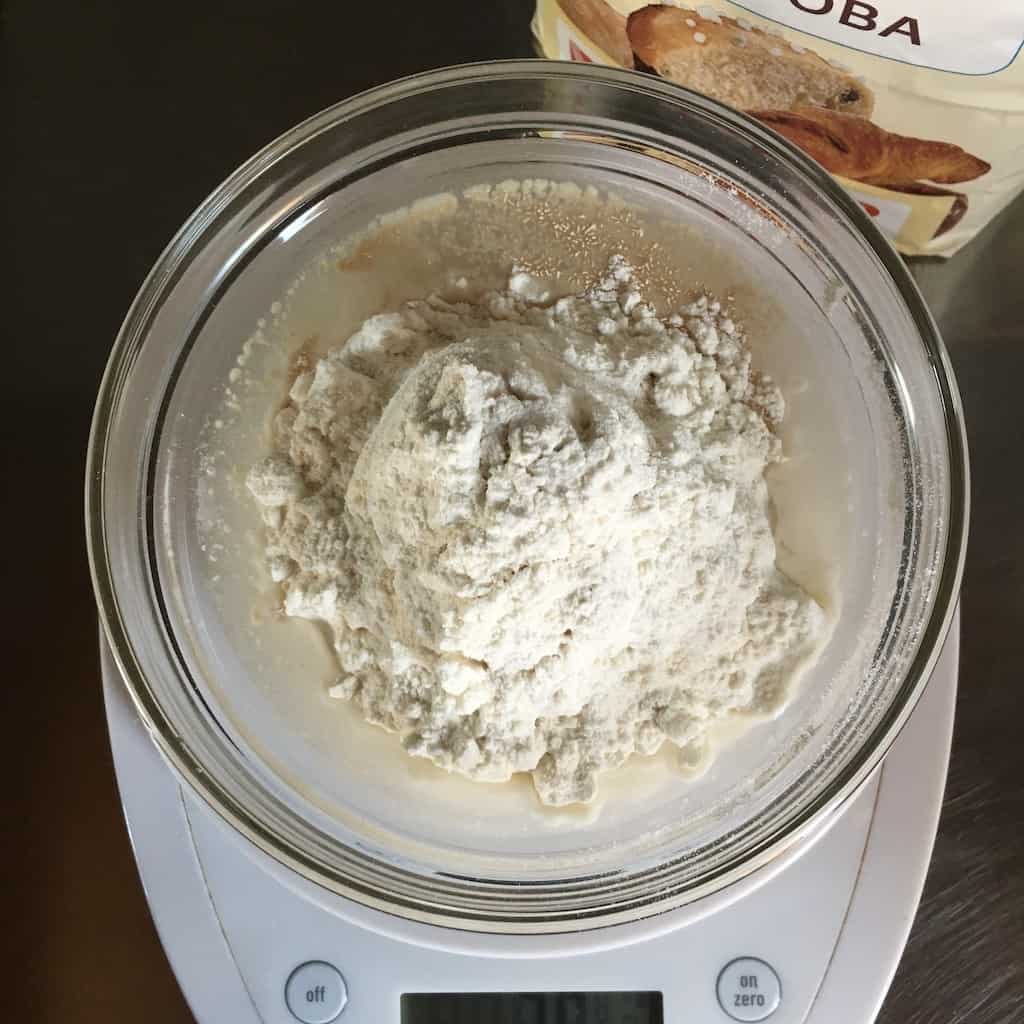
STEP1: (Day 1) biga starter ingredients [MIX & REST 45]
- 3 tablespoons + 1 teaspoon cool water (50g)
- ¼ teaspoon honey (or cane sugar) (2g)
- 1 ½ teaspoons instant yeast (6g)
- 7 tablespoons bread flour (farina Manitoba type O) (75g)
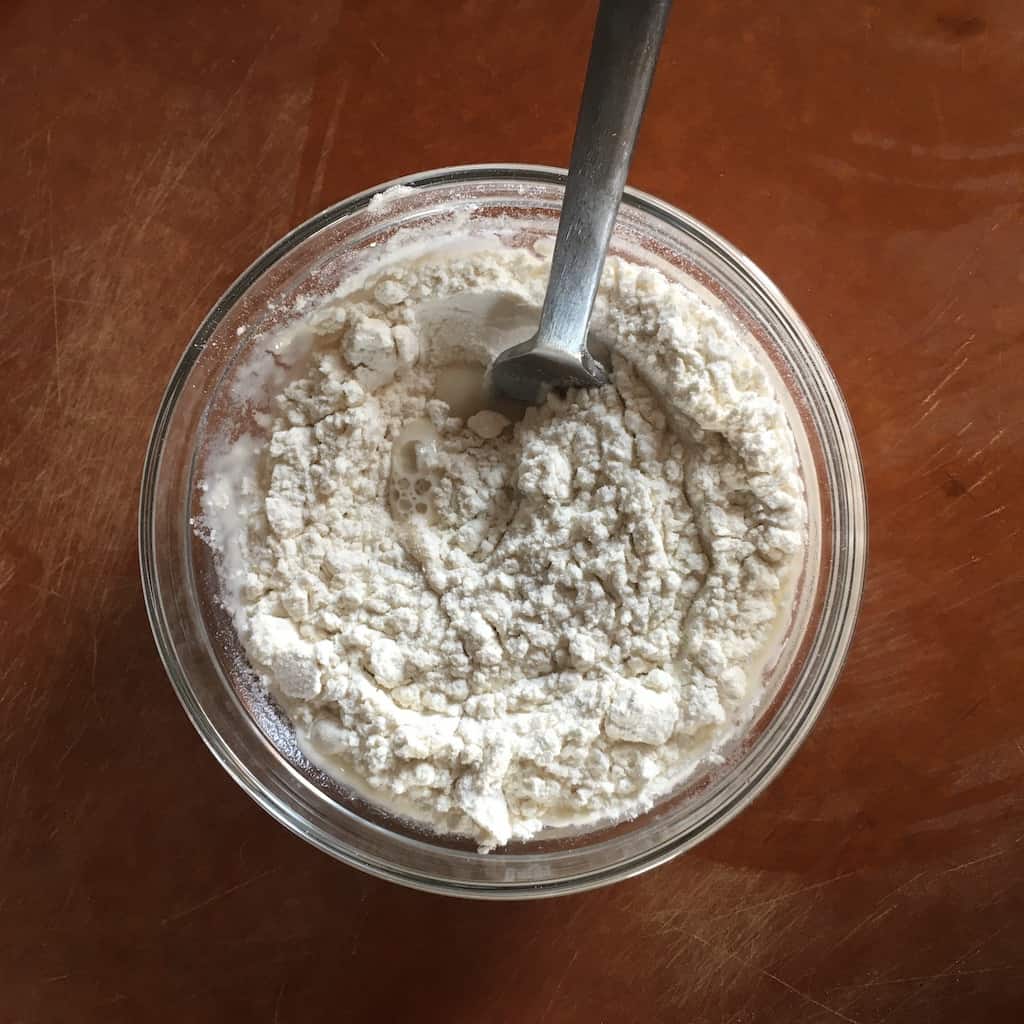
STEP 2: (Day 1) first kneading [MIX & REST 1 HOUR]
- ⅔ cup bread flour (farina Manitoba type O) (96g)
- 4 large egg yolks, room temperature
- 3 tablespoons cool water (45g)
- 2 teaspoons cane sugar (9g)
STEP 3: (Day 1) second kneading [MIX & REST 3.5 HOURS]
- 6 tablespoons butter, unsalted at room temperature (85g)
- 5 tablespoons cane sugar (75g)
- 2 large egg yolks, room temperature
- 2 tablespoons warm milk (30g)
- 1 tablespoon Acacia honey (or other quality honey) (20g)
- 2 ¼ cups bread flour (325g)
STEP 4: (Day 1) third kneading for final dough [MIX & REST OVERNIGHT FOR 8-12 HOURS]
- 1 ½ teaspoons instant yeast (6g)
- 2 cups bread flour (farina Manitoba type O) (260g)
- 1 tablespoon low-fat milk powder (9g)
- ¾ tablespoon diastatic malt powder (5g)
- 1 cup butter, cubed into small pieces, room temperature) (226g)
- 6 to 10 tablespoons cane sugar (75-125g)*for sweeter bread, add the full amount of sugar
- 5 large egg yolks, room temperature
- ½ cup cool water (100g)
- 3 tablespoons warm milk (35g)
- 3 teaspoons pure vanilla extract (12g)
- 2 teaspoons pure vanilla bean powder (or one Tahitian vanilla bean split and seeded) (4g)
- 1 teaspoon homemade Tarocco orange sugar (or 1 teaspoon of regular sugar + ¼ teaspoon orange zest) (4g)
- 1 ¾ teaspoon Himalayan salt, or fine sea salt (*do not use iodized table salt) (10g)
Candied Apricots Ingredients
- 8 ½ ounces dried apricots (free of preservatives if possible) (242g)
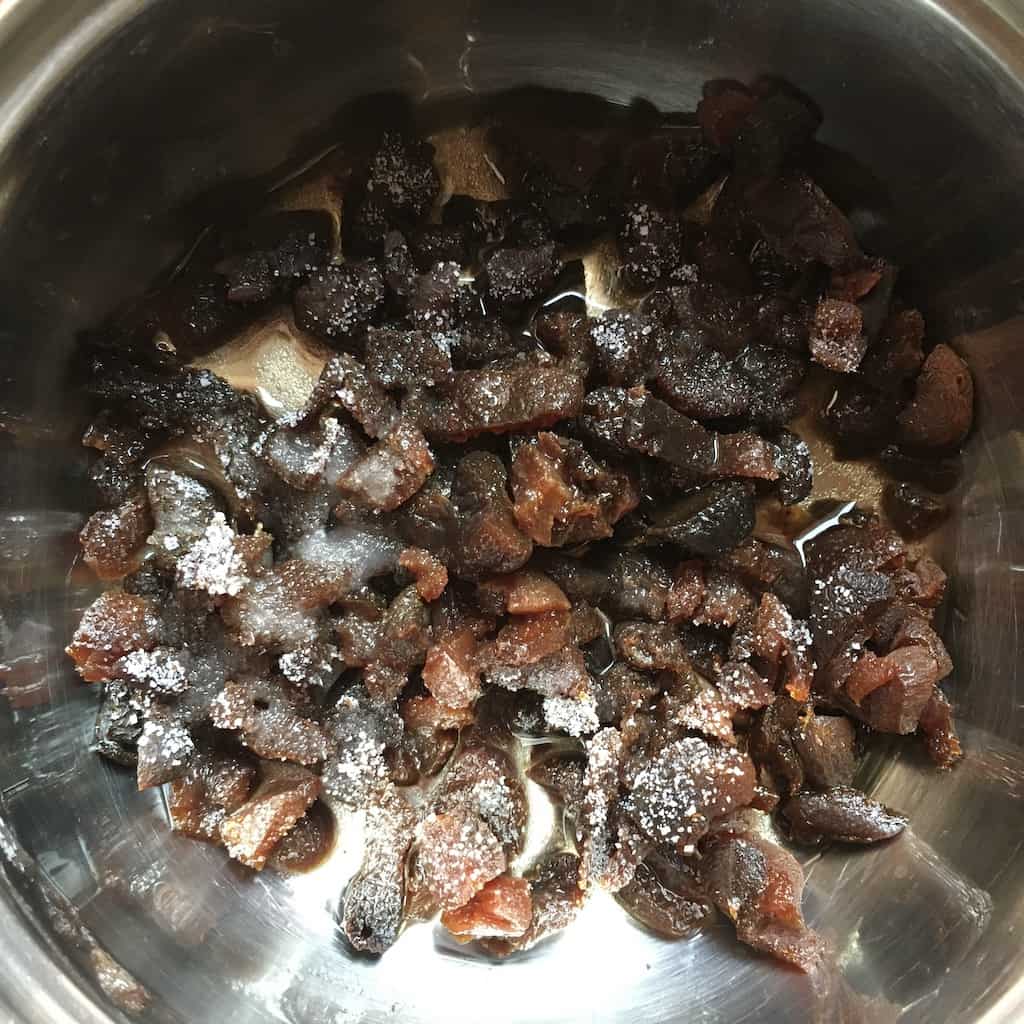
- ¼ cup sugar (55g)
- 3 ounces water (85g)
STEP 5: (Day 2) portioning + adding the dough to the paper molds + last rise [REST: 3 to 3.5 HOURS]
- 1 large Silpat or non-stick baking mat (*see recipe notes if you don't own a non-stick baking mat)
- 2 (750g size C3) paper dove-shaped Colomba molds (or one 750g mold + two 300g molds) (or substitute paper molds with 2 buttered and floured nine-inch-diameter springform pans)
STEP 6: (Day 2) glazing, decorating, baking + cooling
Ingredients for the glaze:
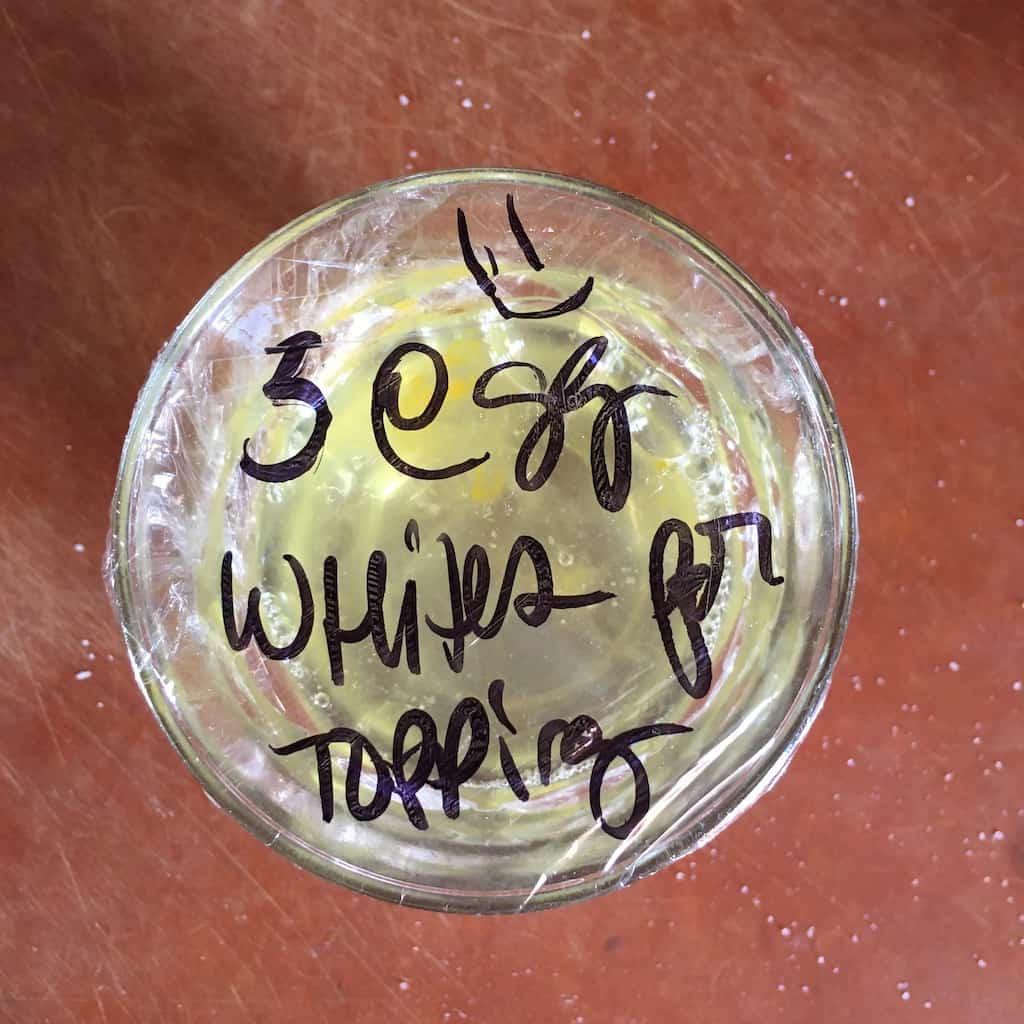
- 3 large egg whites (if you want a slightly thinner glaze, experiment using 4 egg whites instead of 3 OR cutting the cornstarch in half)
- 2 tablespoons cornstarch (15g)
- 1 cup cane sugar (200g)
- 1 cup blanched raw almonds (skins removed) (160g)
- ½ ounce raw pine nuts (20g)
- 1 ounce raw, peeled hazelnuts (35g)
- pinch of salt
Ingredients for decorating the tops of the glazed Colomba
- a handful of raw blanched whole almonds (for decorating the tops of each Colomba)
- Paneangeli "granella di zucchero" (Italian granular sugar "logs"), or raw turbinado sugar for sprinkling
- 12-14" long wooden or metal skewers (for piercing the Colomba to hang upside down to cool)
Instructions
STEP 1: (Day 1) Making the biga starter [MIX & REST 45]
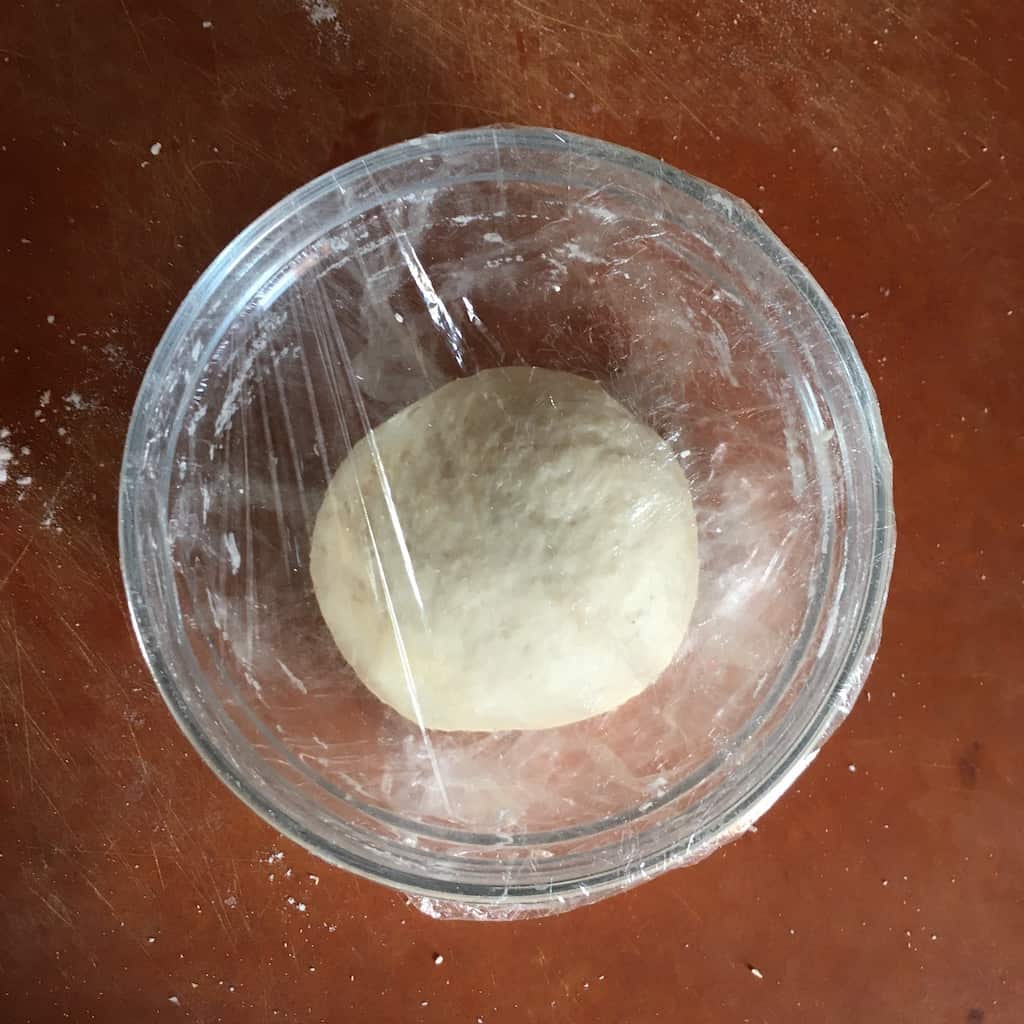
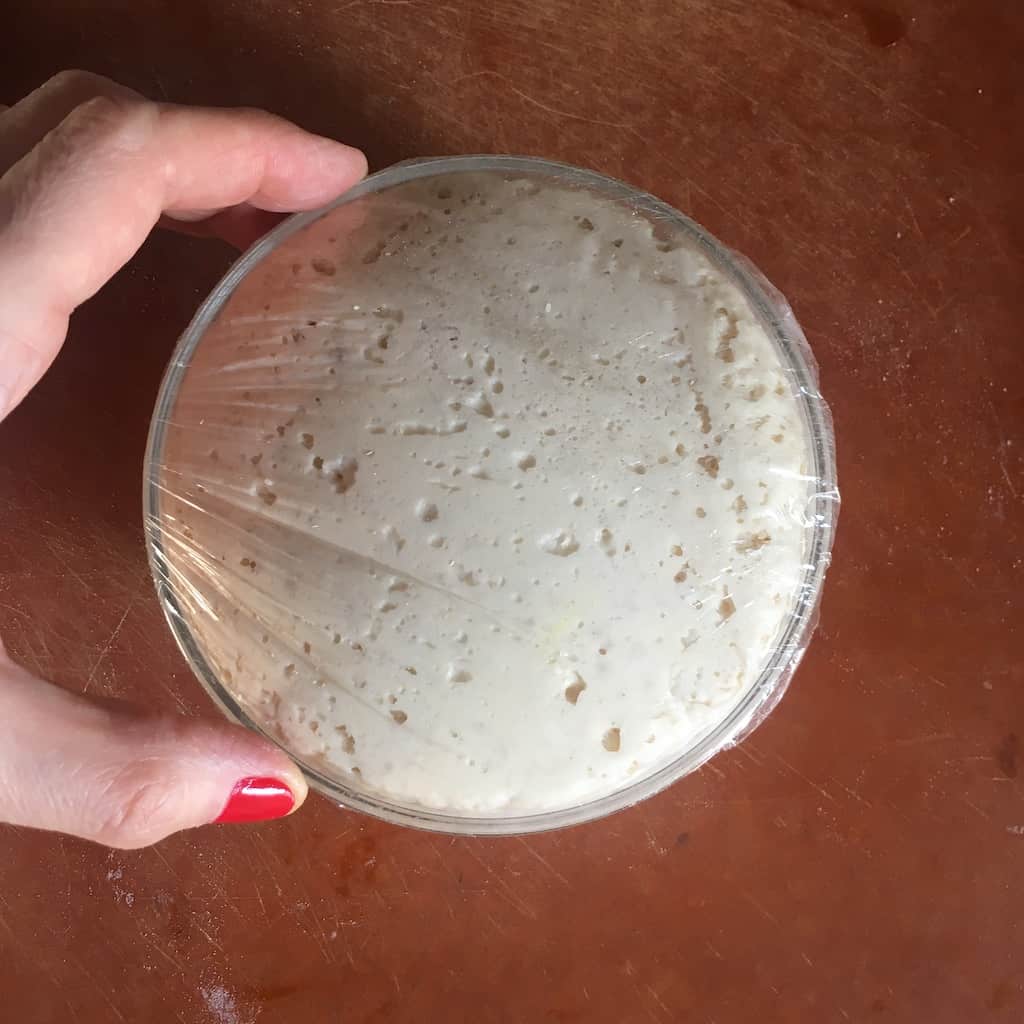
- Combine all ingredients in a small bowl, stir to combine, and shape into a ball (the dough will be very firm). Stir in yeast. Cover bowl with plastic wrap. Let the starter rise for about 45 minutes, or until it puffs up. Initially, the biga starter will be very firm but will soften and become lighter and almost spongy after the designated rising time. *if using active dry yeast instead of instant yeast, add the yeast to the water with the honey, stir to dissolve, and let stand about 10 minutes. Using a rubber spatula, mix in flour and proceed with Step 2.
STEP 2: (Day 1) The first kneading [MIX & REST 1 HOUR]
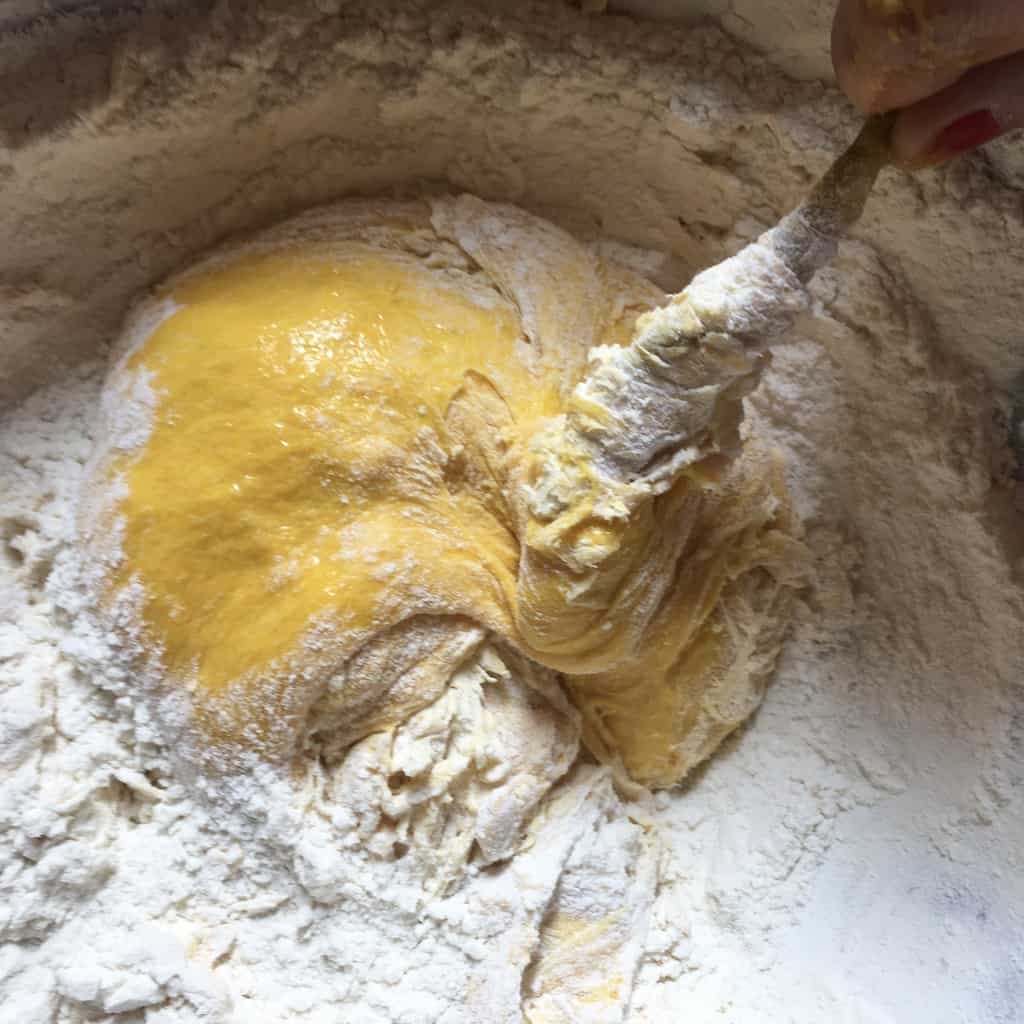
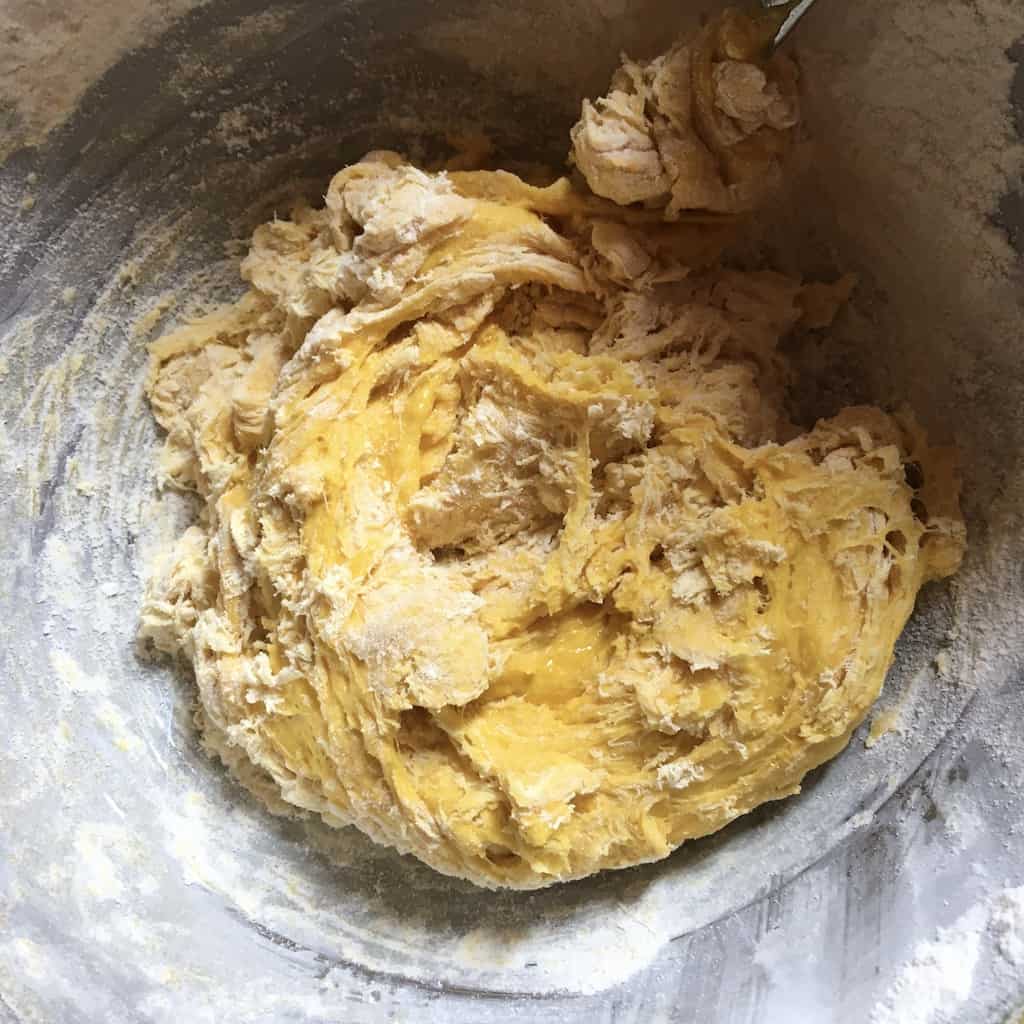
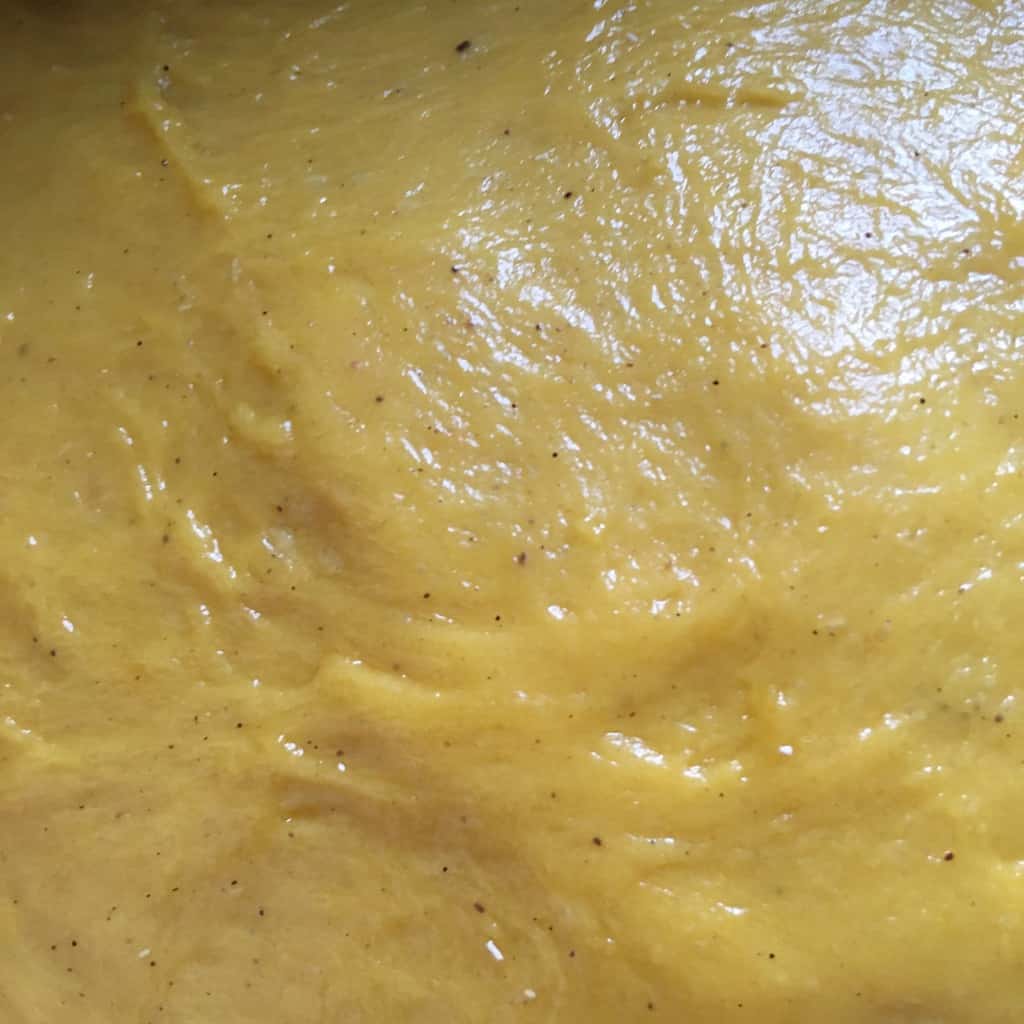
- In a larger medium-sized bowl, add all Step 2-ingredients and then add the biga starter which has risen for 45 minutes. Beat until blended, with a strong coil whisk scraping down the sides of the bowl with a dough scraper often to incorporate all of the ingredients together. (At a certain point, it will become difficult to use the coil whisk because the dough becomes very strong. This is when I switch from using the coil whisk to using a dough scraper to slap, string up and pull the dough in order to beat and knead it for about 10 min by hand mimicking the action of an electric mixer. The dough will become soft and stringy. Cover the bowl with plastic and let rise at room temperature until puffy and bubbly on top, about 1 hour. The dough will look thick, a little shiny, and slightly puffed and when you press a finger lightly on top, it will leave a slight indention. At this point, you'll know it's ready for step three. *if using an electric mixture, mix all ingredients on medium-low for about 5 minutes. Scrape dough off hook, shape it into a ball, cover, and let rise.
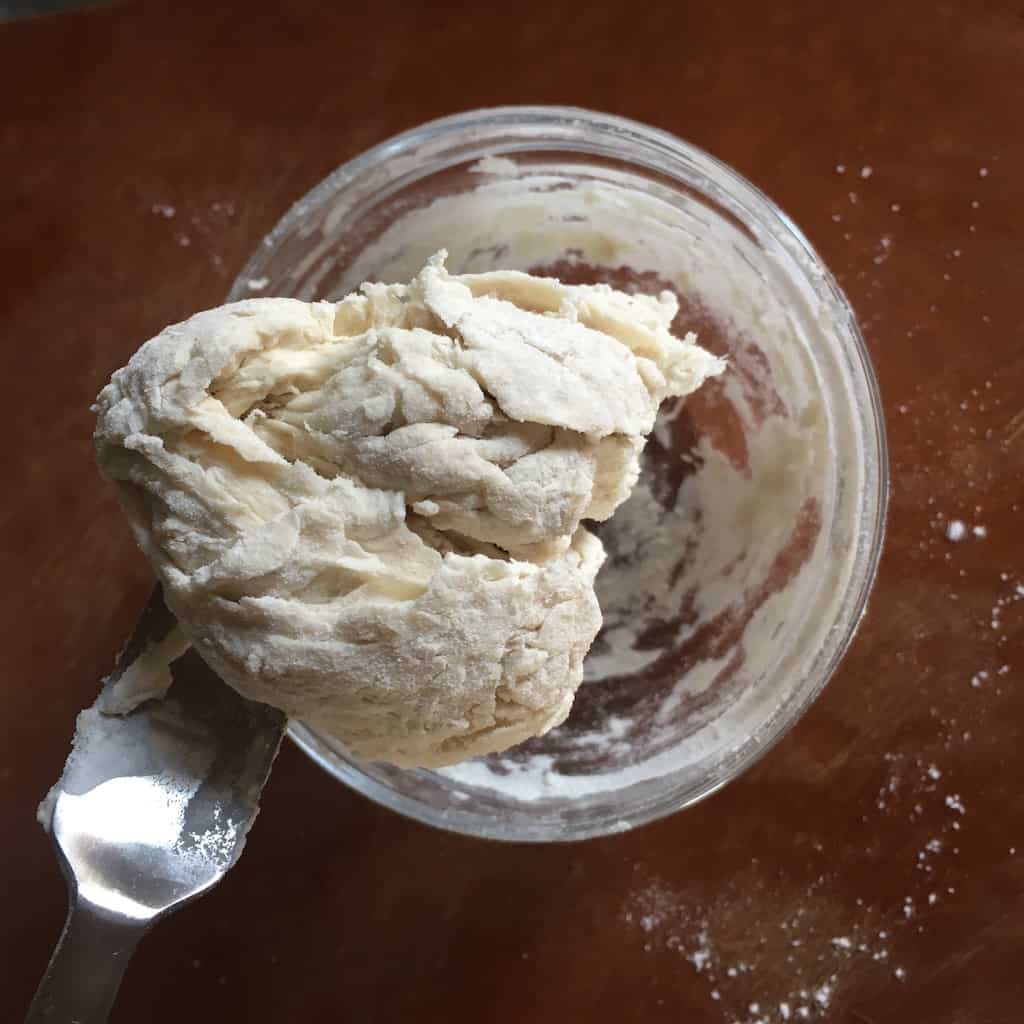
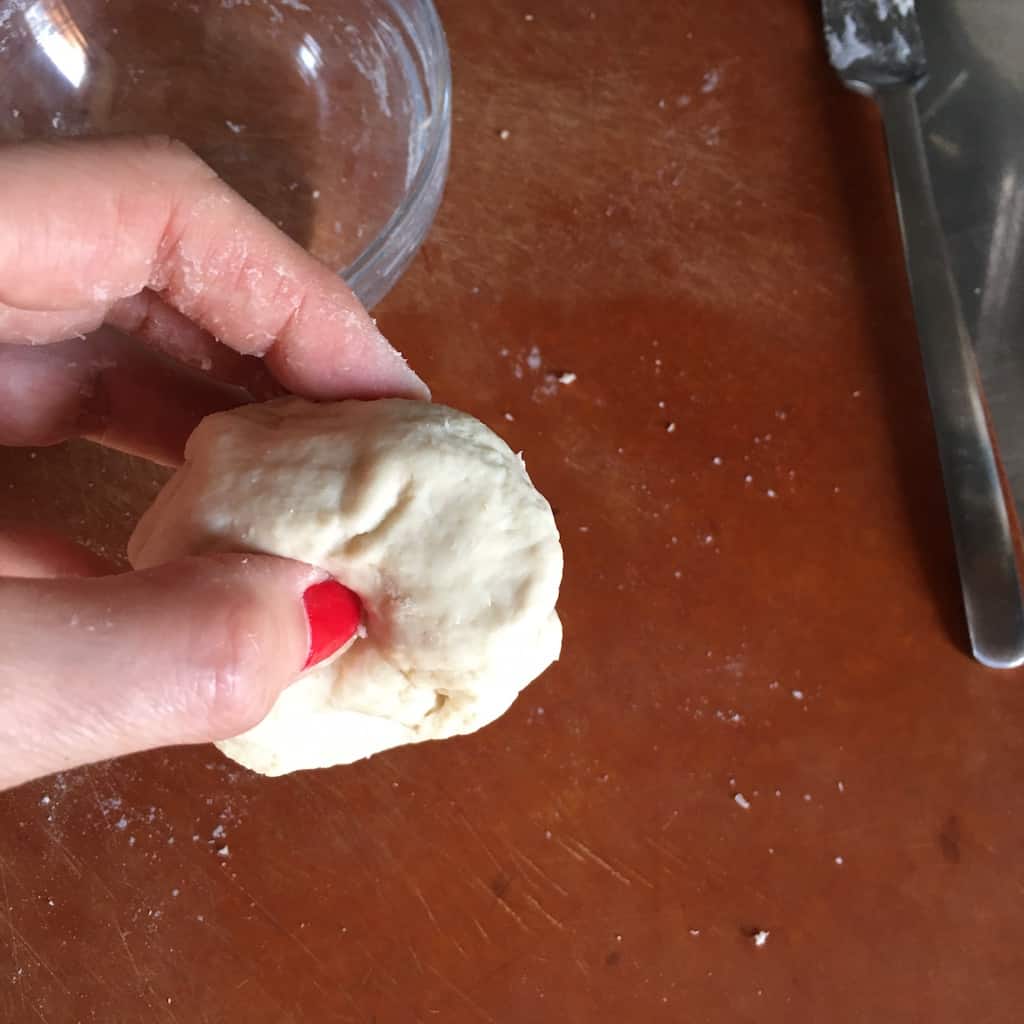
STEP 3: (Day 1) The second kneading [MIX & REST 3.5 HOURS]
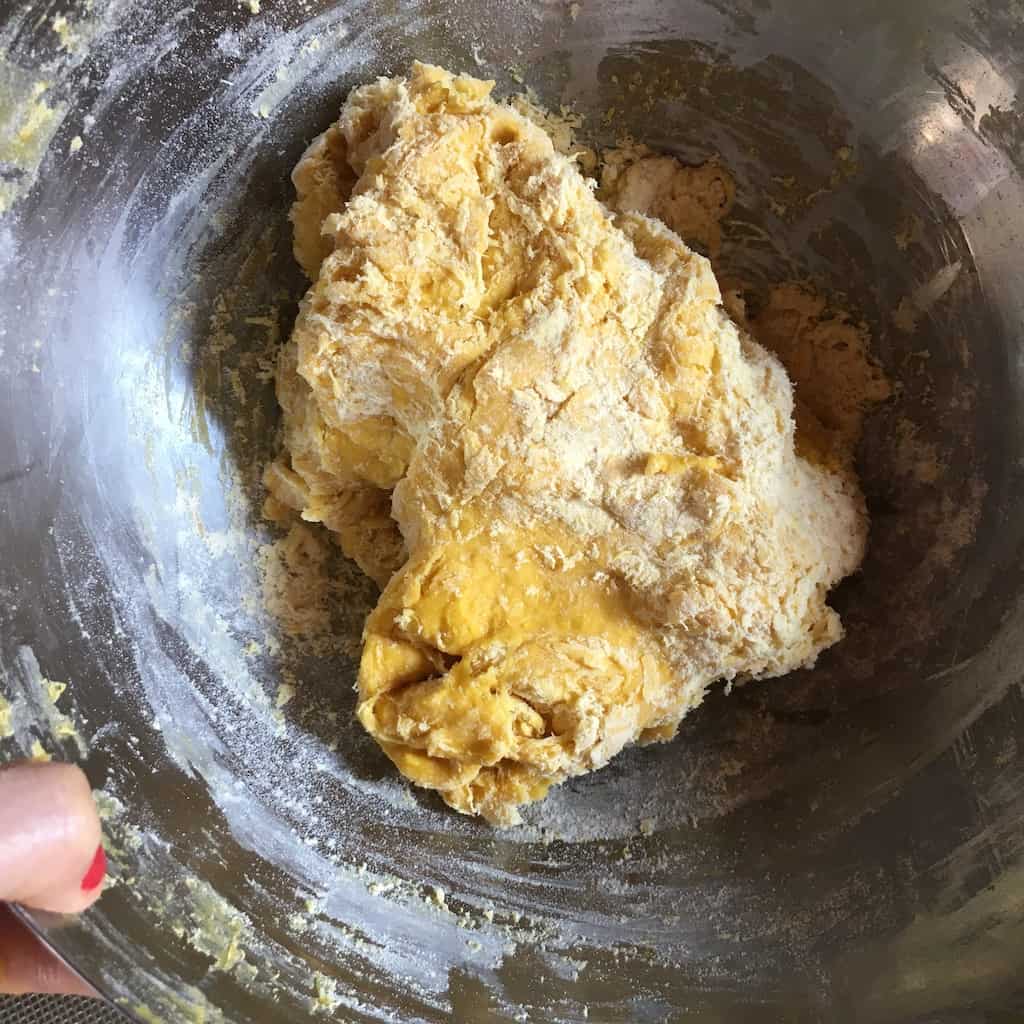
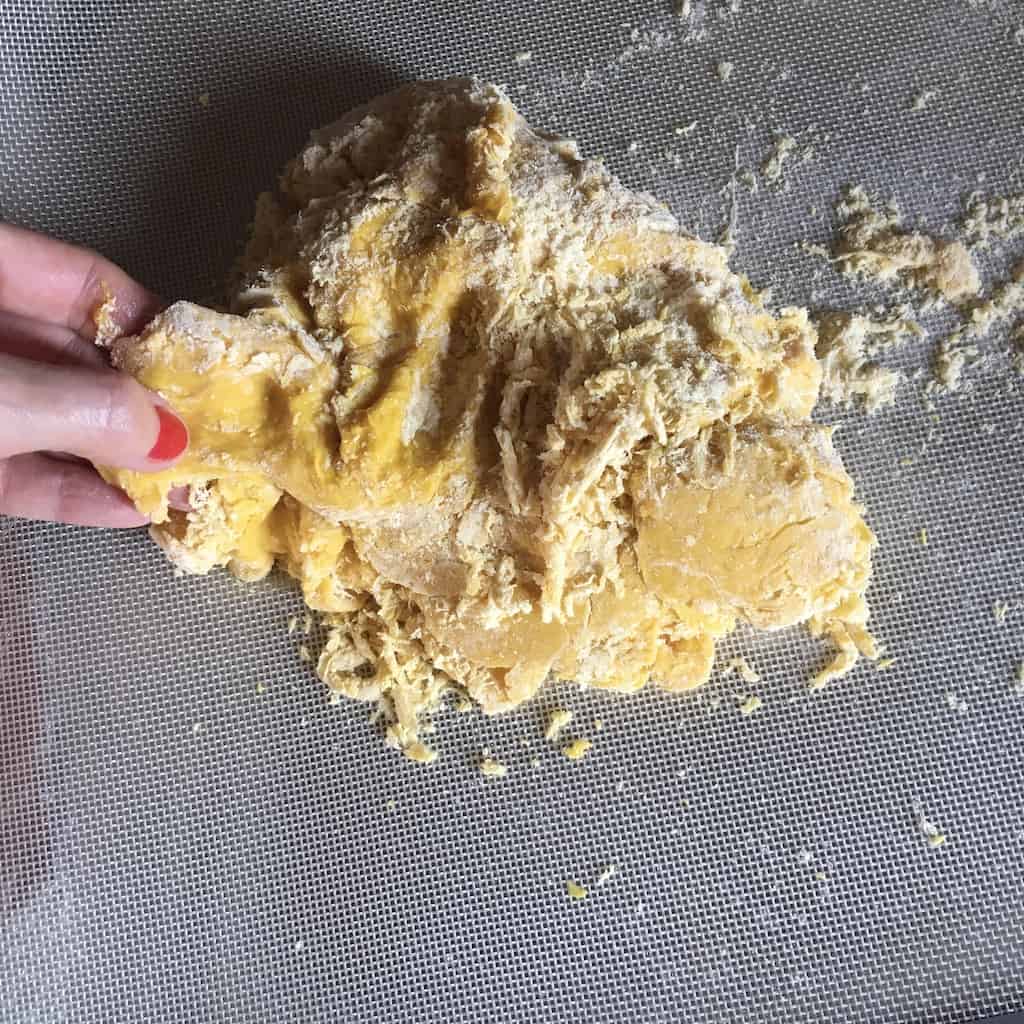
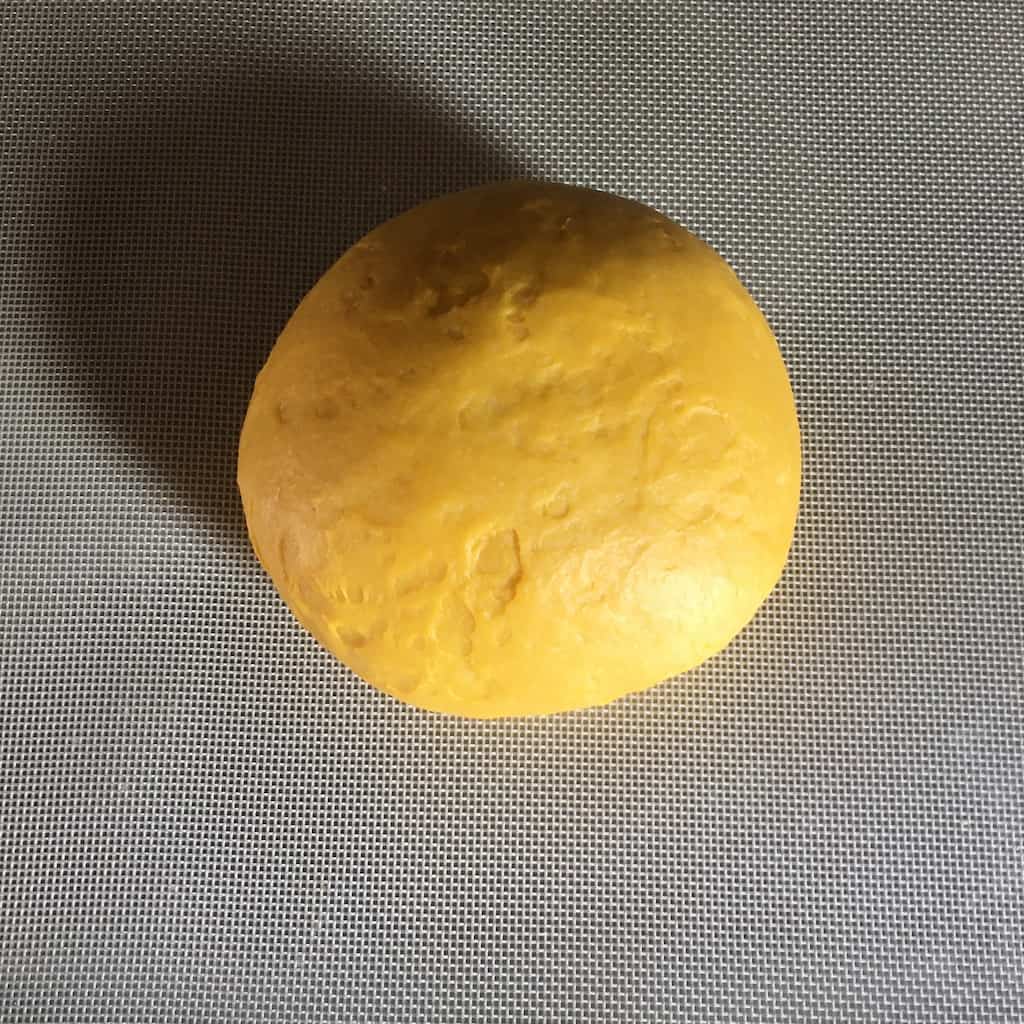
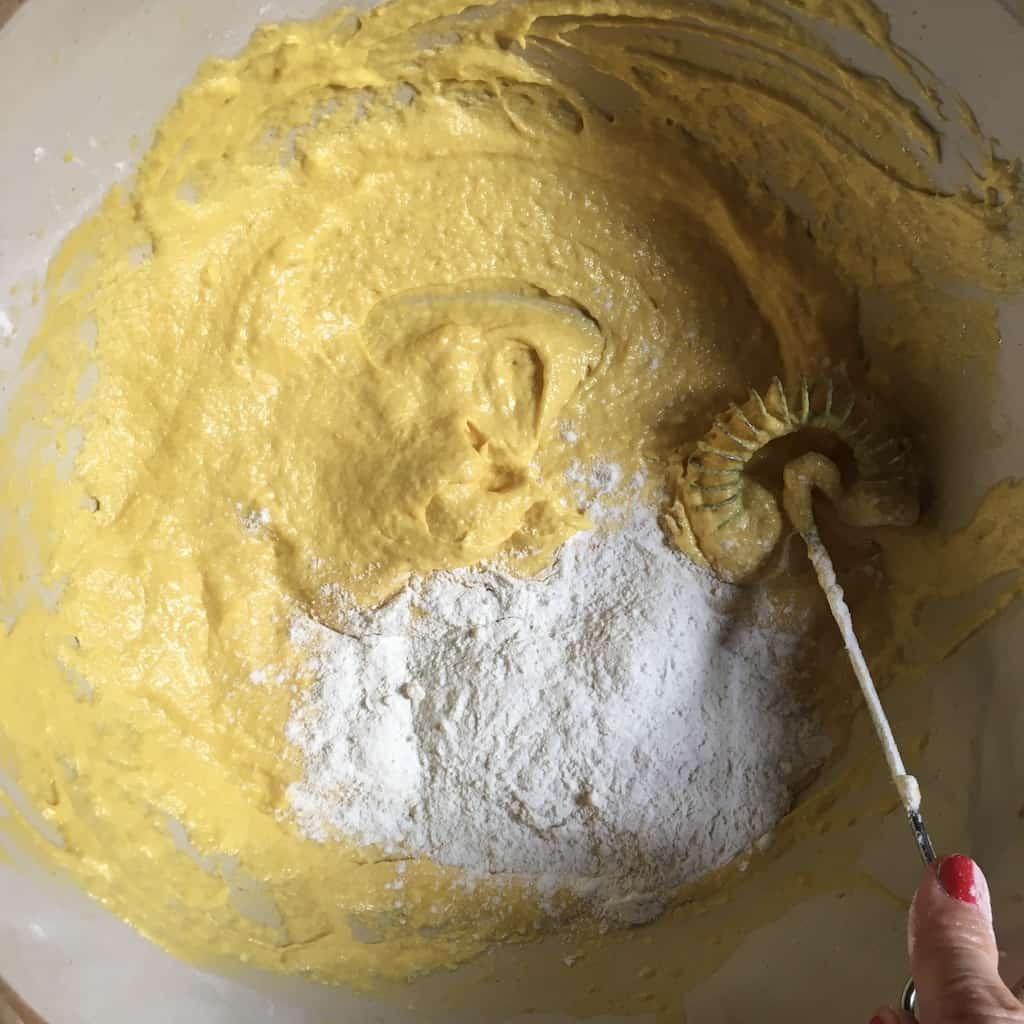
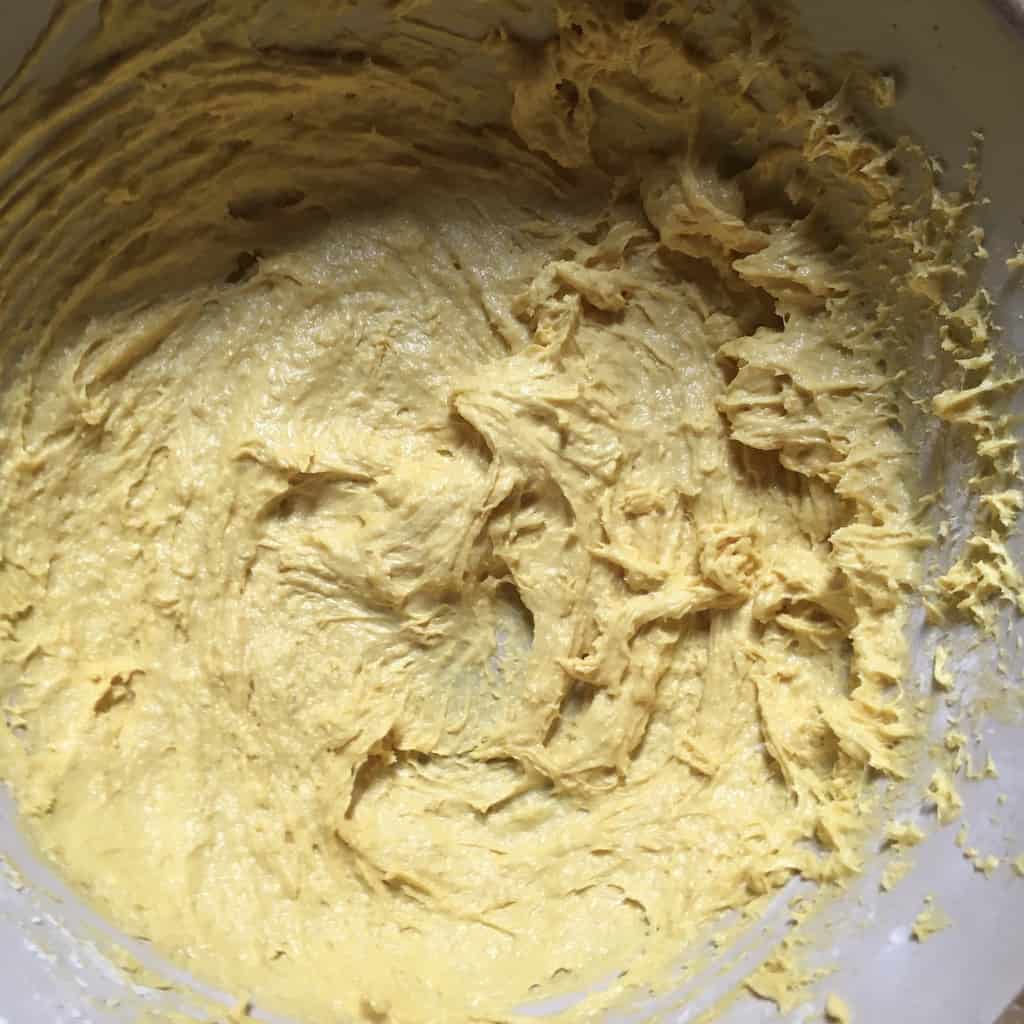
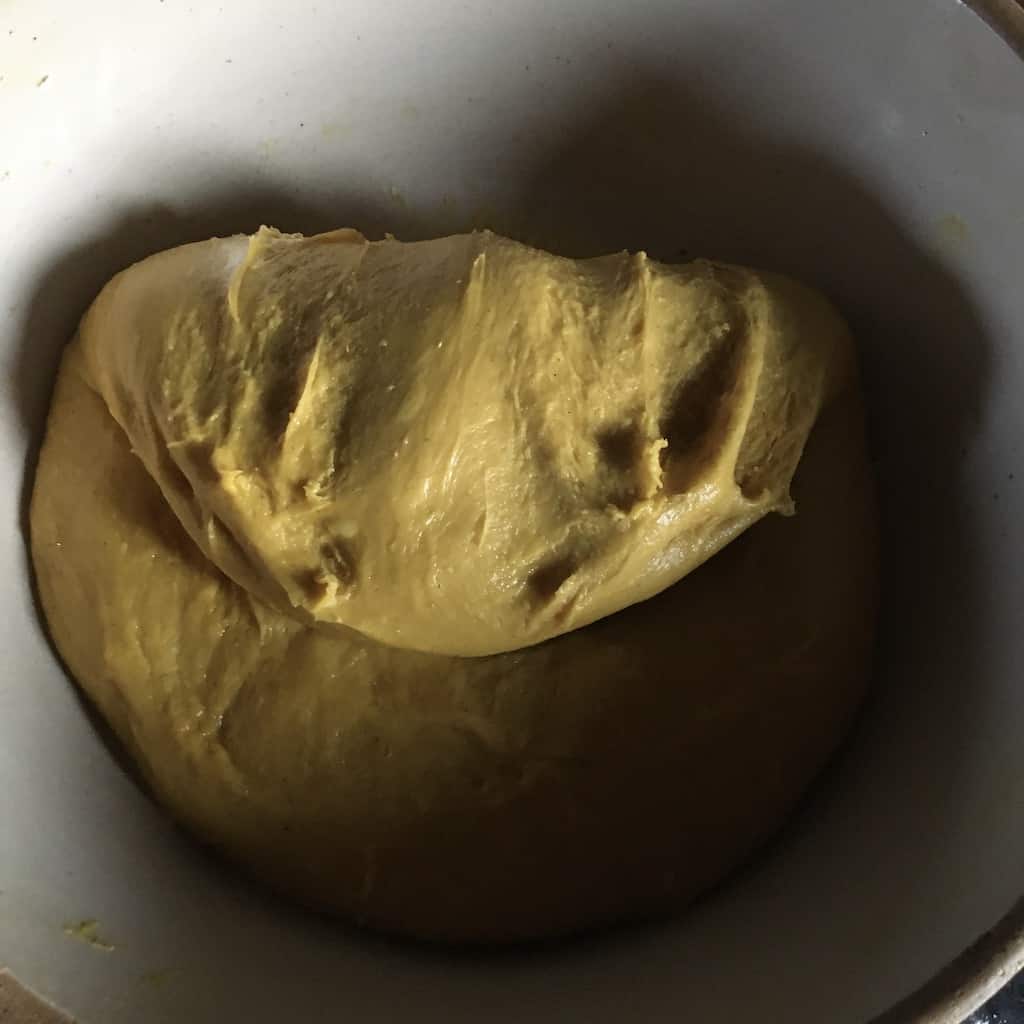
- Blend and mix together the first 5 ingredients listed in step 3 until smooth and then add them to the dough and mix with a fork until well blended. Add flour and continue mixing until it's a shaggy ball. Scrape the dough out onto a nonstick baking mat and finish incorporating any small amount of flour. Shape into a ball and knead the compact and firm dough for about 10 to 12 minutes. Cover the bowl with plastic and let rise at room temperature until lighter in texture, slightly puffed, and less glossy (about 3 ½ hours). The dough will have doubled in size. *if using an electric mixer, beat at low speed for about 8 minutes until smooth, scraping down the sides of the bowl and hook often, and proceed with the remaining instructions directly above.
STEP 4: (Day 1) The third kneading for final dough + candying the apricots [MIX & REST OVERNIGHT FOR 8-12 HOURS]
- To make the candied apricots, place all ingredients into a pot, bring the mixture to a boil, and reduce to a simmer. Cook the apricots for about 15 to 20 minutes (stirring frequently to prevent scorching) until the liquid has evaporated and the apricots are plump and sticky. Remove from heat, allow to cool to room temperature while you finsh the dough. *You may make the apricots the day before you bake the Colomba and refrigerate overnight.
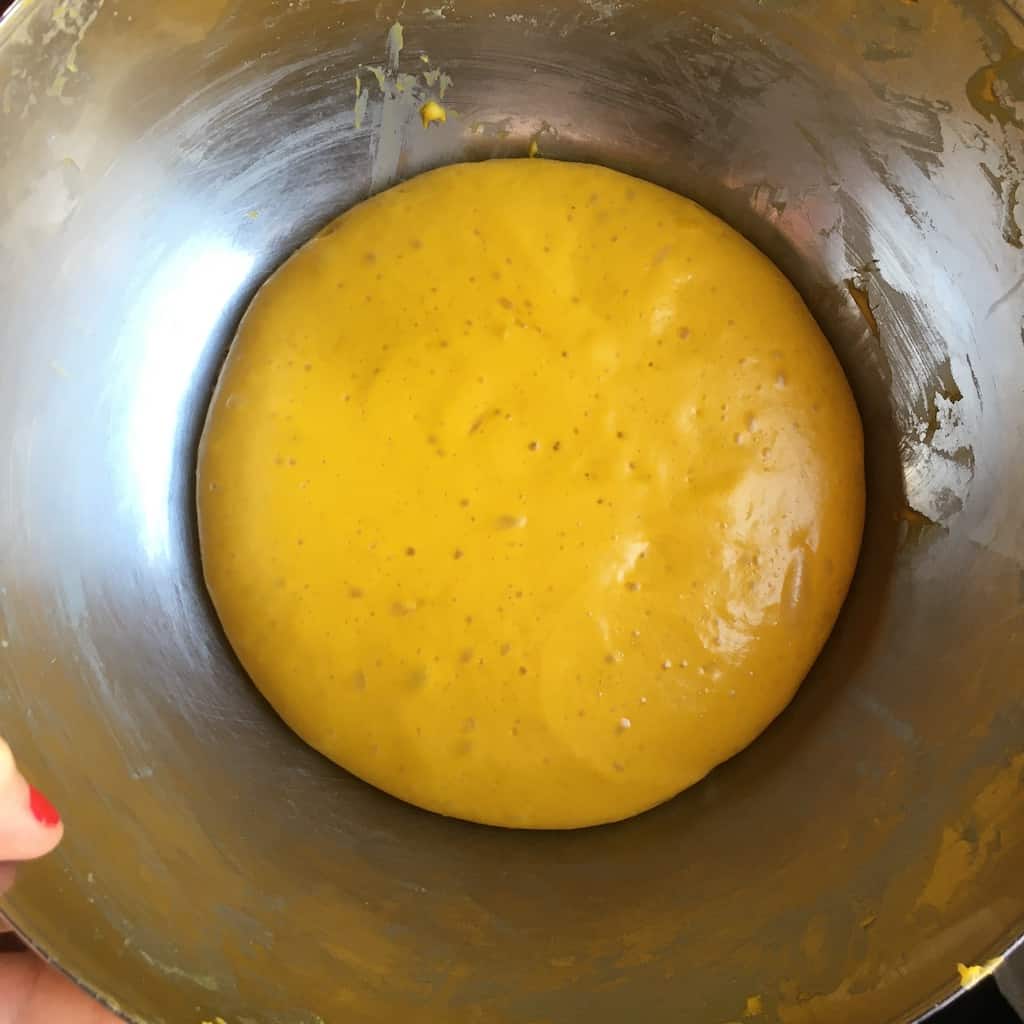
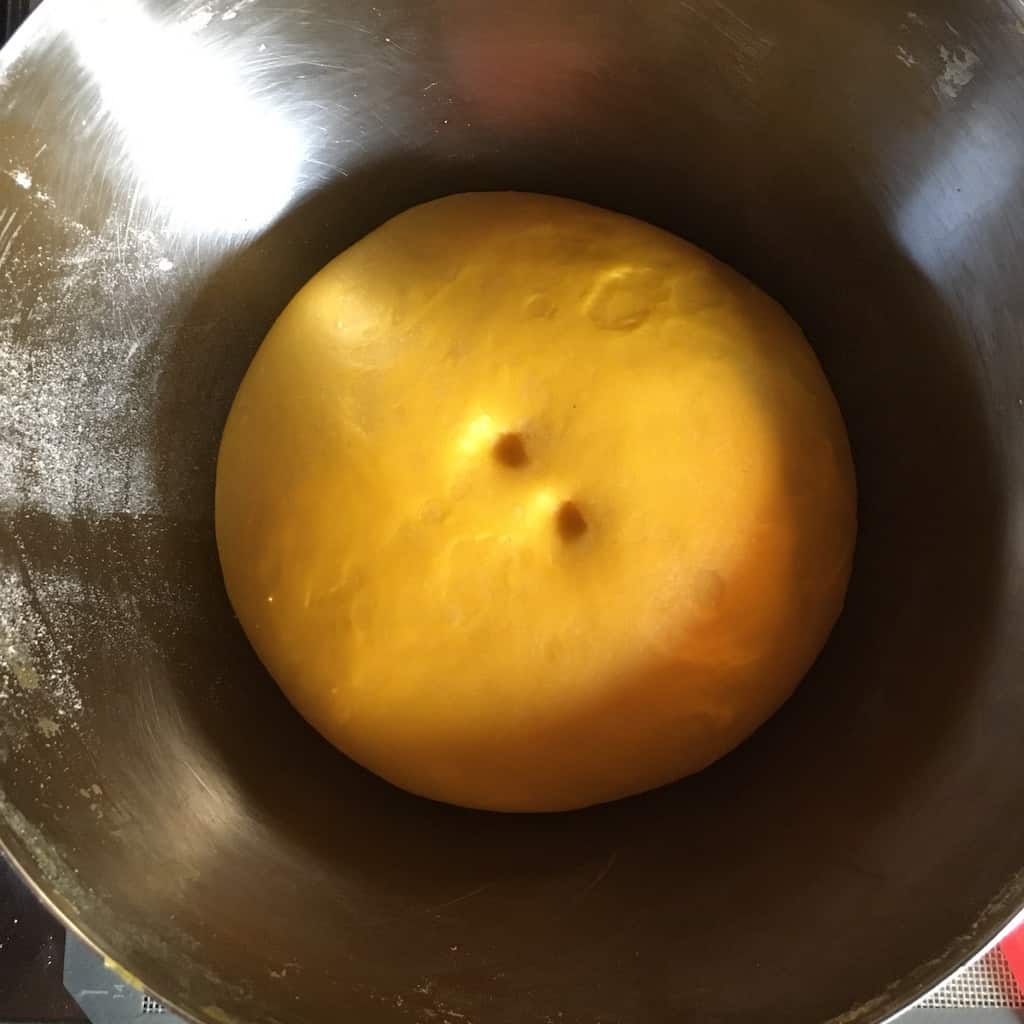
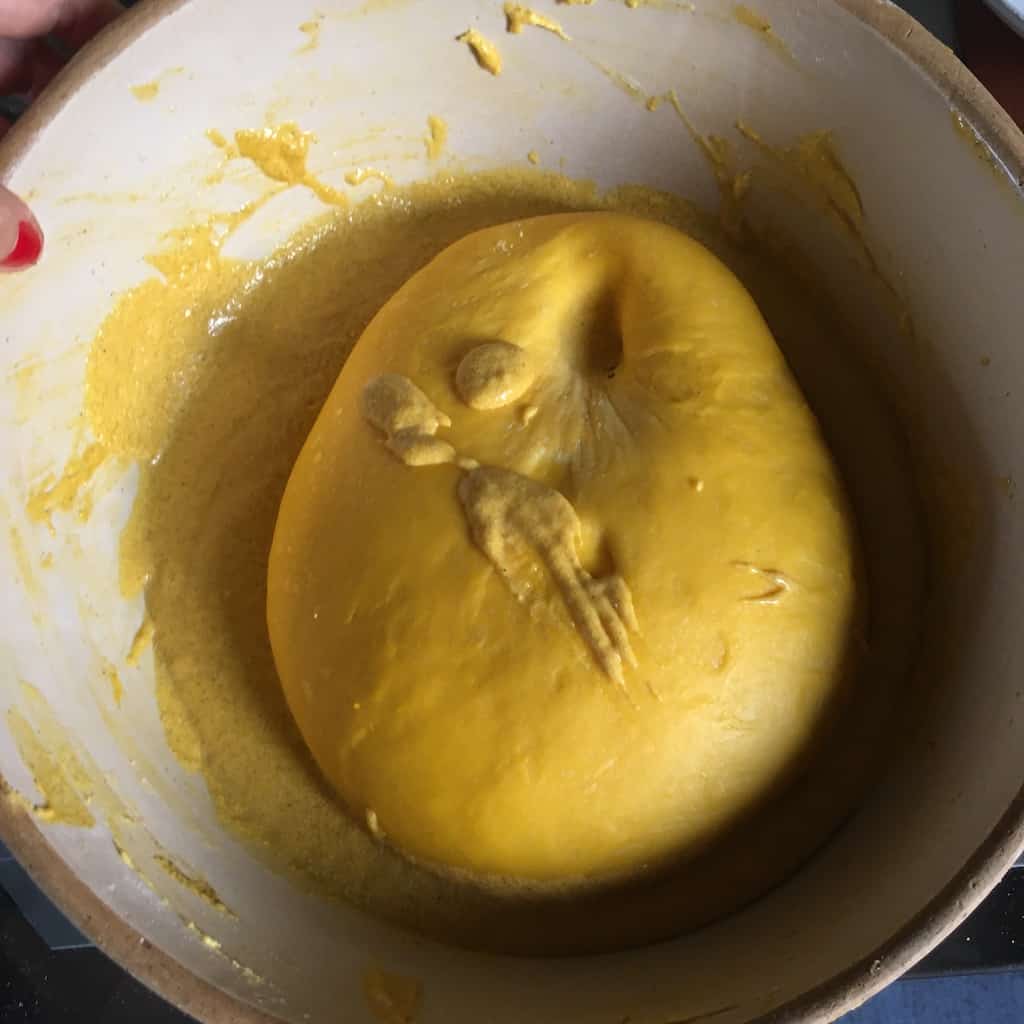
- When the dough has properly risen you'll be able to press two fingers lightly into the top and the indention will remain. Set aside while you prepare the remaining ingredients for the final dough.
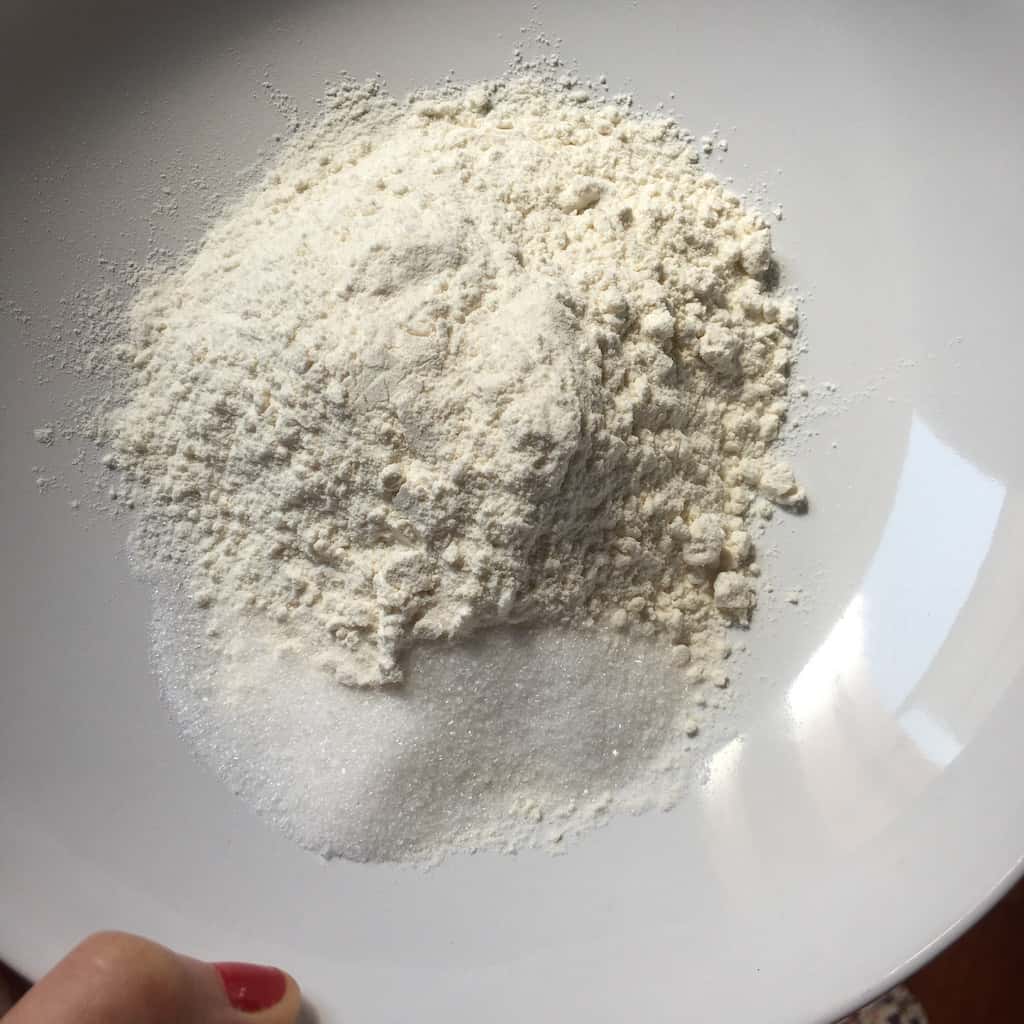
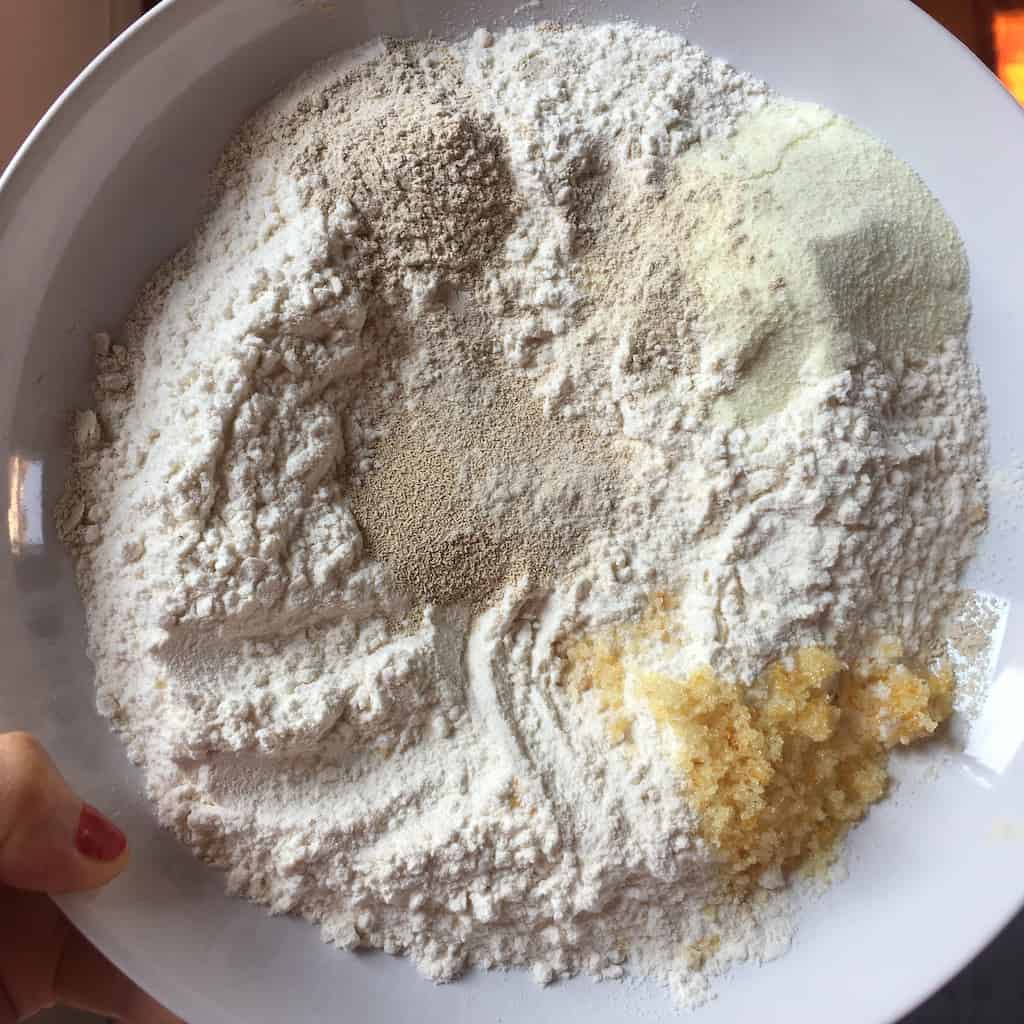
- Measure flour, yeast, malt powder, milk powder, and Tarocco orange sugar (or regular sugar + orange zest) into a bowl and combine with a whisk to incorporate the ingredients.
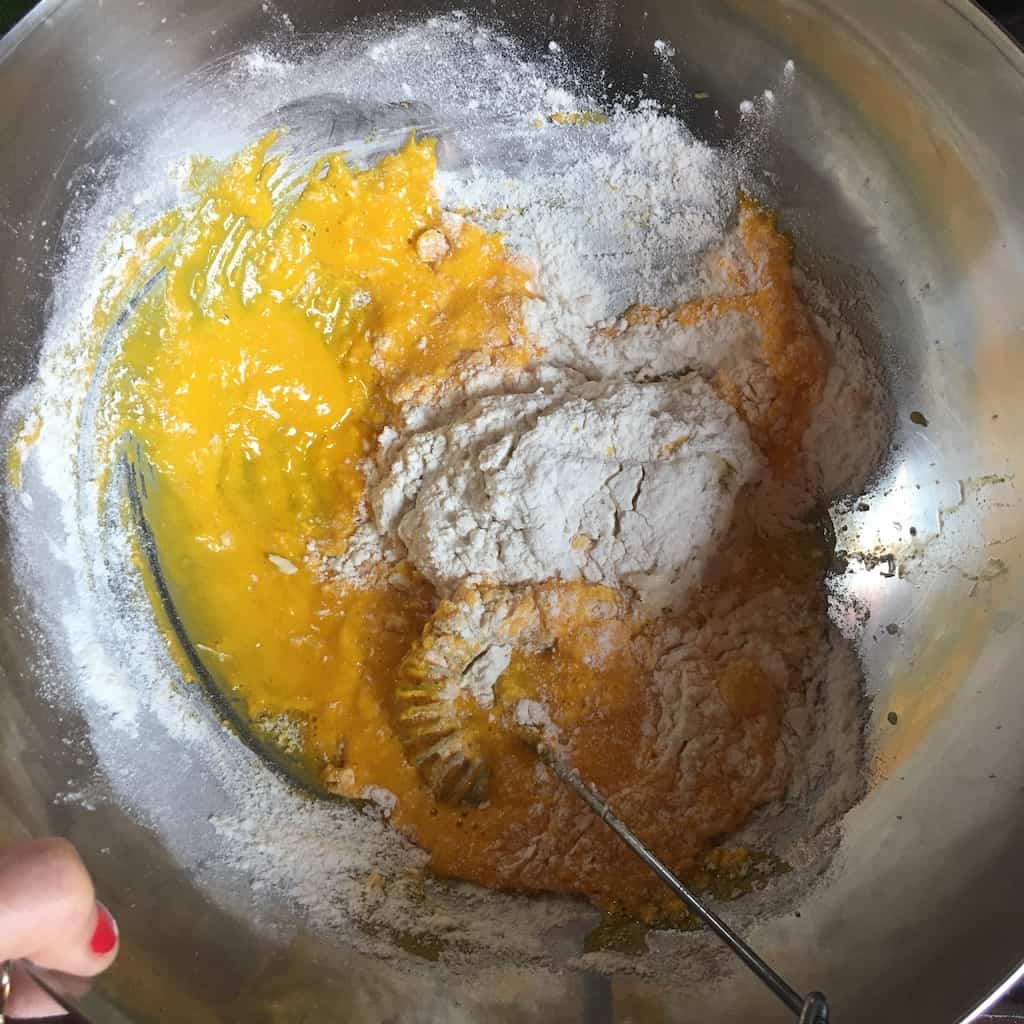
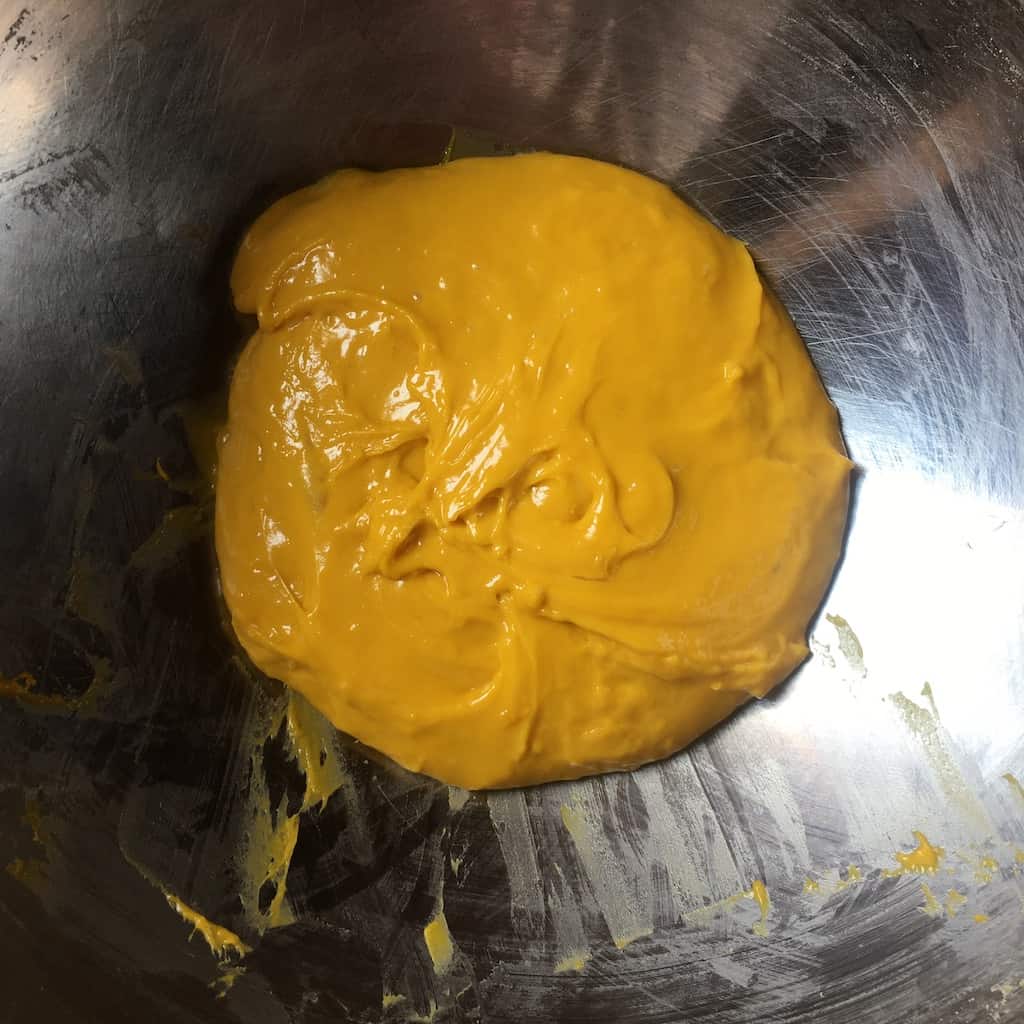
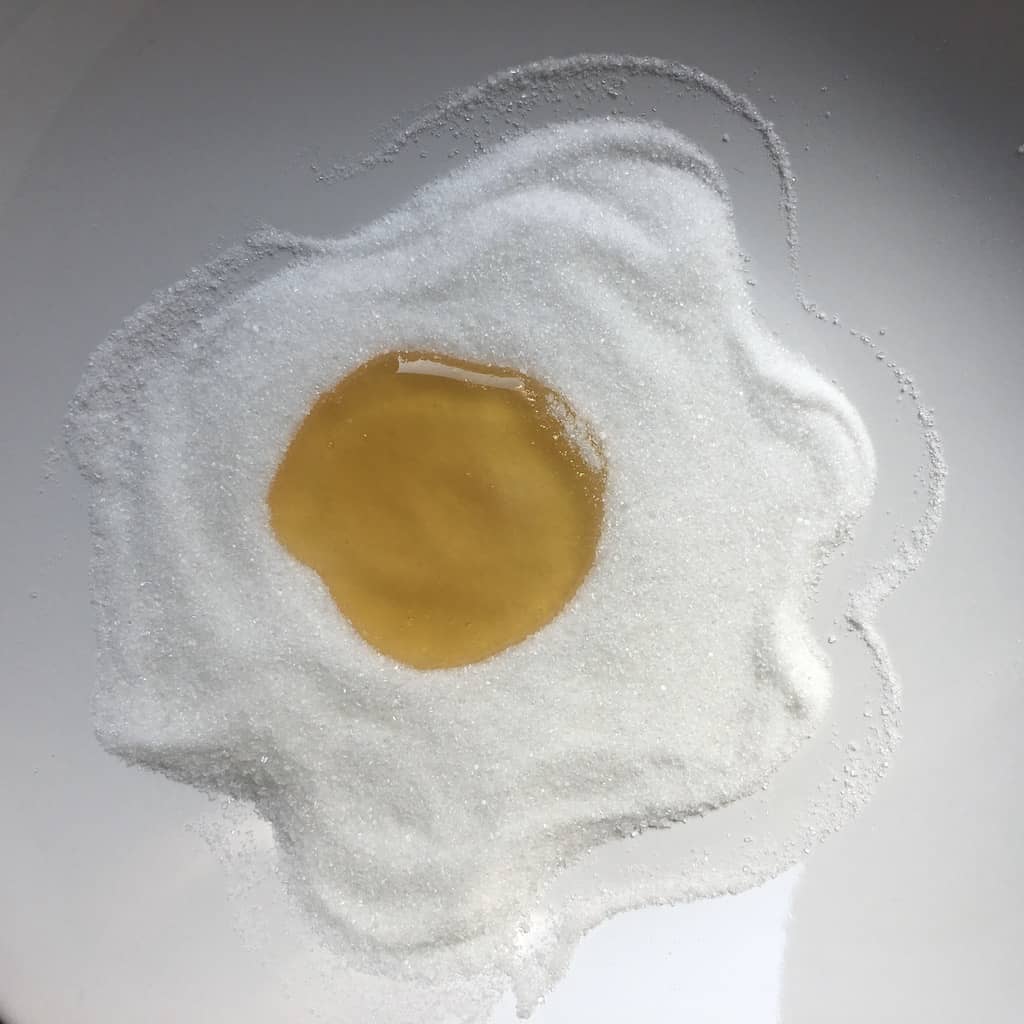
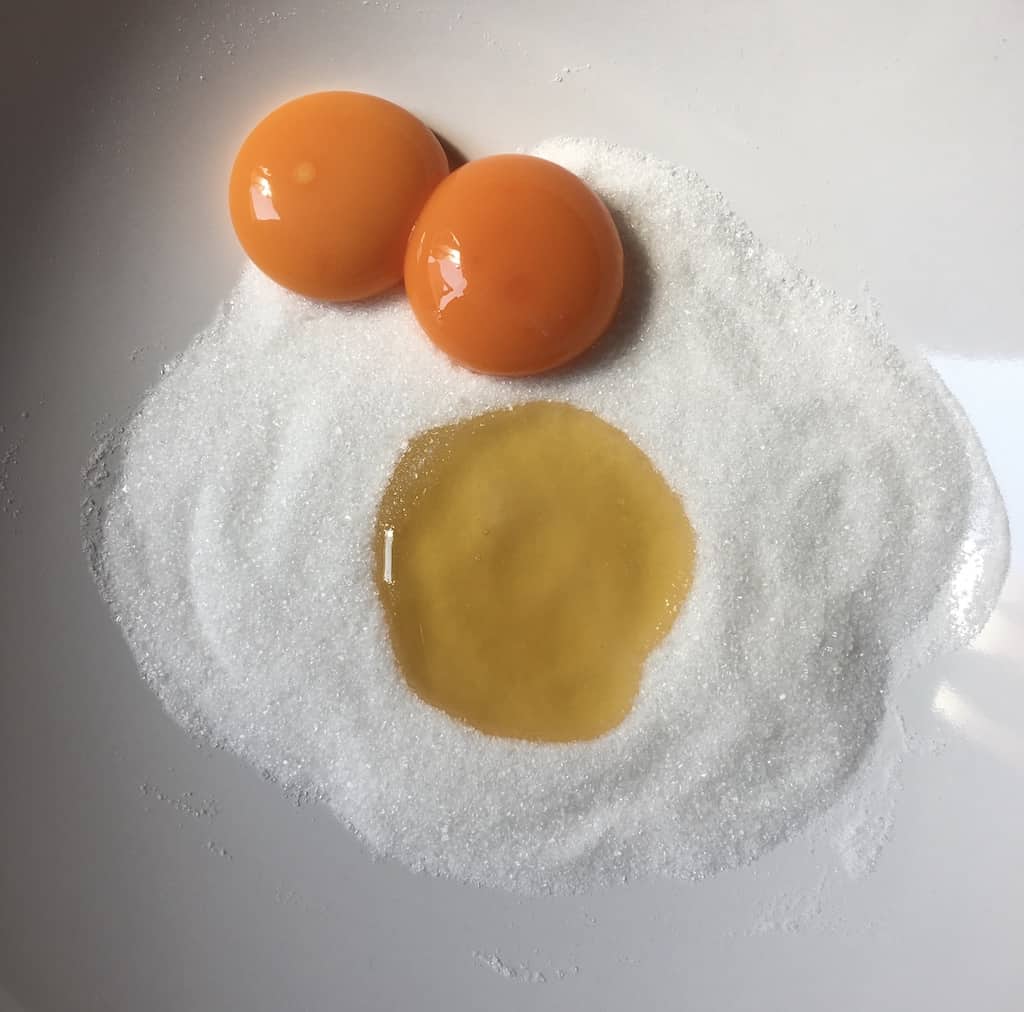
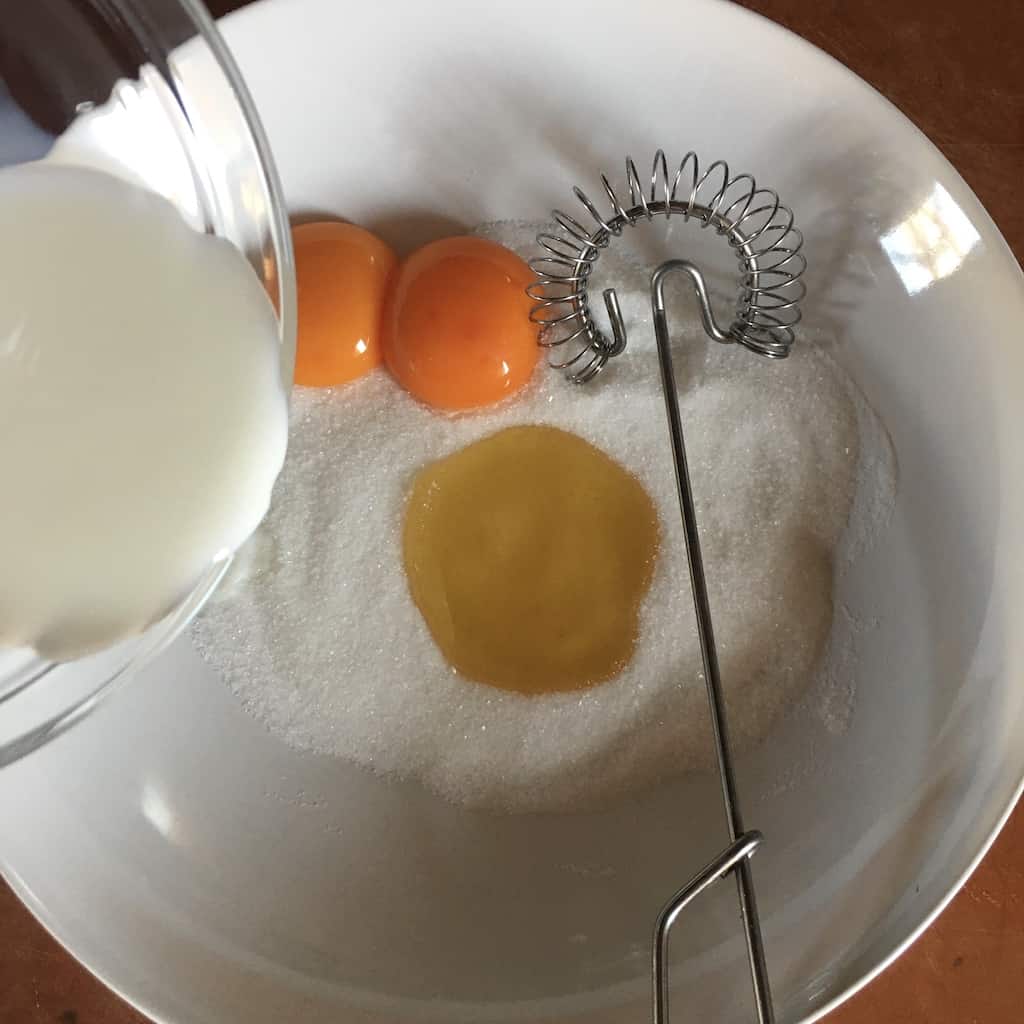
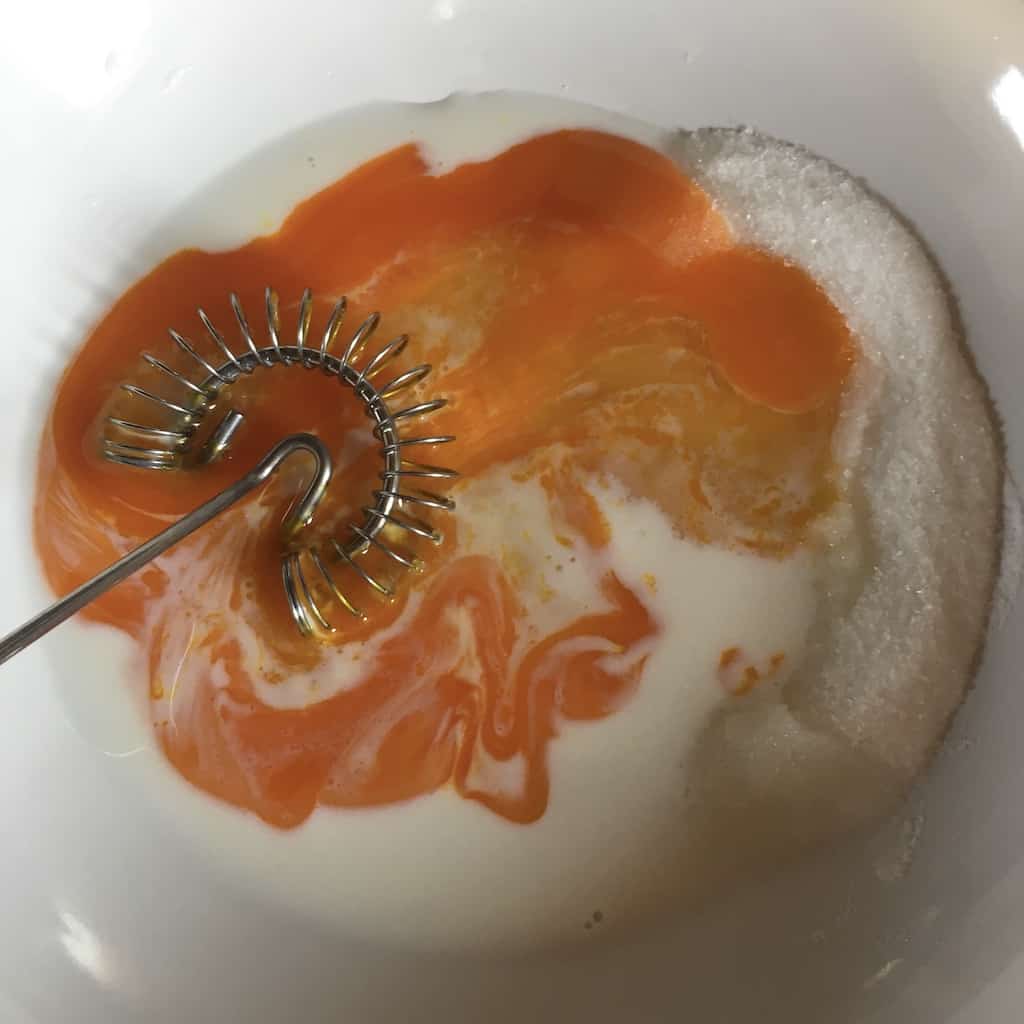
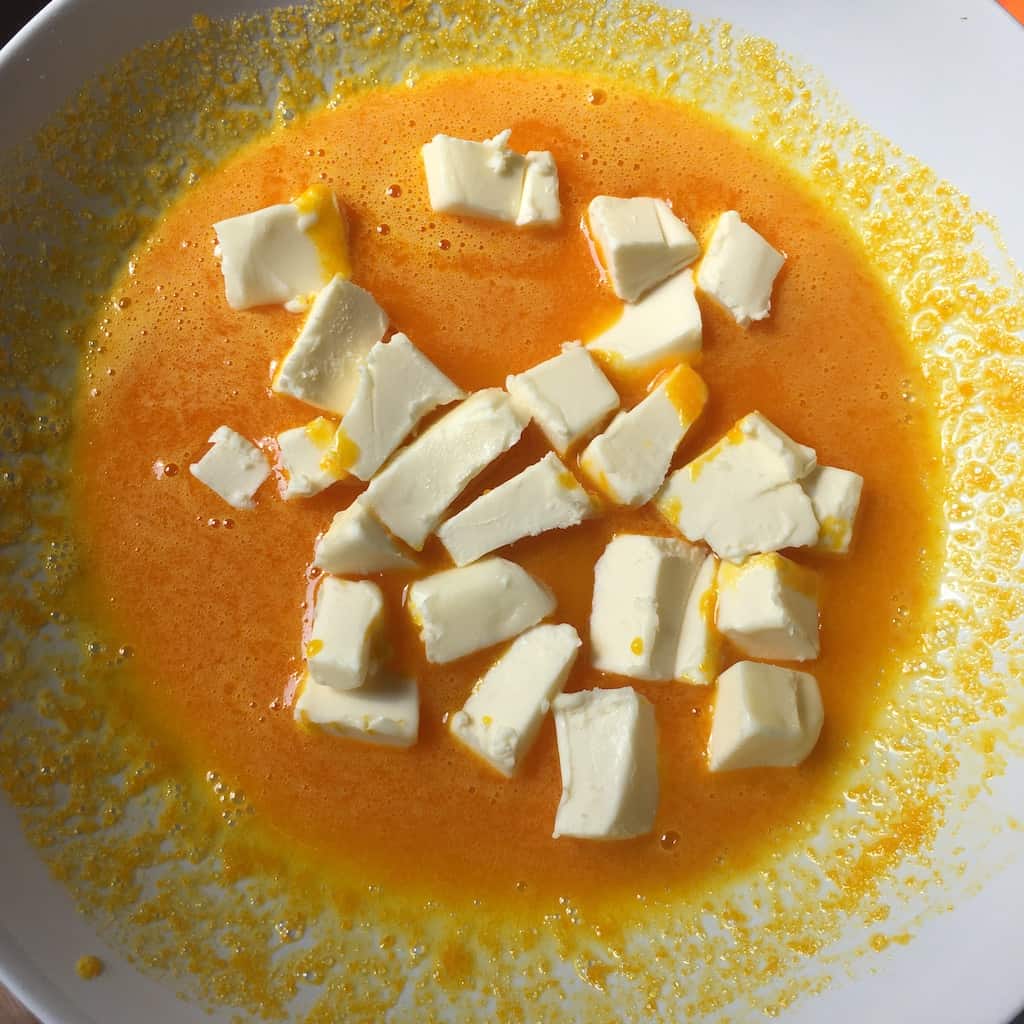
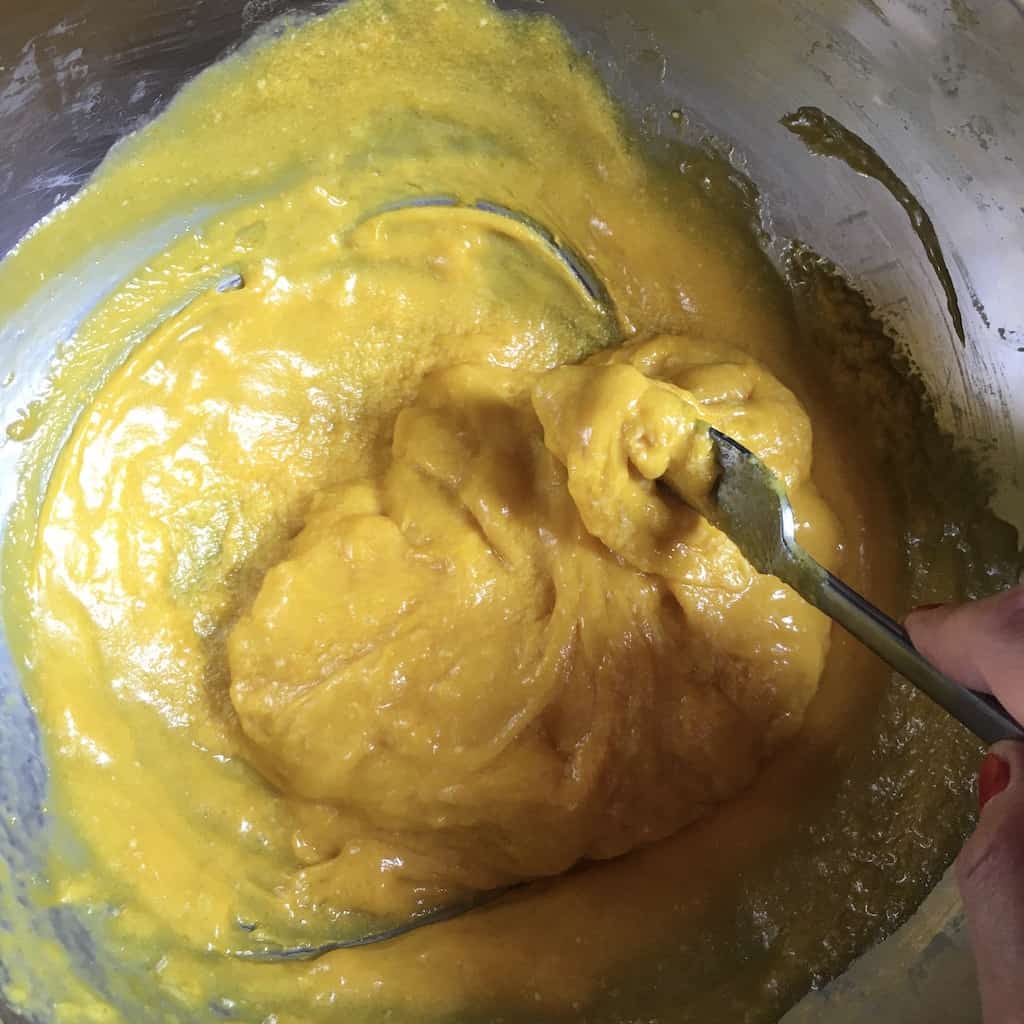
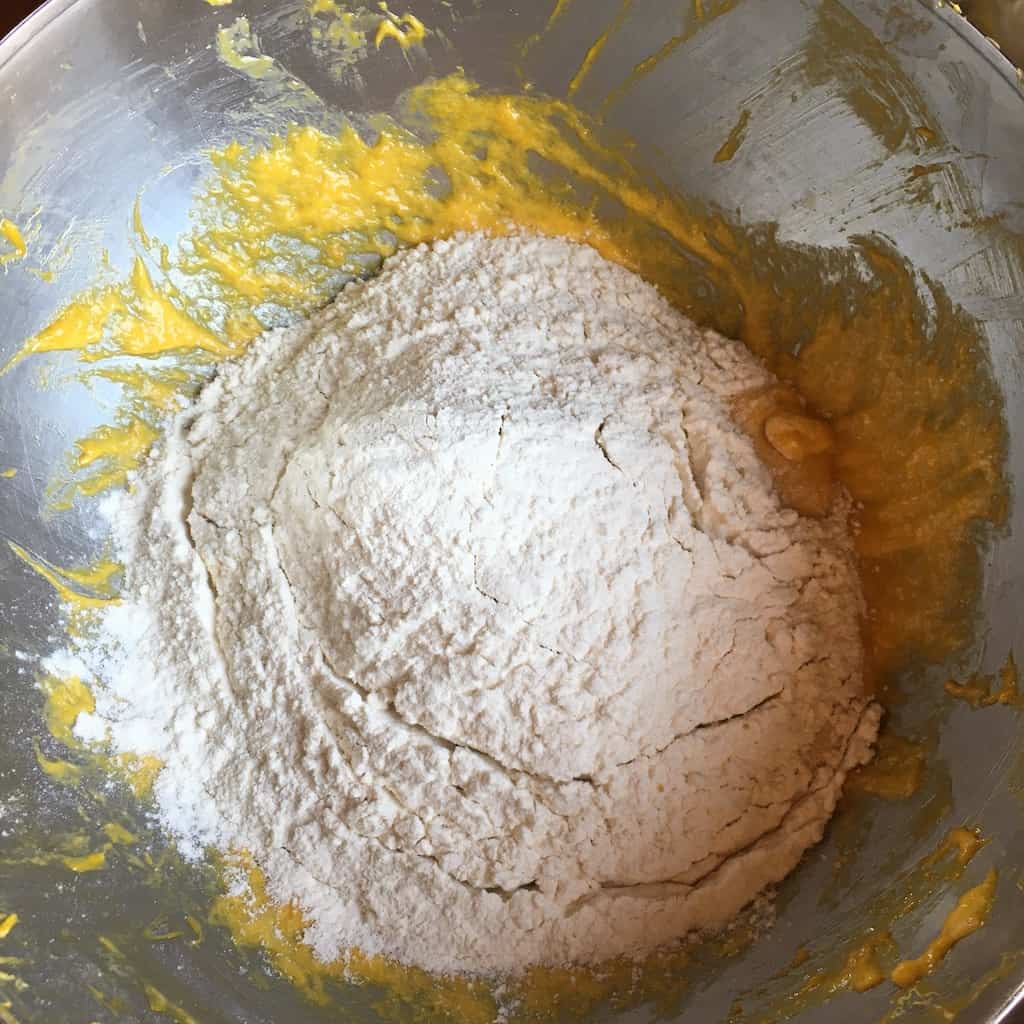
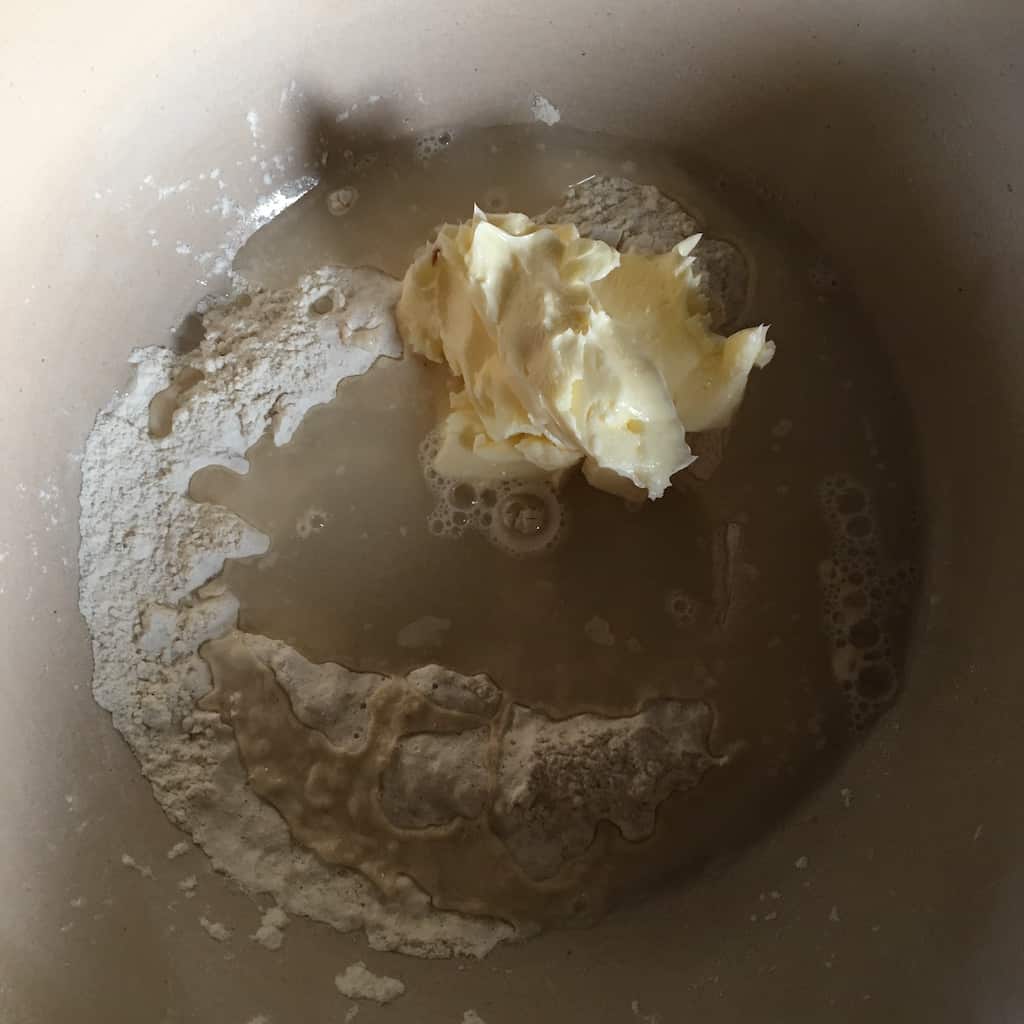
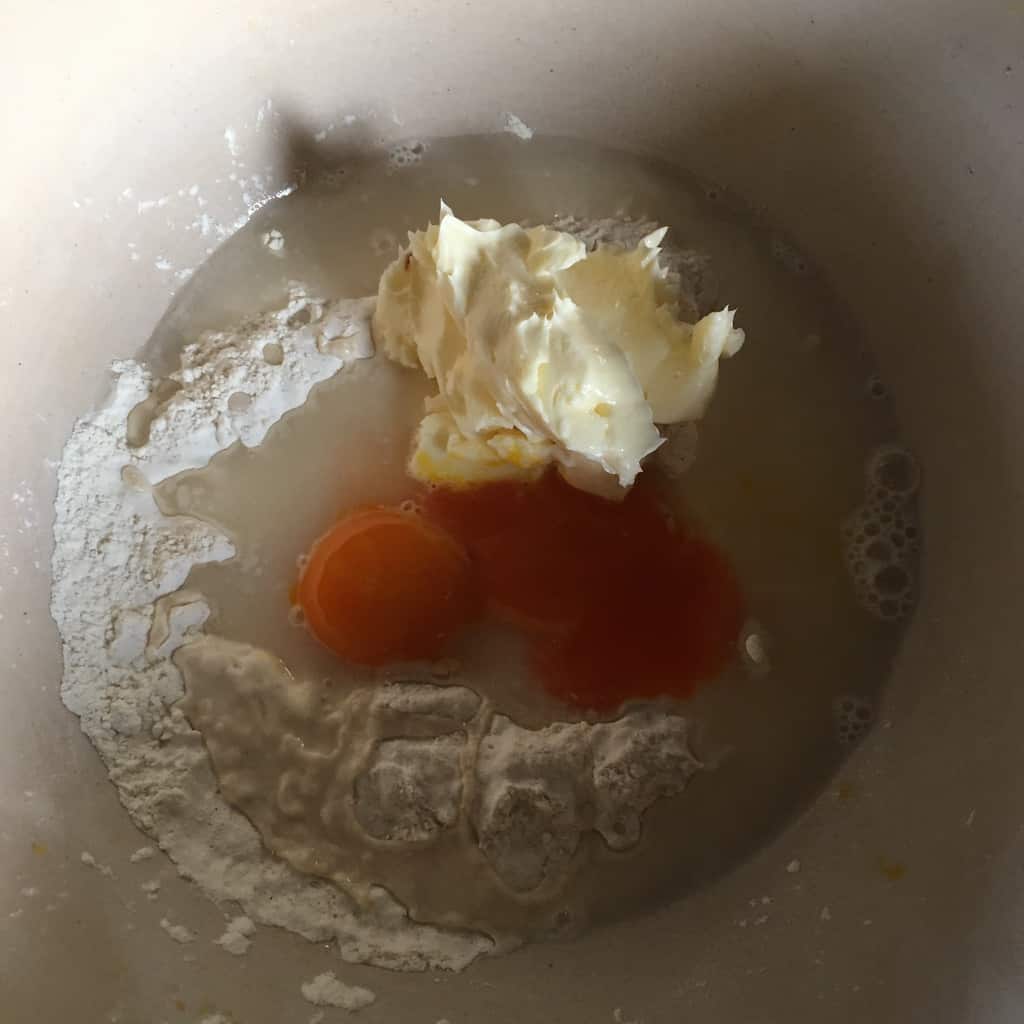
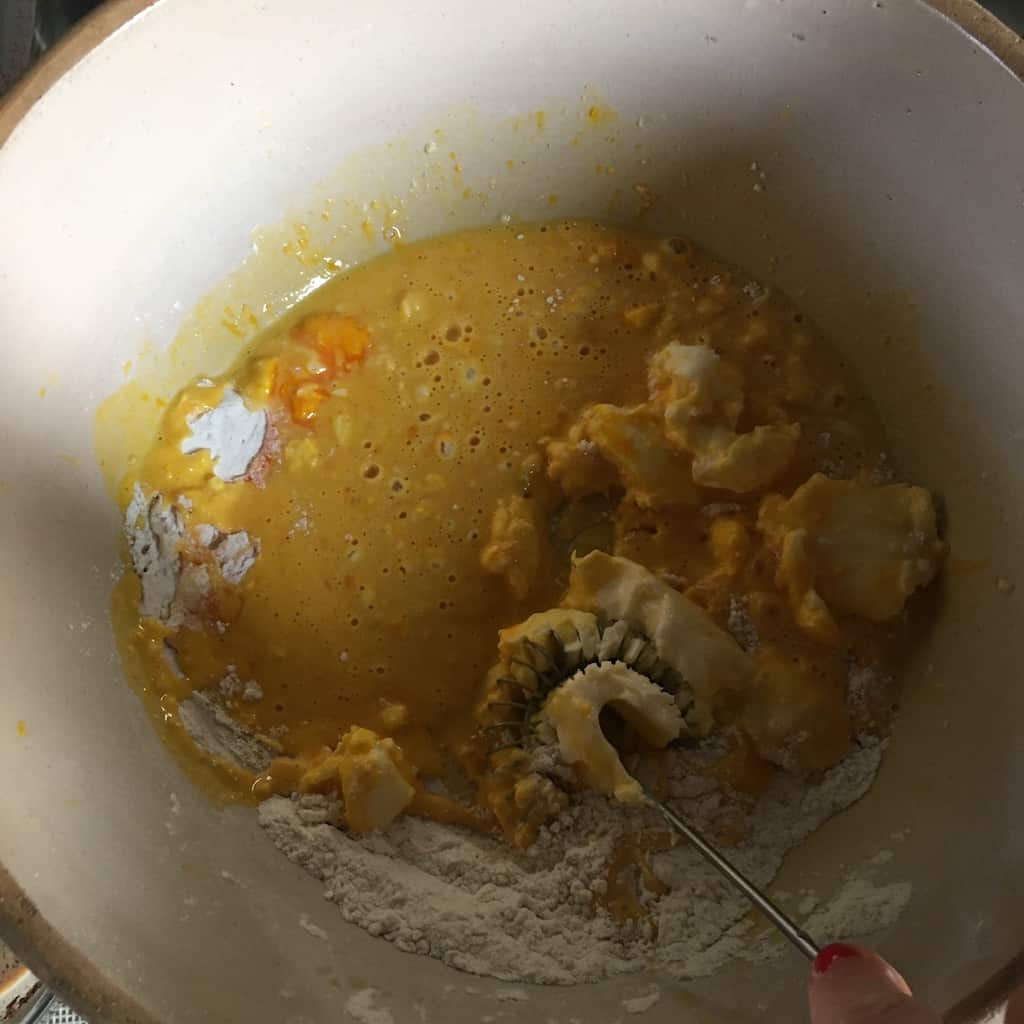
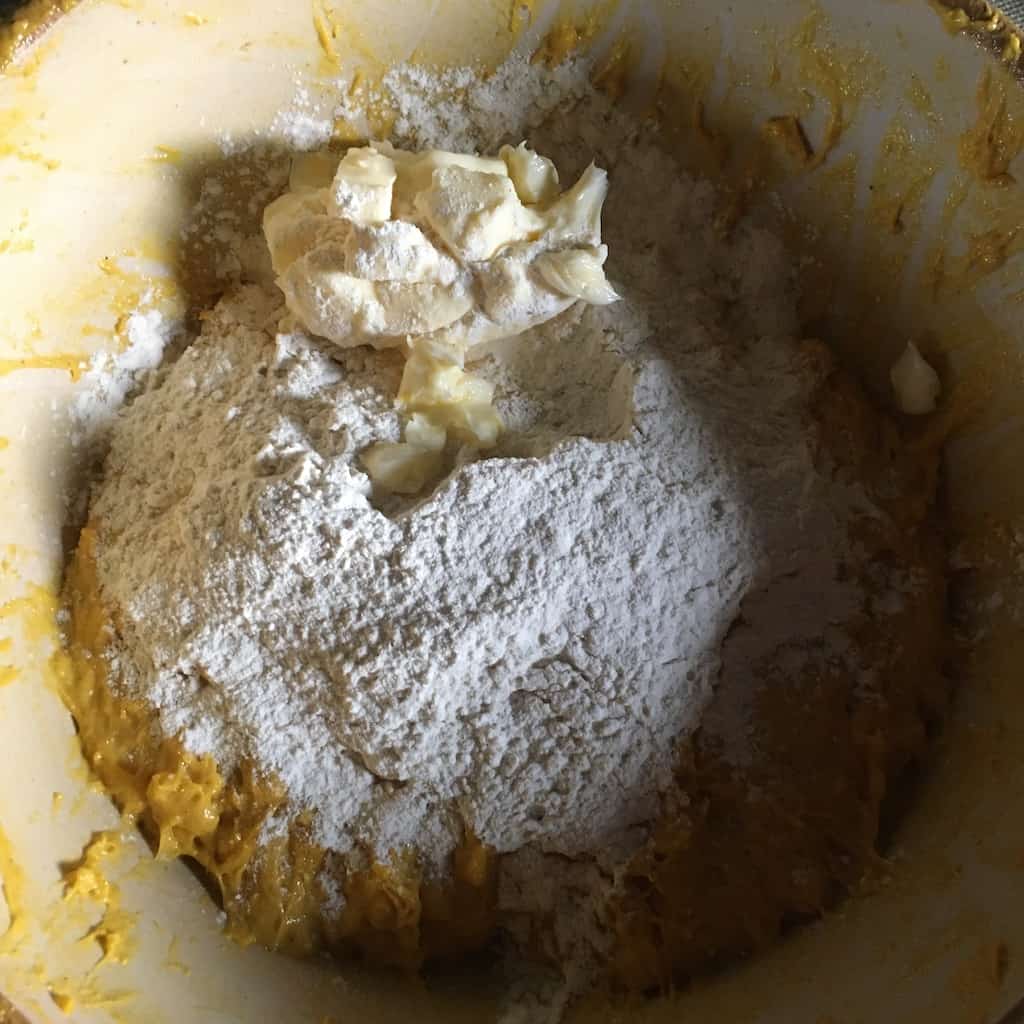
- In a separate bowl, add about ⅓ of the flour mixture, water, 2 egg yolks, and half of the butter, and whisk to incorporate until the mixture is smooth (about 3 minutes). Add in just a little more flour and mix until you have a shaggy soft dough.
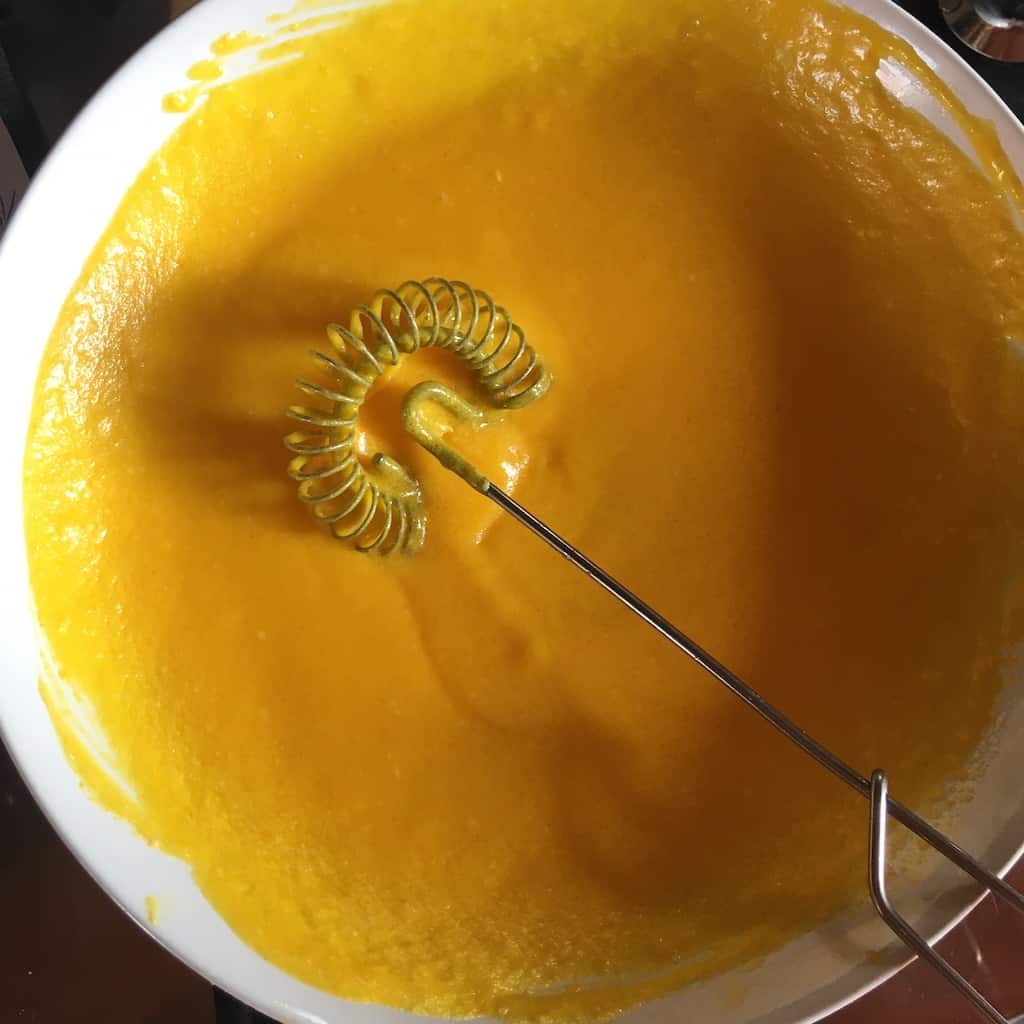
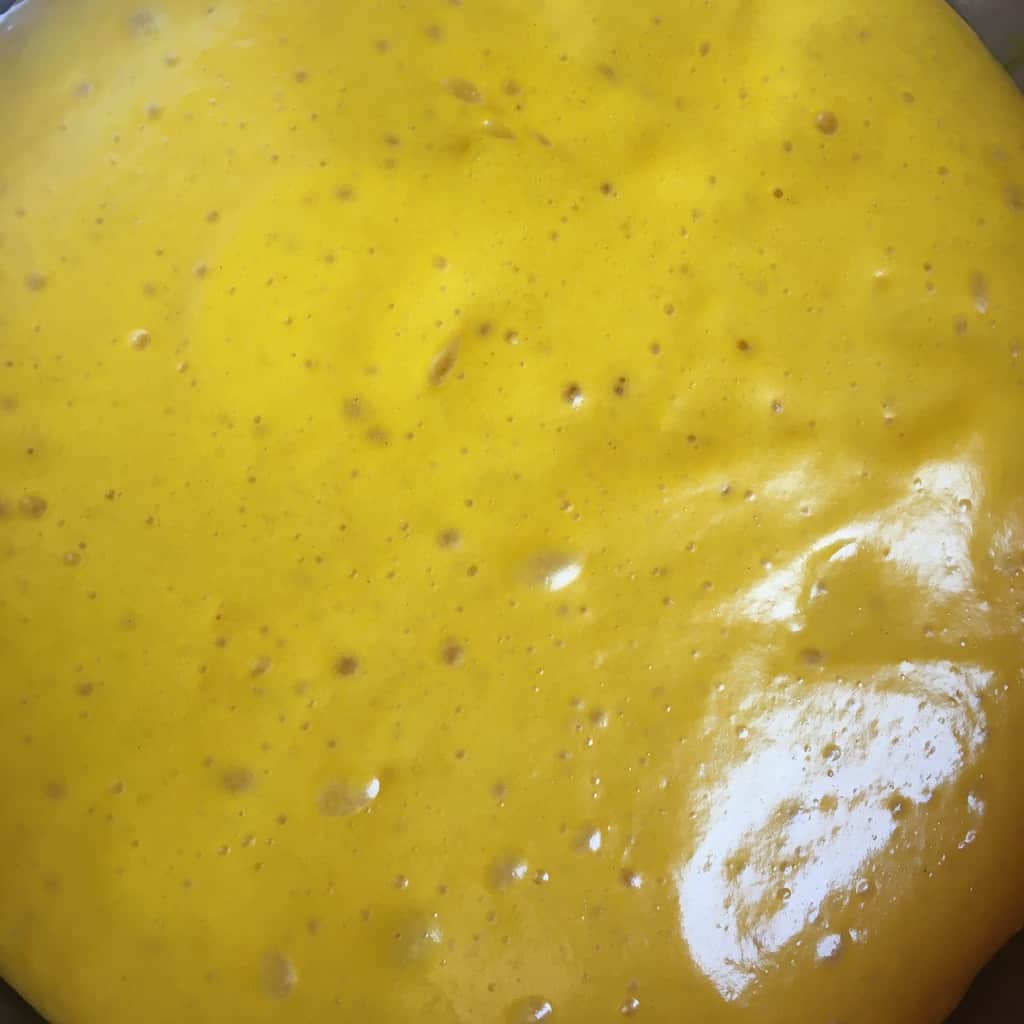
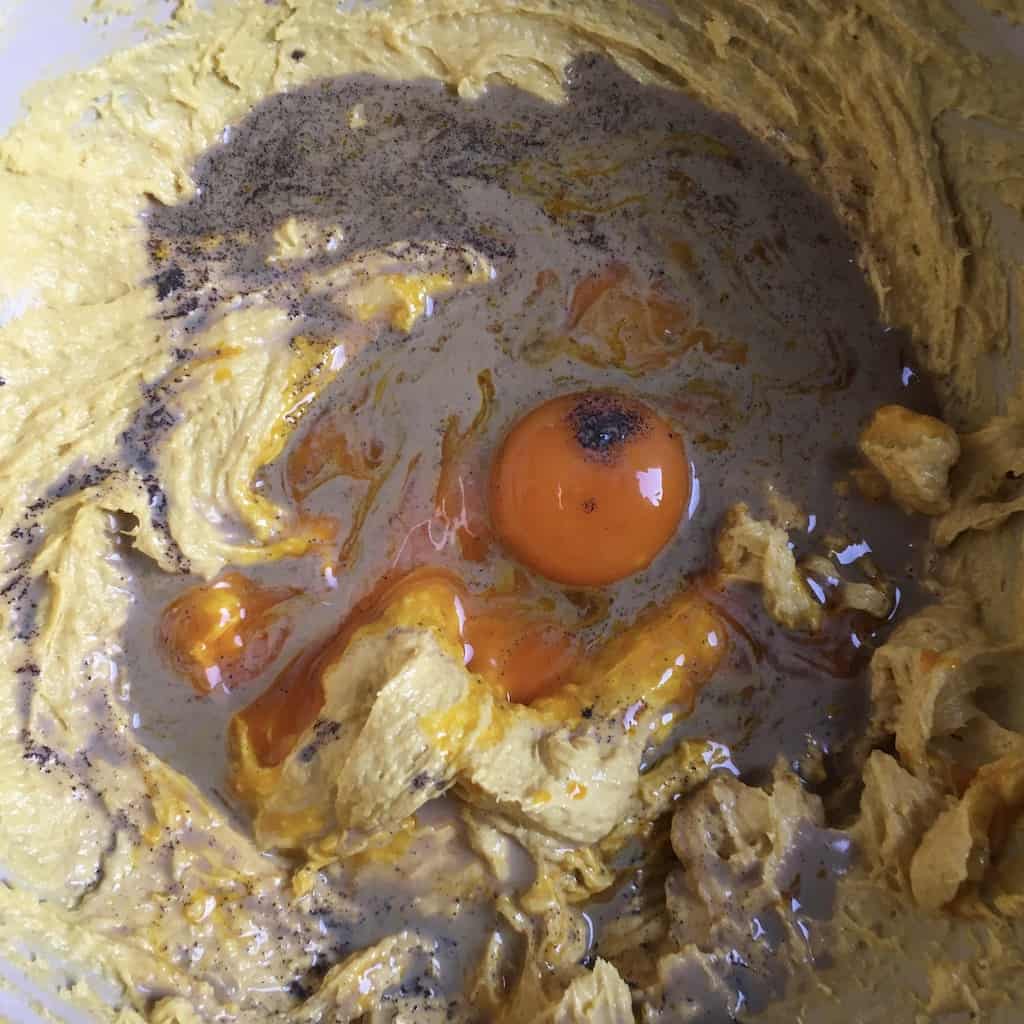
- Add remaining 3 egg yolks, milk, vanilla extract, vanilla bean powder, and salt, and whisk for about 3 minutes more until the mixture is smooth and lighter in color.
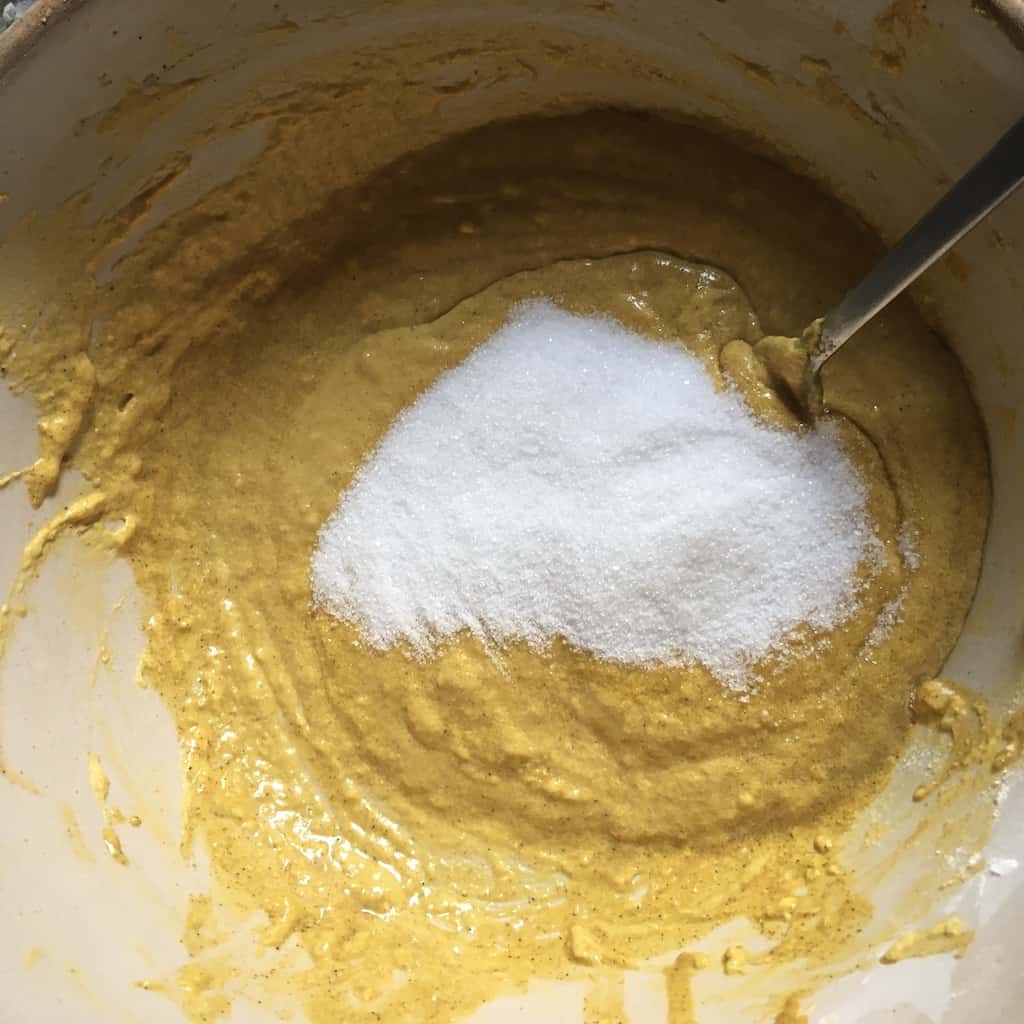
- Add the sugar and beat until smooth about one minute more.
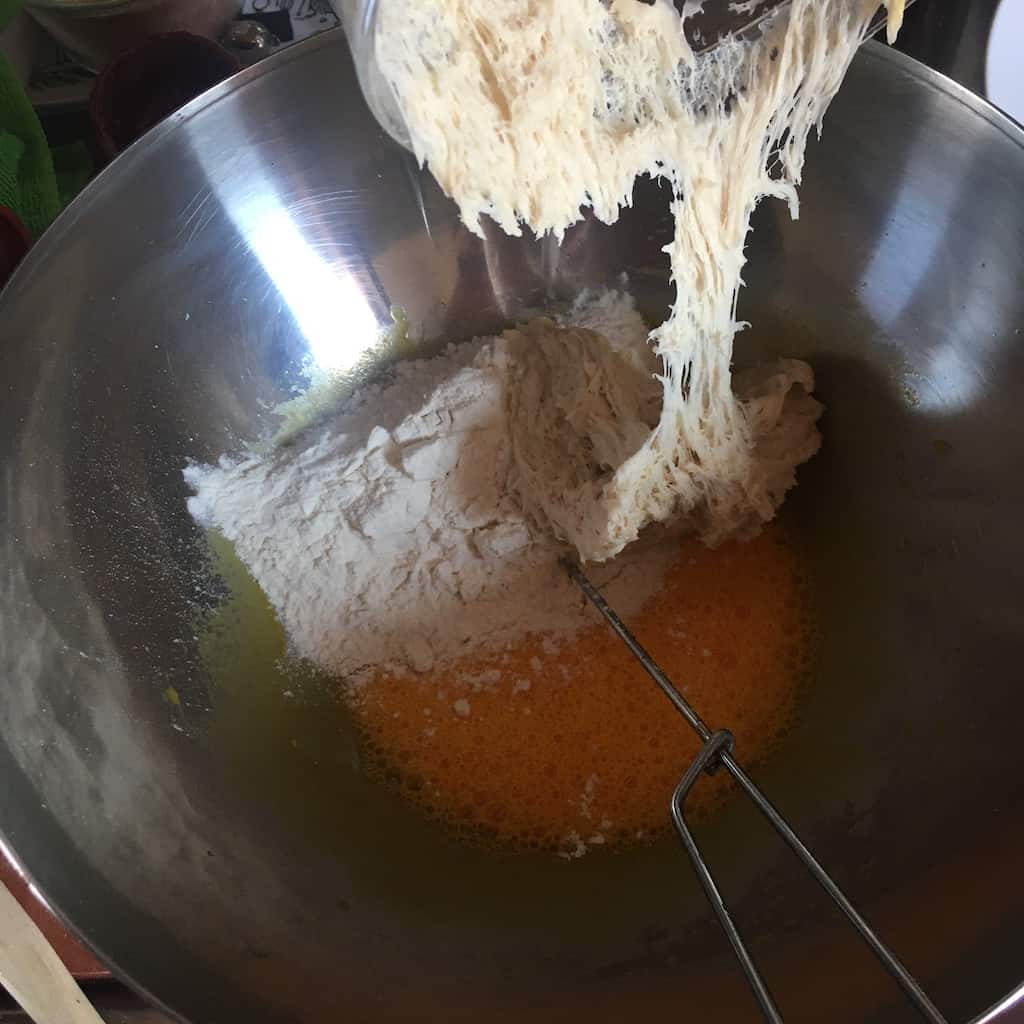
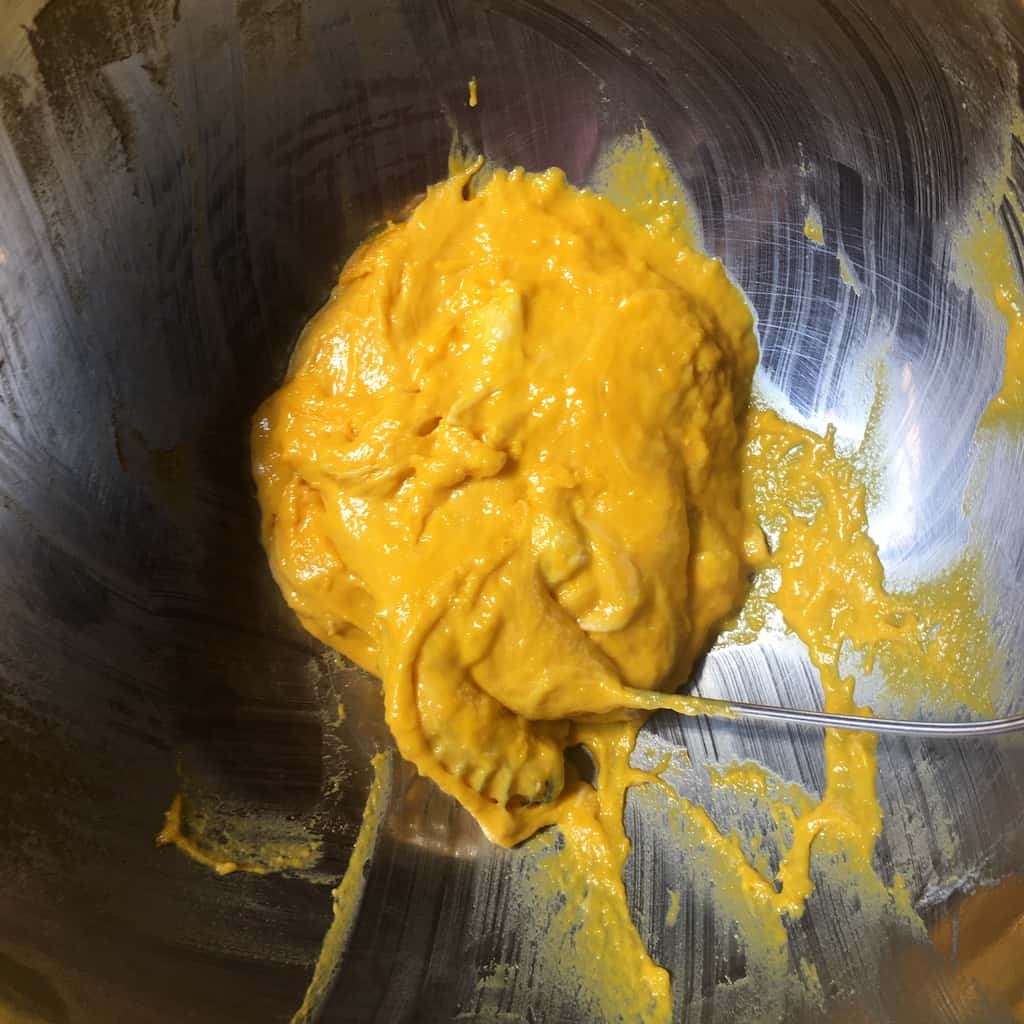
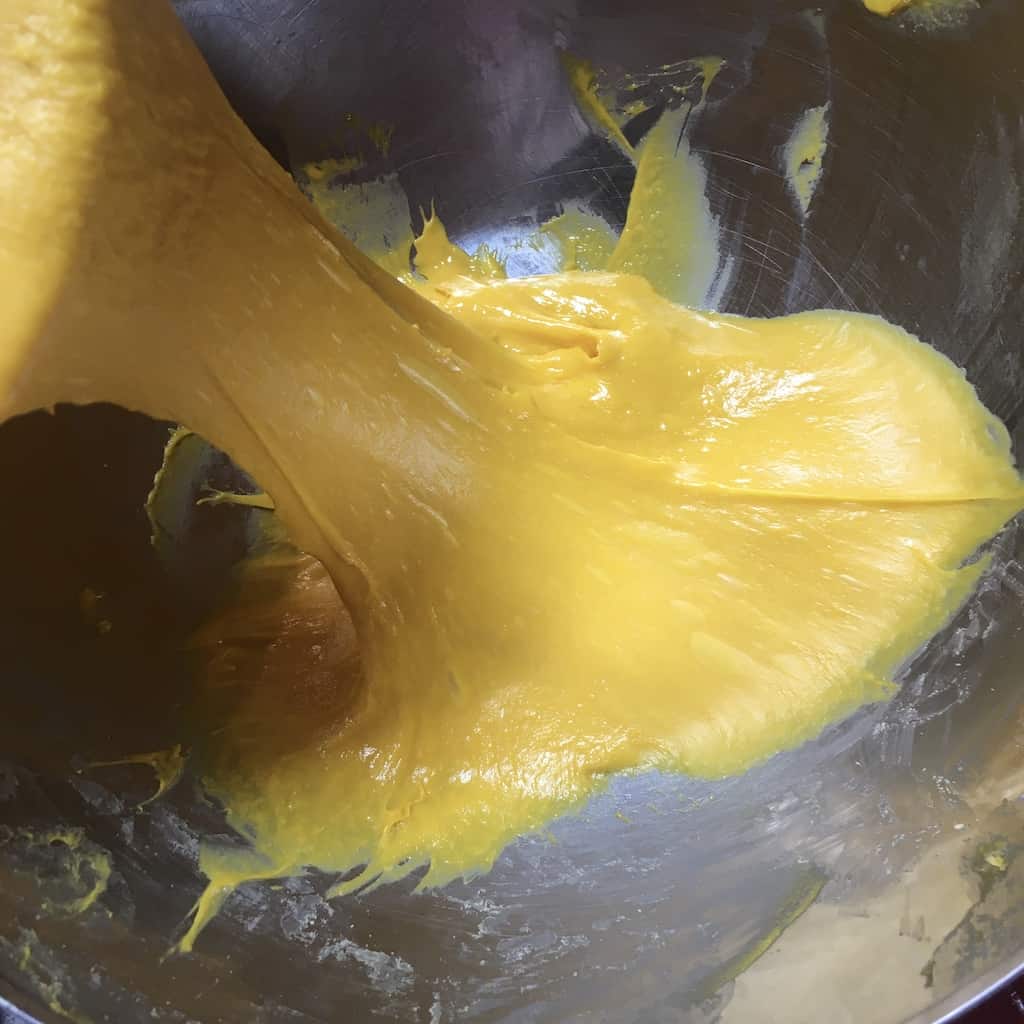
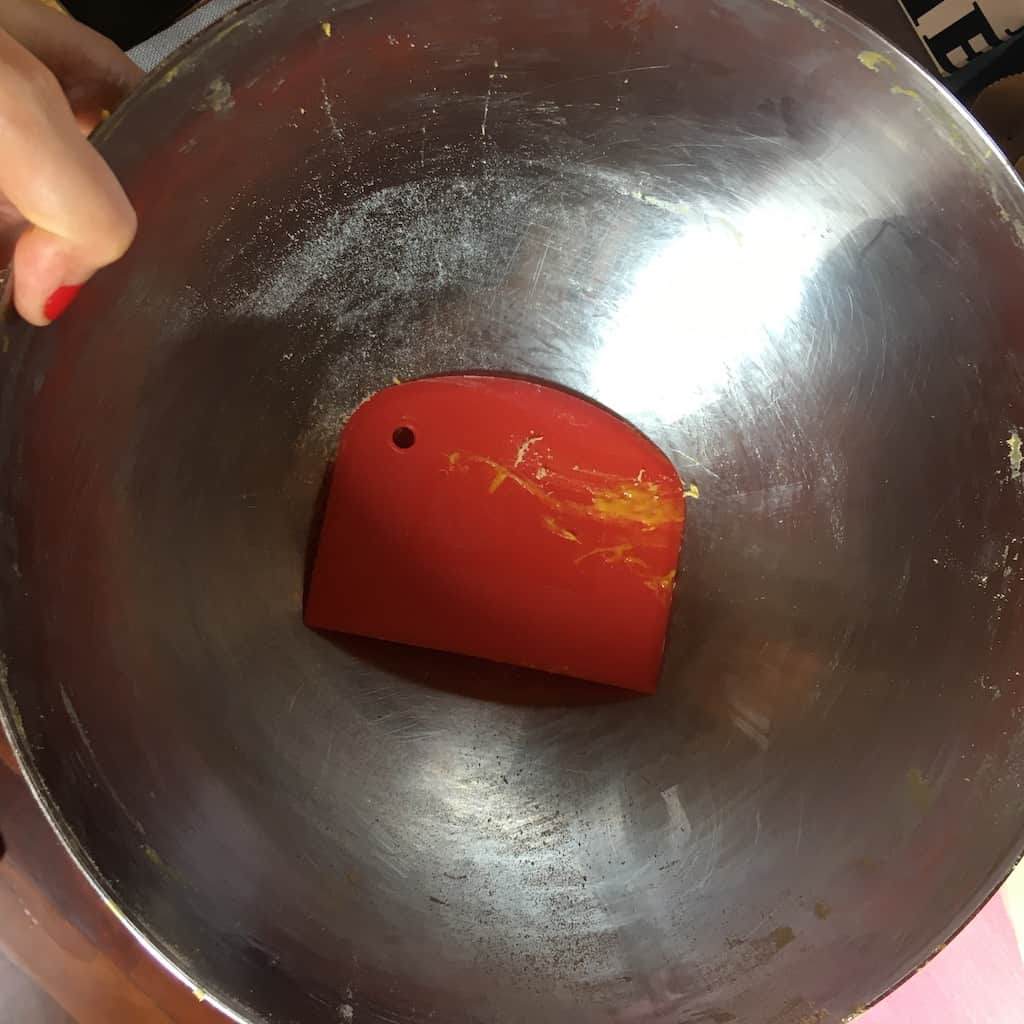
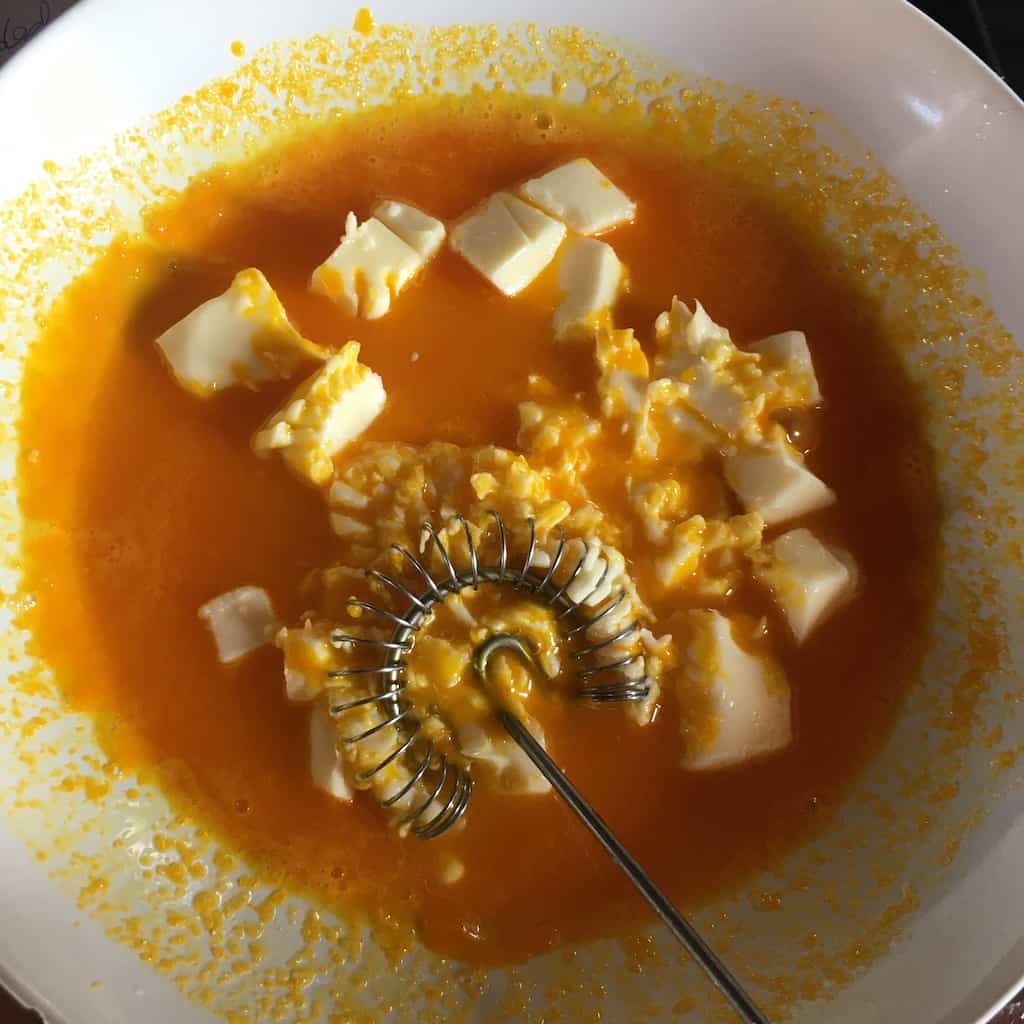
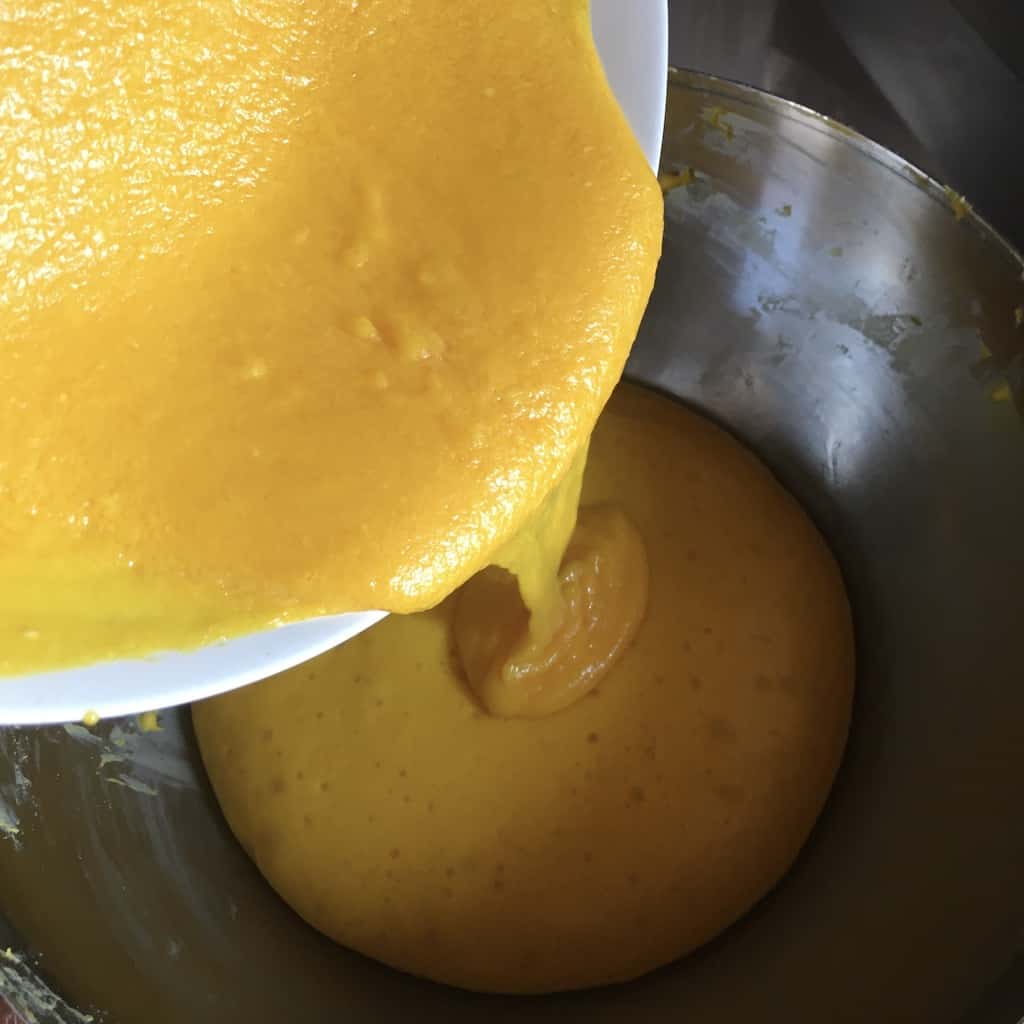
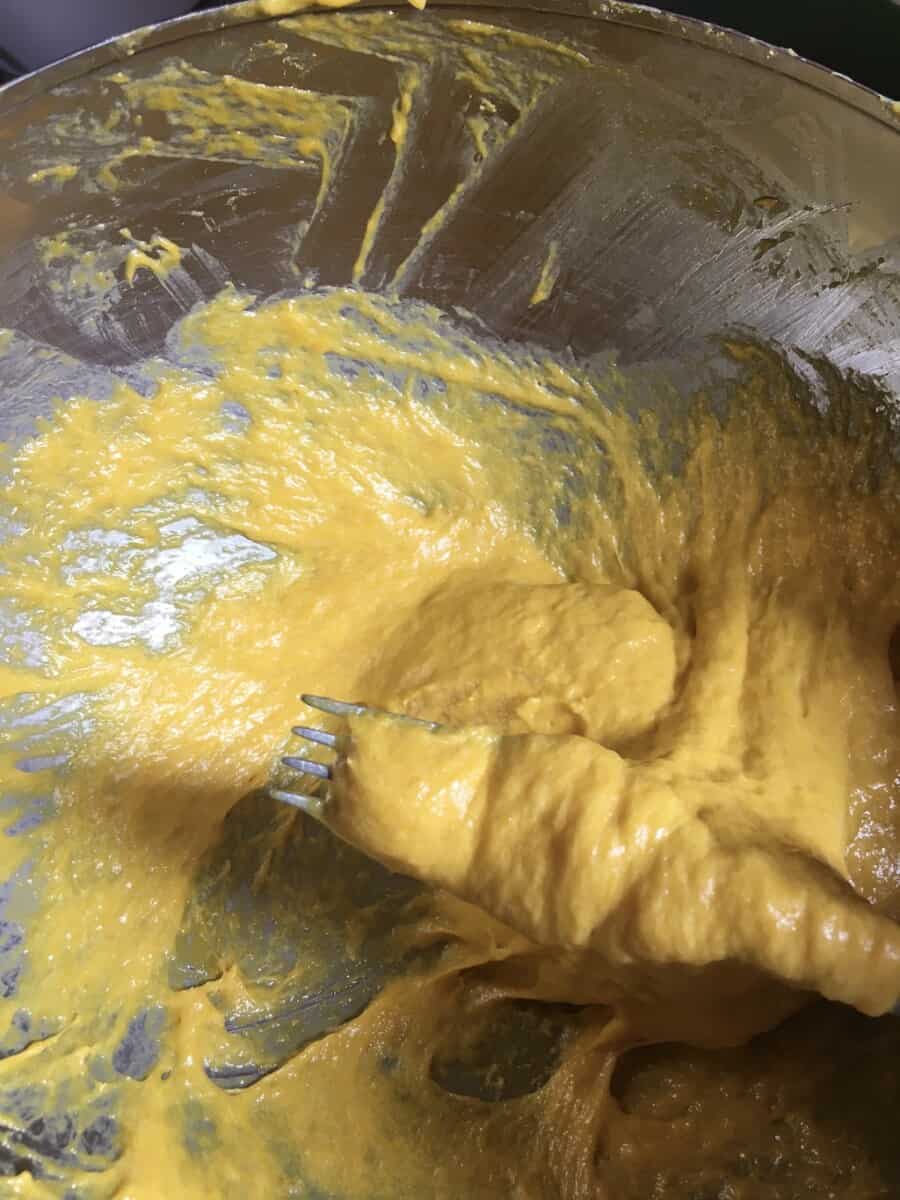
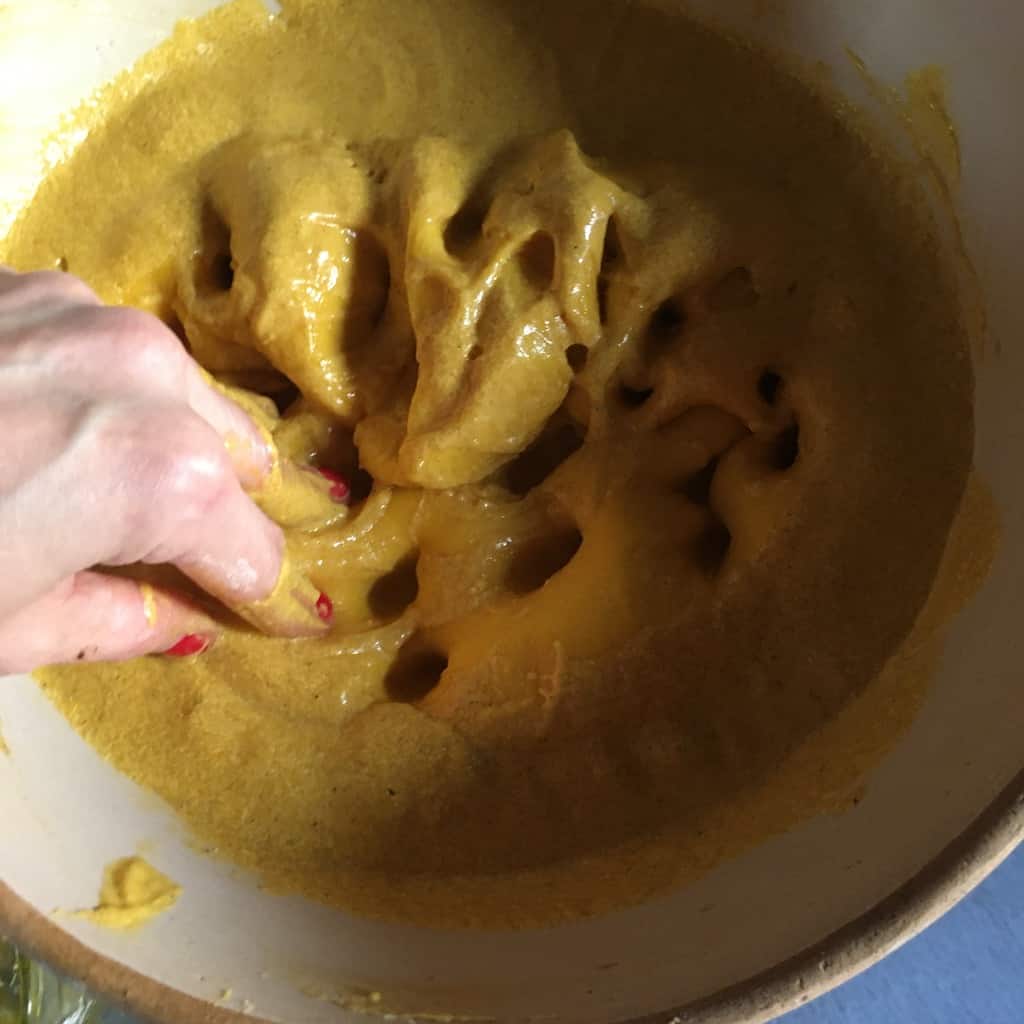
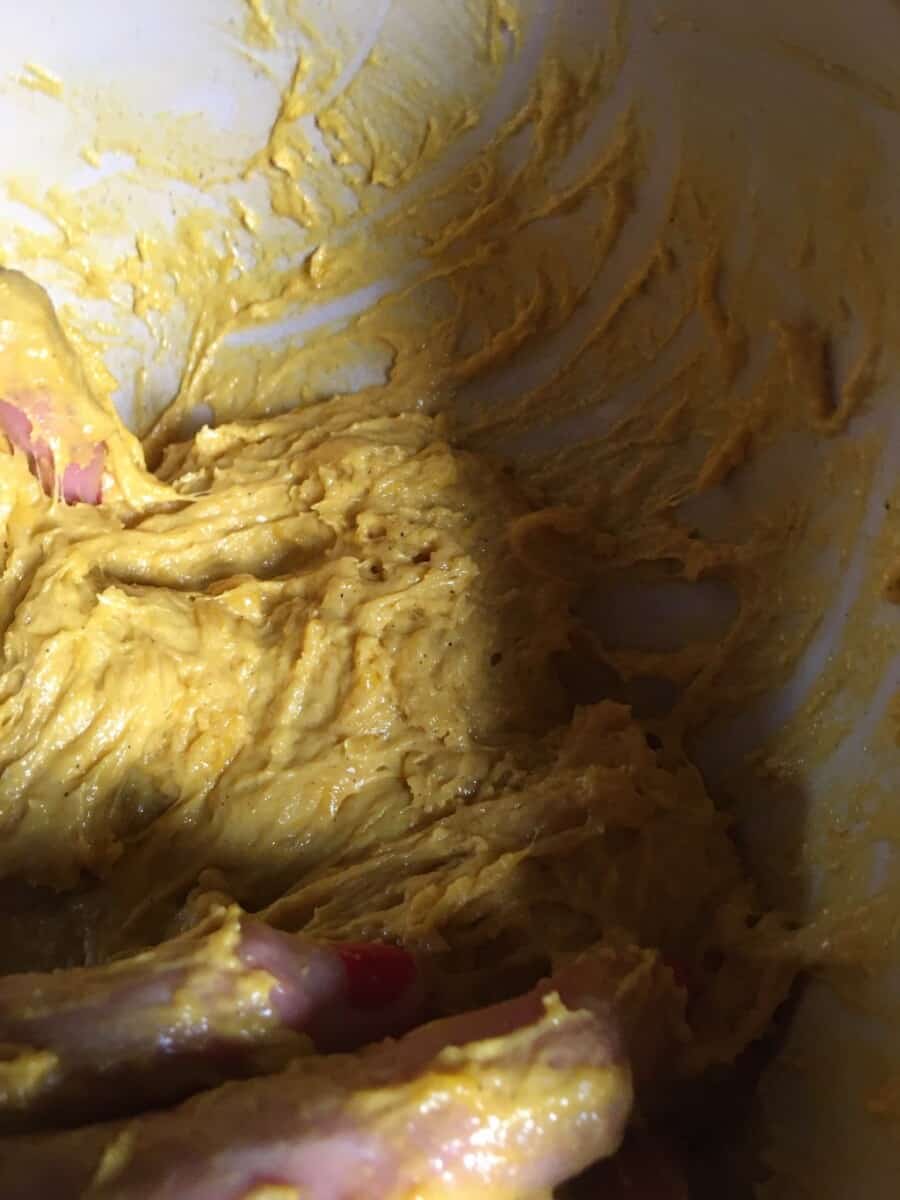
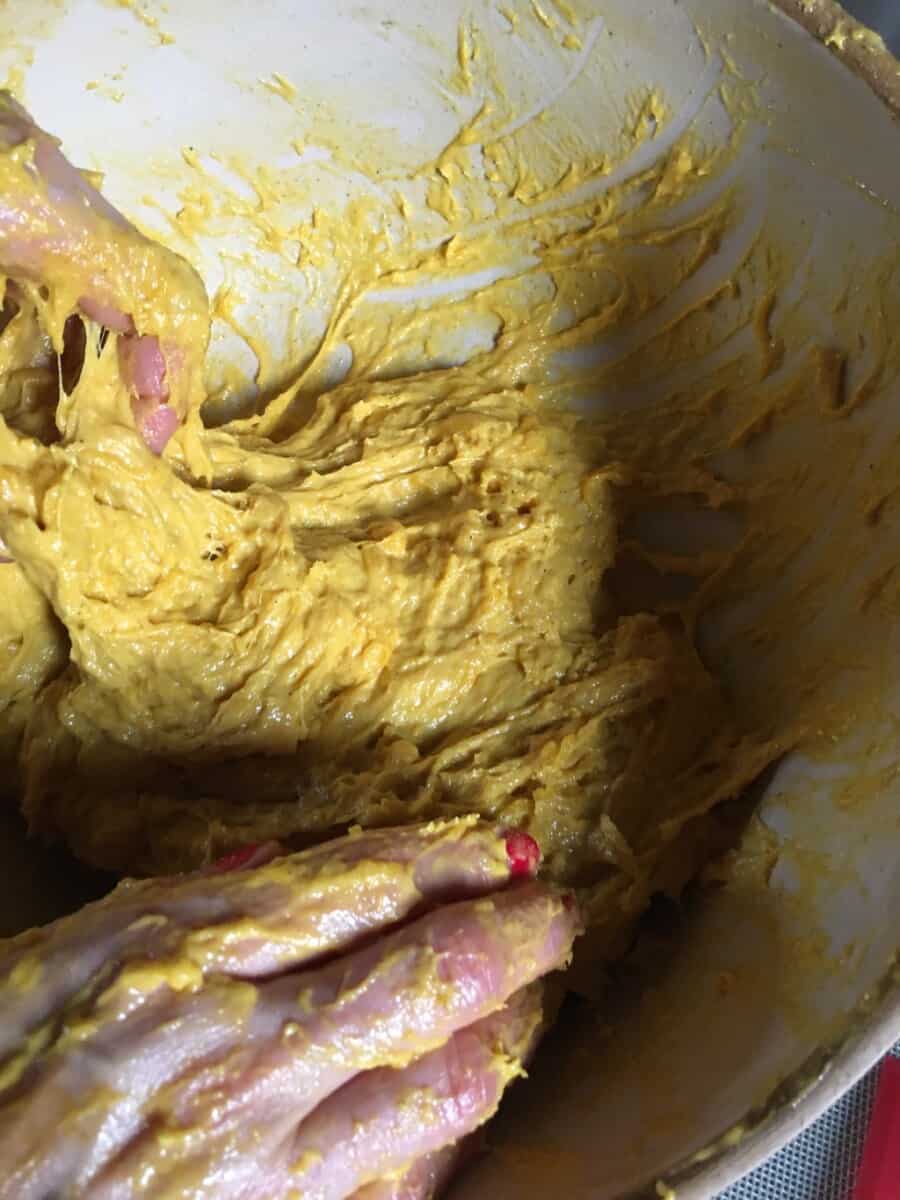
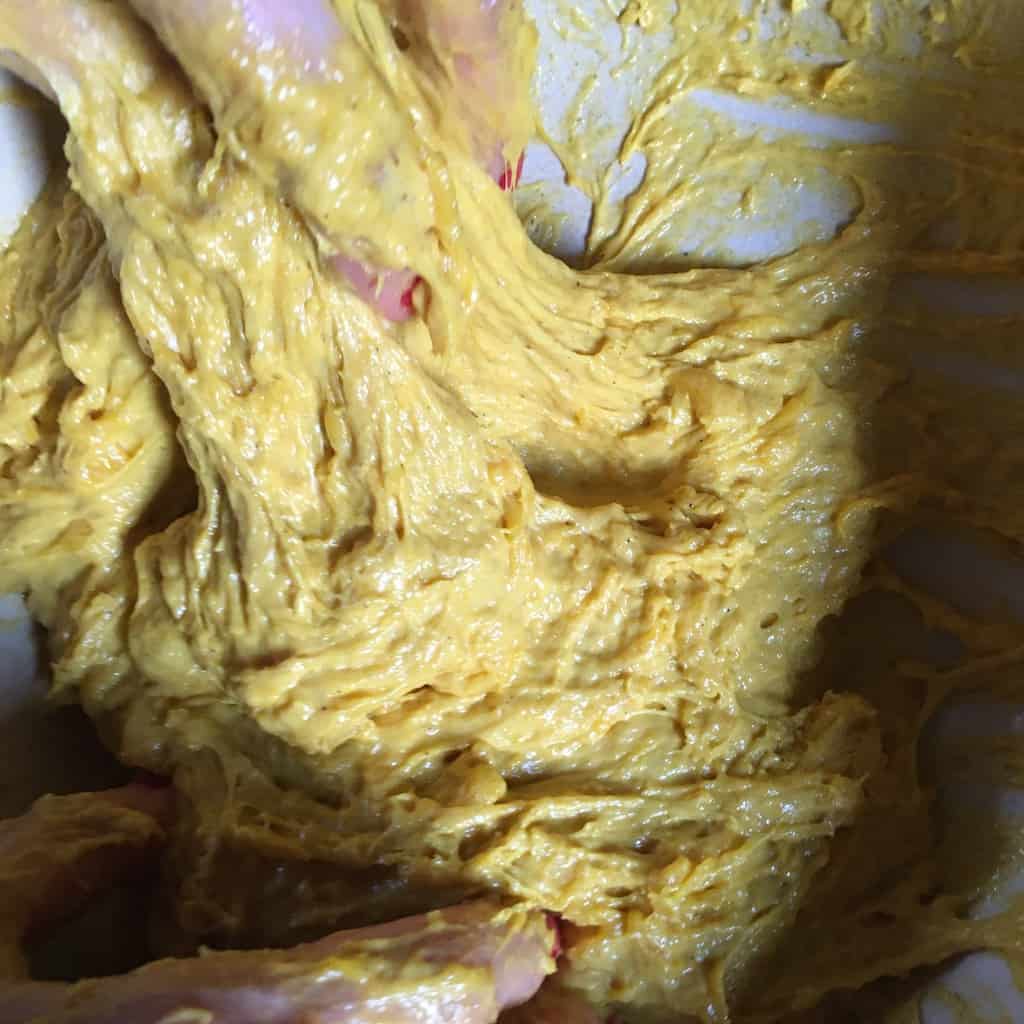
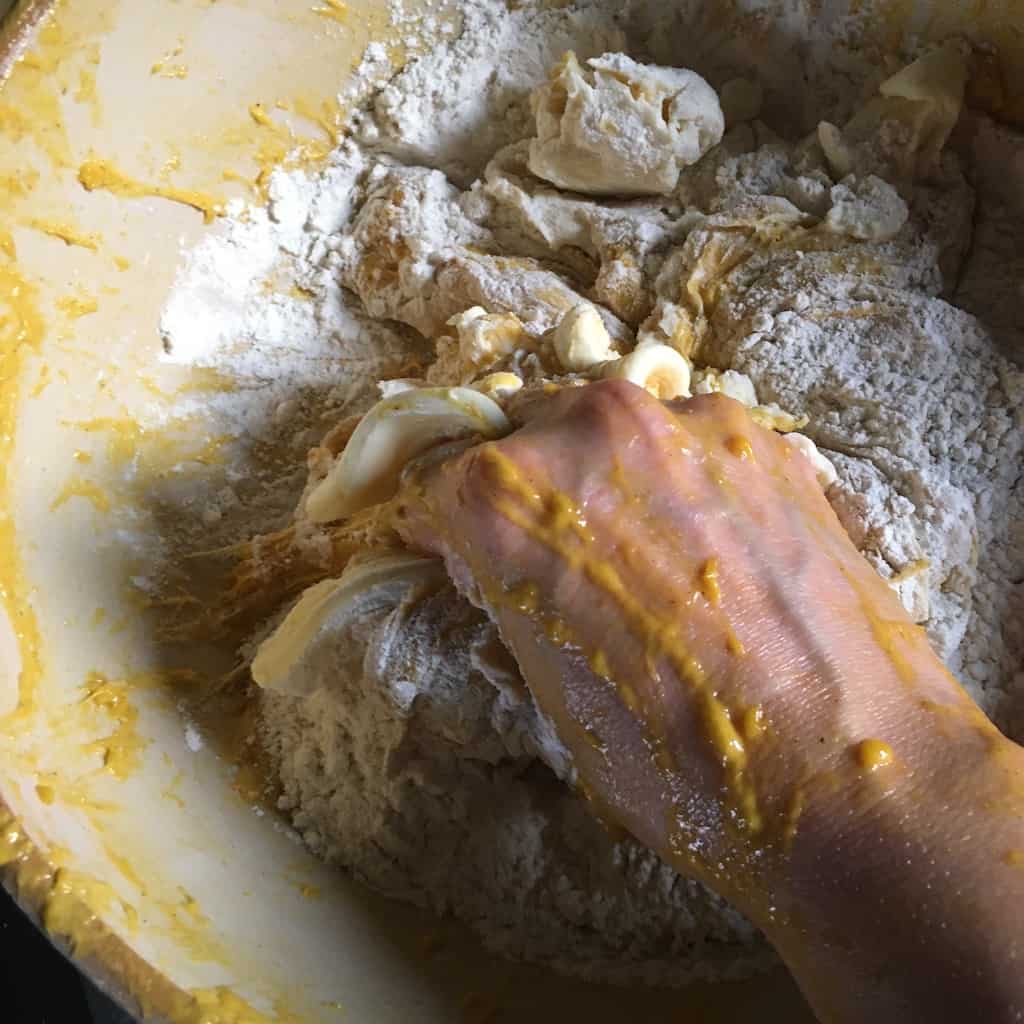
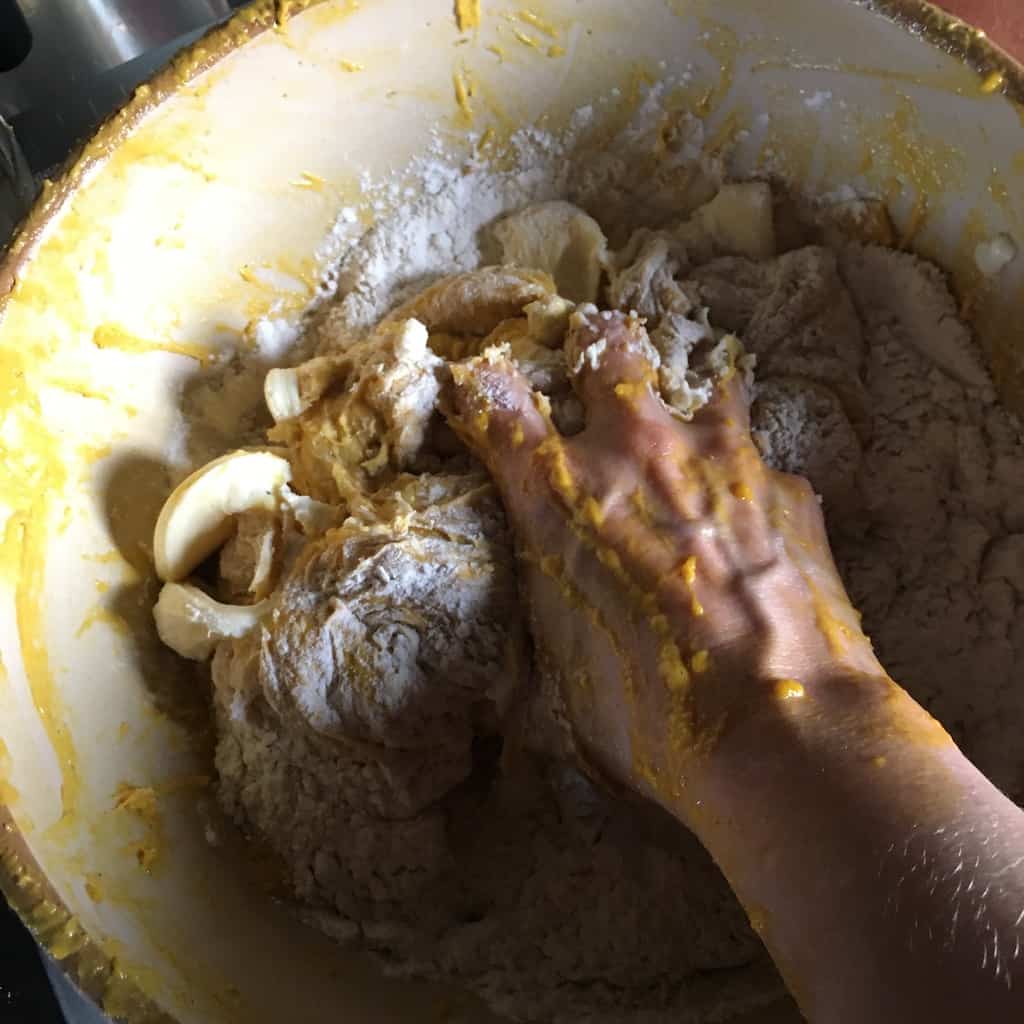
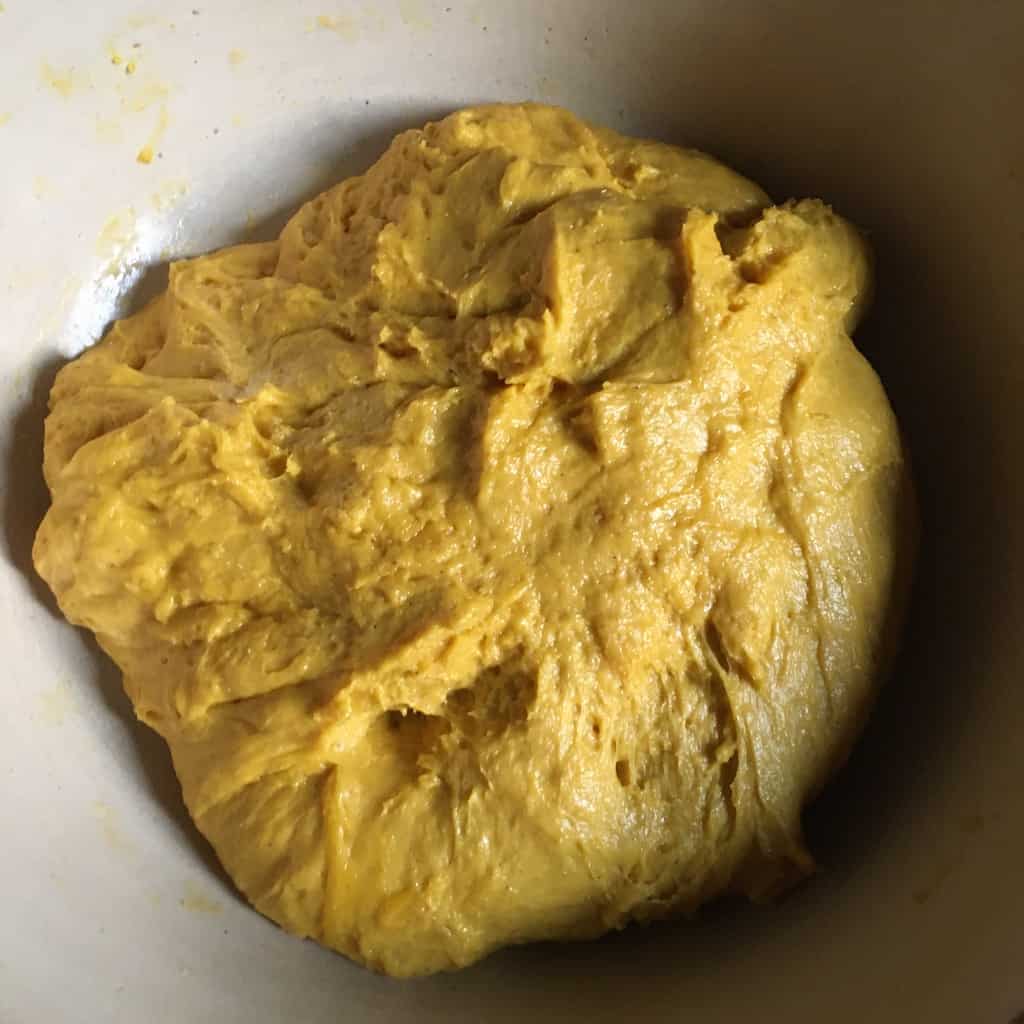
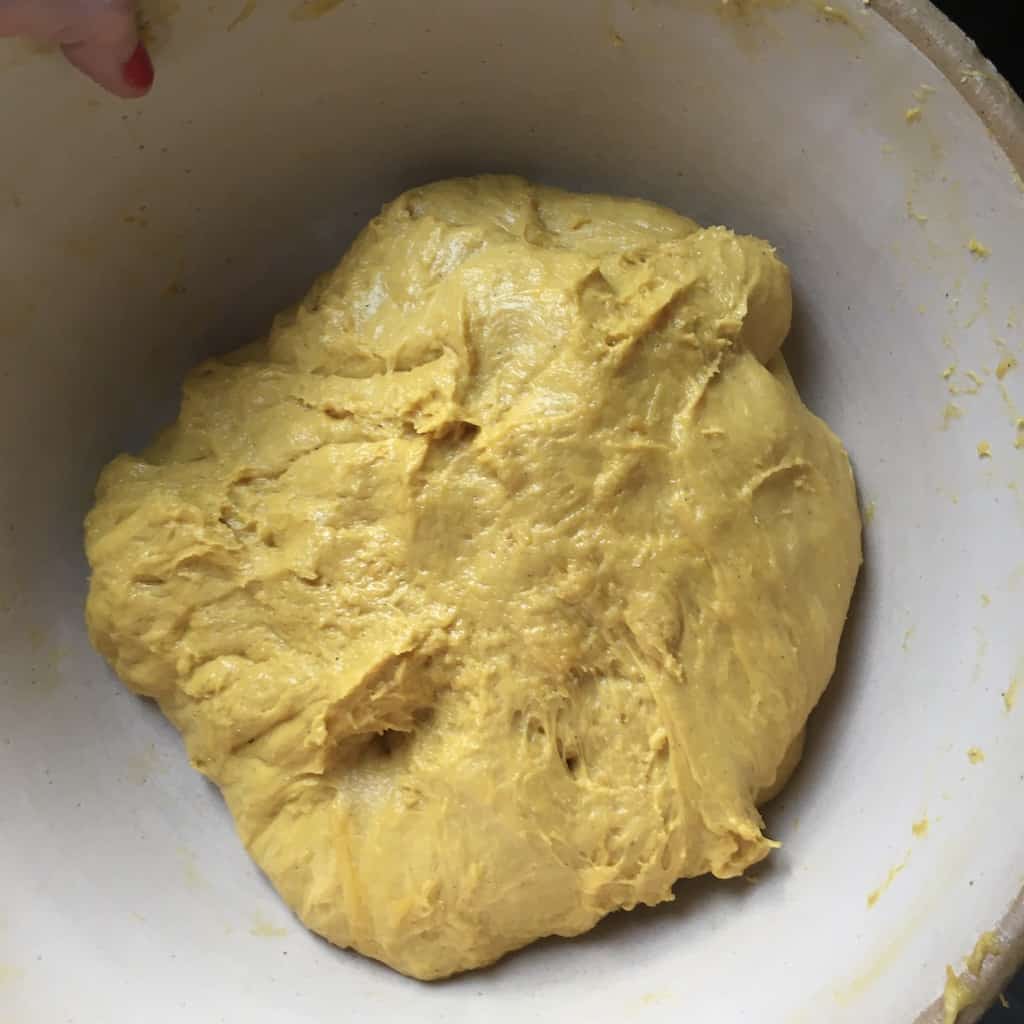
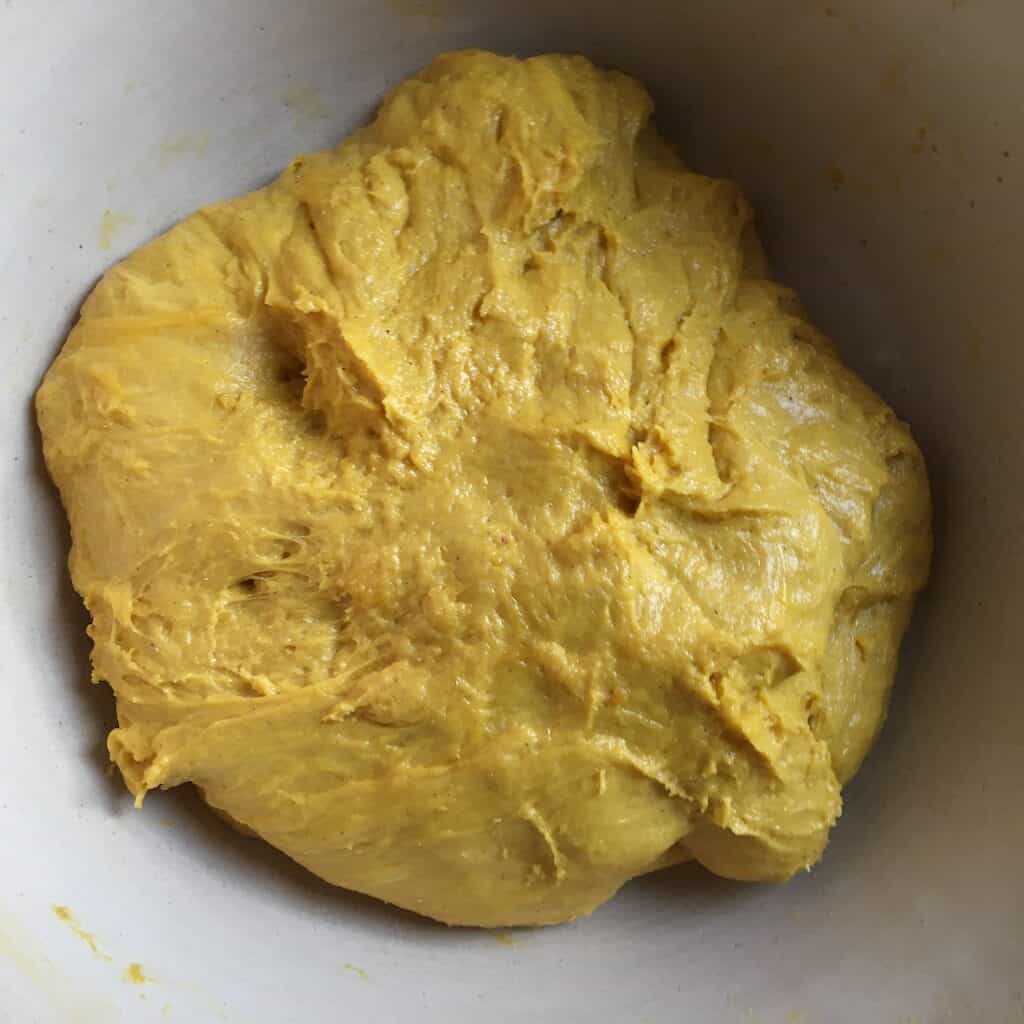
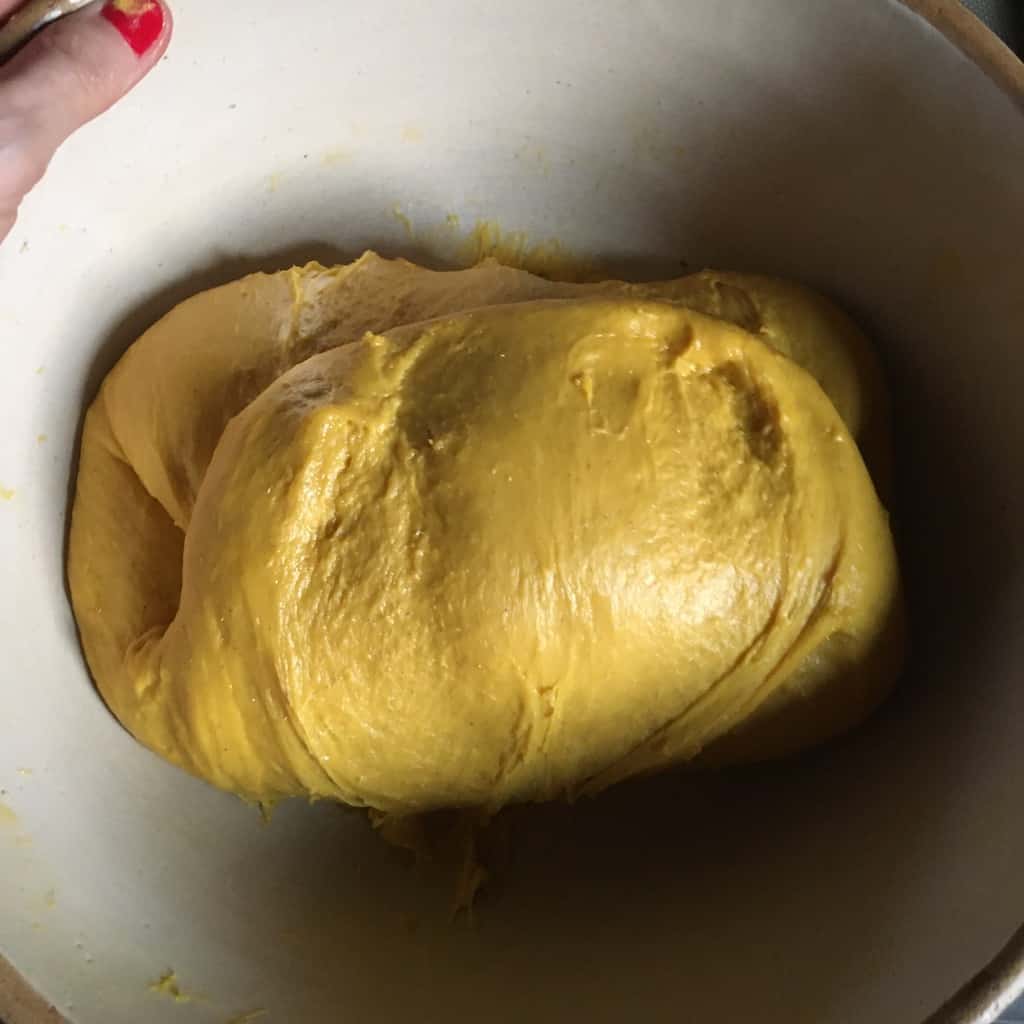
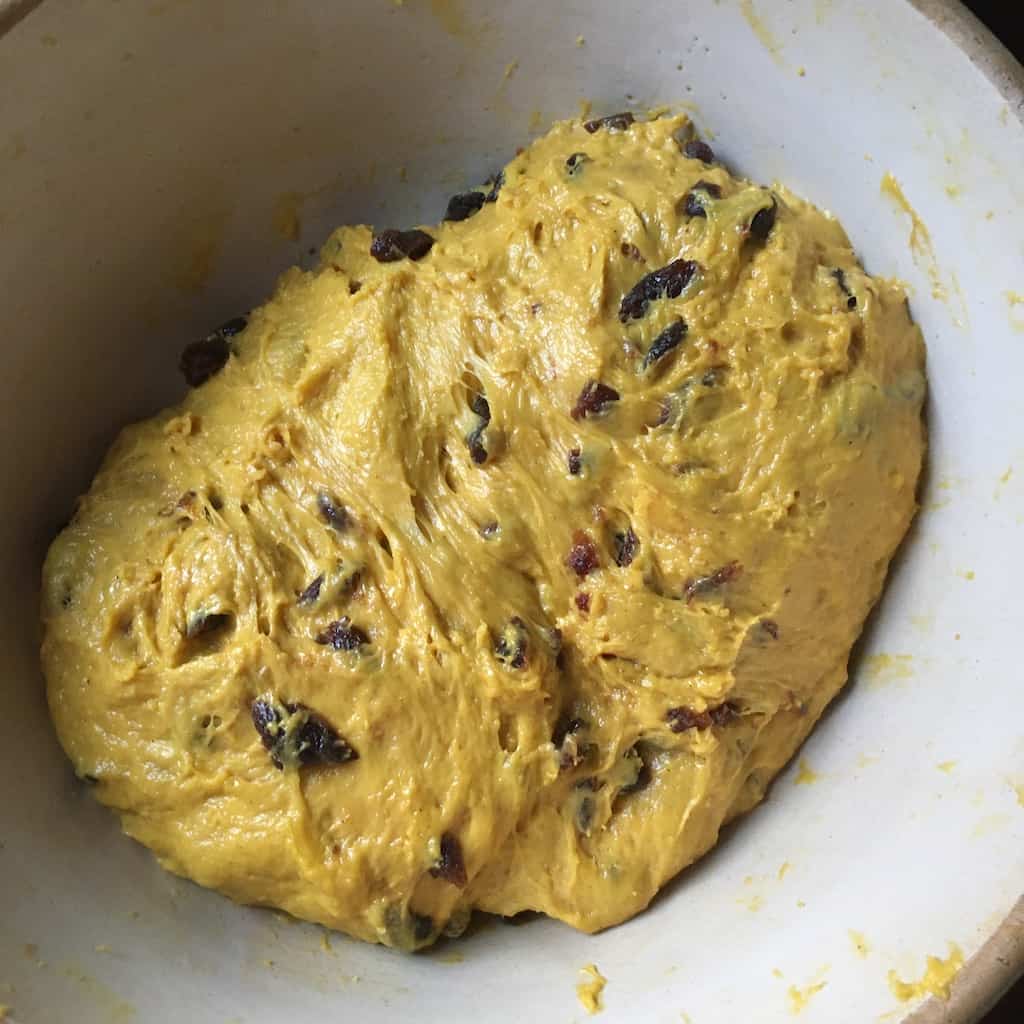
- Place the risen dough into this mixture and start pressing the dough and squeezing it into the mixture with your hands until you have a sticky but cohesive mass. Add in the remaining flour and butter and squish and mix and knead for about 10-12 minutes. Slap, pull, and string the dough up and down to help develop the gluten being sure to scrape down the sides of the bowl frequently with a dough scraper. *It's really messy, but you can do it.
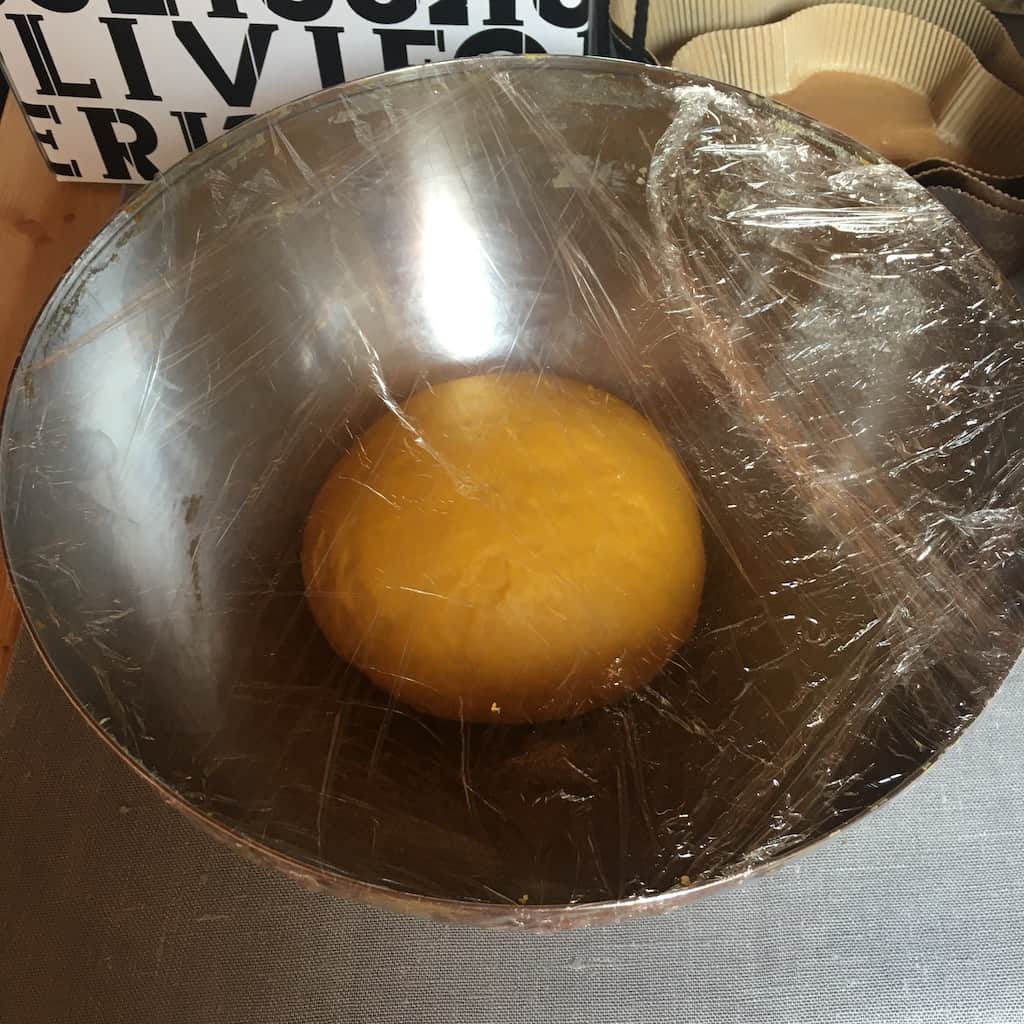
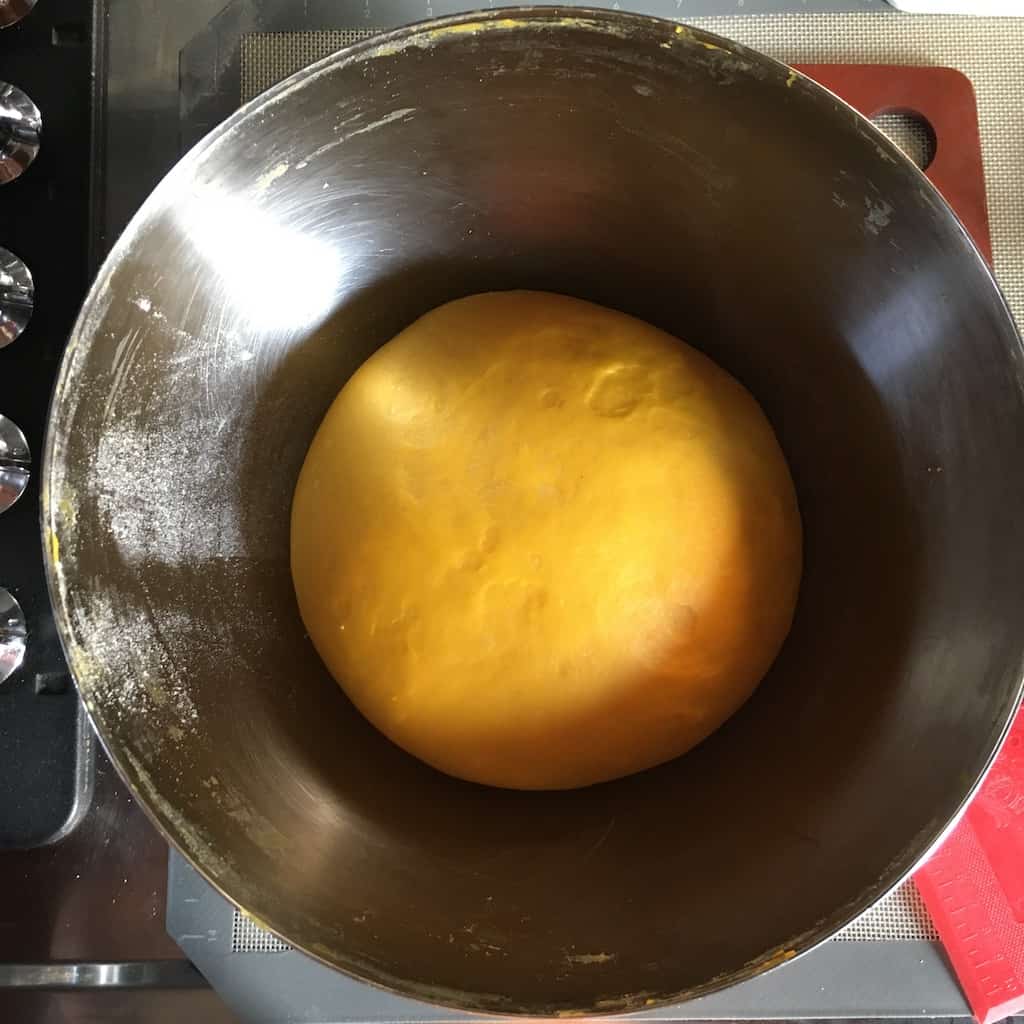
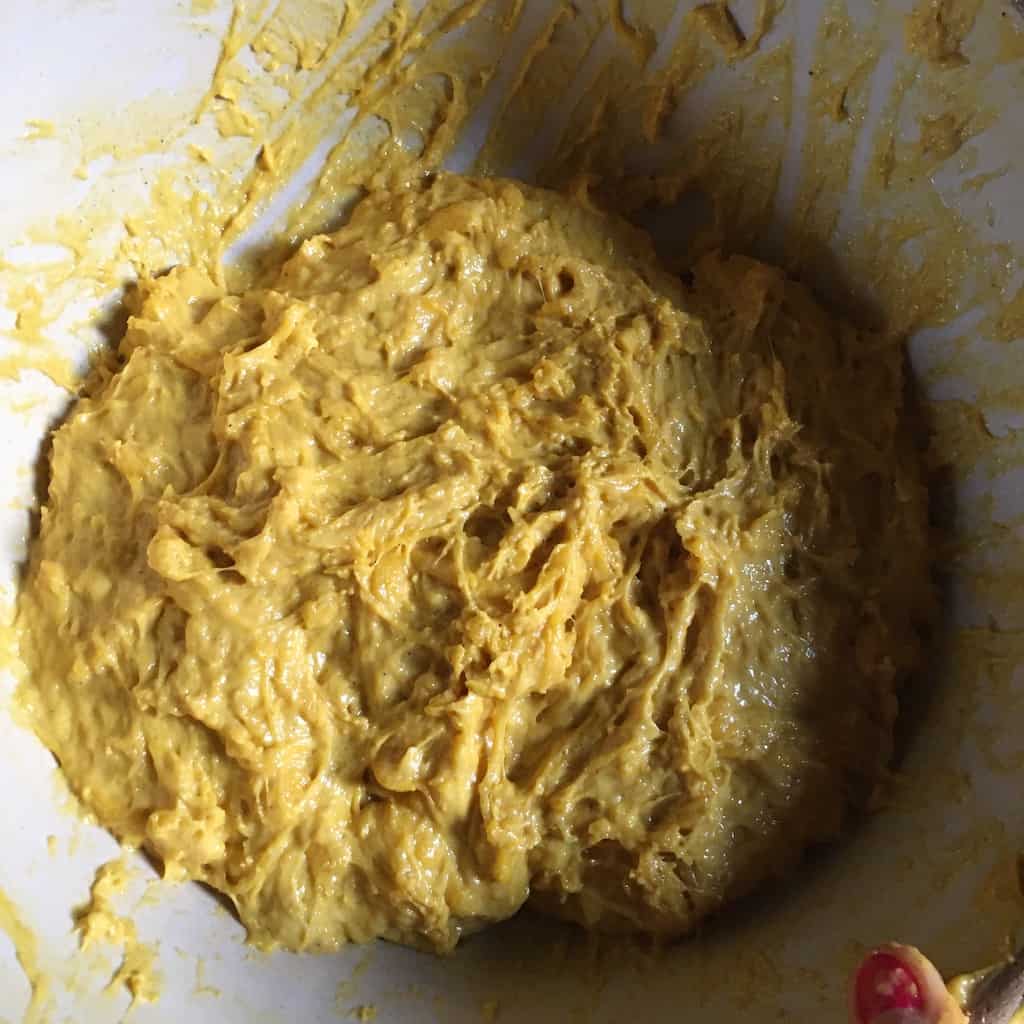
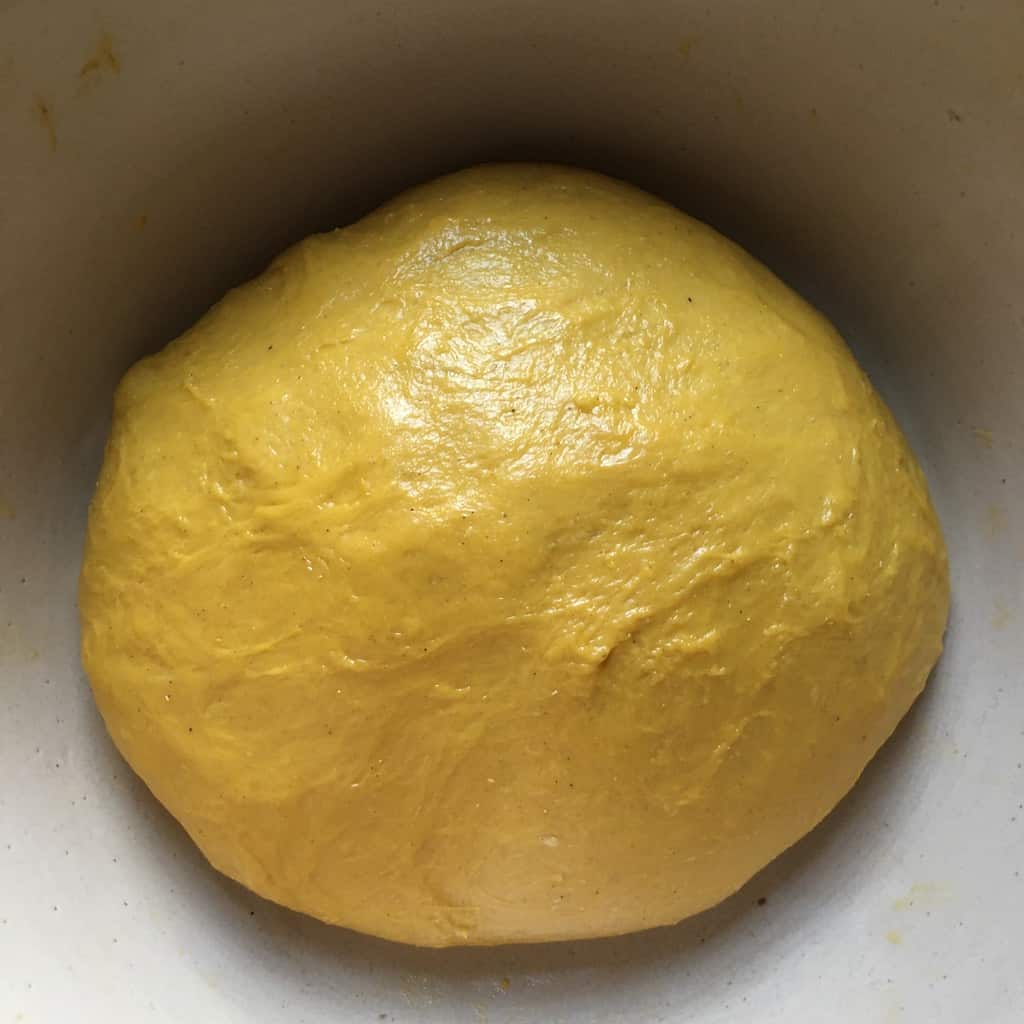
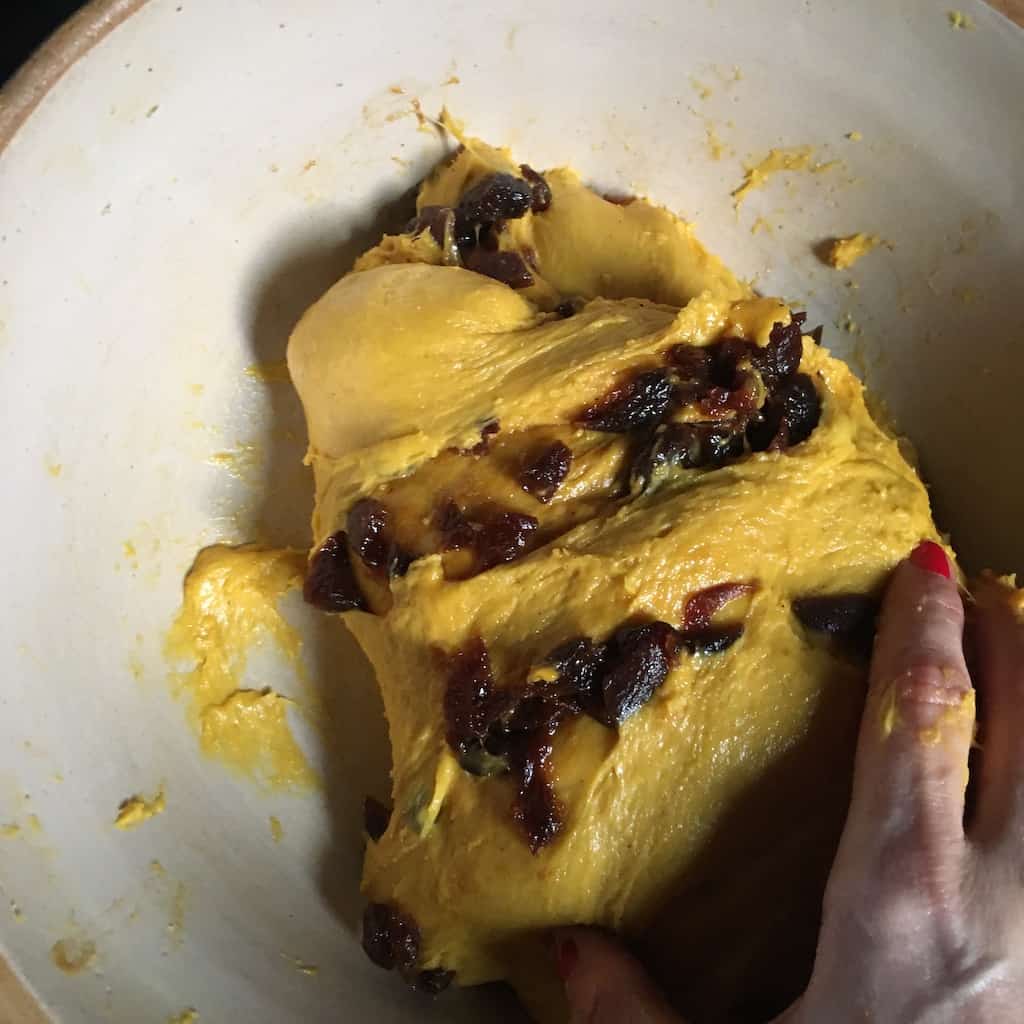
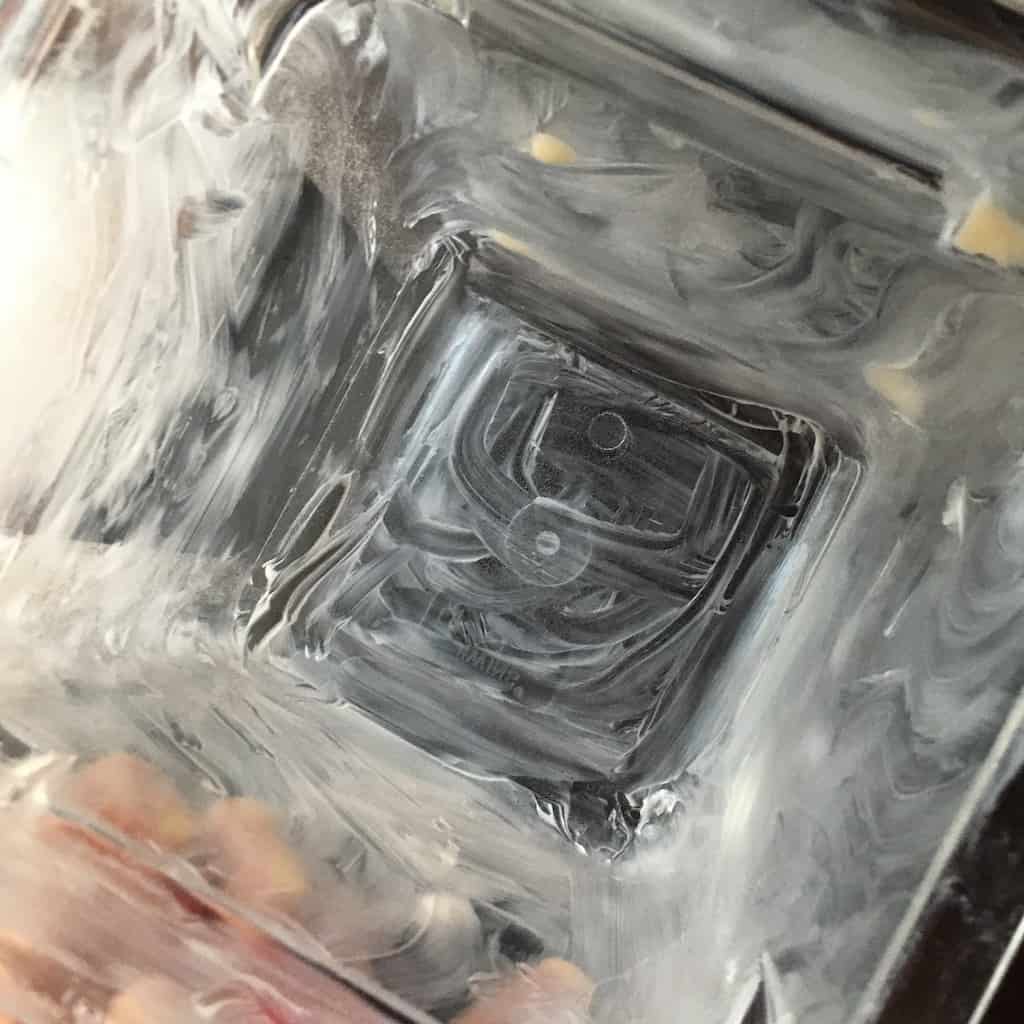
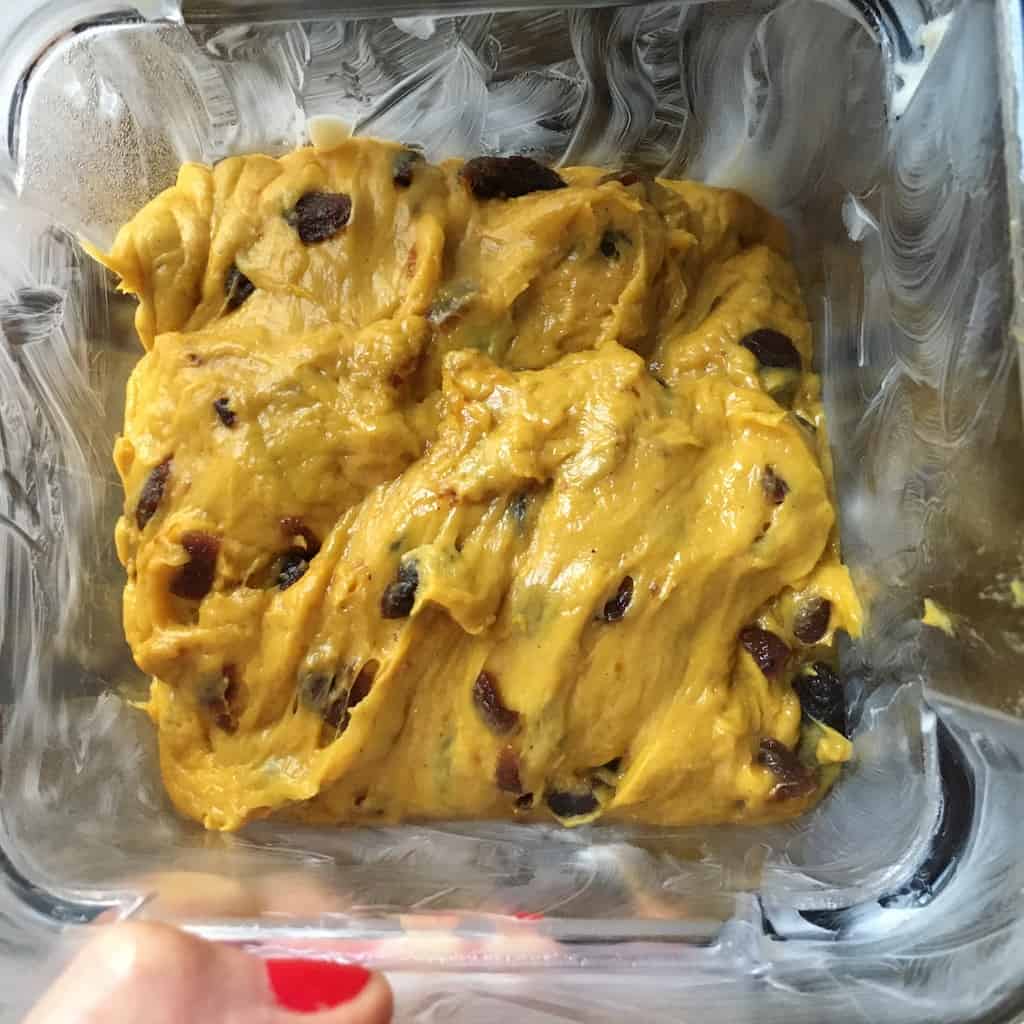
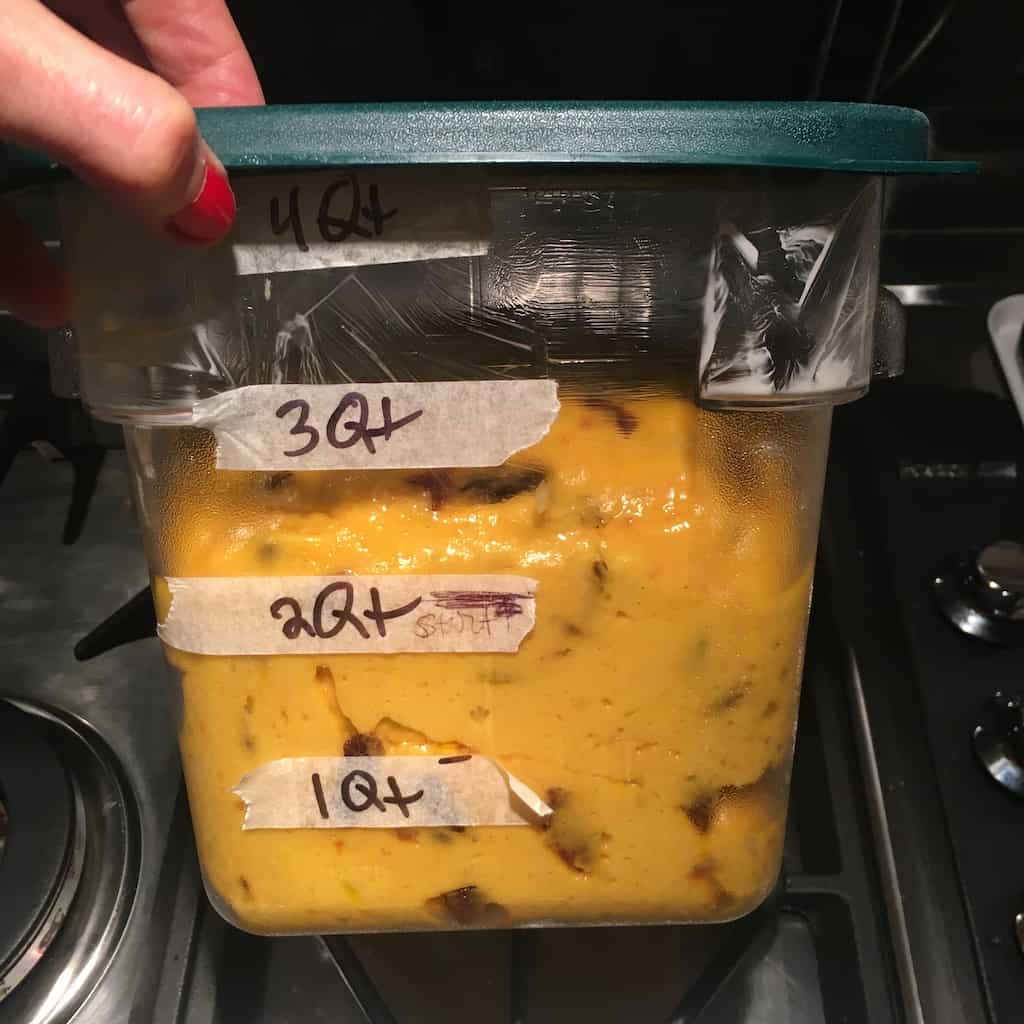
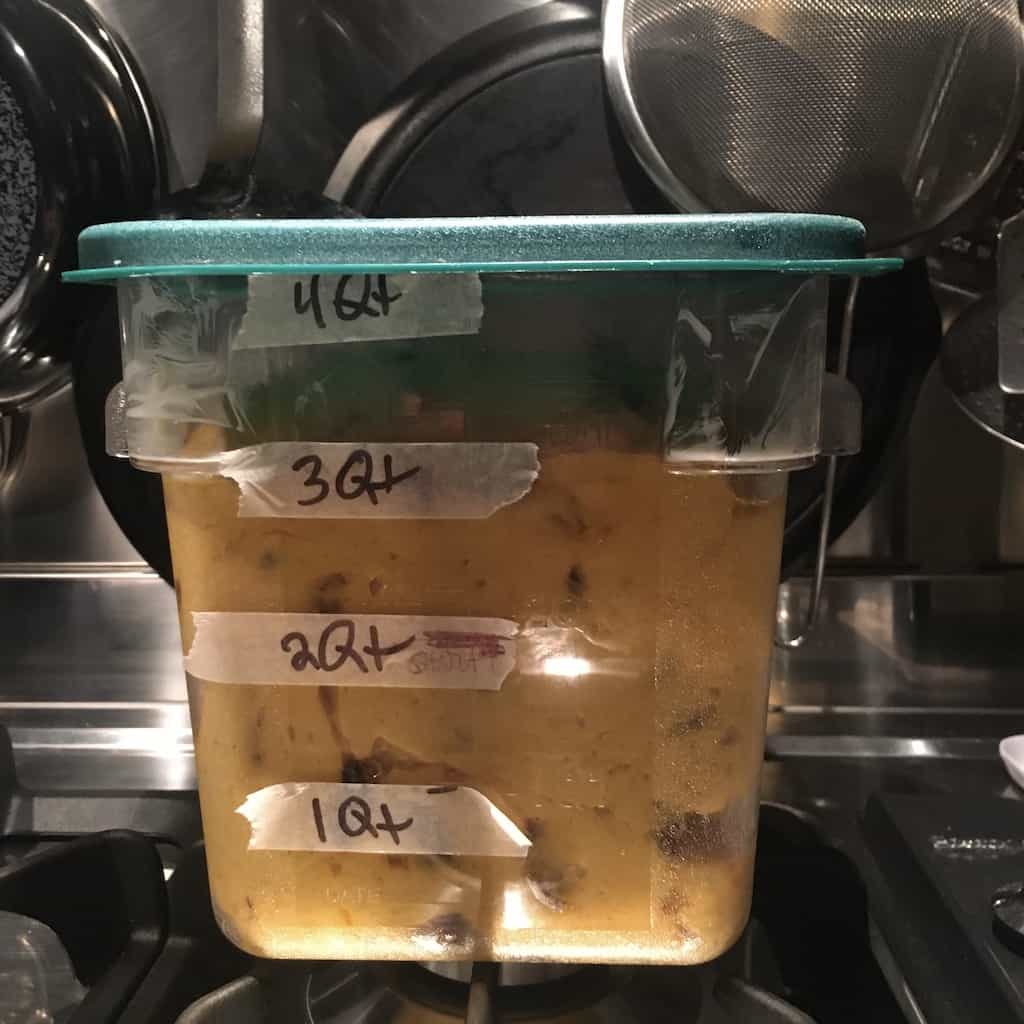
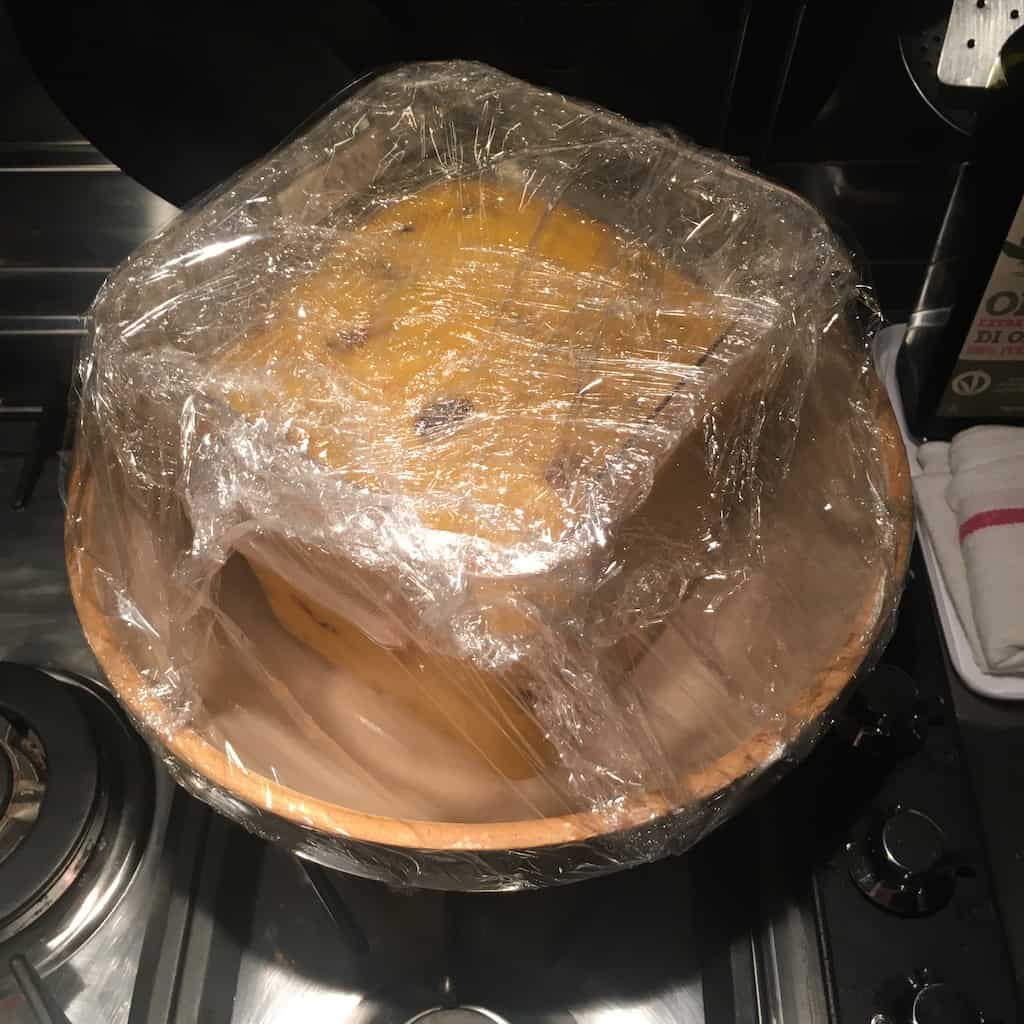
- Once the dough is kneaded, add the candied apricots and mix them in while squeezing the dough with your hands until well incorporated. Form the dough into a round and place it into a very large buttered container (with at least 4-quart to 6qt capacity). Cover with plastic. Let dough rise at room temperature until doubled and it's soft and supple for 8 to 12 hours.
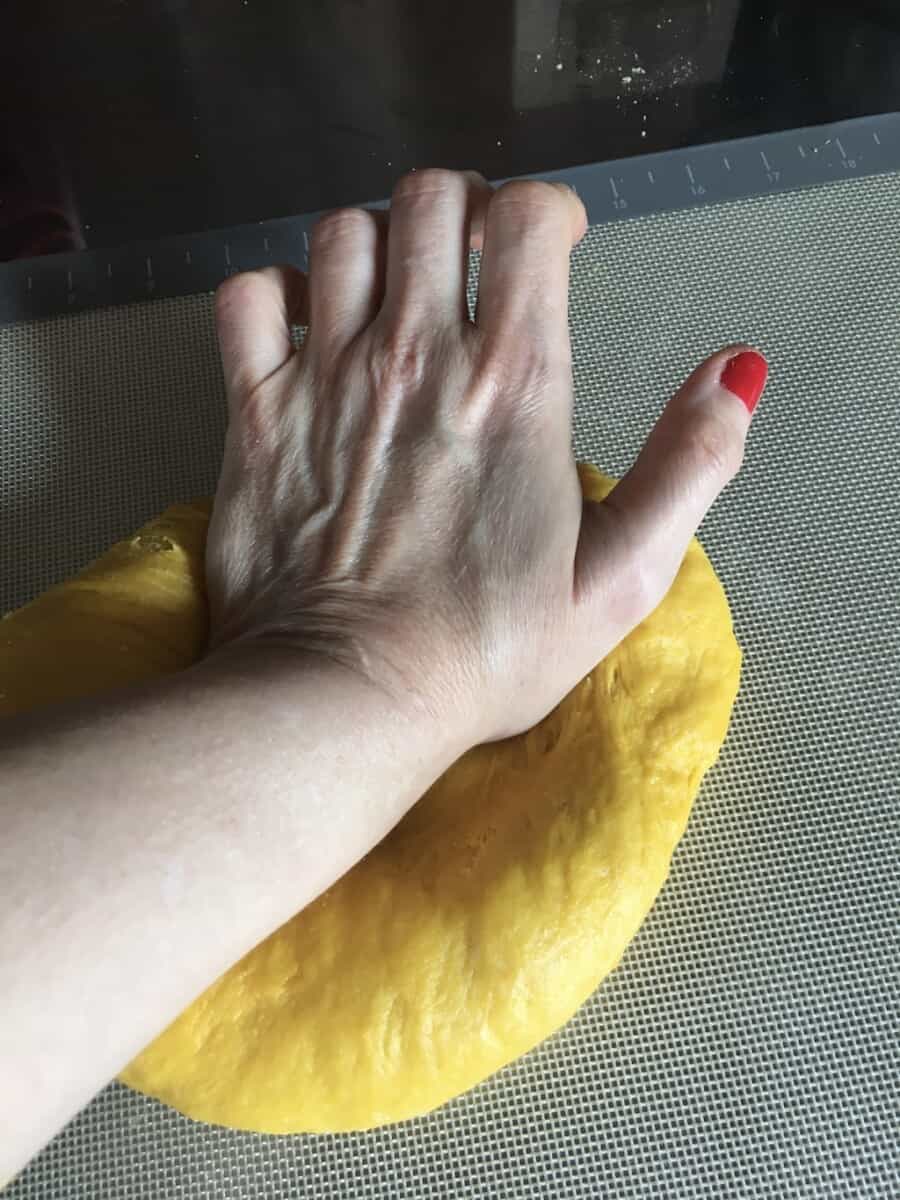
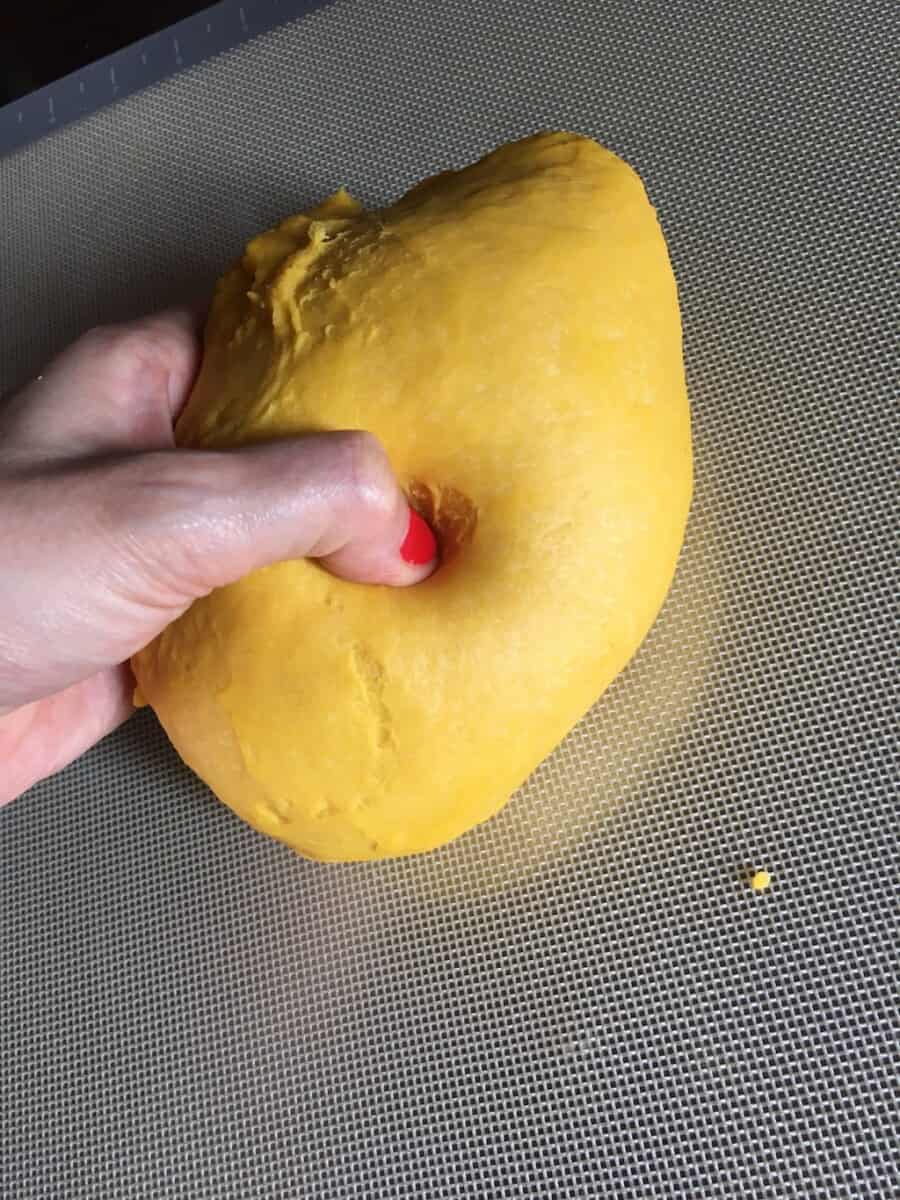
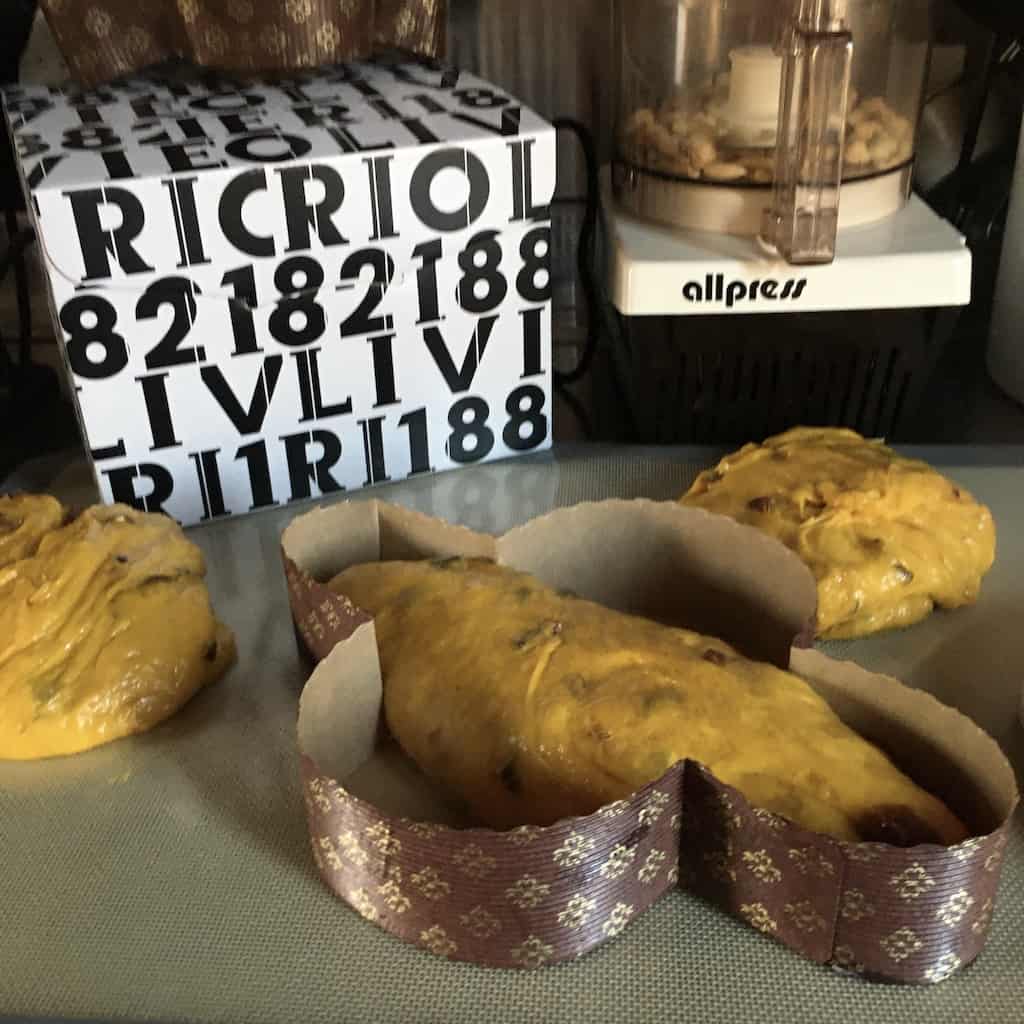
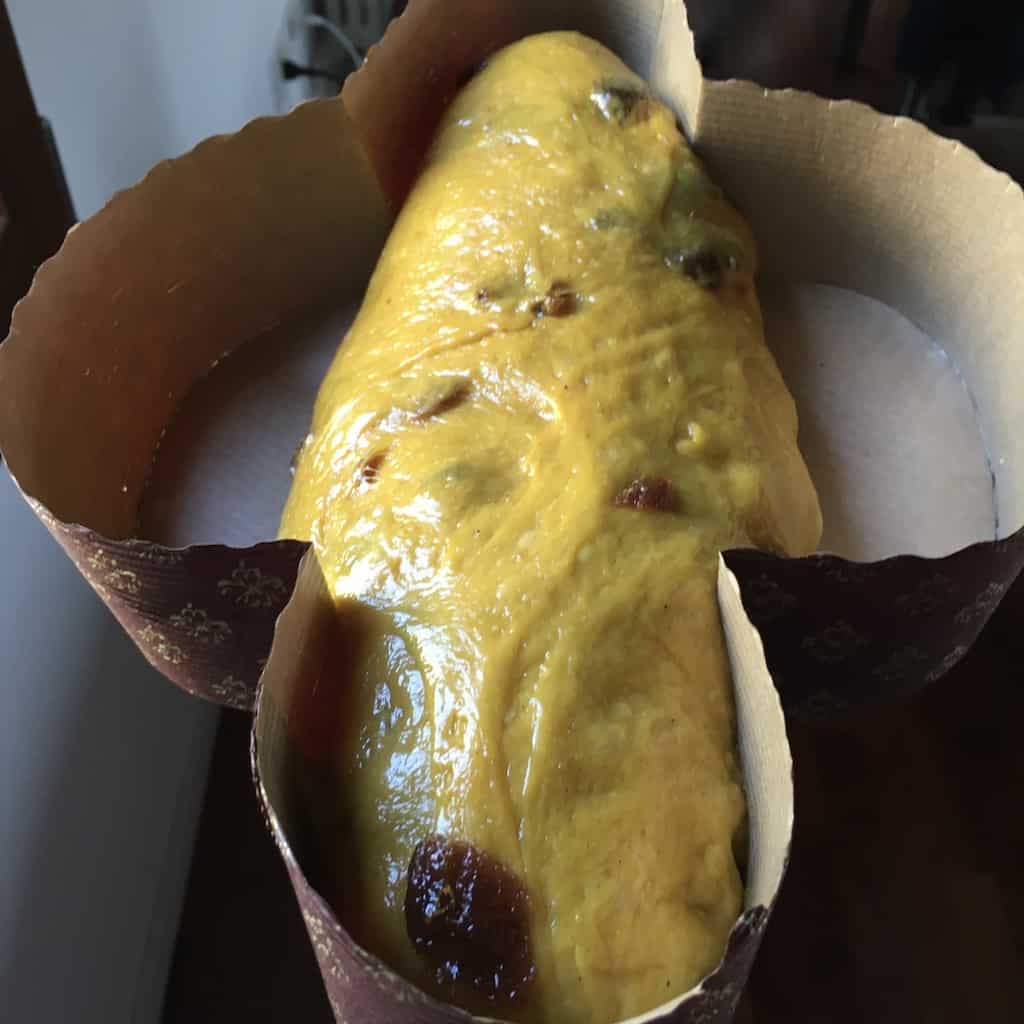
STEP 5: (Day 2) portioning + adding the dough to the paper molds + last rise [REST: 3 to 3.5 HOURS]
- Gently pour the dough out onto a Silpat or other nonstick baking mat. Divide dough into 3 equal pieces. Divide 1 piece in half and then shape each half into a 10-inch-long log. Arrange 1 log crosswise in each paper baking mold, curving ends under to fit. Roll each remaining dough piece into 11-inch-long. Place 1 log across the dough in each mold. (If using 2 springform pans, divide dough in half; place half of the dough in each prepared pan). Cover molds (or pans) with plastic. Let stand at room temperature or in the oven with the light only turned on until the dough has risen to just below the tops of each mold or about 3 to 3/1/2 hours.
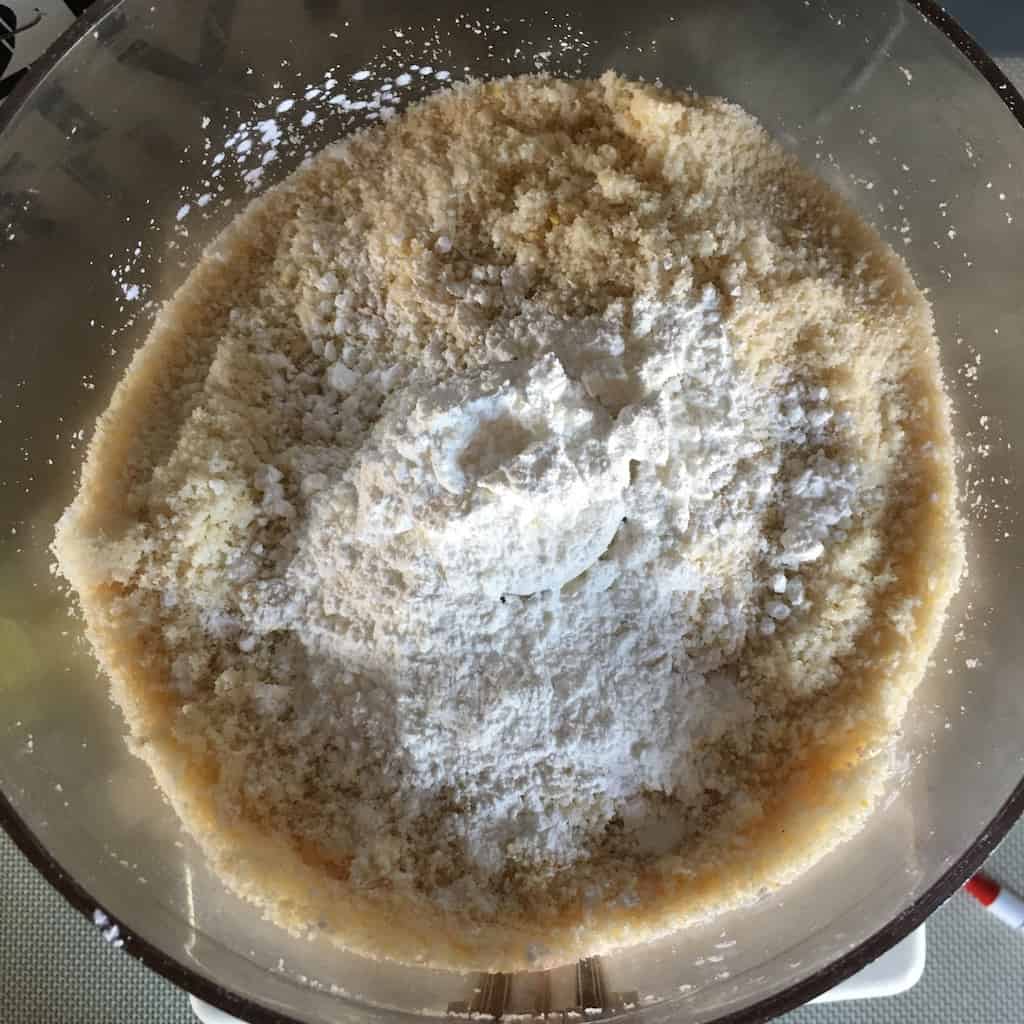
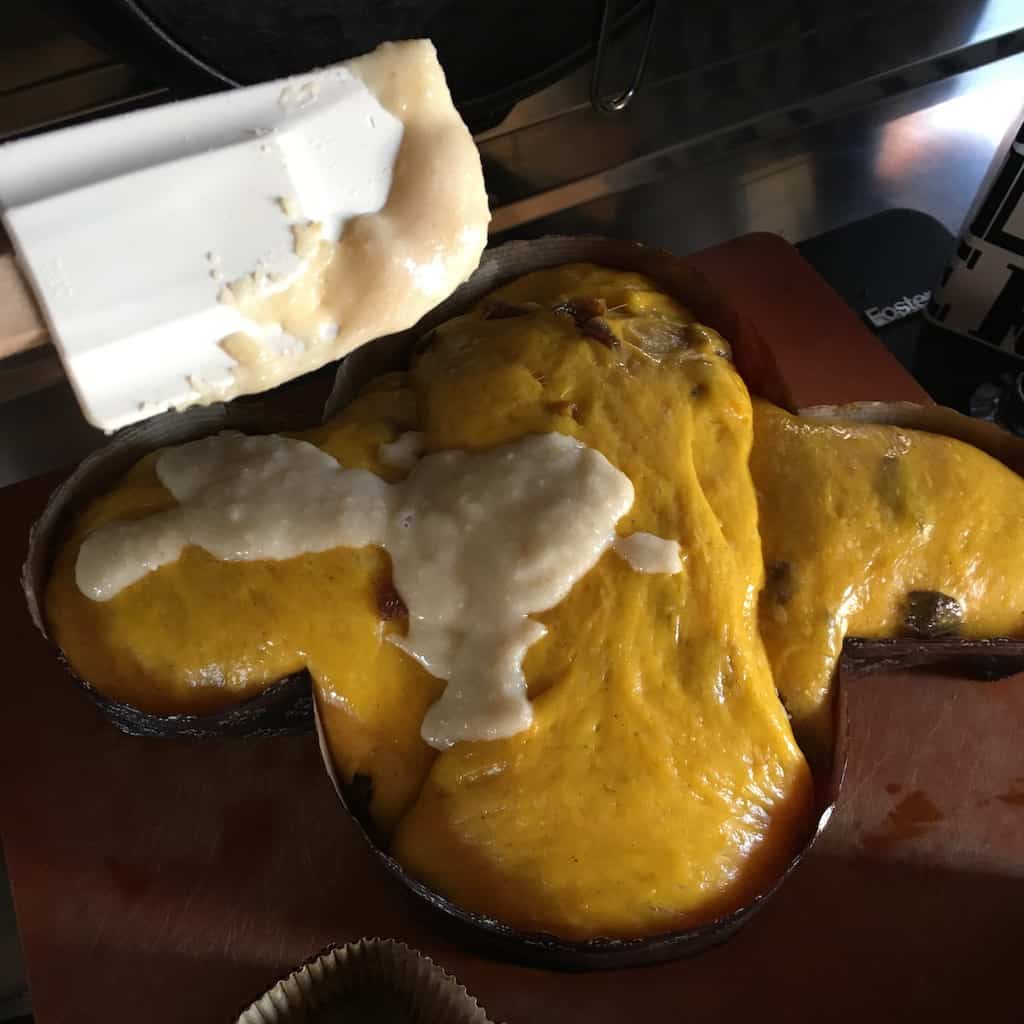
STEP 6: (Day 2) Glazing, decorating, baking + cooling the Colomba
- While the Colombas are rising, position the rack in the bottom third of the oven and preheat to 375°F/190°C.
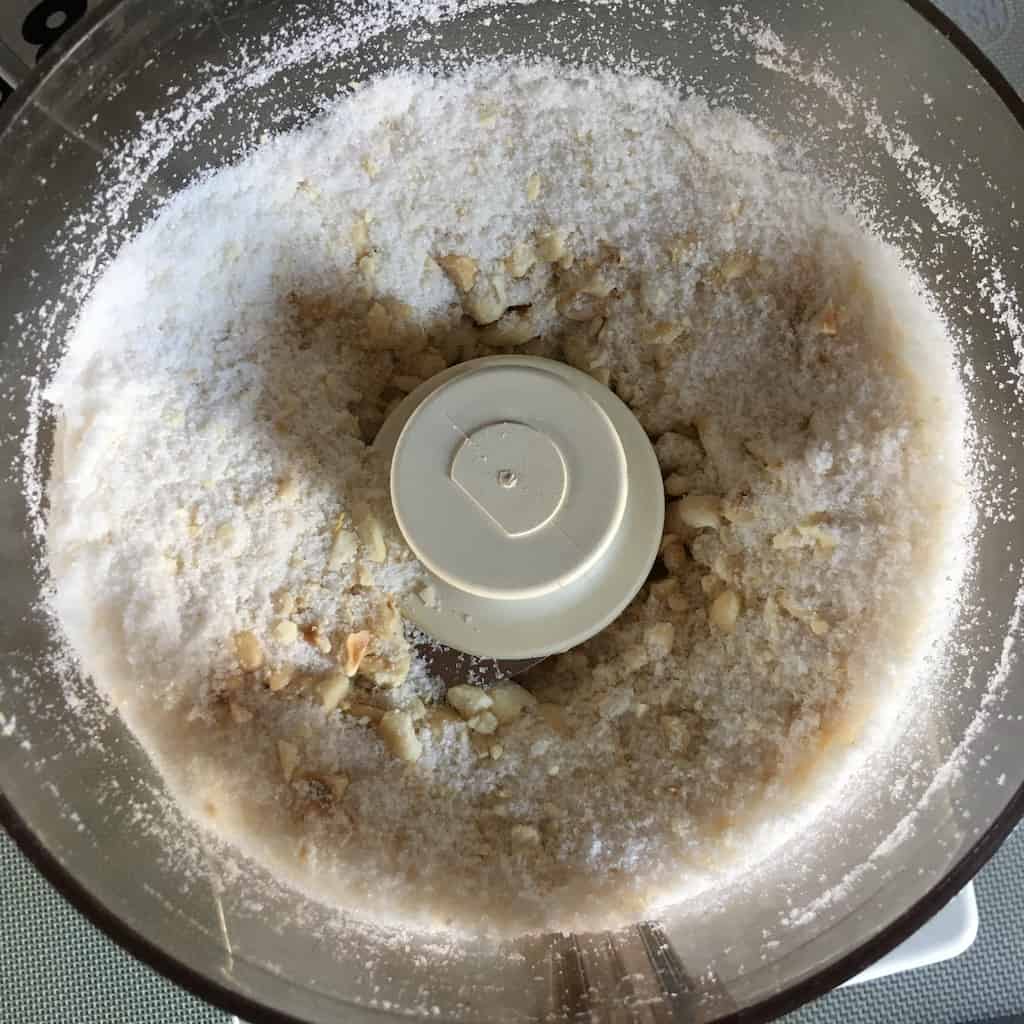
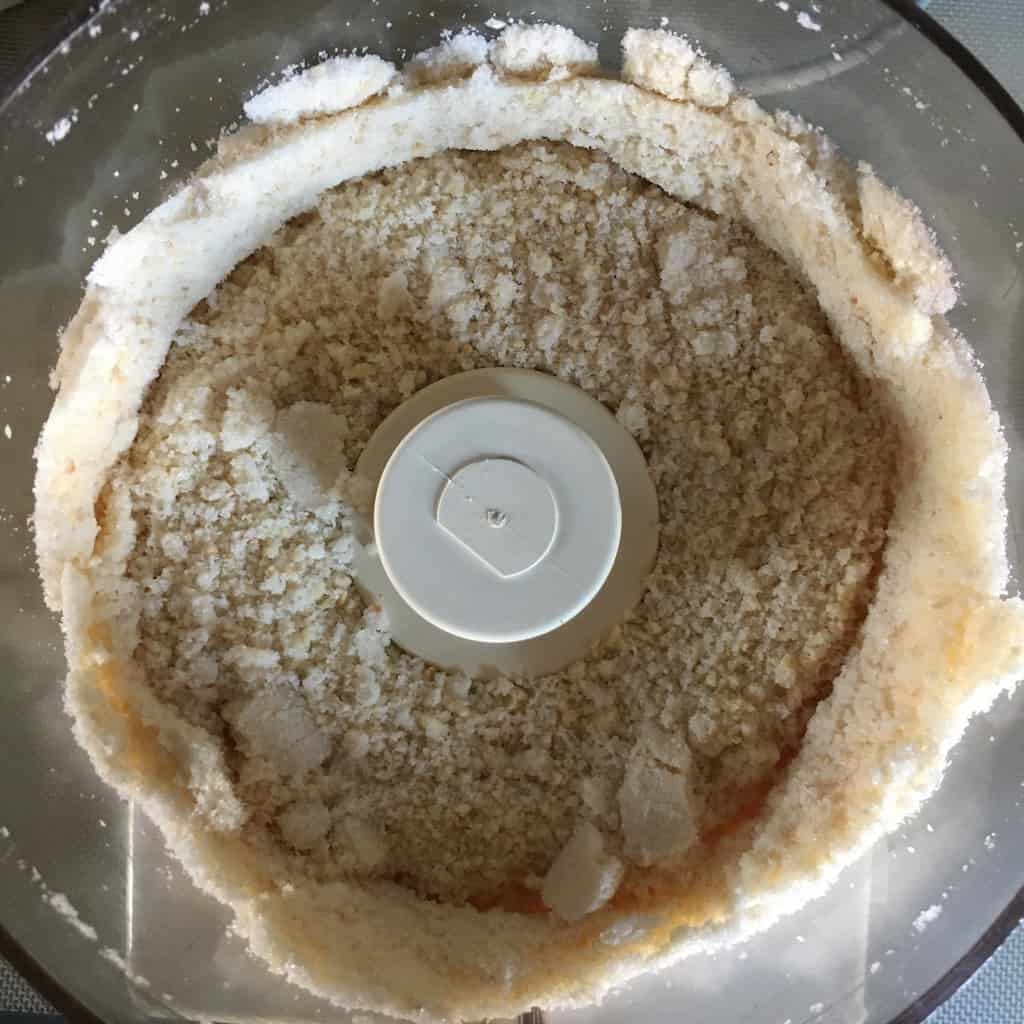
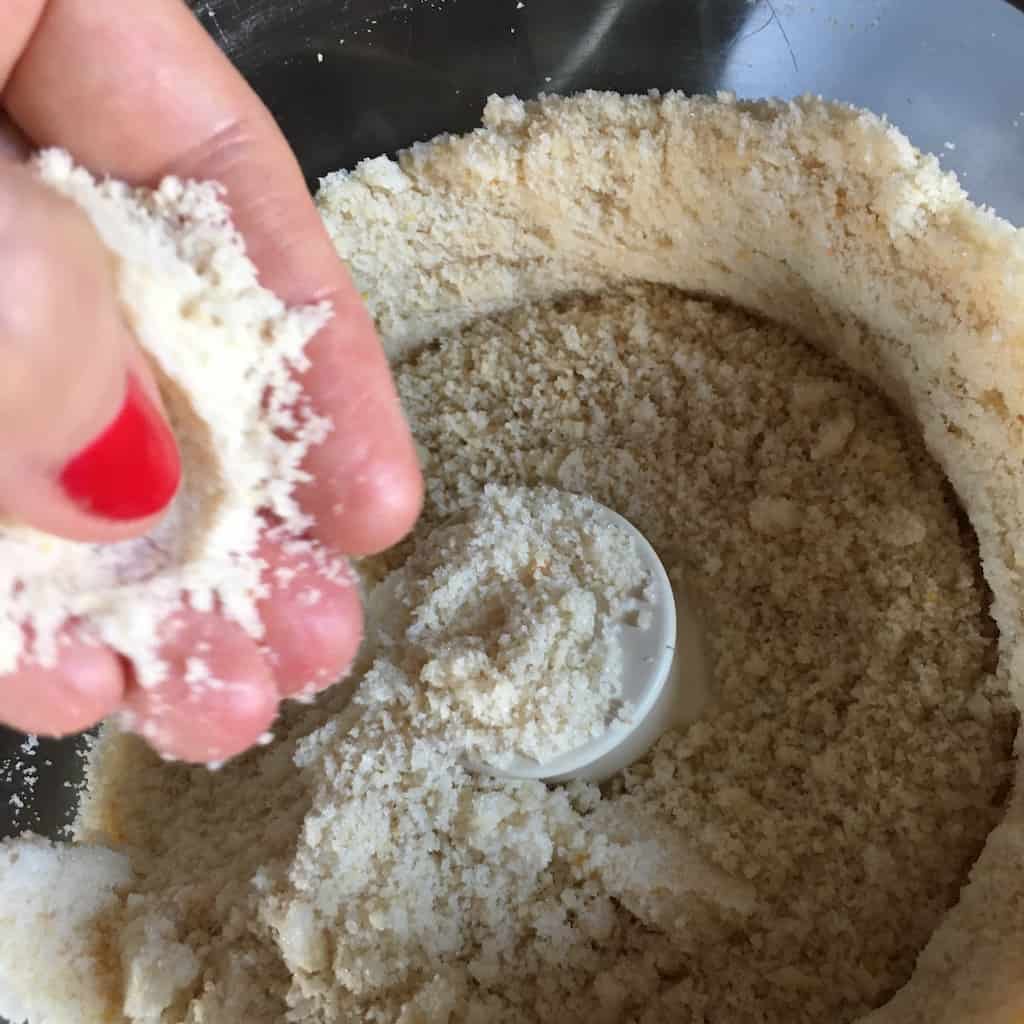
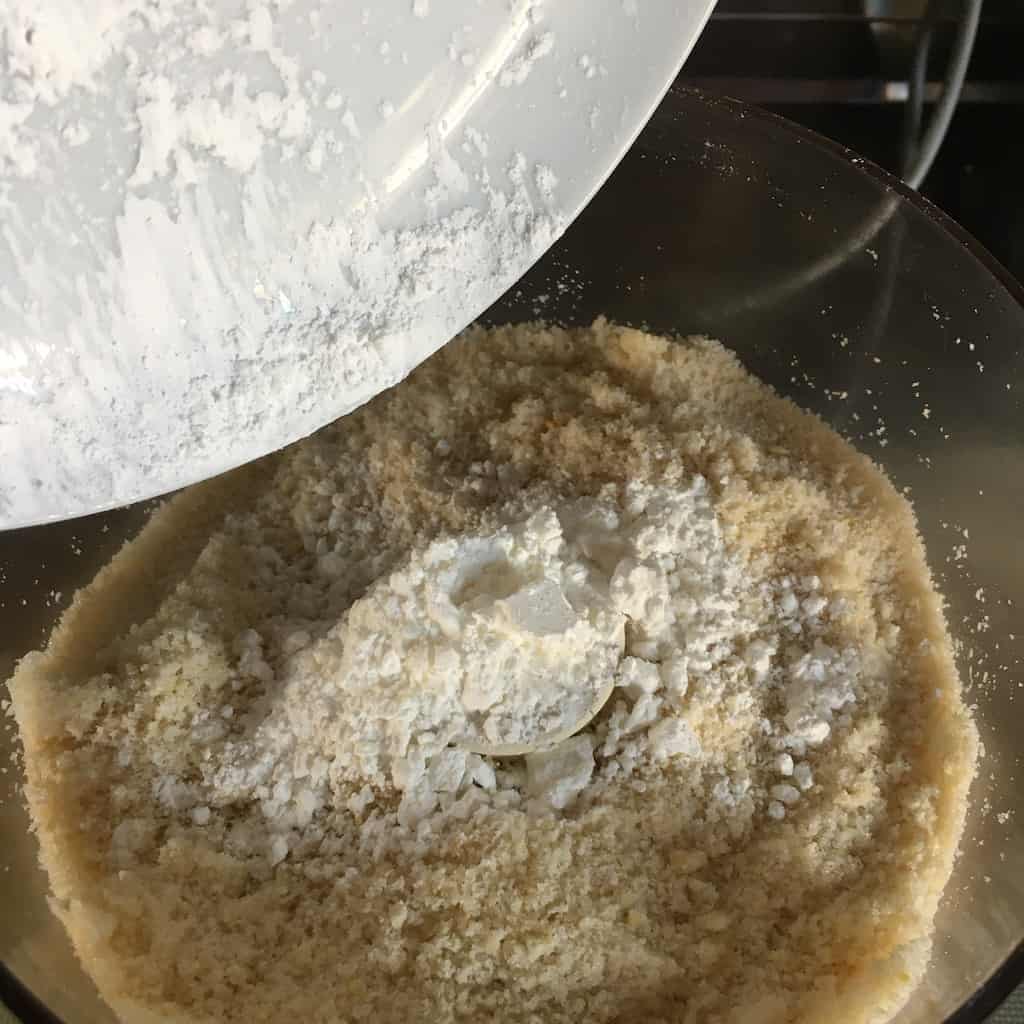
- Finely grind sugar and nuts in the processor. Add the cornstarch and a pinch of salt and pulse a few times until well incorporated.
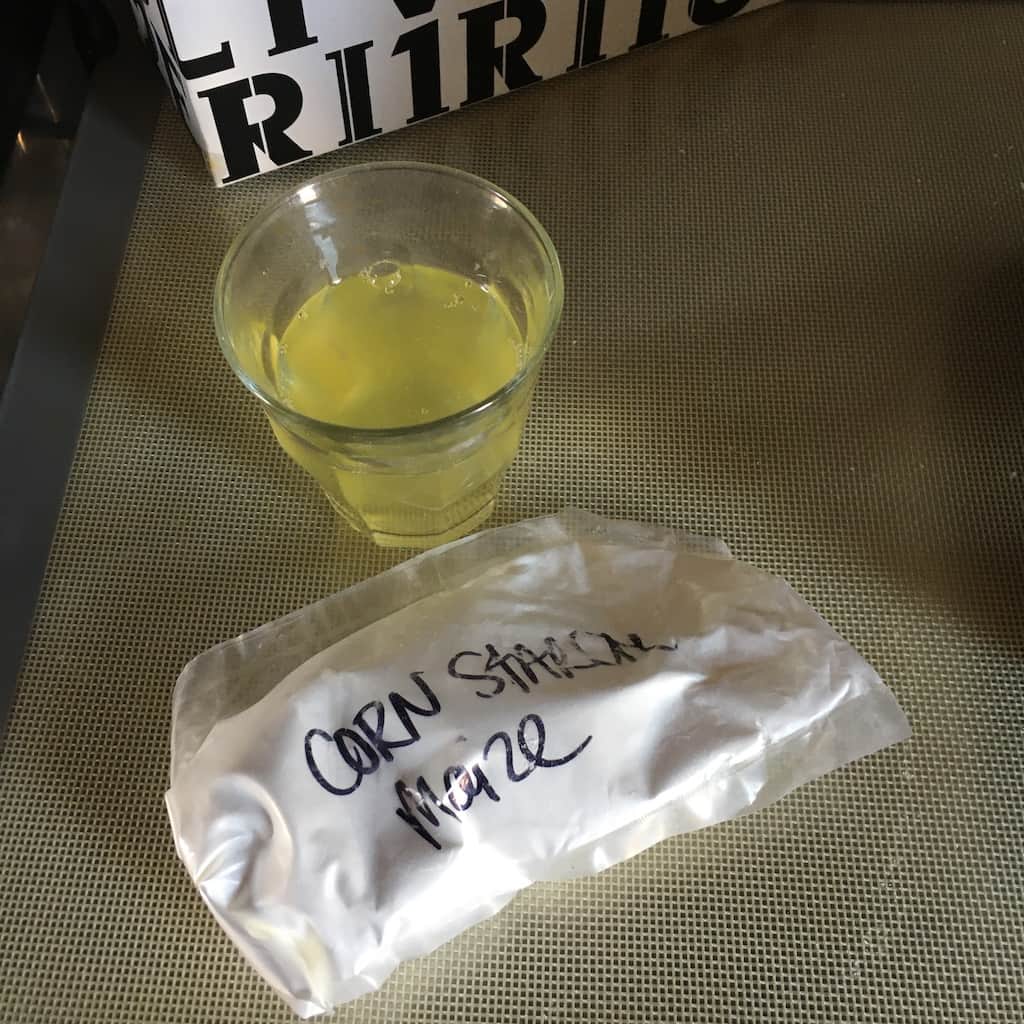
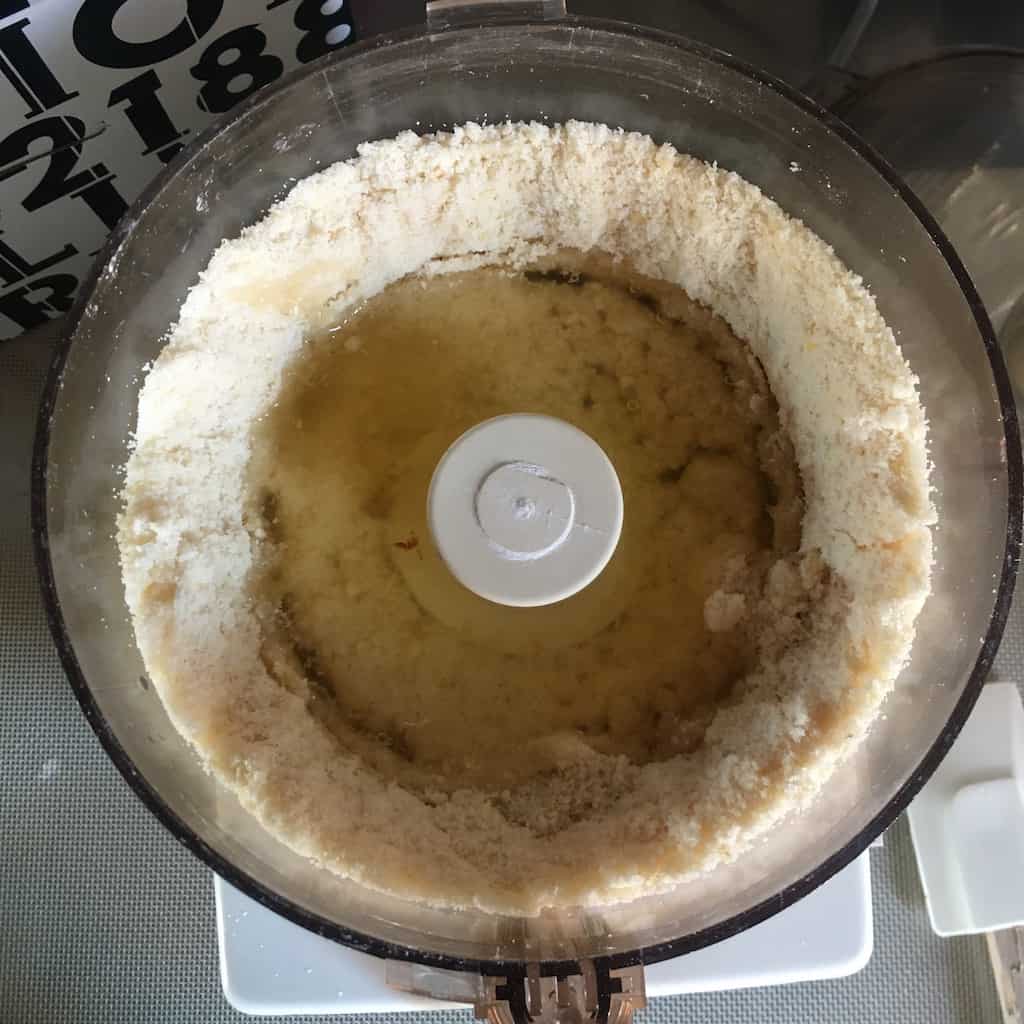
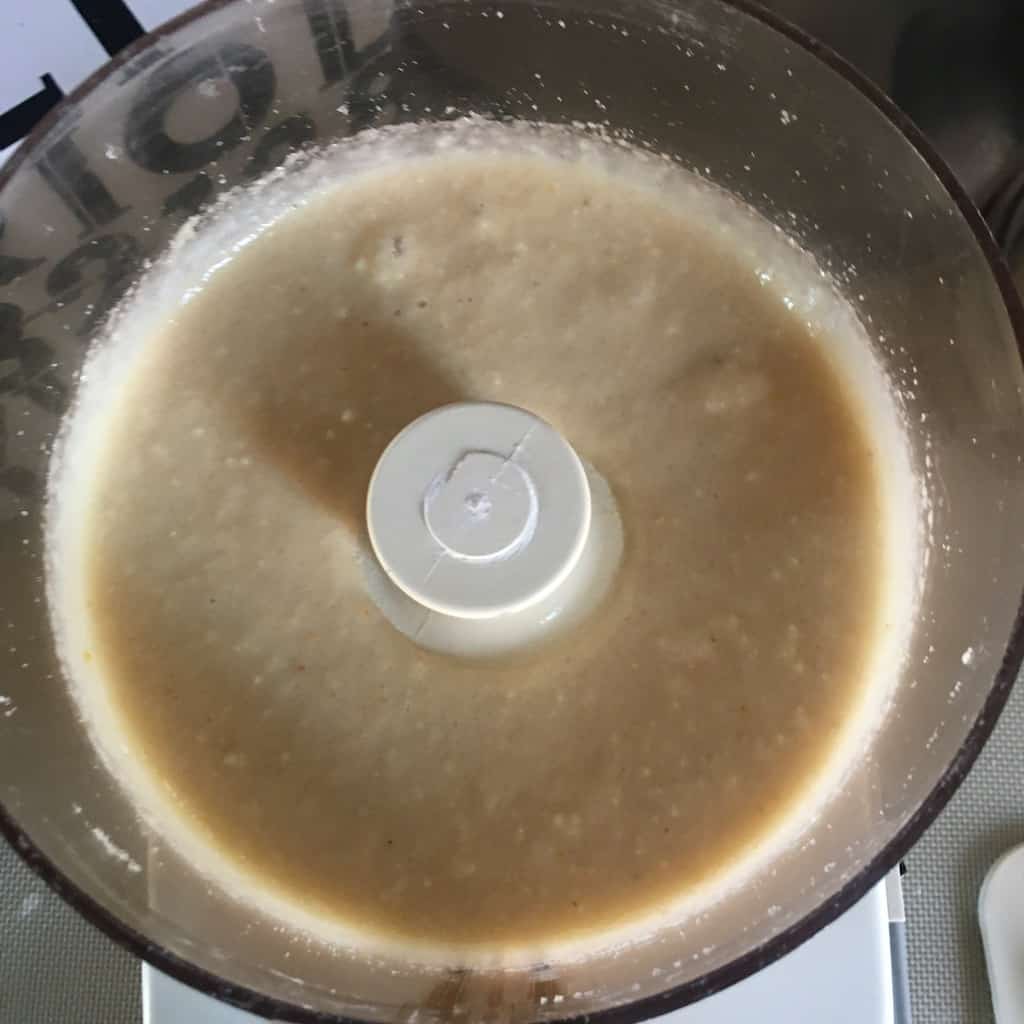
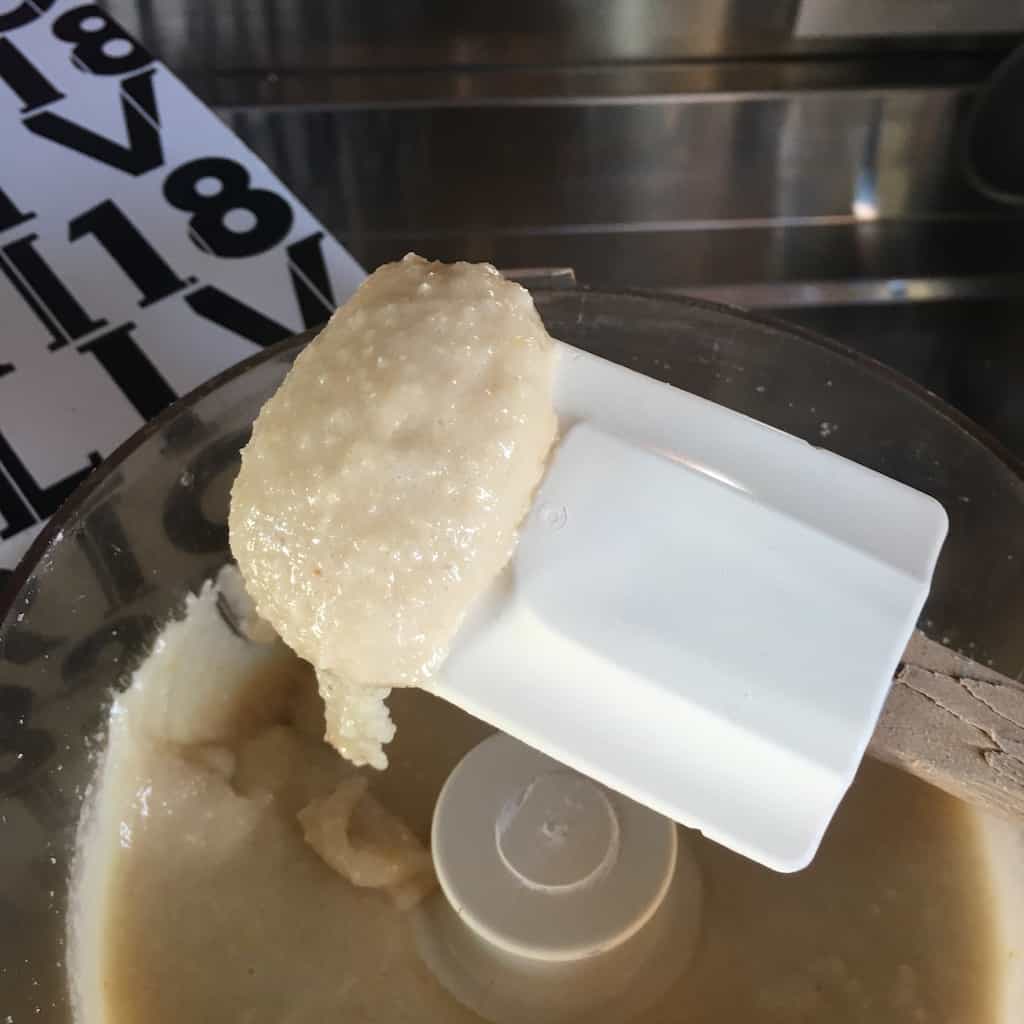
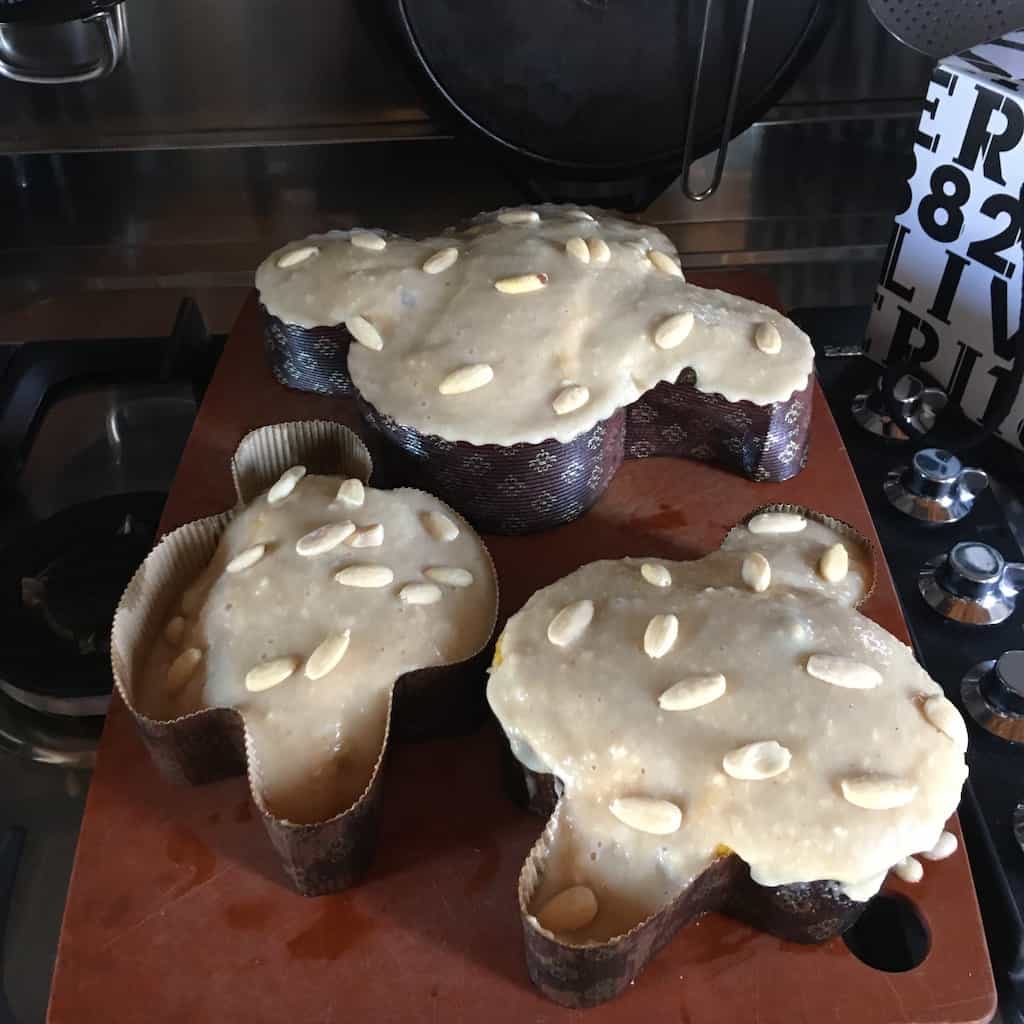
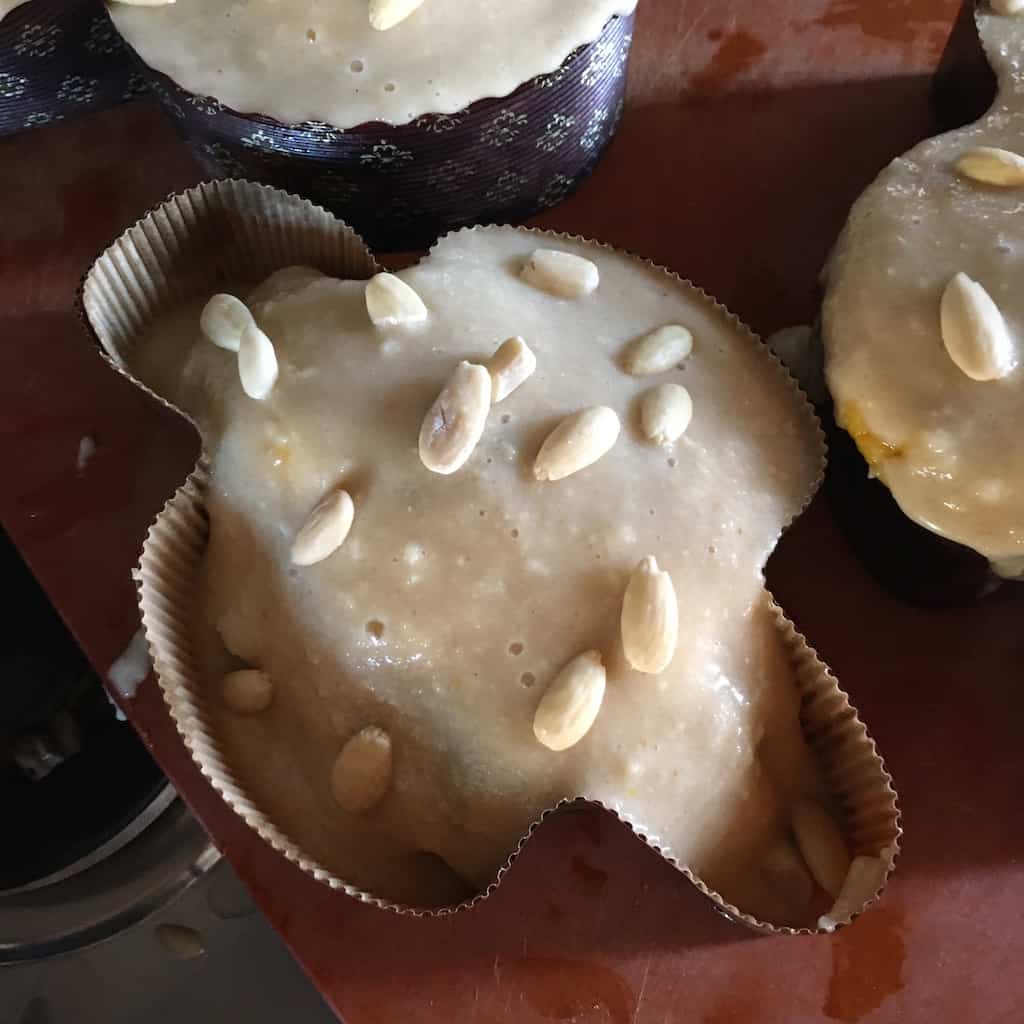
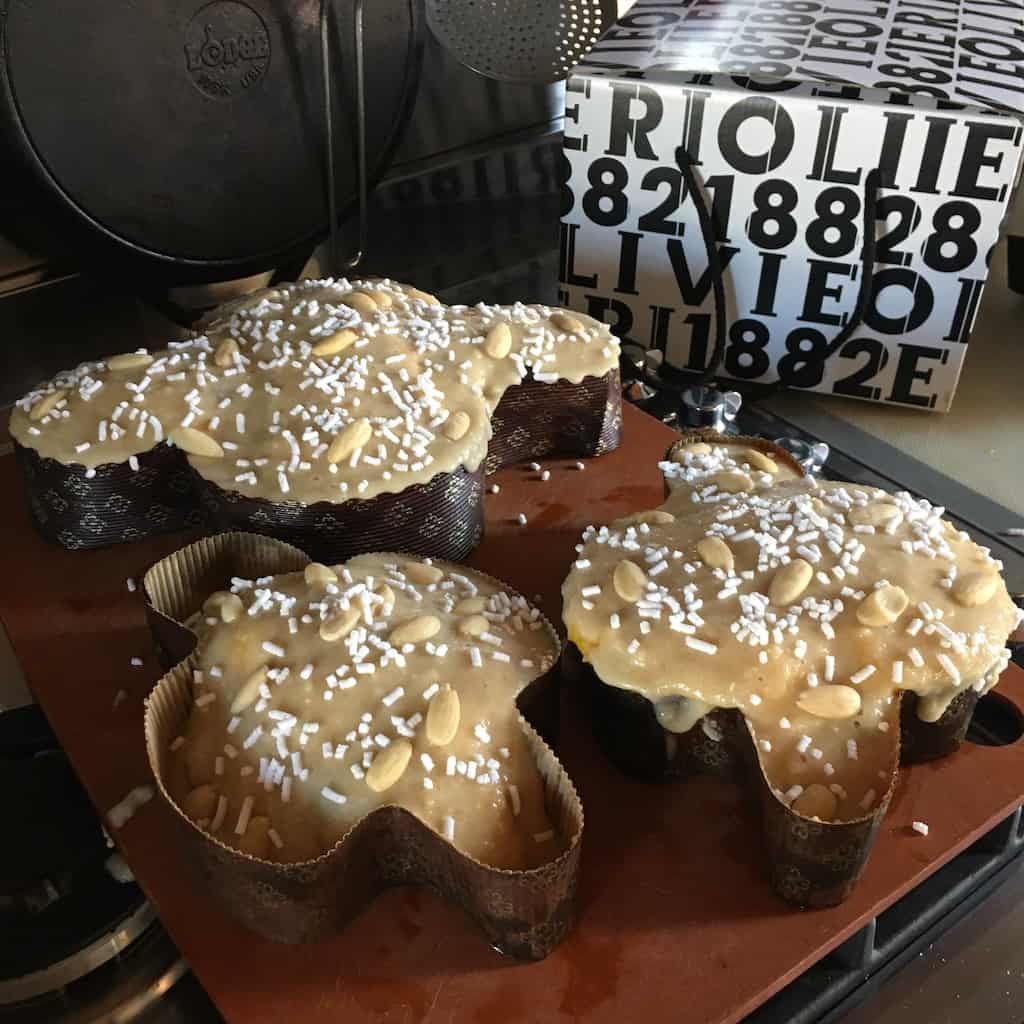
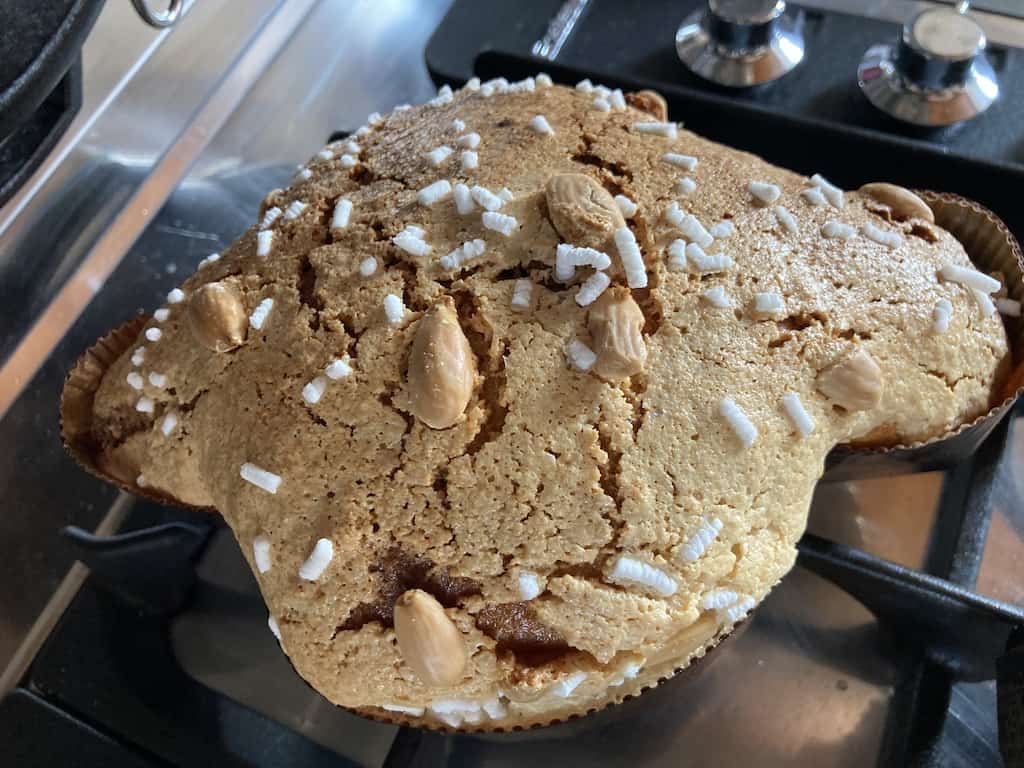
- Add the egg whites and blend for about 15 to 20 seconds until the mixture is thick but runny. Peel the plastic off of the risen doughs and evenly distribute the nut glaze over top of each using a large spoon. Place whole almonds on top and sprinkle each Colomba with the "granella di zucchero" (sugar logs).
- Place Colombas onto a baking sheet and bake until golden brown on top and a cake tester or slender wooden skewer inserted into the center comes out clean, or about 45 minutes. Insert 2 to 4 skewers per Colomba into (and through) the bottom of each so that the Colomba can be turned upside down and suspended from 2 poles to completely cool. Allow Colombas to cool completely. These can be baked ahead and wrapped individually in plastic wrap and placed into a large freezer bag and left at room temperature for up to 2 days or freeze individual slices wrapped in plastic wrap and placed in freezer bags until needed. Enjoy with your favorite tea, coffee, or glass of prosecco.
Notes
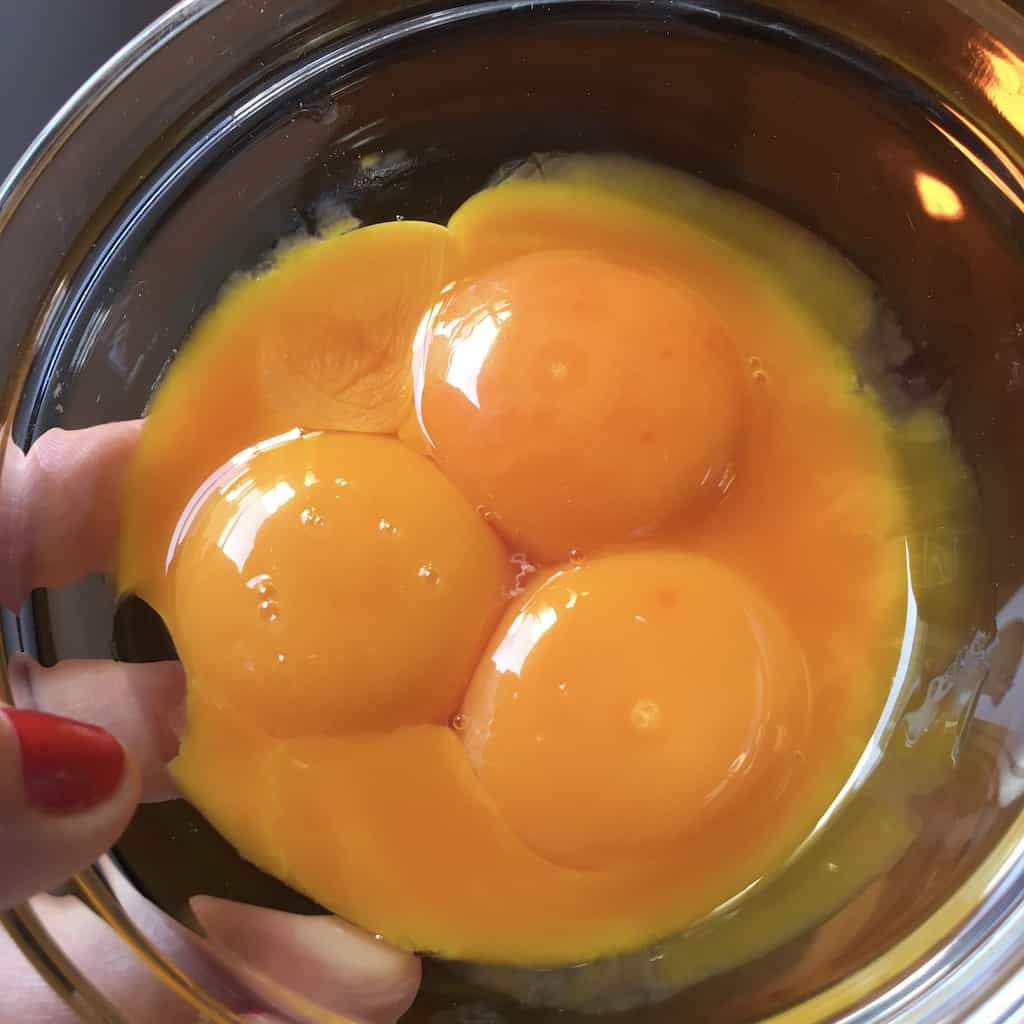
- Buy eggs with the deepest orange or yellow-colored yolks if you can find them. This is what gives traditional Colomba its naturally intensely yellow dough. If you can't find these types of eggs, you may add a little turmeric to the dough to help create a more natural yellow dough. Just be sure not to add so much that it affects the flavor of the bread.
- The amount of sugar you add can be adjusted according to your taste. I originally used 6 tablespoons (75g) of sugar, but it wasn't as sweet as Olivieri's and next time I'll add at least 2 more tablespoons of sugar. But honestly, it's perfectly sweet using only 6 tablespoons.
- How to store Colomba. These can be baked ahead and wrapped individually in plastic wrap or beeswax paper and placed into a large freezer bag and left at room temperature for up to 2 days or freeze individual slices wrapped in plastic wrap and placed in freezer bags until needed.
- Find all of the rest of the tips (plus what I'll do differently next time) in the main post. There are a lot of helpful tips to help you avoid some of my mistakes and missteps that are very useful if this is the first time you're making a Colomba.
- If you don't own a non-stick dough mat or Silpat, you may instead add ½ cup flour on a large surface to keep the dough from sticking to the surface when you shape the dough into "doves".)
- Prep Time: 1 hour
- Rest Time: 24 hours
- Cook Time: 45 minutes
- Category: Breads
- Method: Oven Bake
- Cuisine: Italian
Nutrition
- Serving Size: 1 slice

Made the Recipe? Tell Us What You Think!